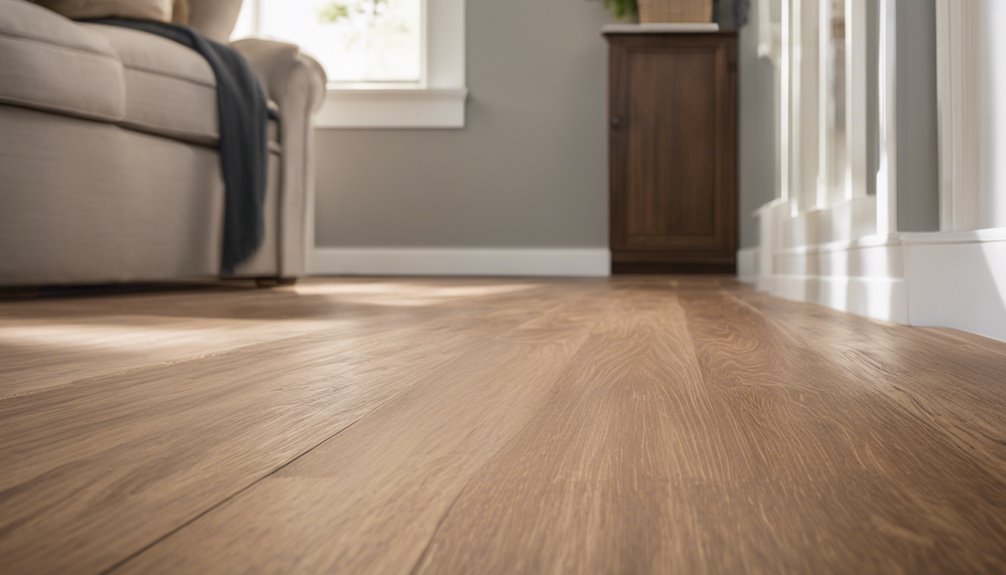
To apply vinyl plank flooring, start by gathering your materials like adhesive and underlayment. You'll want to prepare your subfloor by cleaning it thoroughly and checking for moisture. Measure your space accurately and allow the planks to acclimate for at least 48 hours. Plan your layout, ensuring planks run parallel to the longest wall. Begin installation in a corner, using a utility knife for precise cuts. Don't forget to use spacers around edges for expansion. Finally, finish the edges with trim. Following these steps carefully will lead you to a successful installation, and there's more to explore for perfect results.
Gather Your Materials

Before you plunge into your vinyl plank pavimentazione project, it's essential to gather all the necessary materials. Start by selecting the right vinyl plank types for your space—options range from luxury to budget-friendly varieties, each offering unique aesthetics and durability. You'll also need underlayment, which enhances comfort and sound insulation. Don't forget your adhesive, if required, along with a utility knife for cutting planks, a tape measure for accurate measurements, and a straightedge for clean lines. A rubber mallet and spacers will help fit the planks snugly without damaging them. By preparing these materials, you'll enjoy the flooring benefits, like ease of installation and maintenance, making your project smoother and more enjoyable. Freedom in your space starts here!
Preparare il sottofondo
Once you've gathered your materials, the next step is to prepare the subfloor. The condition and type of subfloor play an essential role in your vinyl plank flooring installation. You'll want to make certain it's clean, dry, and level.
Ecco su cosa concentrarsi:
- Identify subfloor types (wood, concrete, etc.)
- Remove debris and old flooring
- Check for moisture using a moisture meter
- Install moisture barriers if necessary
Taking these steps will guarantee a solid foundation for your new flooring. Remember, a well-prepared subfloor not only enhances the appearance but also extends the lifespan of your vinyl plank flooring. Enjoy the freedom of a beautifully transformed space!
Measure the Space

Measuring your space accurately is vital for a successful vinyl plank flooring installation. Start by gathering your measuring tools, like a tape measure and notepad. Use precise measuring techniques—always measure length and width of the area, and if it's an irregular shape, break it down into smaller rectangles. Don't forget to measure doorways and any obstacles that might affect the layout. Space considerations are important; you'll want to allow for expansion gaps around the edges and account for any furniture. Once you've got all your measurements, calculate the total square footage, adding about 10% for waste. This guarantees you won't run short on materials. With accurate measurements in hand, you're one step closer to your new flooring freedom!
Acclimate the Planks
Before you start installing your vinyl plank flooring, it's essential to acclimate the planks to your home's environment. Ideally, you should keep the temperature between 65°F and 85°F during this process, allowing the planks to adjust for at least 48 hours. This step helps prevent any expansion or contraction that could lead to issues after installation.
Importanza dell'acclimatazione
Although it might seem like a minor step, acclimating your vinyl plank flooring is essential for achieving a successful installation. This process helps to guarantee that your planks adapt to the room's temperature and humidity levels, leading to several acclimation benefits, including:
- Improved dimensional stability: Reducing the risk of expansion or contraction.
- Enhanced moisture control: Preventing warping or buckling over time.
- Better adhesion: Ensuring the planks stick properly to the subfloor.
- Durata di vita più lunga: Allowing your flooring to perform at its best.
Ideal Temperature Range
To guarantee your vinyl plank flooring acclimates properly, it's crucial to maintain an ideal temperature range during the process. Aim for favorable conditions between 65°F and 85°F, as temperature impact on the planks is significant. Be mindful of humidity levels too; ideally, they should hover around 40-60%. Seasonal considerations can affect your indoor environment, so choose installation timing wisely. If you live in an area with extreme climate effects, make sure your home's temperature remains stable to avoid temperature fluctuations that could distort the planks. Keeping your space within these parameters not only enhances the flooring's performance but also extends its lifespan. By prioritizing these factors, you'll set the stage for a successful installation.
Duration of Acclimation Process
The acclimation process for vinyl plank flooring typically takes about 48 to 72 hours. This acclimation duration is essential to guarantee your planks adjust to the room's temperature and humidity. Keep in mind that various environmental factors can influence this timeframe.
Consider the following:
- Temperature: Maintain a stable temperature within the recommended range.
- Humidity: Verify your space isn't too humid or dry to prevent warping.
- Airflow: Good ventilation can help speed up the acclimation.
- Material Integrity: Allow the planks to relax and settle properly for best performance.
Plan Your Layout

Before you start laying down your vinyl plank flooring, it is essential to plan your layout carefully. First, take accurate room dimensions to determine how many planks you'll need. Consider layout considerations such as the direction of the planks; running them parallel to the longest wall can create a more spacious feel. Think about the flow of the room, ensuring the layout complements any existing furniture. Avoid placing planks in awkward spots, like where the door swings open. Planning for expansion gaps at walls and obstacles is important too. A well-thought-out layout not only enhances aesthetics but also makes installation smoother, giving you the freedom to enjoy your new flooring without any unexpected surprises.
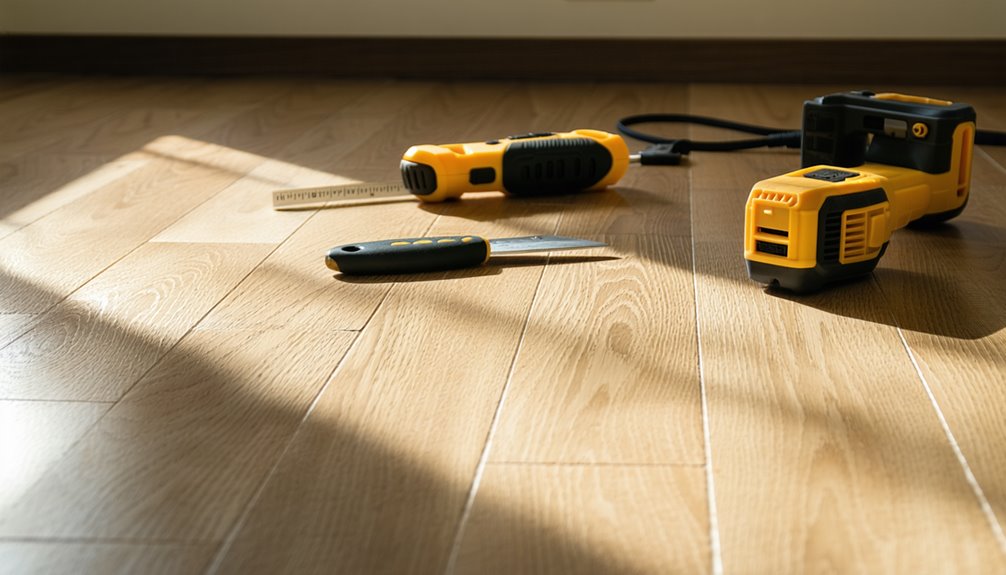
Cut the Planks
Before you start cutting your vinyl planks, make sure to measure your space accurately to determine the right sizes. You'll need to select the appropriate cutting tools, whether it's a utility knife or a saw, to achieve clean edges. Remember, cutting with precision is essential for a professional-looking finish, so take your time and double-check your measurements.
Measure Your Space
To guarantee a seamless installation of your vinyl plank flooring, measuring your space accurately is essential. Start by determining your floor dimensions using reliable measurement tools. Here's how to get it right:
- Measure the length and width of the room.
- Note any doorways, vents, or other obstacles.
- Calculate the total square footage by multiplying length by width.
- Add an extra 10% to account for waste and cuts.
Having precise measurements guarantees you purchase the right amount of flooring and minimizes excess. Remember, taking your time now will save you from headaches later. With accurate dimensions in hand, you're one step closer to achieving the beautiful, free-spirited space you desire!
Choose Cutting Tools
Selecting the right cutting tools is essential for achieving clean, precise edges when installing vinyl plank flooring. Depending on the vinyl types you're working with, you might choose a utility knife, a circular saw, or a vinyl cutter. For softer planks, a utility knife is often sufficient; just score the surface and snap it. If you're dealing with thicker, more rigid vinyl, a circular saw with a fine-toothed blade can provide smoother cuts. Always remember to use proper cutting techniques—measure twice, cut once, and maintain a steady hand. Having the right tools not only guarantees your project looks professional but also gives you the freedom to tackle any layout you desire without frustration.
Cut With Precision
While you might feel enthusiastic to lay down your vinyl planks, cutting them with precision is essential for a seamless finish. To achieve that perfect cut, you'll need to focus on your cutting techniques and blade selection. Here's how to get it right:
- Measure Twice: Always measure the area accurately before cutting.
- Use a Straightedge: For clean lines, place a straightedge along your measurements.
- Choose the Right Blade: A sharp utility knife or specialized vinyl cutter works best.
- Score and Snap: Score the plank firmly and then snap it along the cut line for a clean break.
Start Installing
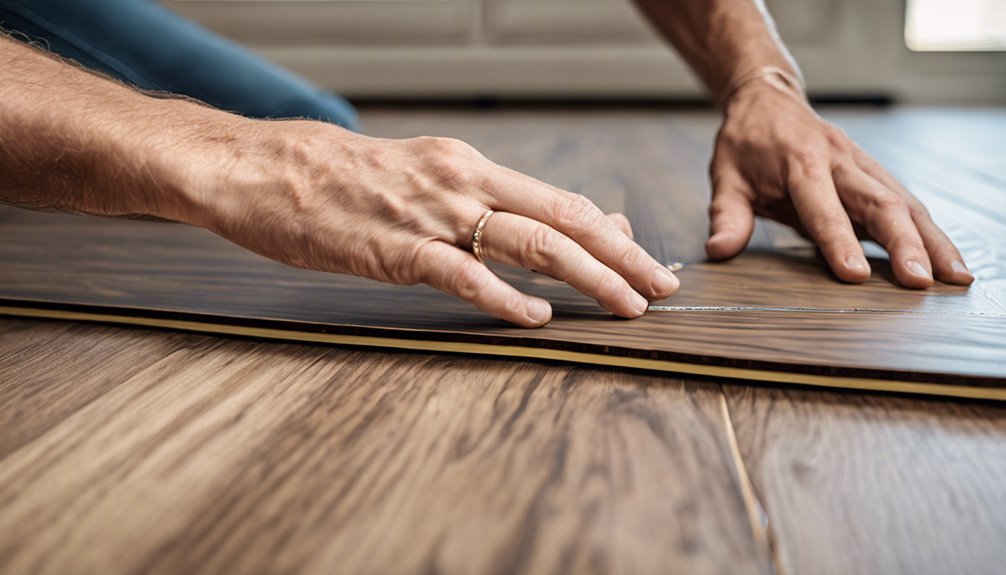
Begin by laying out your vinyl plank flooring in the room, ensuring you have a clear plan for how the planks will fit together. This step is essential for a smooth installation process. Keep in mind these installation tips to avoid common mistakes:
| Installation Tips | Common Mistakes |
|---|---|
| Measure your space | Not acclimating planks |
| Start in a corner | Ignoring expansion gaps |
| Use a straight edge | Skipping the underlayment |
Once you've organized the planks, it's time to start the installation. Secure the first plank in place, making sure it's aligned correctly. Continue laying each plank, ensuring a snug fit without forcing them together. Enjoy the freedom of transforming your space!
Use Spacers
To guarantee your vinyl plank flooring expands and contracts properly, using spacers is essential. Spacers help create a gap between the planks and the wall, allowing for natural movement. Here are some installation tips to keep in mind:
- Choose spacer types: Look for plastic spacers specifically designed for flooring installations.
- Place them correctly: Position spacers along all edges of the room, including corners, to guarantee uniform spacing.
- Maintain consistency: Use the same thickness of spacers throughout to avoid uneven gaps.
- Remove after installation: Once your planks are securely in place, carefully take out the spacers before finishing the edges.
Following these steps will help guarantee your flooring looks great and performs well over time. Enjoy the freedom of a beautifully installed floor!
Finish the Edges
After removing the spacers, it's time to finish the edges of your vinyl plank flooring. Start by choosing your trim options, which can include quarter round, shoe molding, or straight edge trim. Each option offers a different aesthetic, so pick one that complements your decor.
Next, measure the length of each wall and cut the trim to fit, ensuring clean edges for a polished look. Secure the trim using finishing nails or adhesive, depending on the type of trim and your flooring's requirements.
Finally, fill any gaps with caulk to create a seamless connection between the flooring and the walls. With these steps in edge finishing, you'll enhance the overall appearance of your space and enjoy your new flooring to the fullest.
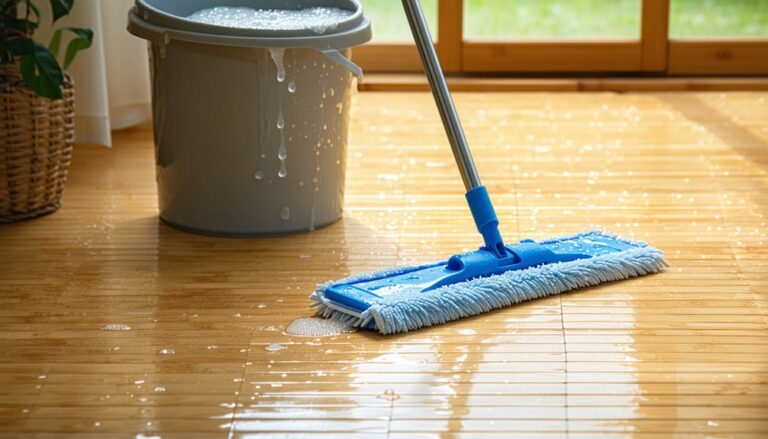
Clean and Maintain
Although vinyl plank flooring is durable and resistant to stains, it still requires regular cleaning and maintenance to keep it looking its best. Here are some practical cleaning tips to help you establish a maintenance schedule:
- Sweep or vacuum regularly to remove dust and debris.
- Use a damp mop with a gentle cleaner specifically designed for vinyl.
- Wipe up spills immediately to prevent stains or warping.
- Avoid harsh chemicals and abrasive tools that can scratch the surface.
Domande frequenti
Can Vinyl Plank Flooring Be Installed Over Existing Floors?
Yes, you can install vinyl plank flooring over existing floors, and it offers several installation benefits. It saves you time and money since you won't need to remove the old flooring. Just guarantee the existing surface is clean, level, and compatible with vinyl. This method also provides added insulation and can reduce noise. By choosing this option, you get the freedom to refresh your space without the hassle of a full renovation.
How Long Does It Take for the Flooring to Acclimate?
You might think that flooring acclimation is a mere formality, but it's essential for a successful installation. Generally, you'll need an acclimation period of 48 to 72 hours in a controlled environment. Guarantee the temperature stays between 65°F and 85°F, as this helps the planks adjust to your space. This attention to detail not only prevents expansion or contraction issues but also gives you the freedom to enjoy your new flooring without worries.
Is It Necessary to Use Underlayment With Vinyl Plank Flooring?
Using underlayment with vinyl plank flooring isn't always necessary, but it's highly beneficial. It provides a moisture barrier that protects your flooring from potential water damage and helps reduce noise, creating a more comfortable living space. Plus, underlayment can enhance the overall feel underfoot and improve insulation. If you want to guarantee longevity and comfort in your flooring, incorporating underlayment is a smart choice you won't regret.
Can Vinyl Planks Be Installed in Bathrooms or Kitchens?
Absolutely, you can install vinyl planks in bathrooms or kitchens! Their water resistance makes them a practical choice for these areas. Just make certain to follow some installation tips: guarantee the subfloor is clean and level, and consider using a waterproof underlayment for added protection. Also, leave a gap around the edges to allow for expansion. With careful installation, you'll enjoy a stylish and resilient flooring option that suits your lifestyle.
What Tools Do I Need for Cutting Vinyl Planks?
When you're ready to cut vinyl planks, think of it as preparing a canvas for a masterpiece. You'll need some essential tools: a utility knife, a straightedge for precision, and a cutting mat to protect surfaces. For more intricate cutting techniques, a jigsaw can come in handy. Don't forget safety gear like gloves and goggles. With these tools, you'll have the freedom to create a beautiful floor that suits your style!