First, identify where the moisture’s coming from by inspecting seals, drains, and gaskets carefully. Remove mats and upholstery to access the wet floor, then dry thoroughly using towels, a wet vacuum, and fans or dehumidifiers. Clear any clogged drainage channels and check door and window seals for damage. Treat any mold with appropriate cleaners, then apply waterproof sealants and replace damaged padding or carpet. Following these steps guarantees lasting dryness and protection. To fully resolve the issue, understanding detailed prevention and repair techniques is essential.
Identify the Source of the Moisture
Before you can effectively address a wet pavimento in your car, you need to pinpoint exactly where the moisture is coming from. Start by conducting a thorough inspection of common moisture sources such as door seals, sunroof drains, and windshield gaskets. Use a flashlight to examine these areas closely for cracks or gaps. Employ leak detection techniques by carefully running water over the exterior while someone else monitors the interior for seepage. Check the HVAC system for clogged drain tubes that might cause condensation buildup inside. Don’t overlook less obvious sources like a damaged floor pan or blocked drainage channels. Systematically isolating the leak is essential to guarantee your repair targets the root cause, giving you the freedom to confidently restore dryness and prevent further water intrusion.
Remove Car Mats and Upholstery
To effectively address a wet floor in your car, start by carefully removing all car mats and upholstery from the affected area. This step is essential for mold prevention and thorough upholstery cleaning. Handle each piece with care to avoid damage. Once removed, inspect mats and upholstery for dampness or stains that require immediate treatment.
| Fare un passo | Scopo |
|---|---|
| Remove mats gently | Prevent fabric damage |
| Detach upholstery carefully | Access hidden moisture |
| Inspect for mold signs | Early mold prevention |
This methodical approach guarantees you expose the entire wet area, reducing hidden moisture pockets. Proper removal sets the stage for effective drying and cleaning, ultimately restoring your car’s interior freedom from dampness and mold risk.
Dry the Affected Area Thoroughly
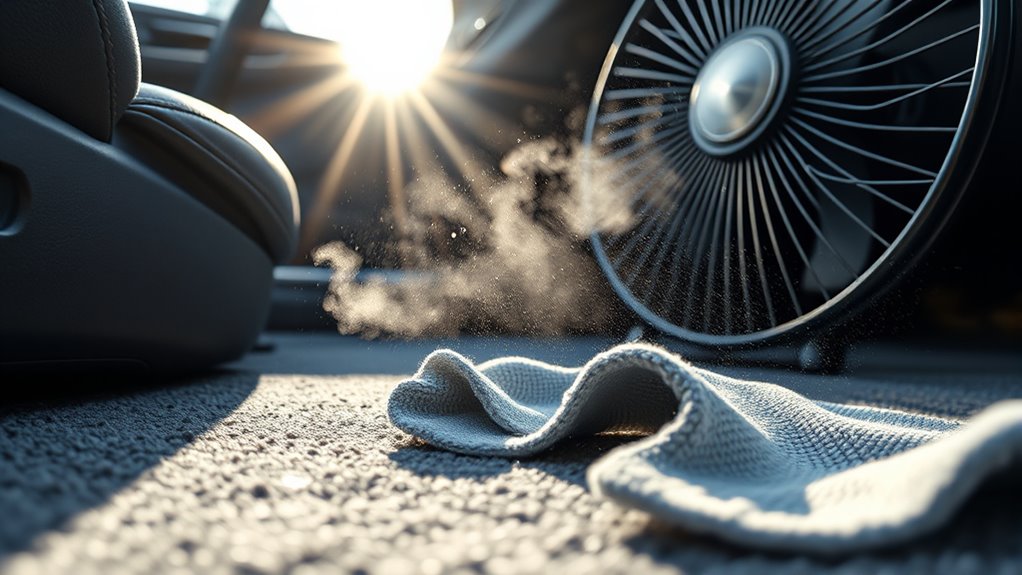
Once you’ve removed all mats and upholstery, focus on thoroughly drying the affected area to prevent mold growth and lingering odors. Start by using absorbent towels to soak up as much surface moisture as possible. Next, apply targeted drying techniques such as a wet/dry vacuum to extract water deeply embedded in the carpet fibers. Follow this with air circulation—position a high-velocity fan or portable heater to accelerate evaporation. For stubborn moisture, consider using a dehumidifier inside the car to lower humidity levels effectively. Throughout this process, monitor moisture removal progress by periodically checking the dampness in hidden spots. Drying the area completely guarantees a clean, odor-free interior and prevents long-term damage, giving you the freedom to enjoy your vehicle without worry.
Check and Clear Drainage Channels
You’ll first need to locate the drainage openings, typically found near the doors or under the windshield. Inspect these channels carefully for debris or clogs that might be preventing water from exiting. Use a thin tool or compressed air to remove any blockages without damaging the drainage system.
Locate Drain Openings
Although water accumulation inside your car often signals clogged drainage, locating the drain openings is vital before attempting any fixes. Start by consulting your vehicle’s manual to identify common drainage points—these are usually found near door sills, sunroof edges, or under floor mats. Use a flashlight to inspect these areas closely. Look for small holes or channels designed to direct water outside. Proper drain maintenance depends on understanding these outlets to guarantee unimpeded water flow. Once located, note their positions relative to the wet floor areas, as this informs your next steps in clearing blockages. By methodically pinpointing these drain openings, you’ll take an important step toward restoring your car’s interior dryness and maintaining ideal drainage performance.
Remove Blockages Carefully
After identifying the drain openings, the next step is to inspect these channels to verify they’re free of debris that might obstruct water flow. Start by visually evaluating common blockage types such as leaves, dirt, and small debris trapped in the drainage paths. Use a flashlight and a flexible tool, like a plastic pick or compressed air, to carefully dislodge and remove these blockages without damaging the channels. Avoid using metal objects that could scratch or deform the drains. Once visible debris is cleared, flush the channels with water to confirm unobstructed flow. This methodical blockage removal verifies proper drainage, preventing water accumulation on your car floor. Regularly performing this check safeguards your vehicle’s interior dryness and extends the efficiency of the drainage system.
Inspect Door and Window Seals
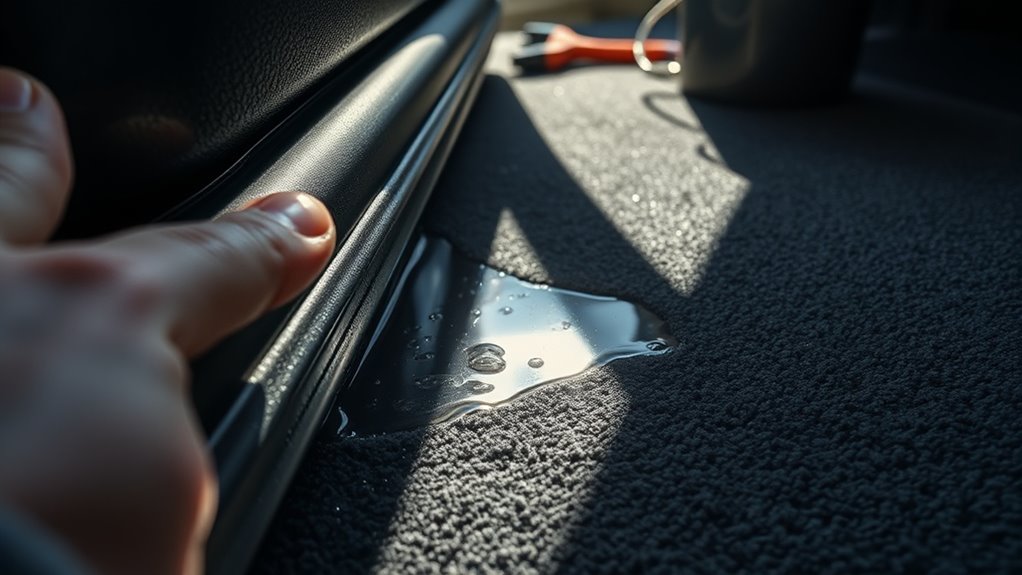
Start by thoroughly examining the door and window seals for cracks, tears, or hardening that compromise their integrity. Pay close attention to any gaps or misalignments where water could penetrate. If you find damaged seals, replace them promptly to restore a proper waterproof barrier.
Check Seal Condition
A critical step in addressing a wet floor in your car is to thoroughly inspect the door and window seals. Begin by cleaning the seals with a mild detergent to remove dirt that could hide damage. Examine the rubber for cracks, brittleness, or deformation—signs of seal failure. Use a flashlight to check less visible areas for gaps or tears. Apply seal maintenance tips such as conditioning with silicone-based sprays to restore flexibility and prevent drying. If you identify significant wear or damage, explore seal replacement options tailored to your car’s make and model. Proper sealing guarantees water tightness and preserves your freedom to drive without worry. Methodically documenting your findings helps determine if maintenance suffices or full replacement is necessary to stop water intrusion effectively.
Identify Seal Gaps
While inspecting the door and window seals, you’ll want to carefully identify any gaps that could allow water to seep inside. Start by running your fingers along the edges of the weather stripping, feeling for cracks, compressions, or areas where the seal no longer sits flush against the frame. Use a flashlight to spot small tears or worn sections that may not be immediately visible. Pay close attention to corners and joints, as these are common weak points in seal maintenance. You can also perform a water test by gently spraying water over the seals and observing any leaks inside. Document each gap or defect precisely, as this will guide targeted repairs and help restore your car’s barrier against moisture intrusion, ensuring your freedom from wet floors.
Replace Damaged Seals
Once you’ve identified the damaged or worn sections of your door and window seals, you’ll need to remove the old seals carefully to avoid damaging the surrounding trim or paint. Start by peeling off the existing seal, using a plastic trim tool to minimize surface harm. Assess the seal type—whether bulb, edge, or adhesive-backed—to guarantee you select the correct replacement. Clean the mounting surface thoroughly, removing residue with isopropyl alcohol for peak adhesion. When installing new seals, align them precisely along the channel or groove, applying even pressure to activate adhesive backing or secure clips. Use recommended installation techniques, such as warming adhesive seals slightly to enhance flexibility. Proper replacement of seals restores the water barrier, preventing leaks and maintaining your car’s interior dryness, granting you the freedom to drive worry-free.
Treat Mold and Mildew
Because mold and mildew thrive in damp environments, you’ll need to address them promptly to prevent further damage and health risks. Start with thorough mold removal by using a mixture of water and vinegar or specialized cleaners. Scrub affected areas vigorously and dry them completely to halt regrowth. For mildew prevention, maintain consistent dryness and airflow inside the car.
| Fare un passo | Dettagli |
|---|---|
| Ispezione | Identify mold presence and moisture sources |
| Cleaning Agent | Use vinegar solution or mold removal product |
| Metodo di applicazione | Scrub affected areas, focus on crevices |
| Asciugatura | Use fans or dehumidifiers to eliminate dampness |
This methodical approach guarantees effective mold removal and mildew prevention, preserving your freedom from recurring wet floor issues.
Apply Waterproofing Solutions
Although addressing mold and mildew is crucial, applying waterproofing solutions is the next essential step to prevent moisture from seeping into your car’s floor. Start by verifying the floor is completely dry and clean. Use waterproof sprays designed for automotive use, applying an even coat across all vulnerable areas, including seams and joints. Follow the manufacturer’s instructions on drying times. Next, perform a thorough sealant application to cracks or openings where water might enter. Use a high-quality automotive sealant, applying it methodically with a brush or applicator for precision. Allow ample curing time to create a durable barrier against moisture intrusion. This systematic approach guarantees long-lasting protection, preserving your car’s interior and granting you the freedom to drive without worrying about wet floors again.
Replace Damaged Carpet or Padding
After you’ve applied waterproofing solutions and sealed all potential entry points, the next step is to address any carpet or padding that has already suffered water damage. Carpet replacement guarantees your vehicle’s interior remains dry and odor-free. Start by:
- Removing the old carpet and soaked padding carefully.
- Inspecting the floor pan for rust or mold; treat as necessary.
- Selecting suitable padding options—closed-cell foam is best for moisture resistance.
- Laying down new padding followed by the replacement carpet, securing them firmly.
This methodical approach restores your car’s interior integrity, preventing further moisture retention. Opting for quality padding options during carpet replacement assures lasting dryness and comfort, granting you the freedom to enjoy a clean, dry ride every time.
Prevent Future Wetness in Your Car
To prevent future wetness in your car, you’ll need to implement a combination of regular maintenance practices and targeted protective measures. Prioritize preventative measures such as inspecting door seals, clearing drainage channels, and applying water-repellent coatings. Establish routine maintenance intervals to identify potential leaks early, ensuring lasting dryness and comfort.
| Misure preventive | Frequenza | Tools/Materials Needed |
|---|---|---|
| Inspect door/window seals | Mensile | Sealant, flashlight |
| Clear drainage channels | Trimestrale | Compressed air, small brush |
| Apply water-repellent coating | Biannually | Spray applicator, microfiber cloth |