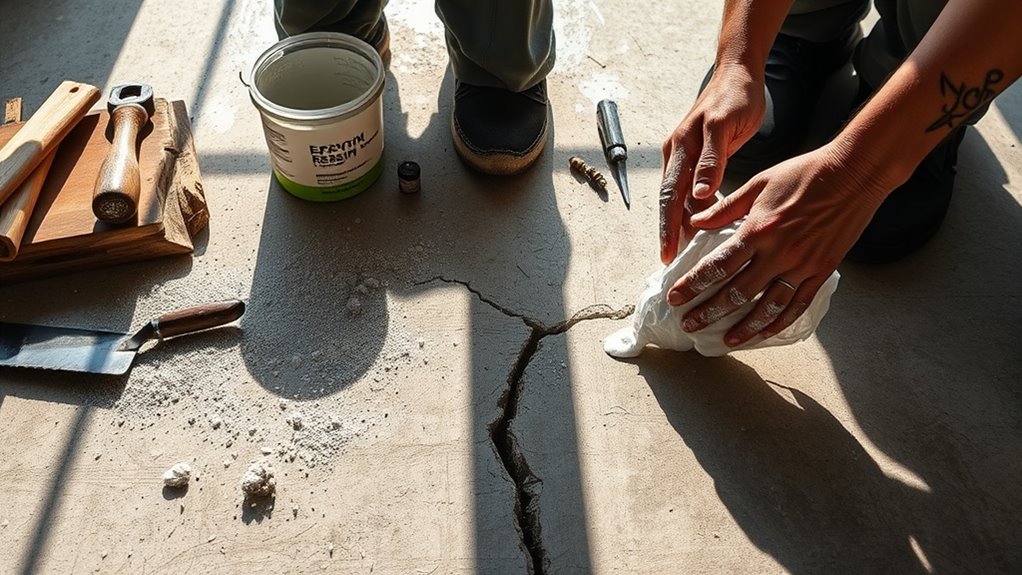
Start by evaluating your crack’s size and type to choose the right tools and materials. Next, thoroughly clean out dirt and debris with a wire brush or vacuum to guarantee good adhesion. Apply a compatible concrete bonding agent evenly and let it dry. Then, fill the crack with an appropriate repair compound, pressing firmly to remove air pockets. Finally, smooth the surface and seal it properly to protect against future damage. Keep following this guide for detailed techniques and tips.
Assess and Prepare the Cracked Area
Before you begin repairing the crack, thoroughly assess its size, depth, and pattern to determine the appropriate repair method. Conduct a detailed crack analysis by measuring length, width, and depth using calipers or a ruler. Identify whether the crack is hairline, structural, or surface-level, as this dictates the materials and techniques you’ll need. Select repair tools accordingly—chisel and hammer for widening, wire brush for debris removal, and injection equipment for epoxy or polyurethane fillers. This upfront evaluation guarantees you apply the most effective solution without wasting materials or effort. By mastering crack analysis and preparing your repair tools in advance, you maintain control over the process, allowing you the freedom to restore your cement pavimento with precision and confidence.
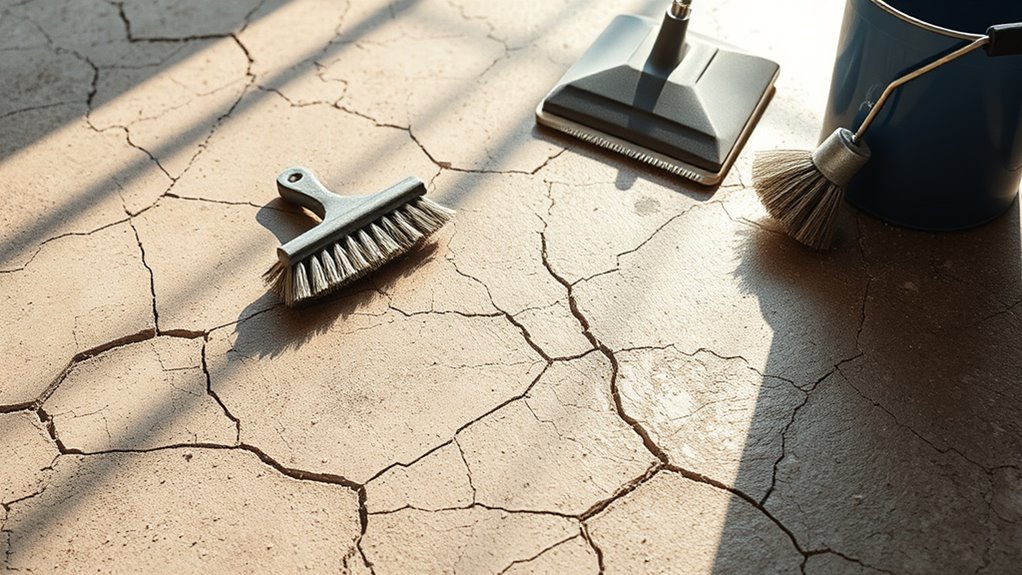
Clean the Crack Thoroughly
A clean crack is essential for a durable repair, so you’ll need to remove all dirt, dust, loose debris, and any contaminants from the fissure. Different crack types require specific cleaning tools to guarantee maximum adhesion of repair materials. Use a wire brush or vacuum for narrow cracks, and a chisel or air compressor for wider ones. Proper cleaning prevents bonding failure and prolongs the floor’s integrity.
| Crack Type | Recommended Cleaning Tool | Key Benefit |
|---|---|---|
| Hairline Crack | Wire brush | Removes fine dust |
| Structural Crack | Chisel + vacuum | Clears loose debris |
| Surface Crack | Air compressor | Eliminates contaminants |
Selecting the right cleaning tools based on crack types assures a solid, long-lasting repair.
Apply a Concrete Bonding Agent
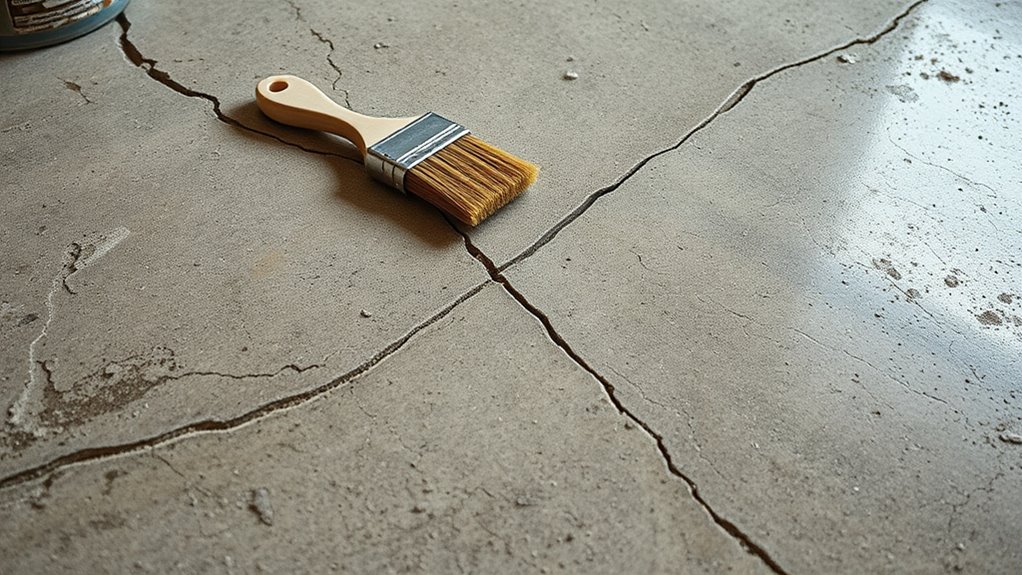
Applying a concrete bonding agent creates a strong adhesive layer that guarantees repair materials bond securely to the existing cement. To achieve the best results, select a bonding agent compatible with your repair compound. Utilize proper bonding techniques by applying the agent evenly with a brush or roller, saturating the crack’s surface without pooling. Follow manufacturer-recommended application methods, including appropriate drying times before proceeding. This step is critical for achieving a durable, long-lasting bond that prevents future cracking or delamination. Avoid shortcuts; insufficient bonding weakens the repair and compromises floor integrity. By mastering these precise application methods, you maintain control over the repair process, ensuring your cement floor regains strength and resilience. This approach gives you the freedom to trust your repair will hold under everyday use.
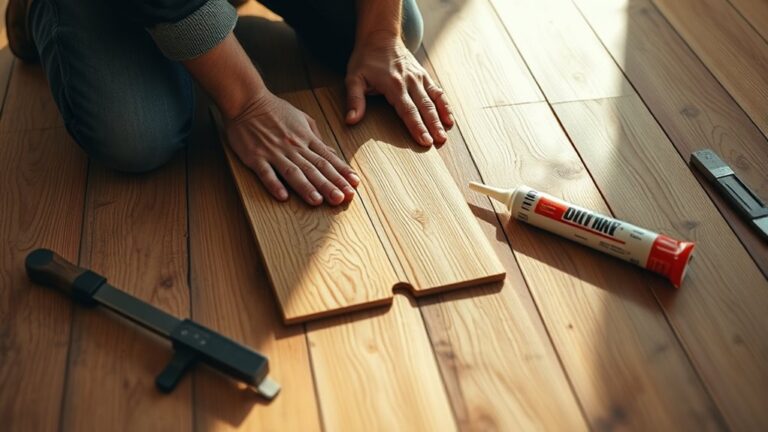
Fill the Crack With Concrete Repair Material
Start by selecting a concrete repair material compatible with the bonding agent you applied. Different crack types—hairline, structural, or shrinkage—require specific repair techniques and materials for ideal adhesion and durability. For narrow cracks, a pourable epoxy or polyurethane filler works best, while wider or deeper cracks demand a patching compound or mortar mix. Use a trowel or putty knife to press the repair material firmly into the crack, ensuring complete filling without air pockets. Overfill slightly to account for shrinkage during curing. Follow manufacturer instructions for mixing ratios and curing times precisely. Properly filling the crack restores the cement’s structural integrity and prevents moisture infiltration, giving you lasting freedom from damage and the need for repeated repairs.
Smooth and Seal the Repaired Surface
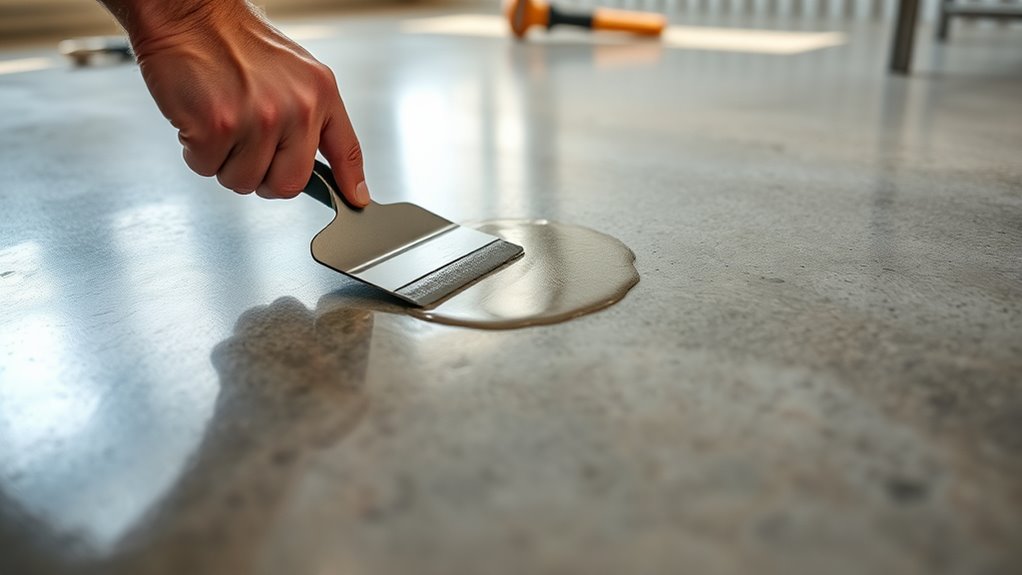
Once the repair material has cured fully, you’ll need to smooth the surface to blend it seamlessly with the surrounding cement. Start by using a fine-grit sanding block or a concrete grinder to level the patch, employing precise smoothing techniques to eliminate any ridges or unevenness. Aim for a uniform texture that matches the existing floor. After smoothing, thoroughly clean the area to remove dust and debris. Next, choose an appropriate sealing option based on your floor’s exposure and use—penetrating sealers are ideal for maintaining breathability, while film-forming sealers provide a protective layer against moisture and stains. Apply the sealer evenly with a brush or roller, ensuring full coverage. Proper smoothing and sealing not only restore your floor’s appearance but also extend its durability, giving you freedom from future cracks and damage.