To deep clean your vinyl tile floors, start by gathering soft-bristle brooms, a mop, bucket, and a mild detergent. Clear the area completely, then sweep or vacuum gently to remove loose dirt. Mix a mild cleaning solution and mop in small sections, avoiding excess water. Rinse thoroughly with clean water, dry with a microfiber mop, and finish with a suitable vinyl polish. Maintain this routine regularly to preserve shine and prevent damage. Keep going to uncover detailed tips for every step.
Raccogli i prodotti necessari per la pulizia

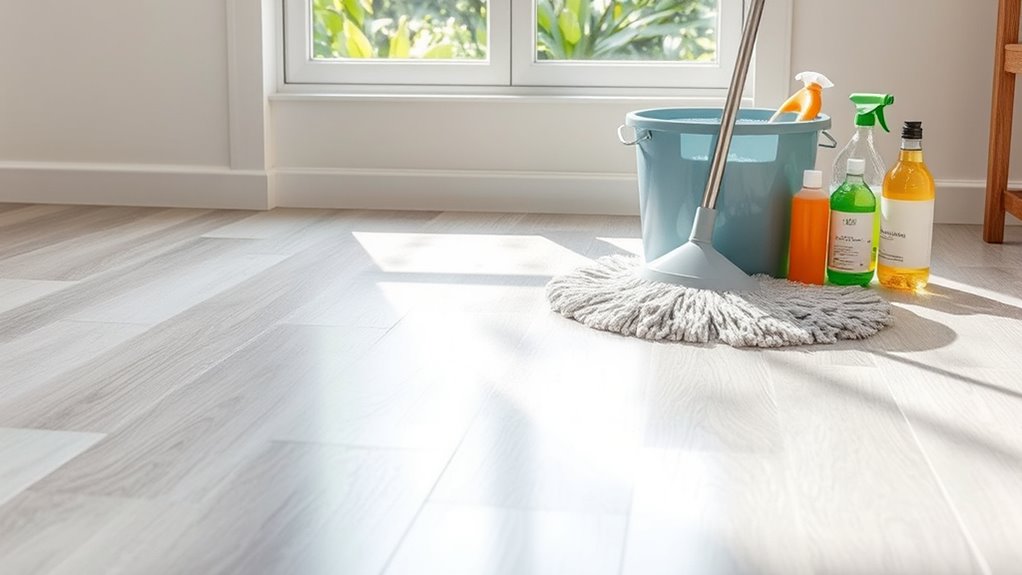
Before you begin deep cleaning your vinyl tile floors, make certain you’ve gathered all the essential supplies. Having the right cleaning supplies guarantees efficient pavimento maintenance and prevents damage. You’ll need a soft-bristle broom or vacuum for removing loose dirt, a mop with a detachable microfiber head for thorough cleaning, and a bucket for mixing solutions. Choose a vinyl floor cleaner or a mild detergent diluted in water—avoid harsh chemicals that can degrade your floor’s finish. Include a scrub brush with gentle bristles to tackle stubborn stains without scratching. Don’t forget microfiber cloths for drying and spot cleaning. By assembling these specific tools and products, you’ll maintain your vinyl tiles’ appearance and durability, giving you the freedom to enjoy a fresh, flawless floor without unnecessary hassle or damage.
Clear the Floor Area Completely
To deep clean your vinyl tile floors effectively, start by clearing the entire floor area completely. Move all floor furniture out or to a designated spot to prevent obstructions. This step enhances space organization, allowing you unrestricted access to every tile. Clearing the area also prevents damage to furniture and guarantees a thorough clean.
| Compito | Scopo | Mancia |
|---|---|---|
| Remove floor furniture | Clear cleaning path | Use sliders for heavy items |
| Organize space | Maximize cleaning area | Group items in one corner |
| Check floor edges | Access hard-to-reach spots | Use a flashlight for visibility |
Sweep or Vacuum Loose Dirt and Debris
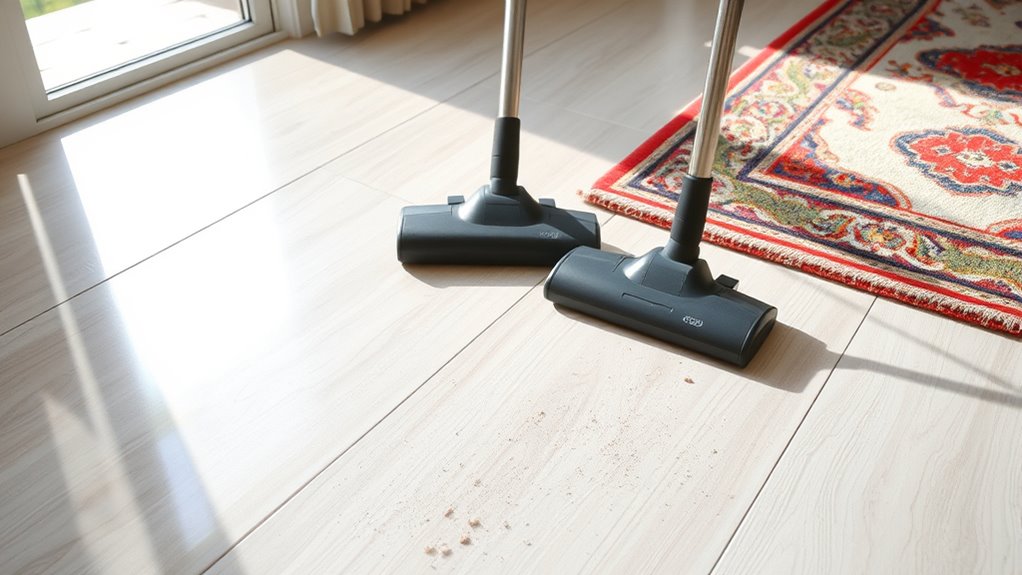
Before you start deep cleaning, make certain to remove loose dirt and debris using a soft-bristle broom or a vacuum with a hard floor setting to avoid scratching the vinyl. Choose a vacuum without a beater bar or turn off the brush roll to protect the tiles. This step guarantees you’re not grinding grit into the surface during the cleaning process.
Best Tools for Sweeping
Although vinyl tile floors are durable, you’ll want to remove loose dirt and debris regularly to prevent scratches and buildup. Choosing the right broom type is essential. Synthetic bristle brooms work best on vinyl, as they efficiently capture dust without damaging the surface. Avoid stiff-bristled brooms that might scratch the tiles. For tight corners or edges, a handheld broom or angled broom offers better control. When sweeping, use long, smooth strokes to gather debris into piles, minimizing dust dispersion. Employ consistent sweeping techniques by moving dirt away from the center to the edges, making collection easier. Investing in quality broom types and mastering proper sweeping techniques guarantees your vinyl floors stay pristine, extending their lifespan and preserving their finish without extra effort or damage.
Vacuum Settings for Vinyl
Sweeping removes surface dirt, but vacuuming can capture finer dust and debris that brooms might miss. When cleaning vinyl tiles, choosing the right vacuum settings is essential to avoid damage and guarantee thorough debris removal. Here’s how to optimize your vacuum for vinyl tiles:
- Turn off the beater bar or brush roll – This prevents scratching and loosening of tiles.
- Use a hard floor or low suction setting – This avoids lifting or damaging the vinyl’s surface.
- Select a vacuum with a soft brush attachment – It gently loosens dirt without abrasion.
Prepare a Mild Cleaning Solution
You’ll want to choose gentle cleaning ingredients that won’t damage your vinyl tiles. Mixing the solution properly guarantees it’s effective without being too harsh. Always test a small area first to confirm the solution won’t cause discoloration or damage.
Choose Gentle Cleaning Ingredients
Two key ingredients—warm water and a gentle detergent—form the foundation of a mild cleaning solution that won’t damage your vinyl tile floors. When choosing your cleaning agents, focus on options that protect both your floors and the environment. Here’s how to pick the right ingredients:
- Opt for eco friendly options like plant-based detergents that use natural ingredients, ensuring safety for your family and pets.
- Avoid harsh chemicals such as bleach or ammonia, which can degrade vinyl over time and strip its finish.
- Consider adding a small amount of white vinegar for natural disinfecting power without compromising floor integrity.
Mix Solution Correctly
After selecting gentle, eco-friendly ingredients, the next step is to combine them properly to make certain effective cleaning without harming your vinyl tile floors. Precision in mixing techniques makes sure your solution is balanced—strong enough to clean but mild enough to protect. Pay close attention to solution ratios to avoid residue or damage.
| Ingrediente | Quantity | Scopo |
|---|---|---|
| Warm Water | 1 gallon | Base solvent |
| Mild Dish Soap | 1-2 teaspoons | Removes dirt and grease |
| Aceto bianco | ½ cup | Disinfects and brightens |
Stick to these ratios for a safe, powerful solution that respects your floor’s integrity while delivering deep cleaning results.
Test Solution Before Use
How can you be certain your cleaning solution won’t damage your vinyl tile floors? Before applying it broadly, you need to perform test methods to observe any adverse solution reactions. Follow these steps:
- Choose a small, inconspicuous area of your floor.
- Apply a small amount of the diluted cleaning solution.
- Wait 10–15 minutes, then check for discoloration, warping, or residue.
If no negative effects appear, your solution is safe to use. This precaution prevents costly damage and preserves your flooring’s integrity. Testing also verifies the cleaning solution is effective without compromising freedom in your maintenance routine. Always prioritize this step to confidently deep clean your vinyl tiles without risk.
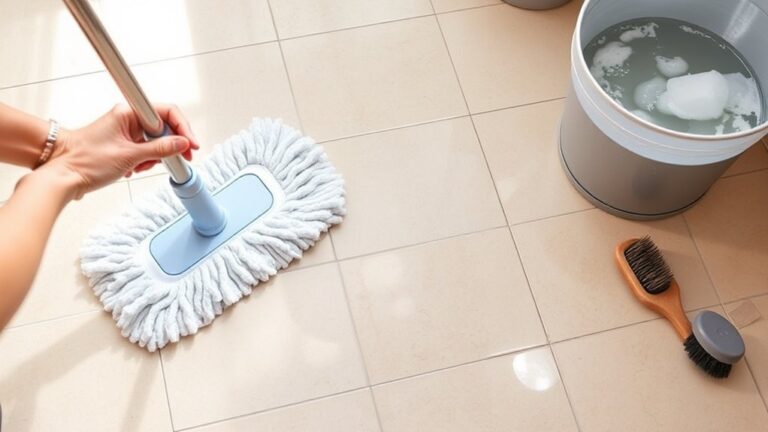
Mop the Floor Gently With the Solution
Start by dipping your mop into the cleaning solution, then wring it out thoroughly to avoid excess water that can damage vinyl tile. Use gentle mop techniques, moving in smooth, even strokes to lift dirt without causing scratches or water seepage. Avoid soaking the floor; vinyl is sensitive to moisture, so keep the mop damp, not wet. Work in small sections to maintain control and guarantee each area is cleaned properly. Rinse your mop frequently in the solution to prevent redistributing dirt. This method preserves your floor’s finish and extends its lifespan. By mopping gently with the right cleaning solution and technique, you maintain the tile’s integrity while freeing yourself from stubborn grime effectively and safely.
Scrub Stubborn Stains With a Soft Brush
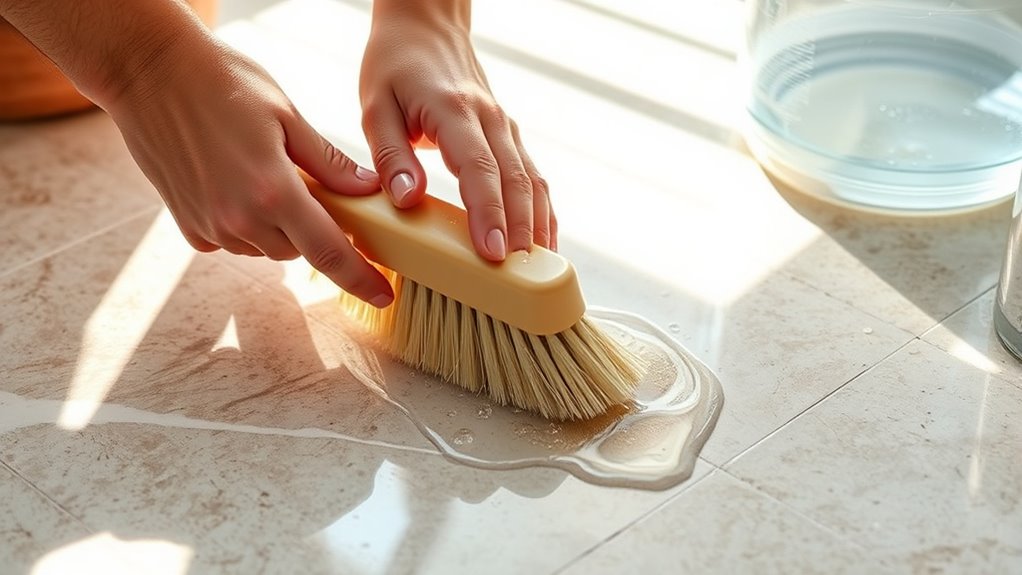
When tackling stubborn stains on your vinyl tile, choose a soft-bristled brush to avoid damaging the surface. Apply firm, circular motions to lift grime without scratching the floor. Consistent, gentle scrubbing guarantees stains break down effectively while preserving your tiles.
Choosing the Right Brush
Selecting the right brush is essential for effectively removing stubborn stains from vinyl tile floors without causing damage. You need to take into account brush types and bristle hardness carefully to preserve your floor’s finish while tackling grime. Here’s what to focus on:
- Soft Nylon Bristles: Perfect for delicate surfaces, they clean without scratching.
- Medium Bristle Brushes: Useful for tougher stains but still gentle enough to avoid damage.
- Avoid Hard Bristles: These can wear down your vinyl and cause permanent marks.
Choosing a brush with the proper bristle hardness guarantees you maintain your floor’s integrity and extend its lifespan. By selecting the right tool, you’ll clean stubborn stains efficiently while keeping your vinyl tile looking fresh and flawless.
Effective Scrubbing Techniques
One key to removing stubborn stains from vinyl tile floors is using a soft brush with deliberate, circular motions. This technique targets grime without damaging the surface, preserving your floor’s finish while freeing it from dirt. When applying these scrubbing techniques, focus on consistent pressure and avoid harsh, back-and-forth scrubbing that may wear down the tile. Using effective tools like a quality soft-bristled brush guarantees you reach into grooves and textured areas where dirt hides. Remember, patience is essential; aggressive scrubbing won’t speed up results but risks harm. By mastering these methods, you maintain your vinyl tiles’ longevity and appearance, giving you the freedom to enjoy a clean, vibrant floor without the need for replacements or repairs. Stick to these effective scrubbing techniques for best results.
Rinse the Floor With Clean Water
A thorough rinse with clean water is essential to remove any remaining cleaning solution and loosened dirt from your vinyl tile floor. To achieve the best results, follow these rinse techniques:
- Use lukewarm water: The water temperature should be comfortably warm to help dissolve residues without damaging the vinyl surface.
- Employ a mop or sponge: Gently wipe the floor using a damp mop or sponge, ensuring you cover all areas to lift off loosened dirt effectively.
- Change rinse water frequently: Renewing your rinse water prevents redepositing dirt and cleaning agents back onto your floor, preserving cleanliness and finish.
Dry the Floor Thoroughly
Two essential tools you’ll need to dry your vinyl tile floor thoroughly are a clean, absorbent microfiber mop and fresh towels. Start by using the microfiber mop to soak up excess water, applying firm pressure to guarantee you remove as much moisture as possible. Focus on corners and grout lines where water tends to linger. Next, use fresh towels to wipe down the floor, enhancing moisture control and preventing water spots or damage. Employing effective drying techniques is critical to avoid slippery surfaces and potential warping of the tiles. Don’t rush this step; thorough drying preserves your floor’s longevity and appearance. By mastering moisture control with these tools and methods, you guarantee a safe, clean, and durable vinyl tile floor that frees you from frequent repairs or replacements.
Apply a Vinyl Floor Cleaner or Polish
After confirming your vinyl tile floor is completely dry, it’s essential to apply a specialized vinyl floor cleaner or polish to restore its shine and protect the surface. This step is vital for effective vinyl floor maintenance and extends the life of your flooring. Follow these steps for cleaner application:
- Choose a product specifically designed for vinyl floors to avoid damage.
- Apply the cleaner or polish evenly using a microfiber mop or soft cloth, working in small sections.
- Allow the product to dry thoroughly without walking on the floor to guarantee a smooth, protective finish.
Maintain Regular Cleaning to Preserve Shine
Once you’ve applied a vinyl floor cleaner or polish, keeping your floors looking their best depends on consistent upkeep. Shine maintenance hinges on regular cleaning to prevent dirt buildup and dullness. Sweep or vacuum daily to remove abrasive particles that wear down the finish. Mop weekly with a damp microfiber cloth and a mild cleaner designed for vinyl to maintain luster without damage. Avoid harsh chemicals or excessive water, which can degrade the floor’s surface. Establish a routine that fits your lifestyle, ensuring you preserve the floor’s vibrant appearance without hassle. By committing to regular upkeep, you extend the life of your vinyl tiles and keep your space feeling fresh and open—granting you the freedom to enjoy your home without constant worry over floor care.