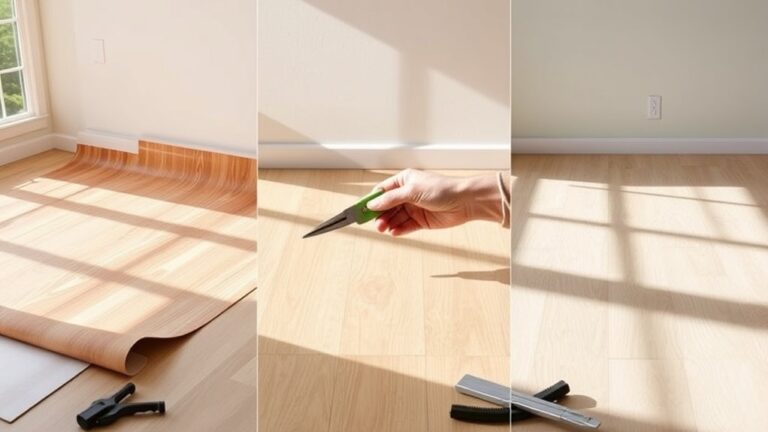
To darken hardwood floors without sanding, start by thoroughly cleaning your floor and evaluating its condition for any residues or damage. Choose an oil- or water-based wood stain, dye, glaze, or toner compatible with your finish. Apply evenly with a quality brush or cloth, following the grain, and allow penetration before wiping excess. Seal with an appropriate protective finish like polyurethane to guarantee durability. Maintaining clean surfaces and proper protection will keep the rich color vibrant—continue exploring to master each step in detail.
Assessing Your Hardwood Floor’s Current Condition
Before you begin darkening your hardwood floors without sanding, it’s important to analyze their current condition thoroughly. Start by evaluating wood grain clarity and uniformity, as this affects how evenly your chosen products will absorb and reveal the wood’s natural patterns. Next, focus on reviewing pavimento damage—look for scratches, dents, or water stains that could interfere with the finish’s adhesion or appearance. Minor surface imperfections may be manageable without sanding, but deeper damage might require alternative preparation. Check for any existing coatings or wax residues, as these can prevent proper product penetration. Performing this precise analysis guarantees you maintain control over the darkening process and achieve a consistent, professional-looking result without compromising your hardwood’s integrity.
Choosing the Right Products to Darken Hardwood Floors
To effectively darken your hardwood floors without sanding, you need to select the appropriate product type, such as oil-based or water-based stains. Wood dyes offer a more uniform color and penetrate deeper, enhancing the wood’s natural grain. Understanding these options will help you achieve the desired finish with ideal durability.
Types of Floor Stains
Although sanding is a common method for darkening hardwood floors, selecting the right type of floor stain allows you to achieve rich, deeper tones without the mess and effort. You’ll primarily choose between oil based stains and water based stains. Oil based stains penetrate deeply, enhancing the wood’s natural grain and providing a warm, durable finish. They offer longer drying times, giving you more control during application but require solvent cleanup. Water based stains dry faster, emit fewer odors, and clean up easily with water, making them more eco-friendly. However, they may raise the wood grain slightly, requiring light buffing between coats. Your choice depends on your desired finish, environmental considerations, and ease of use. Both stain types can darken floors effectively without sanding when applied correctly.
Benefits of Wood Dyes
If stains offer a straightforward way to darken hardwood floors, wood dyes provide an alternative with unique advantages, especially when sanding isn’t an option. You’ll appreciate wood dye advantages like deeper penetration, allowing color enhancement beneath the surface without obscuring the natural grain. This means you can achieve a richer, more vibrant tone while preserving wood texture. Wood dyes also dry quickly and can be layered for precise control over darkness and hue, giving you the freedom to customize your floor’s appearance. Additionally, wood dyes typically require less surface preparation than stains, making them ideal for refinishing existing floors. When selecting a product, focus on dye type and compatibility with your floor’s finish to maximize durability and color retention.
Preparing the Floor Surface for Treatment
Before applying any darkening treatment, you’ll need to thoroughly clean and degrease the floor to guarantee proper adhesion and even color absorption. Start by removing all dust, dirt, and debris using a vacuum or broom. Next, apply a specialized hardwood floor cleaner or a mixture of water and mild detergent to eliminate grease and residues. Use a microfiber mop or cloth for effective cleaning without damaging the wood. Avoid excessive water, as it can warp the floor. After cleaning, inspect the surface for any sticky spots or buildup and repeat the process if necessary. Allow the floor to dry completely before proceeding. Proper floor preparation is essential to ascertain the darkening agent penetrates evenly, giving you a consistent, professional-looking finish without sanding.
Applying Wood Stain or Wood Dye Without Sanding
When applying wood stain or dye without sanding, selecting a product compatible with your floor’s finish is essential to guarantee proper absorption. You’ll need to clean and condition the surface thoroughly to promote even color penetration. Applying the stain evenly with a consistent technique will help you achieve a uniform darkening effect without streaks or blotches.
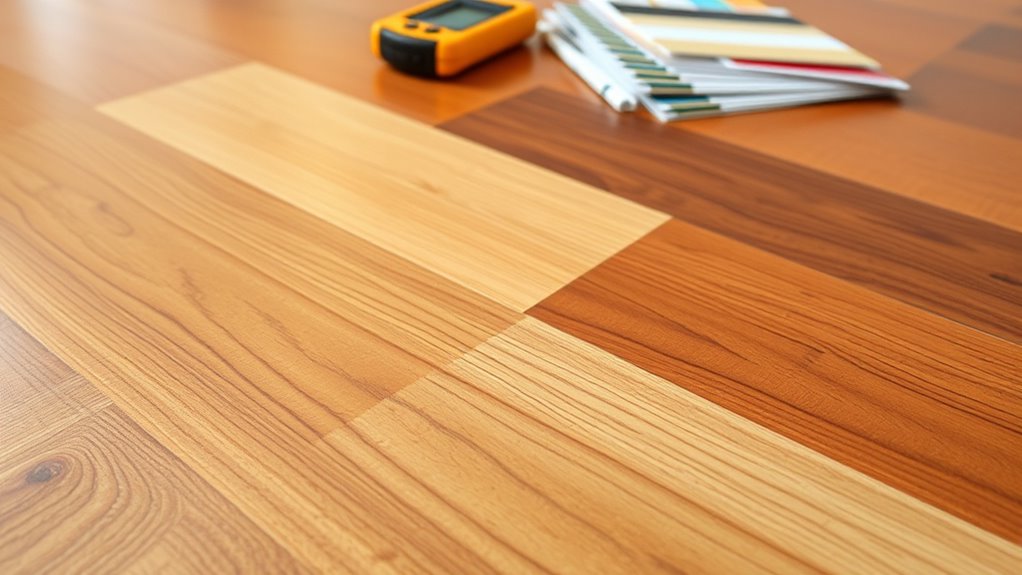
Choosing the Right Stain
Although sanding is the traditional method for preparing hardwood floors for staining, you can achieve a rich, dark finish without it by selecting the appropriate stain or wood dye. Focus on stain color selection that complements your floor’s natural grain and existing finish. Also, consider stain finish types—oil-based stains penetrate deeper, ideal for no-sanding applications, while water-based stains offer quicker drying times and easier cleanup. Here’s a quick guide to help you decide:
| Tipo di macchia | Ideale per |
|---|---|
| Oil-Based | Deep penetration, durability |
| Water-Based | Quick drying, easy cleanup |
| Gel Stain | Thick, sits on surface |
| Wood Dye | Transparent, vibrant color |
Choosing the right stain maximizes color depth and freedom from sanding hassles.
Preparing Floors Properly
Since you’re skipping sanding, thorough cleaning and proper surface prep become essential to confirm the stain or dye adheres evenly and lasts. Begin with a detailed floor inspection to identify dirt, wax buildup, or damage that could interfere with staining. Employ effective cleaning techniques such as vacuuming, followed by mopping with a degreasing wood cleaner to remove residues. Allow the floor to dry completely before proceeding. Next, use a tack cloth to remove fine dust particles. Finally, test the stain on a small, inconspicuous area to confirm compatibility and desired effect. Here’s a quick checklist:
- Conduct a meticulous floor inspection for contaminants and damage
- Use vacuuming and degreasing solutions for deep cleaning
- Dry floors thoroughly to prevent moisture issues
- Wipe with a tack cloth for dust-free surface
Proper prep maximizes stain adhesion without sanding.
Applying Stain Evenly
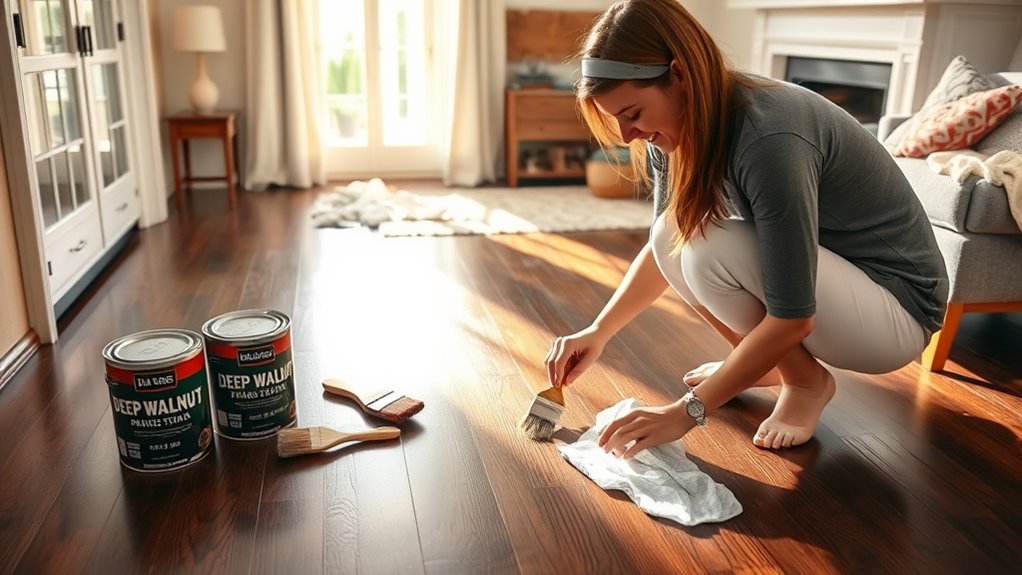
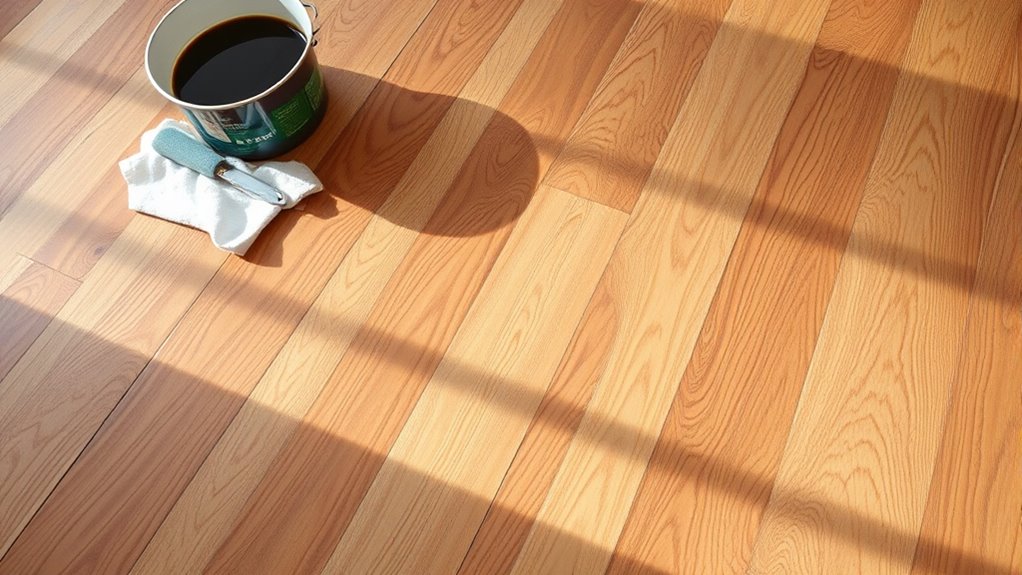
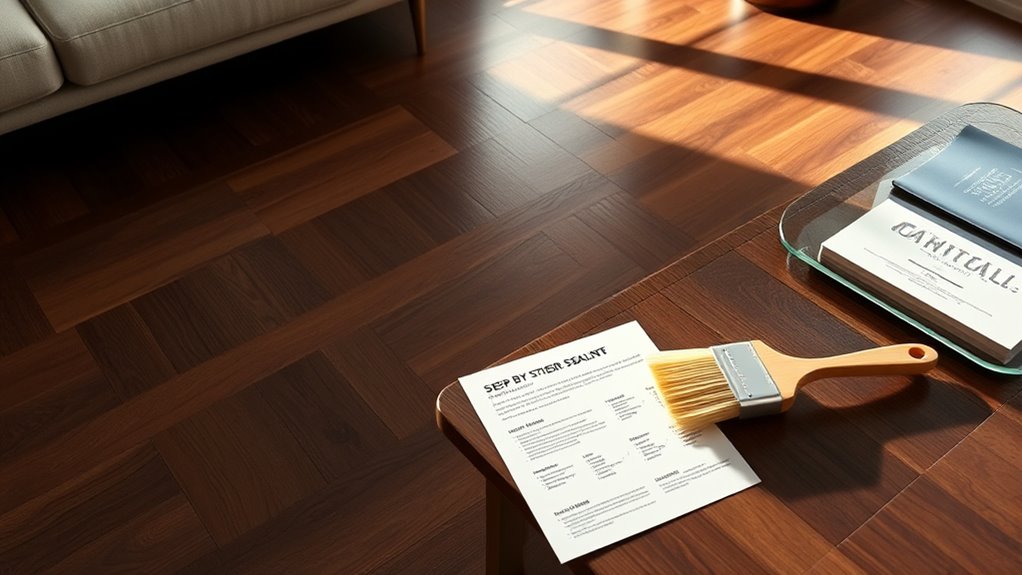
Before you start applying stain, make sure your tools and materials are ready to achieve a consistent finish. Use high-quality brushes or lint-free cloths designed for stain application to control absorption and prevent streaking. Work in manageable sections, applying the stain evenly with long, smooth strokes following the wood grain. Avoid overloading your applicator, which can cause blotches and uneven color. After applying the stain, allow it to penetrate for the manufacturer’s recommended time, then wipe off excess with a clean cloth to maintain even coverage. Maintain consistent pressure and speed throughout the process to prevent lap marks. Proper ventilation and temperature control help the stain dry uniformly. Following these precise steps guarantees your hardwood floors darken without sanding, giving you professional, free-flowing results.
Using Wood Glazes and Toners for a Darker Finish
Wood glazes and toners offer an effective method to darken hardwood floors without the need for sanding. These products enhance the wood’s natural grain while providing a customizable depth of color. To apply them successfully, focus on mastering wood glaze techniques and toner application methods:
Wood glazes and toners darken hardwood floors beautifully while highlighting the natural grain, no sanding required.
- Clean the floor thoroughly to guarantee proper adhesion.
- Stir the glaze or toner well to maintain color consistency.
- Use a high-quality applicator, such as a lambswool pad or synthetic brush, for smooth, even coverage.
- Work in manageable sections, applying thin layers and allowing adequate drying time between coats.
Sealing and Protecting Your Newly Darkened Floors
After darkening your hardwood floors with glazes or toners, sealing them is essential to protect the finish and guarantee durability. You’ll want to select sealing techniques that create a strong barrier against moisture, wear, and UV exposure without compromising the floor’s appearance. Common protective finishes include polyurethane—available in oil- or water-based formulas—offering excellent abrasion resistance and clarity. Apply thin, even coats with a high-quality brush or applicator, allowing proper drying time between layers to avoid bubbles or streaks. For a natural look, consider penetrating oils or hard wax oils, which soak into the wood and enhance depth while providing moderate protection. Choose a finish compatible with your darkened floor’s sheen to maintain your desired aesthetic and assure long-lasting results.
Tips for Maintaining and Enhancing Dark Hardwood Floors
Once your darkened hardwood floors are properly sealed, maintaining their rich appearance and structural integrity becomes a priority. You’ll want to focus on consistent floor cleaning and proactive color maintenance to preserve that deep, elegant hue.
Maintaining sealed dark hardwood floors requires consistent cleaning and proactive care to preserve their rich, elegant look.
- Use a microfiber mop for daily dust removal to prevent surface abrasion.
- Clean spills immediately with a damp cloth to avoid staining.
- Apply a manufacturer-recommended floor cleaner monthly to maintain finish durability.
- Avoid direct sunlight exposure by using curtains or UV-protective window films, which help prevent color fading.