First, assess your scratch depth to choose the right repair method. Gather wood filler, stain markers, sandpaper, and cleaning cloths. Clean the area thoroughly with a soft cloth and wood floor cleaner. For shallow scratches, apply a matching wood pavimento marker along the grain. For deeper damage, fill with wood filler using a putty knife, let it dry, then sand smooth and refinish. To preserve your repair, maintain regular cleaning and use furniture pads. Explore further steps to guarantee lasting floor protection.
Assess the Severity of the Scratches
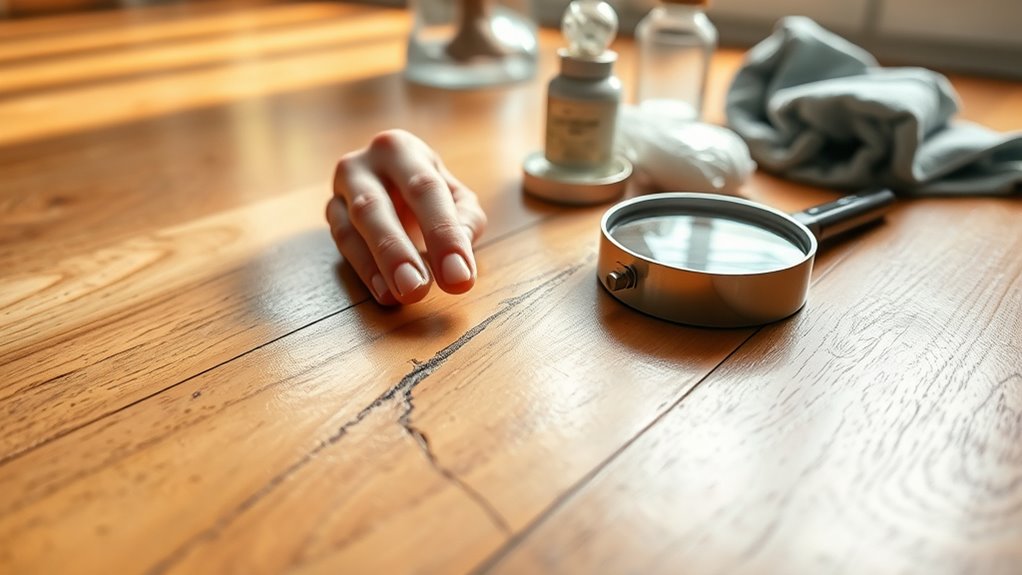
Before you begin any repair work, you need to assess the severity of the scratches on your wood floor. Start by examining the scratch depth carefully. Surface-level scratches may only affect the finish, while deeper gouges can penetrate the wood fibers, requiring more intensive treatment. Use a fingernail or a thin tool to gauge how deep the scratch is. Next, identify the wood type since different woods react differently to repair methods. Hardwoods like oak or maple offer greater resilience, whereas softer woods like pine are more prone to damage and may need gentler approaches. Understanding both scratch depth and wood type allows you to select the most effective repair strategy, giving you the freedom to restore your floor with confidence and precision.
Gather Necessary Materials and Tools
You’ll need to gather essential repair supplies like wood filler, stain markers, and clear finish. In addition, prepare recommended tools such as fine-grit sandpaper, a putty knife, and clean cloths. Having these materials on hand guarantees efficient and effective scratch repair.
Essential Repair Supplies
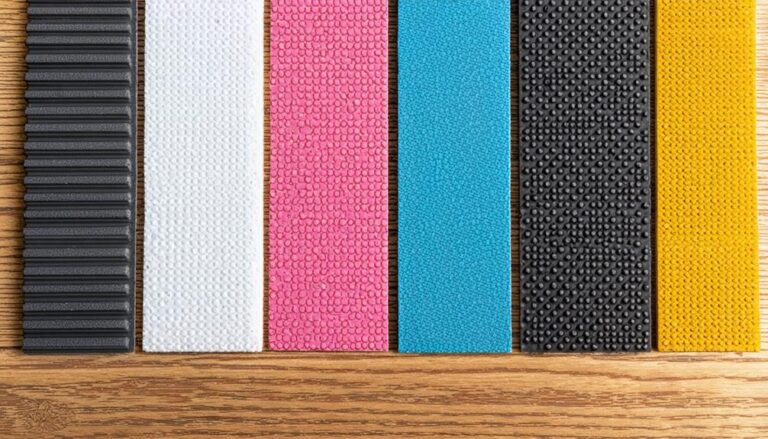
Successful wood floor scratch repair requires having the right materials and tools at hand. You’ll need wood filler or wax sticks matched to your floor’s color, fine-grit sandpaper for smoothing, and a clean cloth to remove dust. A high-quality wood stain or touch-up marker will help blend repairs seamlessly. For scratch prevention and ongoing wood floor maintenance, consider using protective pads on furniture and regularly applying floor polish to maintain surface integrity. Avoid harsh chemicals that can damage the finish. Selecting supplies specifically designed for hardwood surfaces guarantees durability and a professional look. Preparing these essentials before starting your repair provides you the freedom to work efficiently and achieve a flawless finish without interruption or compromise.
Recommended Tools Overview
To effectively cover scratches on wood floors, gather at least five essential tools: a fine-grit sanding block, wood filler applicator, touch-up markers or stain pens, a clean microfiber cloth, and protective gloves. The sanding block allows you to smooth out minor surface imperfections precisely. Use the filler applicator to apply the wood filler evenly, ensuring a seamless base for your finish. Touch-up markers or stain pens are critical for matching your floor’s color, offering various wood finishing options to blend scratches invisibly. The microfiber cloth helps remove dust before and after repairs, ensuring adhesion and a clean finish. Protective gloves safeguard your hands during chemical application. These tools enable you to execute professional scratch repair techniques efficiently and maintain your wood floor’s natural beauty while preserving your freedom to customize repairs.
Clean the Scratched Area Thoroughly
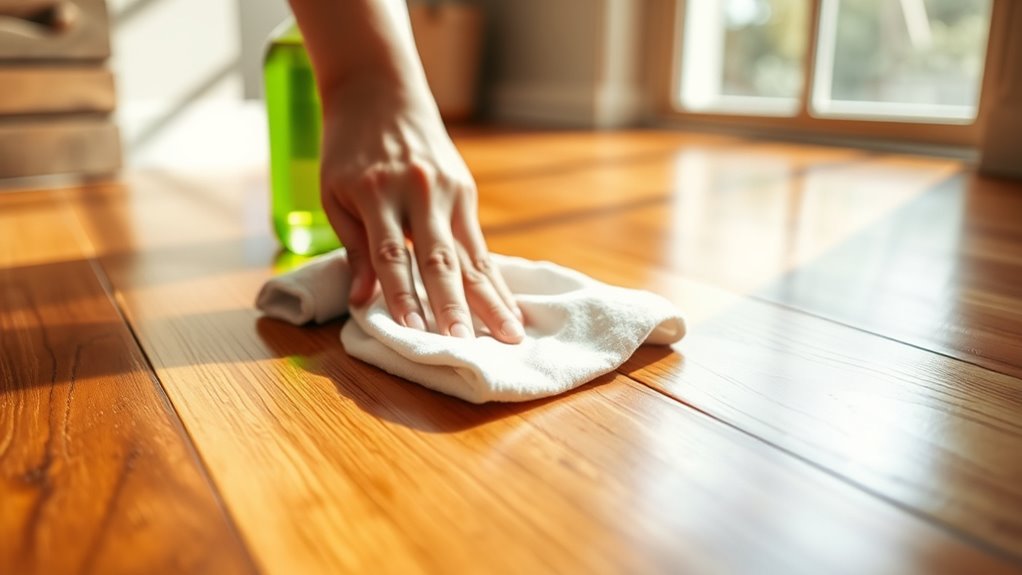
Before you start repairing, remove all dirt and debris from the scratched area using a soft brush or vacuum. Next, apply a suitable wood floor cleaner to eliminate grime without damaging the finish. Ensuring the surface is completely clean will help any repair materials adhere properly.
Remove Dirt and Debris
Start by thoroughly removing all dirt and debris from the scratched area to guarantee proper adhesion of any repair materials. Use precise cleaning techniques such as a soft-bristle brush or a microfiber cloth to loosen and lift particles without causing further damage. Avoid abrasive tools that compromise surface protection. After dry cleaning, gently vacuum or blow away loosened debris to confirm the area is spotless. This step is critical; residual dirt can prevent filler or stain from bonding effectively, reducing repair durability. Maintain controlled pressure during cleaning to preserve the wood’s integrity. By carefully preparing the scratch zone, you establish ideal conditions for subsequent repair steps, ensuring the wood floor’s longevity and aesthetic restoration while maintaining your freedom to enjoy a flawless surface.
Use Appropriate Cleaning Solution
An appropriate cleaning solution plays an essential role in preparing the scratched wood floor for repair. Start by selecting a cleaning solution designed specifically for wood floor care, avoiding harsh chemicals that can damage the finish. Apply a small amount of the solution to a microfiber cloth and gently clean the scratched area, removing any residual dirt or oils. This step guarantees the surface is free from contaminants that could interfere with repair materials adhering properly. After cleaning, allow the area to dry completely to prevent moisture from compromising the repair. Using the right cleaning solutions not only enhances the effectiveness of your scratch repair but also preserves the integrity of your wood floor, giving you the freedom to maintain its appearance without unnecessary damage.
Use a Wood Floor Marker or Crayon
When you need to quickly conceal minor scratches on wood floors, using a wood floor marker or crayon provides an efficient and precise solution. Select a wood floor marker or scratch crayon that matches your floor’s color for seamless blending. Before application, clean the scratched area thoroughly to remove dust and oils. Apply the wood floor marker directly to the scratch, following the grain direction. For scratch crayons, gently rub the crayon over the scratch, ensuring full coverage. After application, immediately wipe away excess with a clean cloth to prevent buildup. Allow the treated area to dry completely. This method restores the floor’s appearance without requiring complex tools, giving you freedom to maintain your floors quickly and effectively.
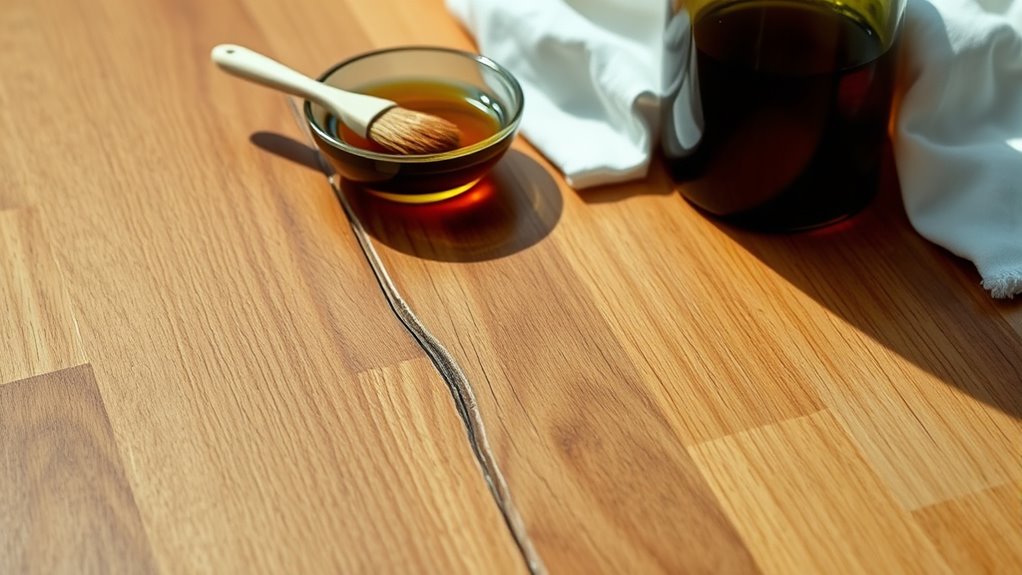
Apply Wood Filler for Deeper Scratches
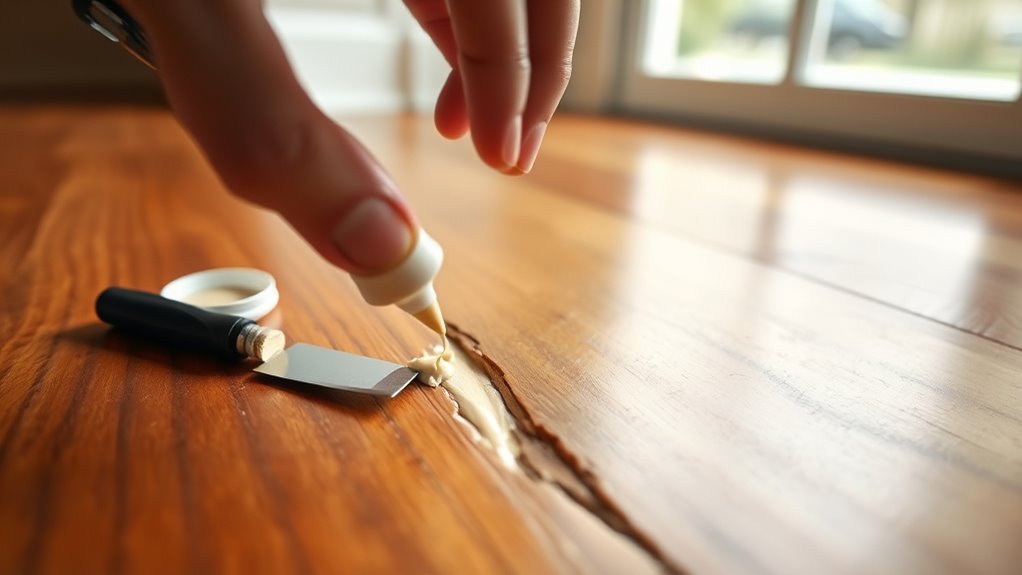
If deeper scratches have compromised your wood floor’s surface, applying wood filler is your best option to restore its integrity. Start by selecting the appropriate wood filler type—choose between water-based, solvent-based, or epoxy fillers depending on your floor’s finish and wood species. Use a putty knife to press the filler firmly into the scratch, ensuring it fills the entire depth without air pockets. Smooth the surface with the knife, removing any excess filler immediately to avoid drying complications. Each wood filler type has specific drying times, so follow manufacturer instructions precisely. Proper application techniques guarantee a durable, invisible repair, letting you reclaim your floor’s freedom from deep imperfections without extensive replacements or refinishing.
Sand the Area Smoothly
Once the wood filler has fully dried, you’ll need to sand the area to create a smooth, even surface that blends seamlessly with the surrounding floor. Proper sanding techniques are essential to avoid damaging the wood or leaving uneven spots. Start with medium-grit sandpaper to level the filler, then switch to fine-grit for a smooth finish. Remember to sand gently and evenly.
Keep these tips in mind:
- Use a sanding block or a palm sander for better control.
- Sand in the direction of the wood grain to maintain texture.
- Remove dust frequently to check your progress.
Refinish the Treated Spot
Although sanding creates a smooth surface, you’ll need to refinish the treated spot to restore the floor’s original appearance and protect the wood. Begin by selecting a stain that perfectly matches the existing floor color; accurate stain matching is critical to seamless blending. Apply the stain evenly with a clean cloth or brush, working along the grain. Allow it to penetrate for the manufacturer’s recommended time, then wipe off excess. After drying, choose an appropriate clear finish—polyurethane or varnish—to seal and protect the area. Use a fine brush to apply thin, even coats, avoiding runs or bubbles. Follow proper drying times between coats. Mastering these refinishing techniques guarantees the repaired spot integrates flawlessly, maintaining your floor’s integrity and your freedom to enjoy a pristine, scratch-free surface.
Maintain and Protect Your Wood Floors
To keep your wood floors looking flawless after repairs, you’ll need to establish a consistent maintenance routine that protects the surface from new damage. Effective wood maintenance involves proactive floor protection strategies that minimize wear and prevent scratches. Start by:
Maintain repaired wood floors with consistent care and proactive protection to prevent new damage and scratches.
- Using protective pads under furniture legs to avoid dents and scrapes.
- Regularly cleaning with a microfiber mop and a wood-safe cleaner to remove dirt that can abrade the finish.
- Controlling indoor humidity levels between 30-50% to prevent wood expansion or contraction that causes cracks.