
Imagine walking into a room where the floor gleams, catching the light just right, and giving your space a pristine and inviting look. You can achieve this shine and beauty through the simple process of waxing your floor.
If you’ve ever wondered how to get your floors looking their best, you’re in the right place. Waxing isn’t just for the professionals; you can easily master it with a little guidance. This guide will walk you through each step, ensuring you have all the tips and tricks to make your floors sparkle.
Your home deserves to look its best, and waxing your floor is a straightforward way to enhance its appearance and longevity. Stick with us, and you’ll discover how satisfying and rewarding it is to transform your floors from dull to dazzling. Ready to see your floors shine like never before? Let’s get started!
Preparation Steps
First, collect all necessary supplies. You will need a wax, a mop, and a bucket. Don’t forget the floor cleaner and a vacuum. Having all items ready saves time and effort. This ensures you don’t have to stop midway.
Move all furniture out of the room. This provides a clear workspace. Ensure the floor is empty. Check for small items and remove them. This helps in avoiding any accidents.
Use a vacuum to remove dirt and dust. Then, mop the floor using a cleaner. Ensure no patches of dirt remain. A clean floor makes waxing easier and more effective. Allow the floor to dry completely before starting.
Choosing The Right Wax
Solid waxes work well for wood floors. They give a shiny finish. Liquid waxes are easy to apply. They dry fast too. Paste waxes offer a thick coat. They last a long time. Synthetic waxes are for modern floors. They resist water well.
Check the floor type before picking wax. Wood, tile, and vinyl need different waxes. Think about durability. Some waxes last longer. Ease of application is key too. Pick wax that is easy to spread. Finally, consider shine level. Some like shiny floors. Others prefer a matte look.
Application Techniques
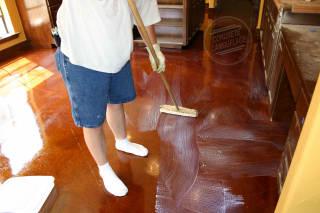
Start with a clean floor. Dirt can mess up the wax. Pour a small amount of wax into a bucket. Dip the mop in the wax. Wring out excess wax. It should not drip. Spread the wax evenly on the floor. Use long strokes for a smooth finish. Let the wax dry. Do not walk on it until dry. This keeps it nice and shiny.
A buffer makes the floor shine. Attach a clean pad to the buffer. Pour some wax in front of the buffer. Move the buffer over the wax. Use a circular motion. This spreads the wax evenly. Keep the buffer moving. Do not stay in one spot for too long. Let the wax dry completely. A dry floor shines bright and looks great.
Drying And Curing
Proper drying is key for a smooth finish. Choose a day with low humidity. Temperatures between 65 and 85 degrees are best. Use fans to help air circulate. Avoid direct sunlight on the floor. Sun can cause uneven drying.
Skipping steps leads to problems. Clean the floor before waxing. Dirt can ruin the wax look. Apply thin layers of wax. Thick layers take longer to dry. They might not cure well. Read wax instructions carefully. Each wax type is different. Follow guidelines for best results.
Maintenance Tips
Keep the floor clean with a regular routine. Sweep the floor daily to remove dirt. Use a damp mop with mild soap weekly. Avoid harsh chemicals. They can damage the floor’s shine. Dry the floor after mopping to prevent streaks.
Floors need re-waxing every few months. Check the shine regularly. When it looks dull, apply a new wax coat. Use a thin layer of wax. Let it dry completely before walking on it. This keeps the floor looking new.
Troubleshooting Issues
Streaks can make floors look bad. Use a clean mop or cloth to fix them. Wipe in one direction. This helps to avoid lines. Check for dirt on the mop. If the mop is dirty, clean it. Use less wax if streaks continue. Too much wax can cause them. Let the floor dry fully before adding more wax. Dry floors reduce streaks. Keep floors smooth and clean.
Floors may shine unevenly sometimes. Check wax layers. Uneven layers cause problems. Apply wax evenly. This helps shine match everywhere. Use a buffer to even out shine. Buffers make floors look uniform. Make sure floors are clean before waxing. Dirt can affect shine. Test a small area first. This ensures even shine.

Frequently Asked Questions
What Tools Do I Need To Wax A Floor?
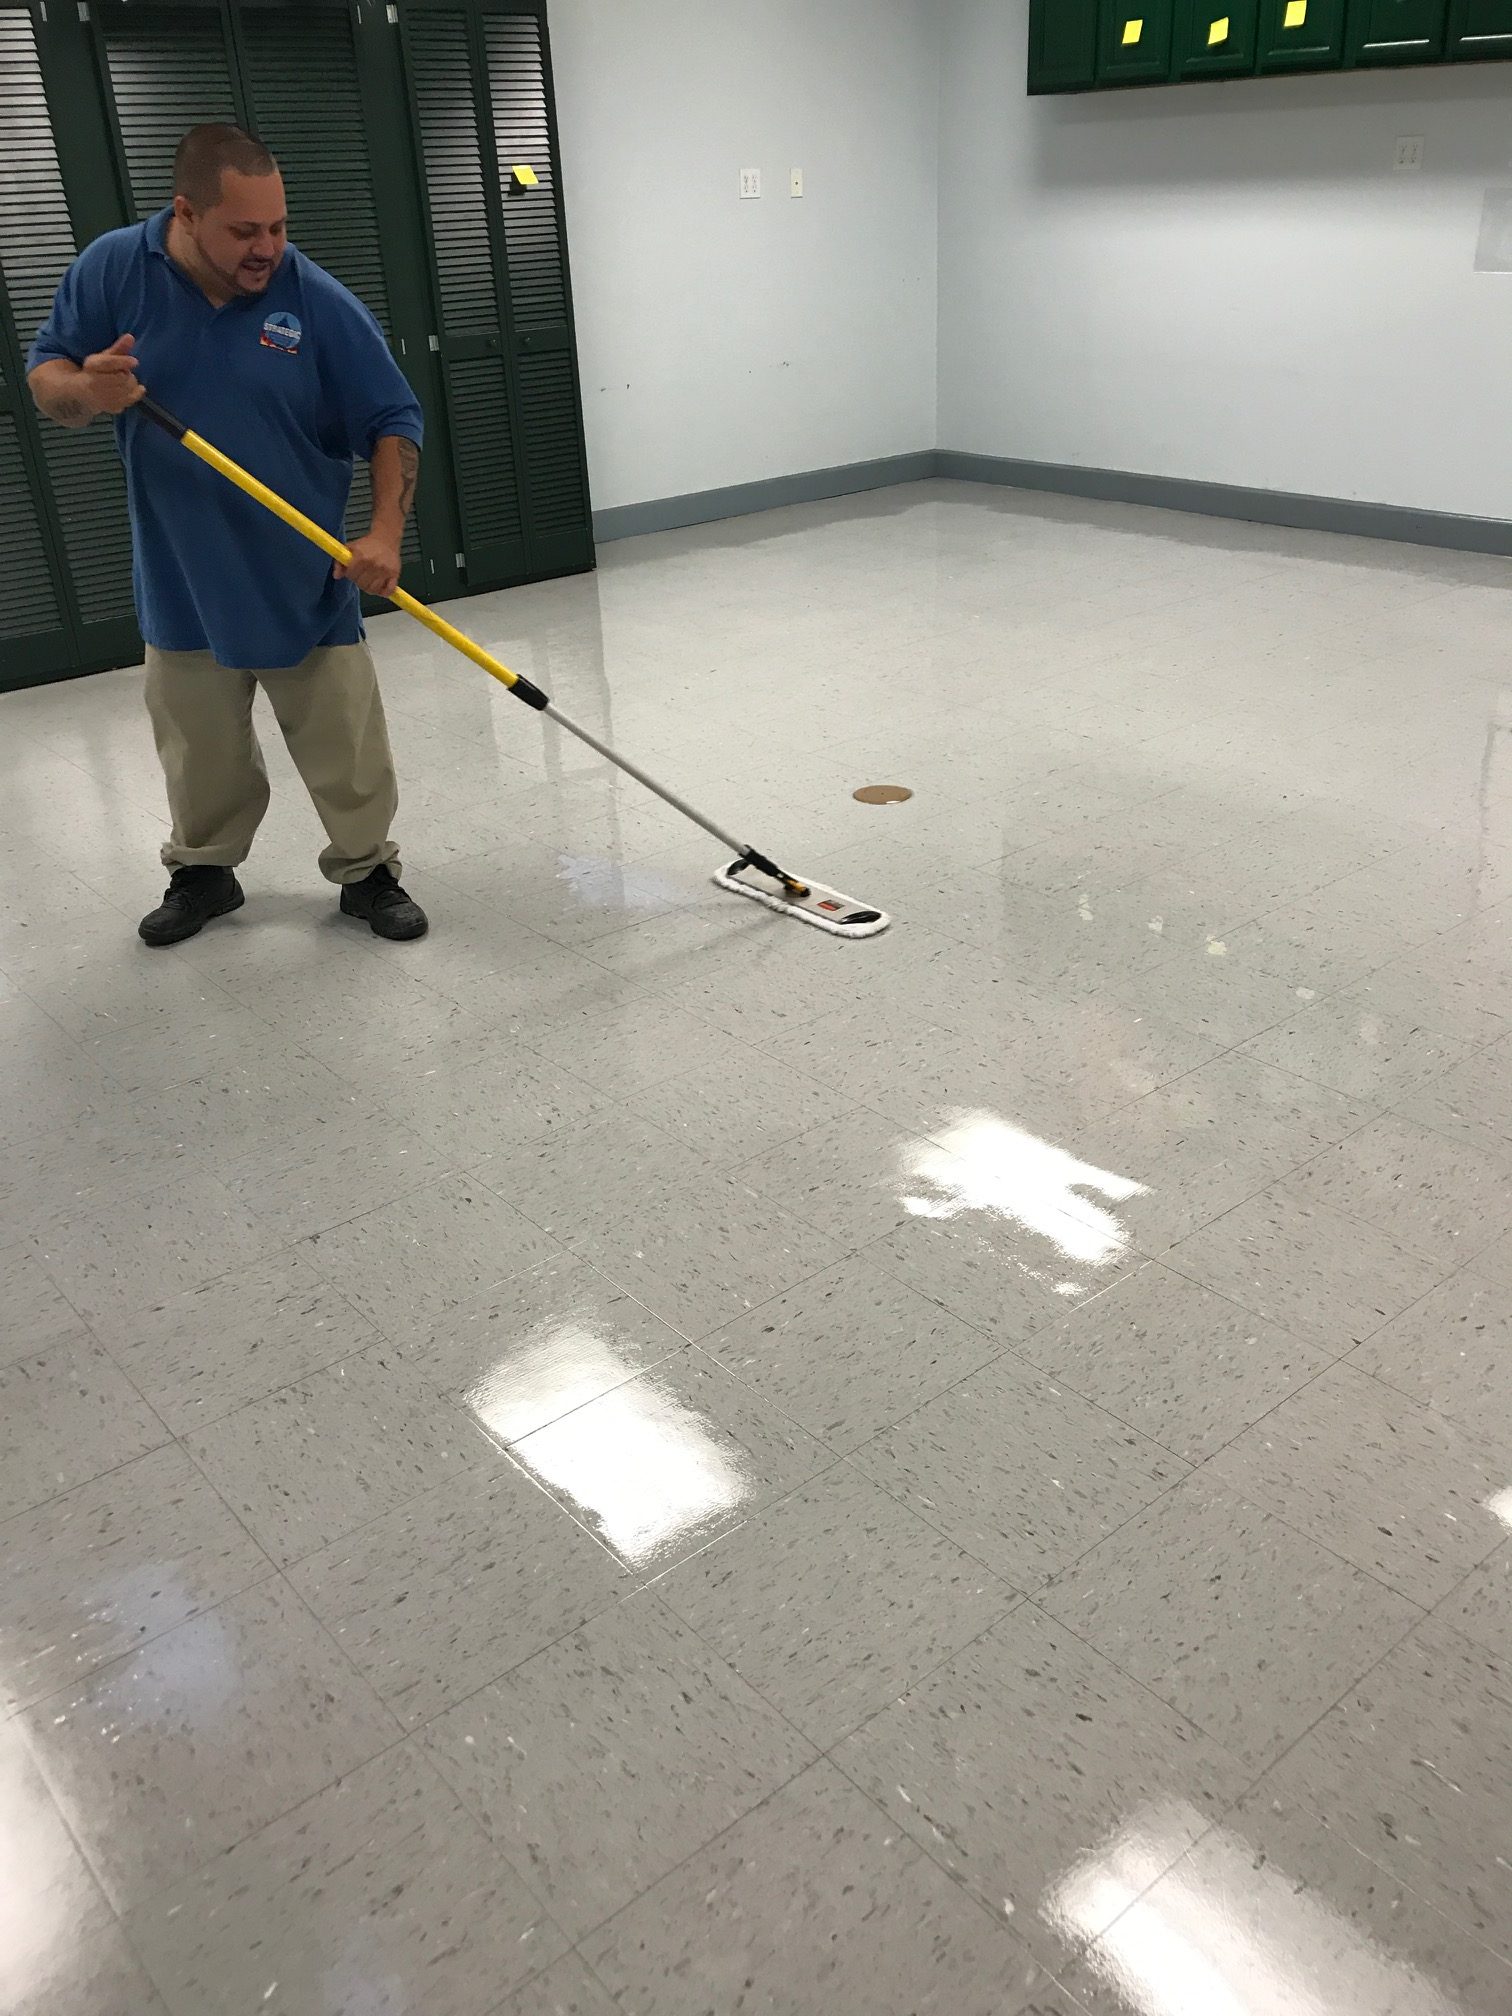
To wax a floor, you’ll need a mop, bucket, floor wax, and a wax applicator pad. Prepare the floor by cleaning it thoroughly. Always follow the manufacturer’s instructions for the wax product. Use a clean mop to apply the wax evenly across the floor’s surface.
How Often Should I Wax My Floor?
Waxing frequency depends on foot traffic and floor type. Generally, wax every 6-12 months. High-traffic areas might require more frequent waxing. Regular maintenance extends the floor’s lifespan and maintains its shine. Always assess the floor’s appearance to decide if waxing is needed.
Can I Wax A Laminate Floor?
It’s not recommended to wax laminate floors. Wax can damage the protective layer and cause buildup. Instead, use a laminate-specific cleaner and polish. Regular cleaning and maintenance will keep laminate floors looking great without the need for waxing.
How Do I Remove Old Wax From Floors?
To remove old wax, use a wax stripper or a mixture of vinegar and water. Apply the solution and scrub with a mop or brush. Follow up with a thorough rinse using clean water. Ensure the floor is dry before applying new wax.
Conclusion
Waxing a floor can seem challenging but is rewarding. A clean, shiny floor enhances any space. Regular maintenance ensures lasting beauty. Use quality products for best results. Follow steps carefully and watch your floors gleam. A little effort brings a lot of shine.
Avoid rushing, take time for each step. Enjoy the transformation and the fresh look. Remember, practice makes perfect. The more you wax, the better you get. Share your clean floor tips with friends. Inspire others to try waxing their floors too.
Everyone loves a clean, bright home. Keep waxing, keep shining.


