Are you tired of uneven floors causing tripping hazards and making your home look less appealing? If you’ve noticed unsightly dips and slopes in your flooring, you’re not alone.
Many homeowners face this common issue, but the good news is that there’s a simple solution: floor leveler. Imagine walking across your floor with confidence, knowing that every step is stable and smooth. In this guide, we’ll walk you through the easy steps to use floor leveler, transforming your space into a safe and visually pleasing environment.
Stick around to discover how you can tackle this DIY project with ease and precision, giving your floors the makeover they deserve.
Choosing The Right Floor Leveler
Some levelers are cement-based. These are great for heavy-duty jobs. Others are gypsum-based. These work well on wood floors. There are also self-leveling compounds. They are easy to use. Perfect for beginners.
Think about the floor type. Wood or concrete? This matters. Next, consider the project size. Small or large? It affects the amount you need. Check the drying time. Quick-drying levelers save time. Lastly, look at the cost. Stay within your budget.

Preparing The Surface
First, remove all the dust and dirt. Use a vacuum or a broom. Keep the floor clean and dry. This helps the leveler stick well. A clean floor is very important.
Moisture can cause problems. Use a moisture meter to check the floor. The floor must be dry. Wet floors make the leveler weak. A dry floor ensures a strong bond.
Look for cracks and holes. They must be fixed. Use filler to repair them. Smooth the filler with a putty knife. This makes the surface even. An even surface is essential for the floor leveler.
Tools And Materials Needed
Bucket for mixing. Mixer or drill with a mixing paddle. Trowel for spreading. Level to check flatness. Tape measure to measure space. Safety gear like goggles and gloves.
Floor leveler compound is essential. Primer helps it stick better. Water for mixing. Sandpaper to smooth rough areas. Sealant to protect after leveling.
Mixing The Floor Leveler
Always read the instructions on the floor leveler bag. It’s important to know the exact amount of water needed. Use a measuring cup for accuracy. Pour the correct amount of water into a clean bucket. Then, slowly add the floor leveler powder. Mix using a paddle attached to a drill. Stir until you see no lumps. Make sure the mixture is smooth.
Consistency is key for a good finish. The mix should flow easily but not be too watery. Think of pancake batter. It should be thick enough to spread but not too thick. If the mixture is too thin, add more powder. If it’s too thick, add small amounts of water. Keep mixing until you get it just right.
Application Techniques
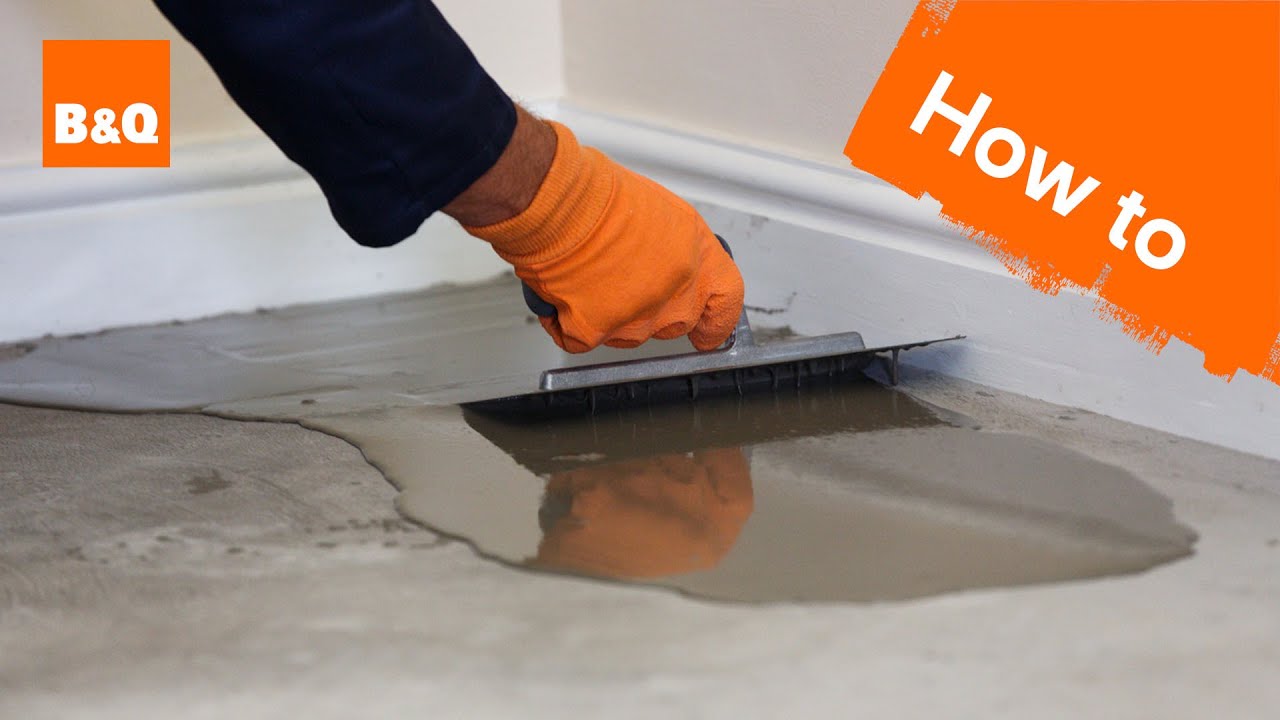
Start by mixing the floor leveler with water in a bucket. Stir until smooth. Pour it on the lowest part of the floor. The leveler will spread naturally. Work quickly. It dries fast.
Use a trowel to spread the leveler evenly. Make sure it covers all areas. Check for bumps and dips. Smooth them out. Keep the surface flat. Ensure it reaches all corners.
- Do not mix too little water. It should be like pancake batter.
- Avoid pouring too much at once. It can overflow.
- Make sure the floor is clean. Dirt can cause uneven spots.
- Do not rush. Let each layer dry fully.
Curing And Drying
It’s important to let the floor leveler dry completely. This makes it strong and even. Usually, it needs 24 to 48 hours. But, it can be different based on the brand. Always read the package instructions. You don’t want to walk on it too soon. Patience is key for a perfect floor.
Temperature and humidity affect drying time. The room should be warm and not too wet. A temperature of 65 to 75°F is ideal. Use a fan to help air flow. But, don’t blow directly on the floor. Keep windows open if it’s not too humid. Check the weather before starting. This helps your floor dry faster and better.
Post-application Steps
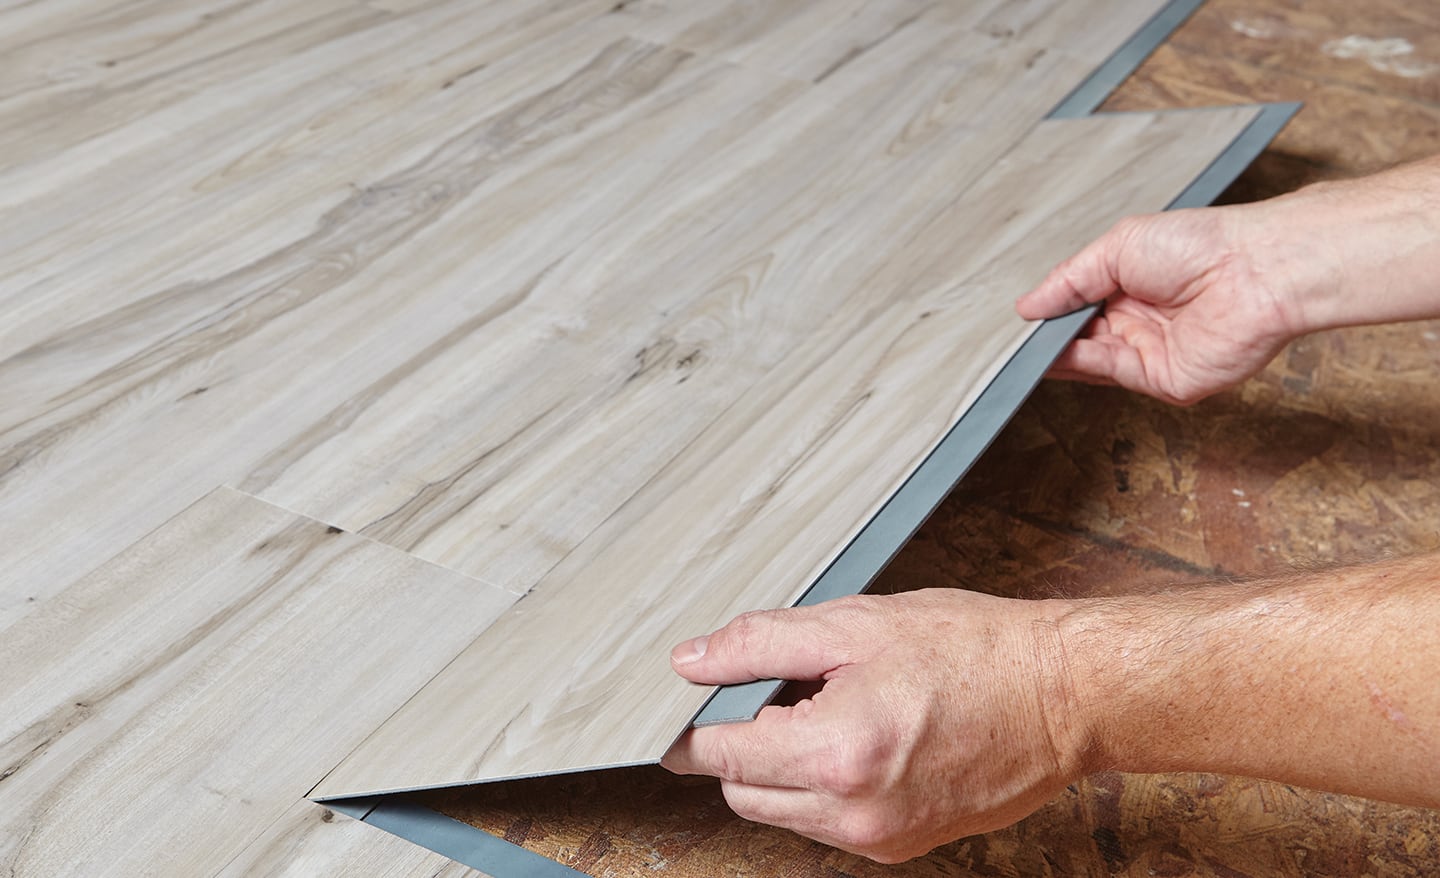
After applying floor leveler, ensure it dries completely. Check for any uneven spots and sand them if needed. Clean the area thoroughly before laying flooring materials.
Sanding The Surface
After applying the floor leveler, wait for it to dry. Drying time may vary. Check the product instructions for guidance. Once dry, it’s time to sand the surface. Sanding helps to achieve a smooth finish. Use fine-grit sandpaper for better results. This removes any bumps or ridges. Always wear a dust mask for safety. Sand the surface gently and evenly.
Ensuring A Smooth Finish
After sanding, clean the floor thoroughly. Use a vacuum or a damp cloth. Remove all dust and debris. Inspect the surface for any imperfections. Fix any small issues with a light sanding. A smooth surface is key for the next steps. It helps in proper adhesion of the next layer. Always follow safety precautions during these steps. Your floor is now ready for the final finish.
Maintenance Tips
Keep the floor clean and dry. Dirt can scratch the surface. Use rugs or mats at entryways. They help trap dirt. Place furniture pads under heavy items. This prevents dents and scratches. Clean spills right away. Use a soft cloth for this. Avoid harsh chemicals. They can damage the floor.
Check the floor often for damage. Look for cracks and gaps. Fix them quickly. Small issues can become big problems. Ensure all areas are level. Uneven spots need attention. Use a straight edge to check. Regular care keeps the floor nice. It lasts longer this way.
Frequently Asked Questions
What Is Floor Leveler Used For?
Floor leveler is used to create a smooth, even surface. It’s ideal for correcting minor imperfections in concrete or wood subfloors. This ensures the flooring material lays flat and adheres properly. Using a floor leveler helps prevent future problems with your flooring installation.
How Do You Apply Floor Leveler?
To apply floor leveler, first clean the floor thoroughly. Mix the leveler according to the manufacturer’s instructions. Pour it onto the floor and spread using a trowel. Work quickly to ensure even coverage before it sets. Allow it to cure completely before installing flooring.
Can Floor Leveler Be Used On Wood Floors?
Yes, floor leveler can be used on wood floors. Ensure the wood is clean, dry, and secure before applying. It’s crucial to prime the wood surface for better adhesion. Floor leveler helps smooth out minor imperfections, providing an ideal base for new flooring installations.
How Long Does Floor Leveler Take To Dry?
Floor leveler typically takes 24 to 48 hours to dry. Drying time can vary depending on the product and environmental conditions. Ensure the room is well-ventilated and at the recommended temperature. Check the manufacturer’s instructions for specific drying times and conditions.
Conclusion
Floor leveling is an essential skill for smooth surfaces. It requires patience and precision. First, prepare the floor properly. Next, mix the leveler according to instructions. Then, spread the mixture evenly. Allow it to dry completely. Check for any uneven spots.
Repeat the process if necessary. Using floor leveler ensures a flat base. This helps in laying tiles or other flooring materials. Practice makes perfect, so keep at it. You will soon master the technique. Remember, safety first. Follow all guidelines.
Your floor will look great. A well-leveled floor enhances the beauty of any room.


