
To tile your bathroom floor in 10 easy steps, first gather all necessary tools and materials, then clean and level the floor surface. Plan your tile layout carefully, mixing the thinset mortar as directed. Spread mortar evenly, lay tiles using spacers for uniform grout joints, and cut tiles precisely for edges. Let mortar set fully, then apply grout and clean excess. Following this method guarantees a durable, professional finish, and understanding each step further will refine your technique.
Gather Your Materials and Tools
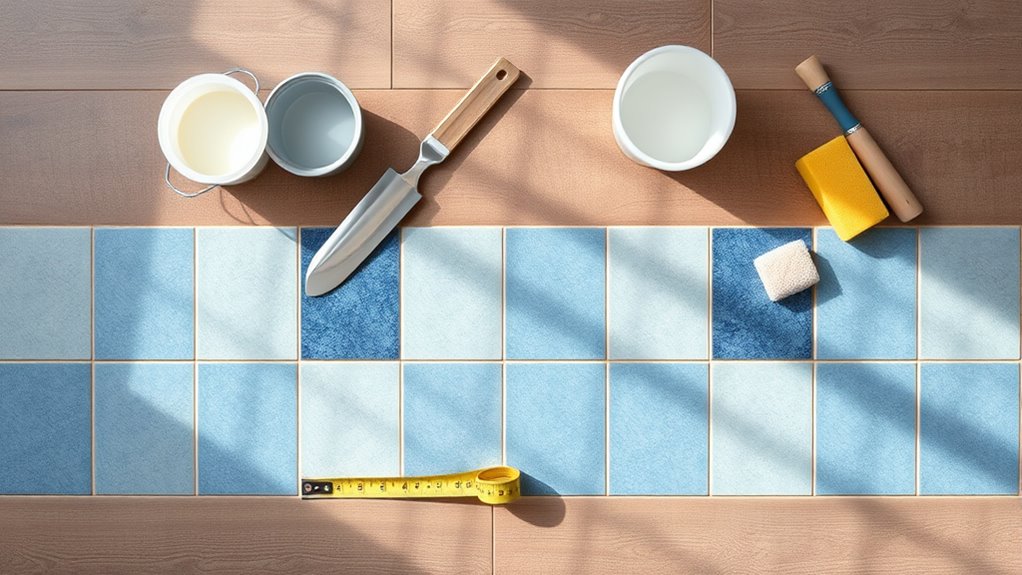
Before you begin tiling your bathroom floor, you’ll need to gather all necessary materials and tools to guarantee a smooth workflow. Start by selecting your tile types; ceramic, porcelain, and natural stone are popular flooring options, each with distinct durability and maintenance profiles. Next, assemble essential tools: a tile cutter or wet saw, notched trowel, tile spacers, rubber mallet, level, and measuring tape. You’ll also need thin-set mortar, grout, and a bucket for mixing. Don’t forget safety gear like gloves and eye protection. By methodically preparing your tile types and tools, you ascertain efficient installation and a professional finish. This preparation empowers you with control and flexibility throughout the project, setting the stage for successful bathroom floor tiling.
Prepare the Bathroom Floor Surface
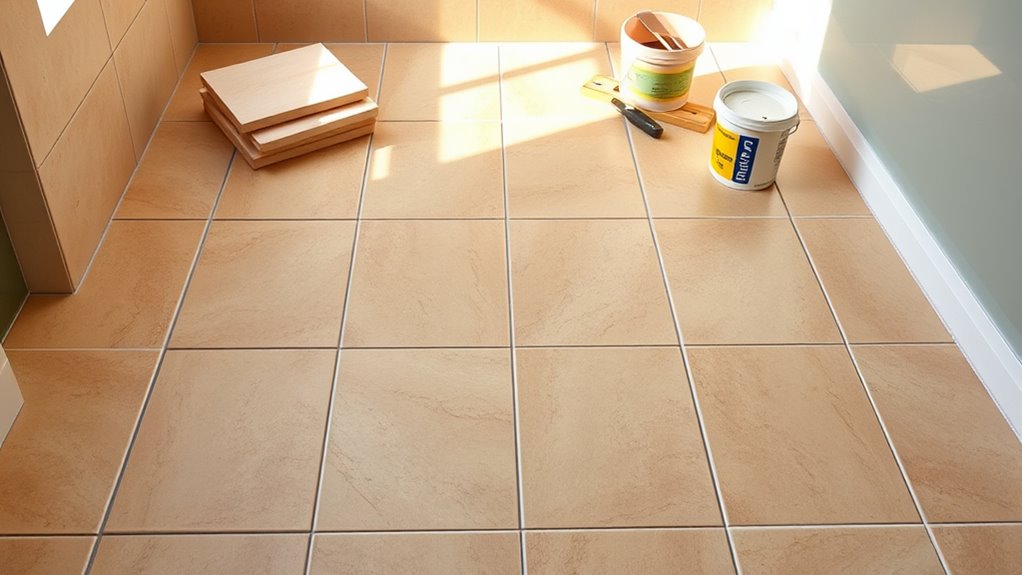
With your materials and tools ready, the next step is to guarantee the bathroom floor surface is properly prepared for tile installation. Start by thorough surface cleaning to remove dirt, grease, and old adhesive residues, ensuring ideal adhesion. Next, inspect the floor for uneven areas; floor leveling is essential to prevent tile cracking and maintain a smooth finish. Use a level and straightedge to identify high or low spots. Address these by:
- Sanding down high spots
- Applying a self-leveling compound to low areas
- Allowing the leveling compound to cure fully
- Rechecking the surface flatness before proceeding
A meticulously prepared floor surface provides a stable, durable base, giving you the freedom to lay your tiles confidently and achieve a professional result.
Plan Your Tile Layout
One essential step in tiling your bathroom floor is planning the tile layout to guarantee symmetry and minimize cuts. Begin by measuring the room precisely, noting doorways and fixtures. Use chalk lines to establish reference lines at the center, both vertically and horizontally, assuring your tile design is balanced around focal points. Visualize the pattern, considering tile size and grout spacing to align with walls and avoid narrow edge pieces. Adjust your layout to keep cut tiles at less visible locations, enhancing overall aesthetics and durability. This methodical layout planning helps you work efficiently, reducing waste and achieving a professional finish. Taking time now grants you freedom from corrections later and assures your bathroom floor showcases a clean, harmonious tile design.
Mix the Thinset Mortar
Mixing thinset mortar correctly is essential for guaranteeing strong adhesion and a durable tile installation. To get the mortar consistency right, start by carefully measuring water and powder according to the manufacturer’s instructions. Use a bucket and a drill with a mixing paddle to combine materials evenly. Proper mixing techniques prevent lumps and guarantee the mortar is workable but firm enough to hold tiles without sagging.
Focus on these key points:
- Gradually add powder to water, not the other way around, to avoid clumps.
- Mix for 3–5 minutes until smooth, then rest for 5 minutes.
- Stir again briefly before use to maintain consistency.
- Aim for a peanut butter-like texture—not too runny or dry.
This method assures ideal bonding strength and sets you up for a flawless tile floor.
Apply the Mortar to the Floor
Now that you’ve mixed the thinset mortar to the right consistency, it’s time to apply it evenly to the floor. Use a notched trowel to spread the mortar in straight, consistent lines, ensuring proper thickness and coverage. This method guarantees strong adhesion and a level base for your tiles.
Mortar Mixing Tips
Before applying mortar to the floor, you’ll need to prepare it with the correct consistency to confirm proper adhesion and durability. Achieving the ideal mortar consistency requires precise mixing techniques. Start by combining the dry mortar mix with clean water gradually. Use a drill with a mixing paddle to guarantee uniform texture without lumps. The mortar should be thick enough to hold its shape but still spreadable.
Keep these tips in mind:
- Add water incrementally to avoid overly runny mortar.
- Mix thoroughly for at least 3 minutes to activate bonding agents.
- Test consistency by scooping mortar; it should hold a ridge without slumping.
- Avoid mixing more mortar than you can apply within 30 minutes to prevent drying out.
Mastering these steps confirms a strong, durable base for your tile installation.
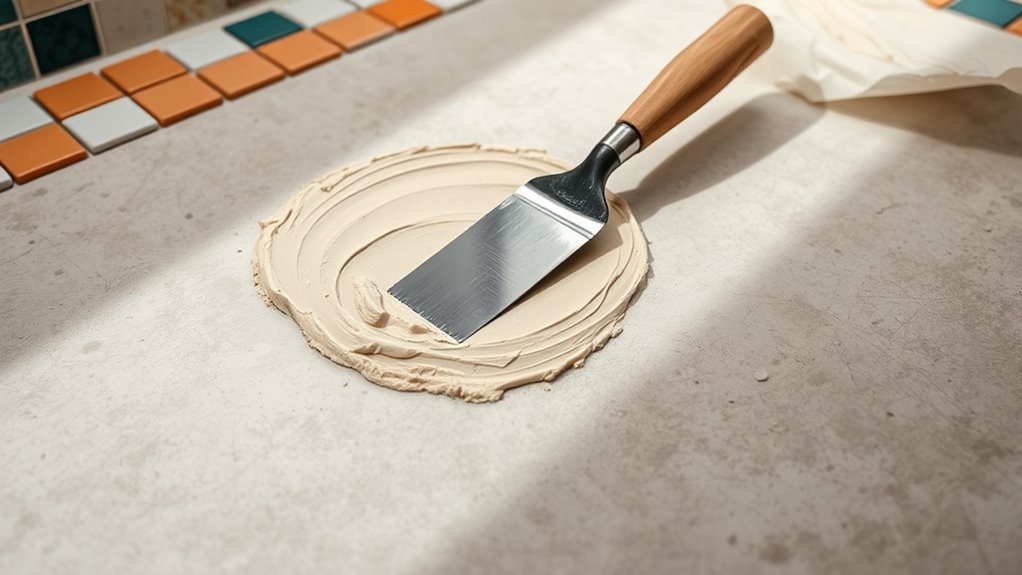
Proper Mortar Application
Start by spreading the mortar evenly over a 3 to 4 square foot area using the flat side of a trowel. Ensuring the mortar consistency is neither too wet nor too dry is essential; it should hold its shape without slumping. Once spread, use the notched side of the trowel to comb the mortar, creating uniform ridges. These ridges improve adhesion and accommodate tile placement. Maintain a consistent ridge height by holding the trowel at a steady 45-degree angle. Apply mortar only to manageable sections to prevent premature drying. Your application techniques must emphasize precision—avoid over-spreading or leaving gaps. This methodical approach guarantees a strong bond and allows you freedom to adjust tiles effortlessly during installation, ensuring a smooth, professional finish on your bathroom floor.
Lay the Tiles Carefully
You’ll need to align each tile precisely to guarantee a uniform pattern across the floor. Use spacers to maintain consistent gaps for grout lines between tiles. Regularly check the level with a spirit level to keep the surface even as you work.
Align Tiles Precisely
To guarantee a professional finish, place each tile carefully, maintaining consistent spacing and alignment throughout the floor. Employing effective tile alignment techniques guarantees your work looks seamless and lasts longer. Use precision tools like a laser level or straightedge to keep tiles perfectly aligned. Here’s how to approach it methodically:
- Start from the center and work outward to balance tile placement.
- Use a tile spacer initially but rely on precision tools to check alignment.
- Adjust each tile gently before the adhesive sets to avoid misalignment.
- Regularly verify rows are straight and edges flush using a level or straightedge.
Maintain Consistent Spacing
Maintaining consistent spacing between tiles is critical for both the aesthetic and structural integrity of your bathroom floor. To achieve impeccable tile alignment, start by selecting appropriate spacers that match your grout width preference. Insert spacers at every corner of each tile, ensuring uniform gaps throughout the layout. Employ precise spacing techniques by regularly checking the distance between tiles as you progress, correcting any deviation immediately. This methodical approach prevents uneven grout lines and misalignment. Remember, consistent spacing accommodates grout expansion and contraction, reducing the risk of tile cracking or displacement. By committing to precise tile alignment and spacing techniques, you’ll create a visually harmonious surface that withstands daily use, giving you the freedom to enjoy a flawless, professional-looking bathroom floor.
Check Level Regularly
A level surface is critical for a durable and professional bathroom floor installation. The importance of leveling can’t be overstated—it guarantees tiles lay flat without gaps or uneven edges. To master check level techniques, you’ll need to:
- Use a spirit level after placing each tile or row to catch any height discrepancies early.
- Employ a straightedge to confirm the surface stays even across multiple tiles.
- Adjust tiles immediately by adding or removing thinset mortar beneath them for precision.
- Regularly step back and visually inspect the floor for any subtle dips or rises.
Use Tile Spacers for Even Gaps
Using tile spacers guarantees consistent gaps between tiles, which is essential for both aesthetics and grout adherence. To achieve uniformity, select the appropriate tile spacer types based on your tile size and desired gap measurement, commonly ranging from 1/16 to 1/4 inch. Insert spacers at each tile corner immediately after placing a tile, making certain they sit flush without shifting. This methodical placement maintains straight grout lines and prevents uneven spacing as you progress. Regularly verify spacer alignment to avoid cumulative errors. After the adhesive sets, remove the spacers carefully before grouting. By mastering tile spacer use, you guarantee a professional finish that enhances your bathroom’s freedom of design while maintaining structural integrity through precise, even gaps.
Cut Tiles to Fit Edges and Corners
You’ll need to measure the space at edges and corners with exact precision to guarantee tiles fit properly. Use a tile cutter or wet saw to make clean, accurate cuts based on your measurements. Taking your time here prevents gaps and maintains the floor’s professional appearance.
Measuring Tiles Accurately
Before cutting tiles to fit edges and corners, you’ll need to measure each space accurately to guarantee a precise fit. Start by noting the tile dimensions and the exact area where the tile will be placed. Using reliable measuring tools is essential for accuracy. Follow these steps:
- Measure the length and width of the gap where the tile must fit.
- Subtract grout spacing to maintain consistent gaps.
- Mark the tile precisely with a pencil or marker using your measurements.
- Double-check measurements before proceeding to cut.
Using Tile Cutting Tools
Once you’ve accurately measured and marked your tiles, cutting them to fit edges and corners comes next. Begin by selecting the appropriate tile cutting tool—whether a manual tile cutter for straight cuts or a wet saw for precise, intricate cuts. Confirm your tile is securely positioned, then score along the marked line with steady pressure. Use controlled force to snap the tile cleanly if using a manual cutter. For curved or irregular cuts, employ a tile nipper or angle grinder with a diamond blade. Always wear safety gear. Mastering these tool techniques allows you to shape tiles precisely, maintaining alignment and aesthetic flow. Proper tile cutting is essential; it grants you the freedom to tailor your bathroom floor flawlessly to its unique dimensions and contours.
Allow the Mortar to Set
Although the mortar may appear dry on the surface within a few hours, you should allow it to cure fully for at least 24 hours to confirm maximum strength and adhesion before proceeding with grouting or foot traffic. Proper mortar curing guarantees durable tile adhesion, preventing future loosening or cracking.
To optimize the setting process, make certain to:
- Avoid stepping on or disturbing tiles during curing.
- Maintain a consistent temperature and humidity level in the room.
- Keep the area free from dust and debris that can weaken the bond.
- Prevent water exposure which can compromise mortar integrity.
Grout the Tiles and Clean Up
Grouting your bathroom tiles involves carefully filling the joints with grout to secure the tiles and prevent moisture infiltration. Begin by mixing grout to a smooth, peanut butter-like grout consistency—too dry, and it won’t bond; too wet, and it’ll crack. Apply grout using a rubber float, pressing firmly at a 45-degree angle to ascertain joints are fully filled. After about 15-30 minutes, use a damp sponge with proper cleaning techniques to gently remove excess grout without disturbing the joints. Rinse the sponge frequently to avoid spreading grout residue. Allow grout to cure as per manufacturer instructions, then polish tiles with a dry cloth to remove haze. This methodical approach guarantees durable, waterproof flooring and a clean, professional finish.


