To tile a shower floor, start by gathering essential tools like a tile cutter and trowel, along with waterproof materials. Prepare the base by ensuring it's clean, level, and well-drained, then apply a waterproof membrane. Plan your tile layout to create a balanced design, marking references for alignment. Mix thin-set mortar and apply it evenly before placing tiles, ensuring consistent spacing with spacers. Once the tiles are set, grout the joints and remove excess residue. Finally, seal the grout lines to prevent water damage. There's a lot more to perfecting your shower floor, so keep exploring!
Gather Necessary Tools and Materials

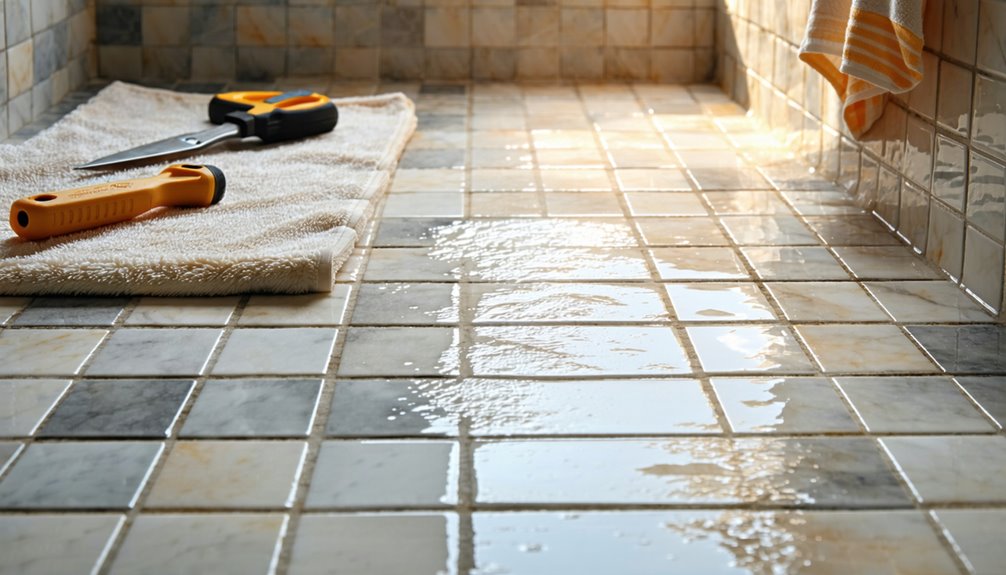
Before you begin tiling your shower floor, you'll need to gather the right tools and materials to secure a smooth process. Start by collecting essential tool types like a tile cutter, level, trowel, and rubber float. A drill with mixing paddle is handy for preparing your thin-set mortar. Don't forget safety gear, including gloves and goggles.
Next, explore material options for your tiles. Popular choices include ceramic, porcelain, and natural stone. Each offers unique aesthetics and durability, so pick what aligns with your vision. You'll also require thin-set mortar, grout, and a waterproof membrane. Having these tools and materials ready will guarantee you can focus on creating that stunning shower floor without interruptions. Get ready to release your creativity!
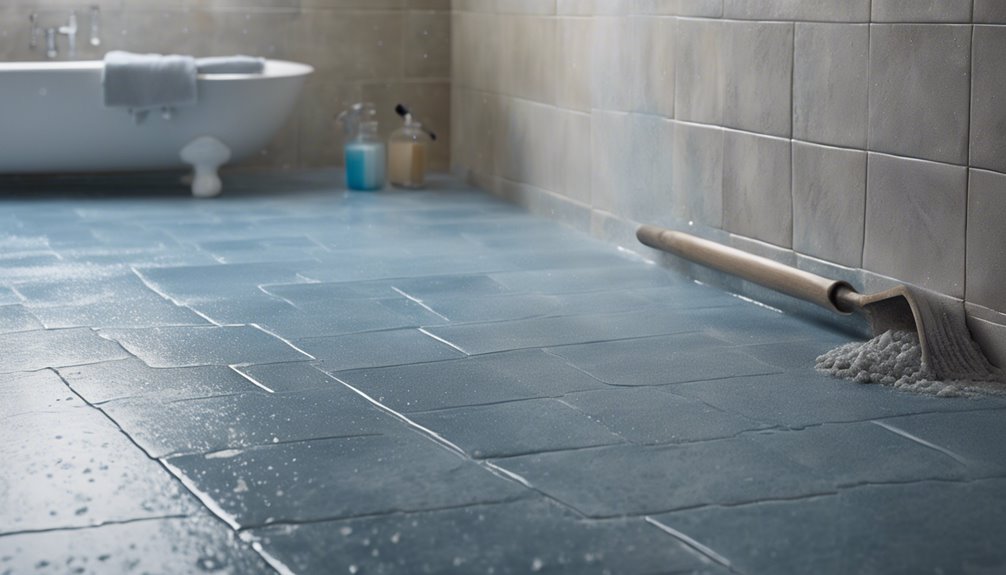
Prepare the Shower Base
To guarantee a successful tiling job, you'll need to properly prepare the shower base, as a solid foundation is essential for the longevity and functionality of your tiles. Start by ensuring the base is level and clean, removing any debris or old adhesive. Next, focus on your shower drainage solutions; they should be installed correctly to prevent water pooling. Consider incorporating sloped surfaces to direct water toward the drain effectively. Once you've addressed drainage, apply waterproofing techniques to safeguard against moisture damage. Use a reliable membrane or liquid waterproofing product, ensuring full coverage on the base and walls. Allow everything to cure properly before moving on to the tiling process, as this preparation is key to achieving a durable, leak-free shower.
Plan Your Tile Layout
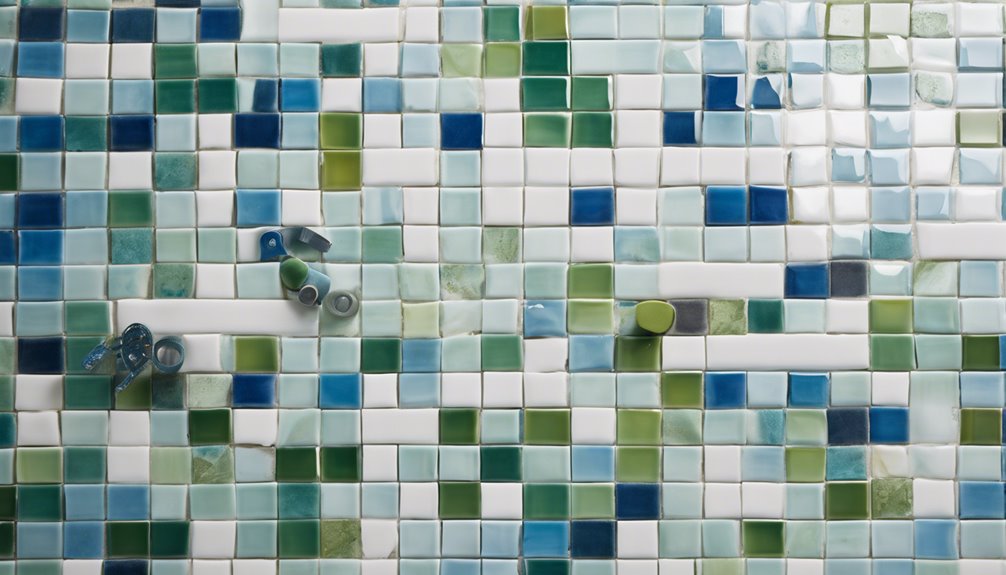
Planning your tile layout is essential for achieving a professional finish in your shower. A well-thought-out design not only enhances the beauty of your space but also guarantees a more efficient installation. Here are three key steps to contemplate:
- Choose Your Tile Patterns: Decide whether you prefer classic straight lay, diagonal, or a more intricate pattern like herringbone.
- Visualize Your Layout Design: Use graph paper or a tile layout app to sketch your design, marking where each tile will go.
- Start from the Center: Establish a focal point, typically the drain, and work outward to create a balanced look.
Cut and Lay the Tiles
Now that you've laid out your tile design, it's time to cut and lay the tiles. Start by measuring the tiles needed for each section, focusing on corners and edges where full tiles won't fit. For tile cutting, use a tile cutter or wet saw for clean, precise cuts. Confirm your cuts are smooth to avoid any sharp edges that could be hazardous. When laying the tiles, maintain consistent tile spacing using spacers; this keeps everything uniform and visually appealing. Lay the first tile in your chosen position, pressing it firmly into place. Continue laying the tiles, periodically checking your alignment and spacing. Trust your instincts, and don't rush; take the time to get it right for a stunning finish!
Apply Thinset Mortar
Applying thinset mortar is an essential step in ensuring your tiles adhere properly to the shower floor. To achieve the best results, keep these points in mind during your thinset application:
- Mixing: Aim for a mortar consistency similar to peanut butter; it should hold its shape but still spread easily.
- Application: Use a notched trowel to apply a uniform layer, ensuring proper coverage for each tile.
- Timing: Work in sections, and don't let the thinset dry out before laying your tiles, as this could compromise adhesion.
Grout the Tiles
Now that your tiles are securely in place, it's time to grout them. First, you'll need to select the appropriate grout type for your shower floor, considering factors like water resistance and color. Then, mix the grout properly and apply it evenly to guarantee a smooth, professional finish.
Select Appropriate Grout Type
Choosing the right grout type is essential for ensuring your shower floor tiles remain durable and visually appealing. Here are three key options to evaluate:
- Sanded Grout: Ideal for larger joints, it adds strength and prevents cracking.
- Epoxy Grout: This option is moisture-resistant and incredibly durable, making it perfect for wet areas.
- Unsanded Grout: Best for narrow joints, it provides a smooth finish but lacks the strength of sanded grout.
Mixing Grout Properly
After selecting the right grout type, the next step is mixing it properly to guarantee a smooth and effective application. Start by measuring the dry grout according to the manufacturer's instructions. Gradually add water while stirring to achieve the desired grout consistency—think of it as a thick peanut butter texture. Use a mixing paddle attached to a drill for even blending, ensuring no lumps remain. If you prefer a hands-on approach, a bucket and trowel will work too; just be thorough. Remember, the right mixing techniques play a vital role in how well your grout adheres and performs. Once you've reached that perfect consistency, you're ready to take the next step in your shower tiling project.
Applying Grout Evenly
Once you've mixed the grout to the right consistency, it's time to apply it evenly to your tiles. Proper grout application is vital for a beautiful, long-lasting finish. Here are three key steps to follow:
- Use a Float: Hold your grout float at a 45-degree angle and press the grout into the joints, guaranteeing full coverage.
- Work in Sections: Focus on a small area at a time, as this helps maintain control and guarantees even application.
- Remove Excess Grout: After filling the joints, use the float to wipe away excess grout from the tile surfaces, keeping it neat.
Seal the Grout Lines
Once you've grouted your tiles, it's essential to seal the grout lines to protect them from moisture and staining. Start by choosing an appropriate grout sealer that suits your tile type and environment. Then, apply the sealer evenly across the grout lines, ensuring full coverage for ideal protection.
Choose Appropriate Grout Sealer
Choosing the right grout sealer is essential for maintaining the longevity and appearance of your newly tiled shower floor. Different grout types require specific sealing techniques to guarantee ideal protection against moisture and stains. Here are three factors to take into account:
- Type of Grout: Whether you're using sanded, unsanded, or epoxy grout, each has its unique sealing needs.
- Water Resistance: Opt for a sealer that offers high water resistance, especially in wet areas like showers.
- Finish: Decide between a glossy or matte finish, as this can affect the overall look and maintenance.
Apply Sealer Evenly
After you've selected the right grout sealer, it's time to apply it evenly to guarantee maximum protection for your grout lines. Start by choosing appropriate sealer application techniques, like using a small brush or a foam applicator. This allows for precise application, ensuring every grout line is covered. Apply the sealer in thin, even coats, taking care not to flood the surface. Work in sections, and wipe away any excess with a clean cloth to prevent a cloudy residue. Remember to check the sealer drying time on the label—most require about 24 hours before they're fully cured. Following these steps will enhance your shower's longevity while keeping it looking fresh and clean. Enjoy your newly sealed shower floor!
Final Touches and Cleaning
As you wrap up your shower floor tiling project, it's essential to focus on the final touches and cleaning to secure a polished look. Here are three key steps to take into account:
- Final Inspection: Check for any loose tiles or grout lines that need attention. Confirm everything is secure and well-finished.
- Cleaning: Use a gentle cleaner to wipe down the tiles and remove any dust or residue. A soft cloth or sponge works best.
- Maintenance Tips: To keep your tiled shower looking great, regularly inspect for mold and mildew. Think about using a squeegee after each use to prevent soap scum buildup.
Frequently Asked Questions
What Type of Tile Is Best for a Shower Floor?
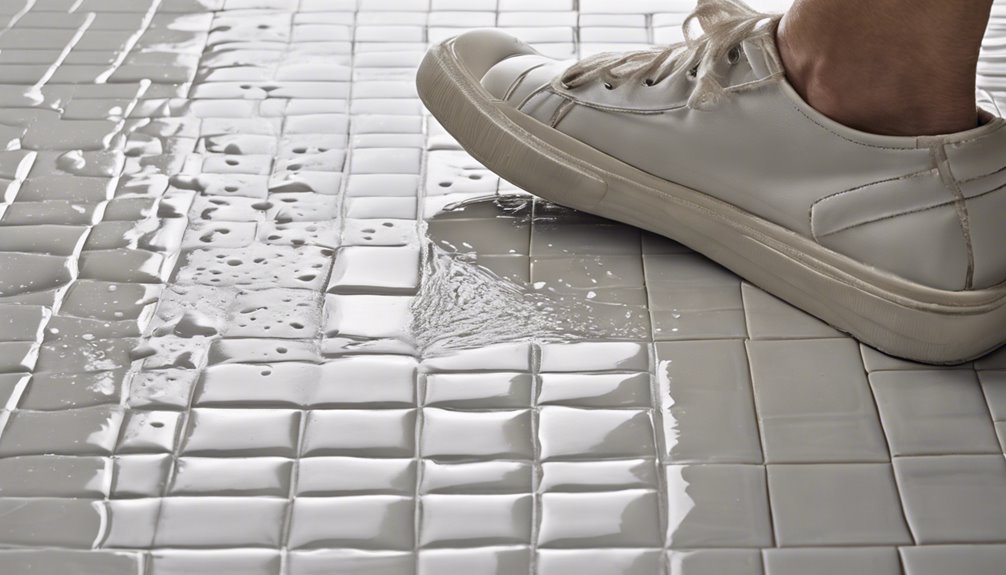
When you're choosing tile for a shower floor, consider ceramic tiles for their durability and water resistance. Look for options with slip resistance to guarantee safety, especially when the floor's wet. Textured or matte finishes can enhance grip and minimize slips. Additionally, smaller tiles can create more grout lines, improving traction. Ultimately, the right tile will balance aesthetics and functionality, giving you a beautiful and safe shower experience you'll enjoy.
How Do I Ensure Proper Drainage for the Shower Floor?
You wouldn't want a mini swimming pool in your shower, right? To guarantee proper drainage, create a drainage slope of at least 1/4 inch per foot towards the drain. This slope helps direct water flow efficiently, preventing puddles and slips. Use a level to check your slope before laying tiles. Additionally, consider a linear drain for a sleek look without sacrificing functionality. With these tips, you'll achieve a shower that drains like a dream!
Can I Use Regular Grout Instead of Epoxy Grout?
You can use regular grout, but it might not be the best choice for durability in wet areas. Regular grout requires more maintenance and isn't as resistant to stains and moisture as epoxy grout. If you're looking for long-lasting results with less hassle, epoxy's superior performance can save you time and effort in the long run. Consider your grout maintenance preferences before deciding, as that'll impact your shower's longevity and appearance.
How Long Should I Wait Before Using the Shower?
You wouldn't want to plunge into your new shower like it's a summer oasis right after tile setting! Ideally, you should wait at least 24 to 48 hours before using it. This allows for proper shower curing, ensuring everything adheres tightly. Rushing could lead to cracks or leaks, and nobody wants that. So, take a moment, let your masterpiece settle, and enjoy that revitalizing freedom when you're finally ready to step in!
What Should I Do if the Tiles Start to Crack?
If your tiles start to crack, you'll want to address it quickly to prevent further damage. First, inspect for moisture control issues; excess moisture can cause tiles to crack. For tile repair, remove the damaged tiles carefully, clean the area, and apply a new layer of adhesive. Once set, replace the tiles and grout. Guarantee proper sealing to prevent future cracks and maintain a durable, beautiful surface that allows you the freedom to enjoy your space.


