To tile a bathroom floor, start by choosing the right tile material like ceramic or porcelain for durability. Next, inspect your subfloor for any damage and guarantee it's even, adding a moisture barrier if necessary. Measure your bathroom accurately and plan the tile layout, marking reference lines for guidance. Install the tiles using a notched trowel for adhesive application, placing each tile with spacers for even gaps. Finally, mix and apply grout, sealing it afterward to protect against moisture. Following these steps carefully will yield a professional finish while providing you with more intricate details on the process.
Choosing the Right Tiles
When it comes to choosing the right tiles for your bathroom floor, there are several factors to take into account to guarantee durability and aesthetic appeal. Start by considering tile materials; ceramic and porcelain are excellent choices due to their water resistance and strength. If you prefer a natural look, stone tiles offer unique textures but may require sealing. Next, think about color schemes. Light colors can make the space feel larger and brighter, while darker hues add depth and warmth. Don't overlook the size and shape of the tiles, as they can influence the overall appearance of your bathroom. Ultimately, you'll want to select options that not only fit your style but also stand up to the demands of a bathroom environment.
Preparing the Subfloor
After selecting the right tiles, the next step involves preparing the subfloor to guarantee a solid foundation for your installation. Start by inspecting the existing subfloor materials for any damage or unevenness. If you find issues, repair or replace the damaged sections. Make sure to install a moisture barrier to prevent water damage, which is essential in a bathroom environment.
| Subfloor Material | Pros |
|---|---|
| Plywood | Strong, affordable |
| Cement board | Excellent moisture resistance |
| Oriented strand board (OSB) | Lightweight, versatile |
| Vinyl sheeting | Cost-effective, easy to install |
Measuring and Planning Layout

Accurate measuring and careful planning are essential steps in achieving a professional-looking tile installation. Start by measuring your bathroom floor's length and width, noting any irregularities. With these measurements, calculate the total area to determine how many tiles you'll need based on their dimensions. Choose your layout patterns—whether straight, diagonal, or a more intricate design—keeping in mind how they'll fit within your space. It's wise to create a scale drawing or use graph paper to visualize the layout before proceeding. Mark reference lines on the floor to guide your installation, ensuring symmetry and balance. This thorough preparation allows for adjustments, reducing waste and enhancing the overall aesthetic of your tiled bathroom floor.
Installing the Tiles
As you begin installing the tiles, verify you have all your tools and materials ready, including tile adhesive, a notched trowel, spacers, and a level. Start by applying your chosen tile adhesive options with the trowel, ensuring an even layer on the substrate. Lay your first tile, pressing it firmly into the adhesive and using spacers to maintain consistent gaps. For any edges or corners, utilize tile cutting techniques to shape your tiles accurately. Remember to check alignment with a level frequently to keep everything straight. Continue this process, working from the center outwards, until the floor is covered. Be precise with your placements, as this will impact the overall aesthetic and functionality of your tiled floor.
Finishing Touches and Grouting
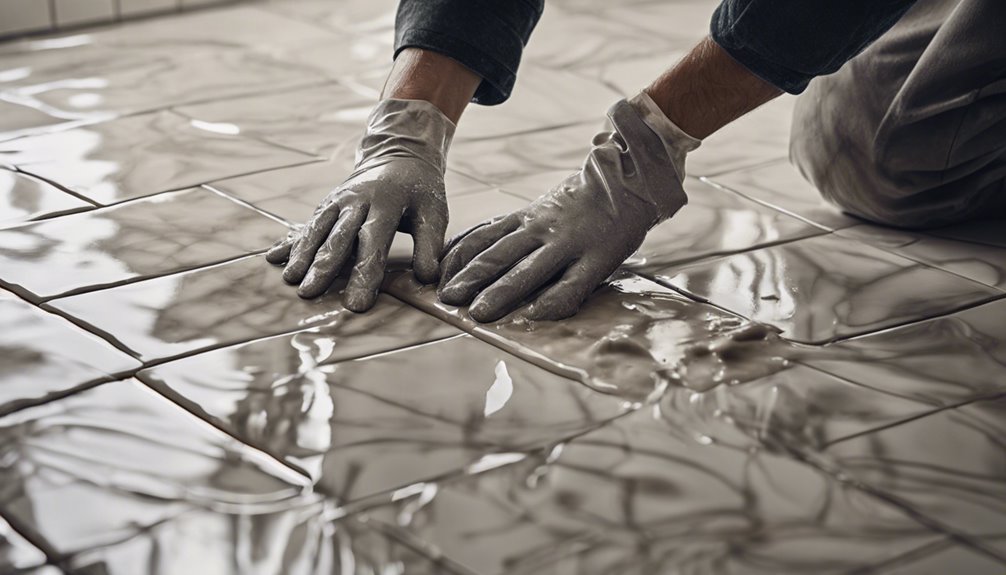
Once you've laid all the tiles, you can turn your attention to the finishing touches and grouting, which are essential for achieving a polished look. Start by selecting the right grout types for your tiles—sanded grout for larger joints and unsanded grout for smaller ones. Mix the grout according to the manufacturer's instructions, ensuring a smooth consistency.
Apply the grout using a float, pressing it into the joints. After the grout sets, you'll need to clean the tiles with a damp sponge. Finally, seal the grout to protect it from moisture and stains.
| Grout Type | Best Use |
|---|---|
| Sanded Grout | Joints > 1/8 inch |
| Unsanded Grout | Joints < 1/8 inch |
| Epoxy Grout | High moisture areas |
| Color-Matched Grout | Aesthetic appeal |
Frequently Asked Questions
How Long Does It Typically Take to Tile a Bathroom Floor?
Tiling takes time, trust me! The typical tile installation time for a bathroom floor can vary, but you're generally looking at a project duration of about one to three days. This includes preparation, laying down the tiles, and allowing for proper drying. If you're meticulous and methodical, you might even finish sooner. Just remember, rushing could lead to mistakes, so embrace the process and enjoy the transformation of your space!
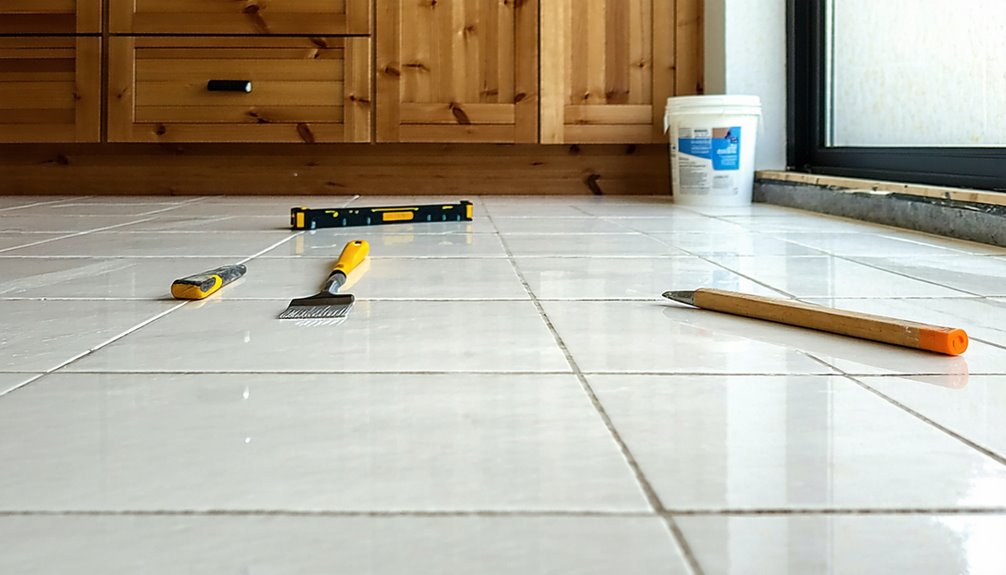
What Tools Do I Need for Tiling a Bathroom Floor?
For your tile installation, you'll need a few essential tools. Start with a tile cutter or wet saw for precise cuts, and don't forget a trowel for spreading adhesive. A level guarantees your tile patterns stay straight, while spacers help maintain even gaps. You'll also need a grout float and sponge for finishing touches. Finally, safety gear like gloves and goggles is vital to protect yourself during the process.
Can I Tile Over Existing Tiles?
Yes, you can tile over existing tiles, but proper surface preparation is essential. First, make sure the existing tiles are firmly adhered and free from cracks. Clean the surface thoroughly to promote adhesion. If the tiles are glossy, consider sanding them lightly for better grip. Remember, tile removal might be necessary if the existing surface is uneven or compromised. This method can save you time, but make sure you follow the right steps for a successful installation.
What Type of Grout Should I Use for Bathroom Tiles?
When choosing grout for your bathroom tiles, you'll typically consider either sanded grout or epoxy grout. Sanded grout's ideal for wider joints, offering durability and resistance against cracking. It's easy to work with, but it can absorb moisture. On the other hand, epoxy grout is more stain-resistant and waterproof, making it perfect for wet areas. Assess your tile spacing and environment to determine which option suits your needs best for long-lasting results.
How Do I Maintain My Tiled Bathroom Floor?
Maintaining your tiled bathroom floor is like tending a garden; it requires regular care to flourish. Start with a maintenance schedule that includes sweeping and mopping weekly using gentle cleaning techniques. For deeper grime, consider a pH-balanced cleaner. Avoid harsh chemicals that can damage grout. Seal your grout annually to prevent moisture infiltration. Finally, inspect for cracks or chips, addressing them promptly to keep your bathroom looking pristine and inviting.


