To stain your wood floors, start by thoroughly cleaning and evaluating the condition of the wood. Remove furniture and any rugs, and cover vents to prevent dust. Choose the right stain based on your wood type and desired color, testing it in a small area first. Sand the floors in the direction of the grain to guarantee a smooth surface. Use a high-quality applicator for even application, wiping off excess stain after a few minutes. Finally, apply a compatible sealant for protection and glow. There's more you can do to enhance your floors' appearance and longevity.
Assessing Your Wood Floors

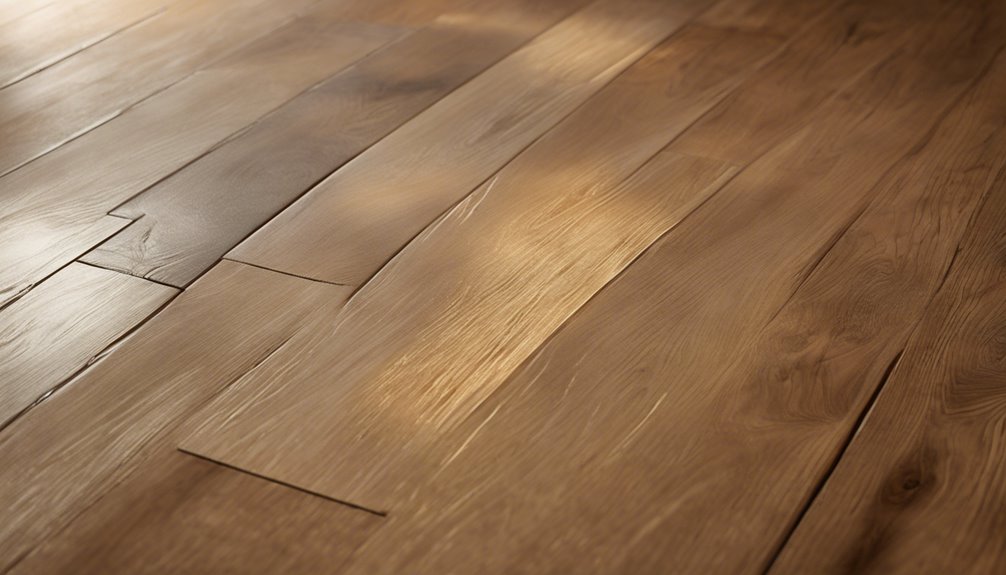
Before you plunge into staining your wood floors, it is crucial to assess their condition. First, identify the wood floor types in your home, as different materials—like oak, maple, or cherry—react uniquely to stains. Check for scratches, dents, or water damage that could affect the finish. Clean your floors thoroughly to reveal their true state, ensuring any dirt or grime won't interfere with the stain's adherence. Once you've evaluated the surface, consider the stain color options that appeal to you. Lighter stains can brighten a room, while darker tones add warmth and depth. This initial assessment lays the groundwork for a successful staining project, so take your time to get it right. Your freedom to choose the perfect finish starts here!
Choosing the Right Stain
How do you choose the right stain for your wood floors? Start by considering the stain types available, as each offers unique benefits. You'll want to think about durability, ease of application, and the desired finish. Next, focus on color selection. This step is essential, as it can dramatically change the look of your space.
Here are some key factors to keep in mind:
- Wood Species: Different woods absorb stains differently.
- Lighting: Consider how natural and artificial light affects the stain color.
- Room Usage: High-traffic areas may need more durable finishes.
- Personal Style: Choose a shade that complements your decor and expresses your personality.
With careful thought, you can find the perfect stain that fits your vision.
Gathering Necessary Tools
Before you start staining your wood floors, you'll need to gather some essential tools to guarantee a smooth process. Make sure you have safety gear like gloves and masks, along with a checklist of staining supplies to keep everything organized. With the right tools at hand, you'll be ready to transform your floors efficiently and safely.
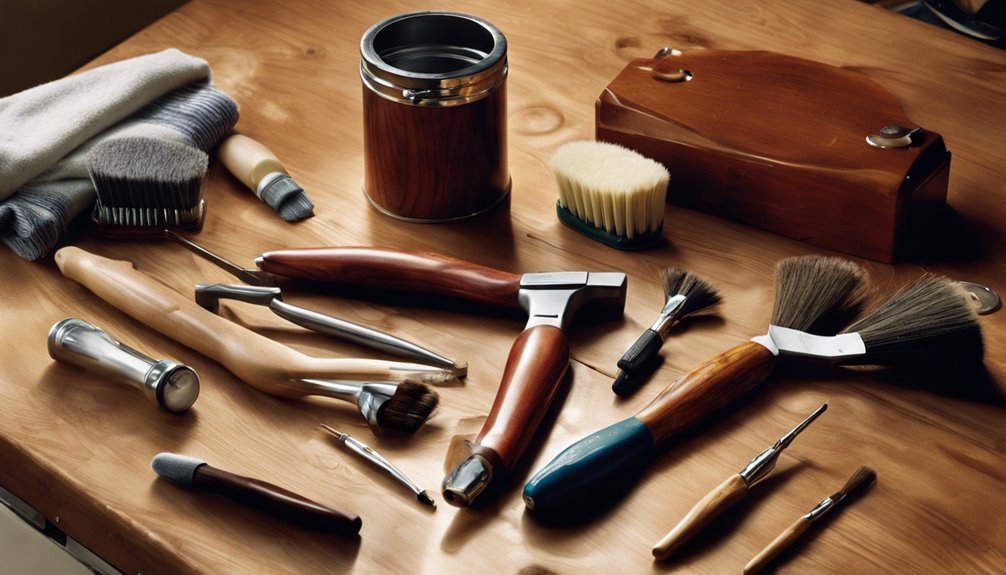
Essential Tools Required
When you're ready to stain your wood floors, having the right tools on hand makes all the difference in achieving a professional finish. You'll want to gather essential items that cater to different stain types and application techniques. Here's a quick list to help you get started:
- Quality Stain: Choose a stain that suits your desired finish and wood type.
- Applicator Pads or Brushes: These help you apply the stain evenly, ensuring a smooth look.
- Sandpaper: Use various grits to prepare your floors, achieving a flawless surface.
- Rags: Keep some handy for wiping excess stain and cleaning up spills.
With these tools, you'll be well-equipped to create beautiful, long-lasting wood floors.
Safety Gear Essentials
Staining wood floors can be a rewarding project, but ensuring your safety is just as important as achieving a beautiful finish. Before you embark on the task, gather essential safety gear. Start with safety goggles to protect your eyes from dust and any accidental splashes of stain. You wouldn't want to compromise your vision while working. Next, don't forget protective gloves; they'll shield your hands from harsh chemicals and stains that can irritate your skin. Choose gloves that fit well and allow you to maintain dexterity. If you're working in a poorly ventilated area, consider a mask to avoid inhaling fumes. By equipping yourself with these basic safety essentials, you can focus on creating a stunning floor without worrying about potential hazards.
Staining Supplies Checklist
With your safety gear in place, it's time to gather the supplies you'll need for staining your wood floors. Depending on the stain types you choose—like oil-based or water-based—your tools may vary slightly. Here's a quick checklist of essential items for effective application methods:
- High-quality wood stain (choose your preferred type)
- Applicator pads or brushes (for smooth application)
- Sandpaper or a floor sander (to prep the surface)
- Rags or cloths (for cleanup and excess stain removal)
Ensuring you have these supplies ready will streamline the process, allowing you to focus on achieving that perfect finish. Remember, proper preparation is key to a successful staining project, so take the time to gather everything you'll need.
Preparing the Workspace
Before you start staining your wood floors, it's crucial to clear the area of any furniture and obstacles to create a safe and efficient workspace. Make sure you gather all necessary supplies, including drop cloths, brushes, and stain, so you won't have to interrupt the process later. A well-prepared workspace will help you achieve the best results and make the job much smoother.
Clear the Area
Creating a clean workspace is essential for a successful wood floor staining project. Start by removing all furniture from the area to avoid any obstructions and potential damage. Once you've cleared the space, consider how to protect your floors and surrounding surfaces from spills and stains. Here are some practical steps to take:
- Remove rugs and mats to prevent slipping and staining.
- Cover vents and ducts to avoid dust and debris contamination.
- Use drop cloths or plastic sheeting for floor protection.
- Ensure proper ventilation by opening windows and doors.
Taking these steps not only helps you achieve the best results but also creates a safer and more enjoyable environment while you work.
Gather Necessary Supplies
Gathering the right supplies is essential for a smooth wood floor staining process. You'll need to choose your stain types and explore color variations that fit your style. Here's a quick checklist to guide you:
| Supply | Purpose | Notes |
|---|---|---|
| Wood Stain | Adds color to wood | Choose based on desired finish |
| Applicator | Applies stain evenly | Brush or cloth options available |
| Sealer | Protects the stained wood | Determines durability |
Make sure to gather everything before you start to avoid interruptions. Having your supplies ready will not only save time but also allow you to focus on achieving the perfect finish for your wood floors. Happy staining!
Sanding the Floors
Sanding the floors is a crucial step in achieving a smooth, even surface for your wood stain. You'll want to focus on using the right sanding techniques and sanding equipment for the job. Start with a coarse grit sandpaper to eliminate imperfections and then gradually move to finer grits for a polished finish.
Here are some essential tips:
- Wear safety gear: Protect your eyes and lungs from dust.
- Use a drum sander: This makes the job easier and more efficient.
- Sand with the grain: This helps avoid scratches and guarantees a uniform finish.
- Vacuum thoroughly: Remove all dust before staining for maximum adhesion.
Following these steps will guarantee your floors are ready for that beautiful stain.
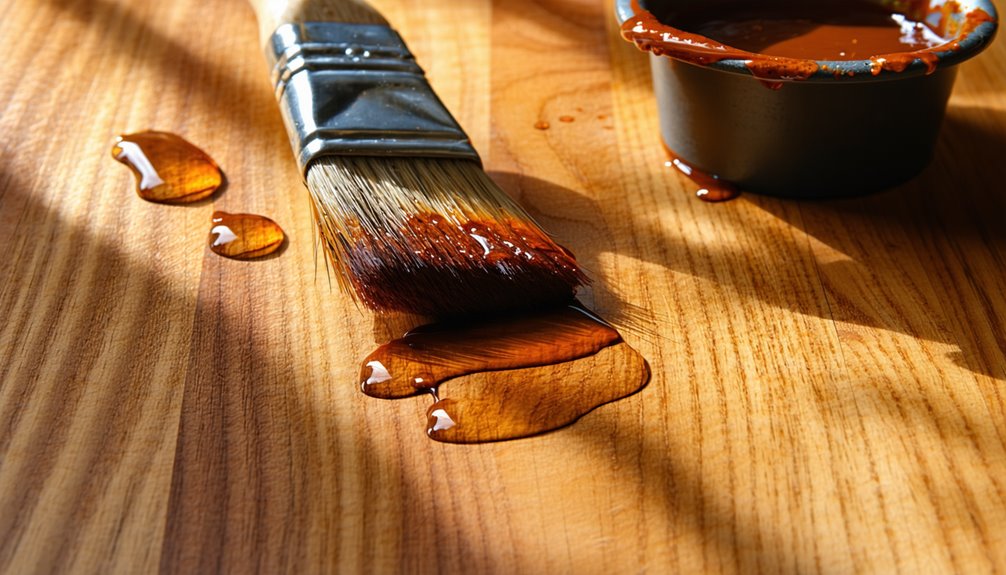
Applying the Stain
Now that your floors are perfectly sanded, it's time to apply the stain. Start by gathering your supplies: brushes, rags, and a stain of your choice. Consider using various stain application techniques—like a brush for edges and a rag for larger areas—to achieve a professional look. If you want a unique color, check out these color mixing tips:
| Base Color | Mixing Agent | Recommended Ratio |
|---|---|---|
| Walnut | Cherry | 2:1 |
| Oak | Maple | 1:1 |
| Pine | Cedar | 3:2 |
| Mahogany | Ebony | 1:2 |
Remember to work in small sections, allowing the stain to absorb before wiping away any excess. Enjoy your creative freedom!
Techniques for Even Application
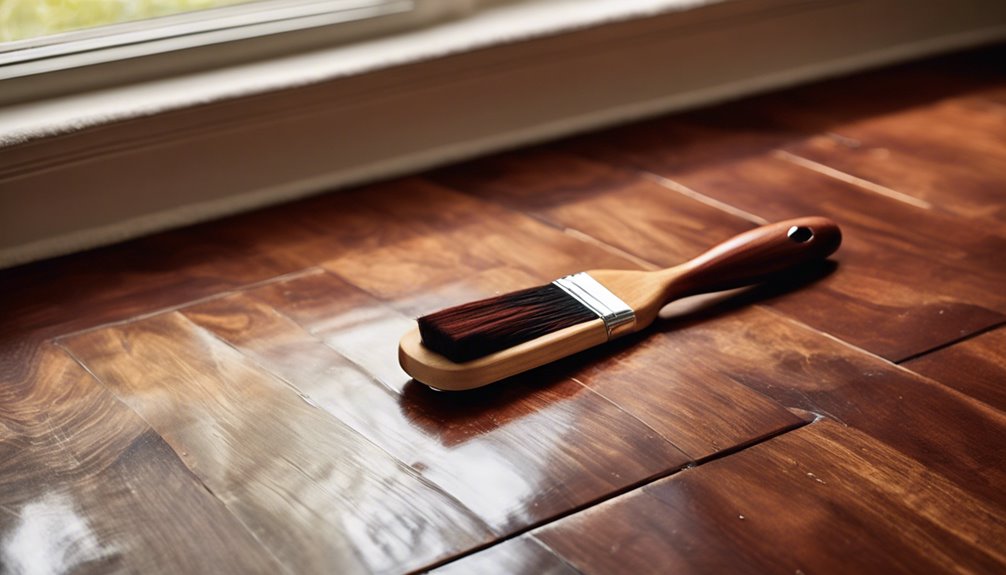
Achieving an even application of stain is essential for a polished finish. To guarantee ideal wood absorption and avoid blotches, follow these techniques:
- Test the stain on a small, inconspicuous area to see how the wood reacts.
- Use a high-quality applicator, like a foam brush or cloth, for smooth, even coverage.
- Apply in sections, working with the grain of the wood to maintain consistency.
- Wipe off excess stain after a few minutes to prevent unevenness and pooling.
Sealing and Finishing
Once you've stained your wood floors, it's crucial to seal and finish them properly to protect the surface and enhance the color. There are several sealing methods available, including water-based and oil-based options. Water-based sealers dry quickly and emit fewer fumes, making them a great choice if you want to minimize disruption. On the other hand, oil-based sealers offer a richer finish but take longer to cure.
When choosing finishing products, consider durability and the desired sheen. Satin finishes provide a subtle glow, while high-gloss options create a shiny look. Whichever method you choose, apply the sealant evenly, allowing adequate drying time between coats. This process not only safeguards your investment but also allows your floors to shine beautifully for years to come.
Maintenance Tips After Staining
To keep your newly stained wood floors looking their best, it is essential to establish a regular maintenance routine. Using the right cleaning methods and protective coatings will guarantee your investment lasts. Here are some practical tips to follow:
- Sweep or vacuum regularly to remove dirt and debris.
- Use a damp mop with a pH-neutral cleaner to maintain shine without damaging the stain.
- Avoid harsh chemicals that can strip your protective coatings.
- Place mats or rugs at entryways to minimize wear and tear.
Frequently Asked Questions
How Long Does the Staining Process Take From Start to Finish?
When you're diving into a project like this, think of it as a dance; you've got to find your rhythm. The staining time typically takes around 2 to 4 hours, but that's just the beginning. You'll need to factor in drying duration, which can range from 24 to 48 hours, depending on humidity and temperature. So, make sure you've got patience in your toolkit for this creative endeavor!
Can I Stain Over Painted Wood Floors?
You can stain over painted wood floors, but it's not always straightforward. First, check for stain compatibility; some stains won't adhere well to paint. If you want the best results, consider paint removal. Sanding or using a paint stripper can help expose the bare wood, allowing the stain to penetrate properly. Just make sure to follow safety guidelines, and you'll achieve a beautiful finish that enhances your space.
What Should I Do if I Miss a Spot While Staining?
If you've missed a spot while staining, don't panic! It's not like you've just discovered a black hole in your living room! Use touch up techniques to fix the issue. First, choose a small brush or cloth for precision. Apply a bit of stain to the missed area, then blend stains with the surrounding finish. Feather the edges to guarantee seamless integration. With a little patience, you'll have a flawless, beautifully stained surface!
Are There Eco-Friendly Stain Options Available?
Absolutely, there are eco-friendly stain options available for your projects. You can explore natural dyes derived from plants, which not only provide rich colors but also minimize harmful chemicals. Plant-based options are becoming increasingly popular, offering sustainable choices without sacrificing quality. When selecting a stain, look for products labeled as low-VOC or zero-VOC to guarantee you're making a responsible choice for the environment while still achieving the look you want.
How Can I Remove Old Stain Before Restaining?
To remove old stain effectively, you can use several stain removal techniques. Start by sanding the area with a floor sander to strip away the old finish. If that doesn't work, try a chemical stripper, ensuring you follow safety guidelines. Afterward, clean the surface thoroughly to eliminate dust and residue. These floor preparation methods are essential for a successful restain, giving you a fresh base and ensuring the new stain adheres properly.


