To stain hardwood floors, you'll first need to gather tools like a quality sander, sandpaper, and staining brushes. Start by clearing the area of furniture and debris, then clean the floors thoroughly with a microfiber mop. Next, sand the wood, using a coarser grit to remove any old finishes and a finer grit for smoothness. Once prepared, apply your chosen stain using long strokes, following the grain. Allow it to dry fully – usually at least 24 hours – and finish with a protective coating to enhance durability. There's much more to enhancing your space beautifully, so stick around for further insights!
Gather Necessary Tools
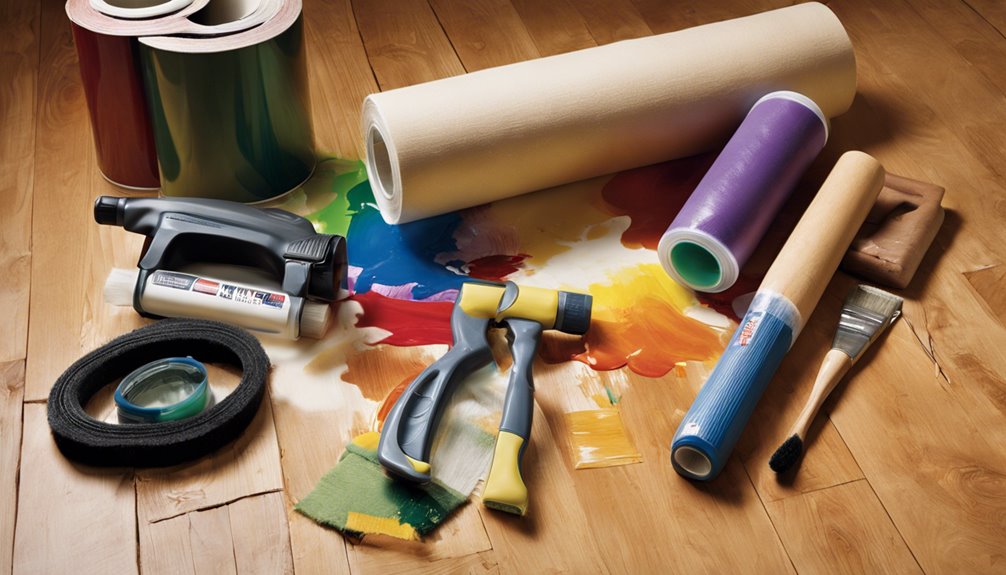
Before you plunge into staining your hardwood floors, it's vital to gather all the necessary tools. Start by creating a tools checklist to guarantee you don't miss anything. You'll need a quality floor sander to prep the surface, along with sandpaper in various grits. A vacuum and tack cloth are essential for dust removal, assuring a smooth finish. Don't forget important equipment like staining brushes or a roller for even application, and a paint tray to hold your stain. Protective gear, including gloves and a mask, will keep you safe from fumes. Finally, have a good quality wood stain ready, as it's the heart of the transformation. With these tools in hand, you're one step closer to beautiful floors.
Prepare the Area
Before you start staining, you'll need to clear the room of furniture and any other items that might get in the way. Make sure to gather all your necessary tools within easy reach, so you won't have to stop mid-project. Finally, protect surrounding surfaces with drop cloths or plastic sheeting to prevent any accidental spills or stains.
Clear the Room
One of the most essential steps in preparing to stain hardwood floors is to completely clear the room of furniture and other items. By focusing on room organization and effective furniture removal, you'll guarantee a smooth and efficient staining process. Start by moving larger pieces of furniture out, and then tackle smaller items like rugs, lamps, and decor. Here's a quick guide to help you:
| Item Type | Action | Notes |
|---|---|---|
| Large Furniture | Remove from room | Use dollies for heavy items |
| Small Furniture | Move to another area | Stack chairs for space |
| Rugs | Roll and store | Keep them protected |
| Electronics | Disconnect and store | Label cords for easy setup |
| Decorations | Pack safely | Consider a temporary location |
Once the room's clear, you're ready to proceed!
Gather Necessary Tools
As you prepare to stain your hardwood floors, gathering the necessary tools is crucial for achieving a professional finish. Start by selecting the right stain types—oil-based or water-based—based on your desired color and durability. For tool selection, you'll need a high-quality brush or foam applicator for even application, as well as a roller for larger areas. Don't forget a paint tray to hold your stain and a stir stick for mixing. You'll also require sandpaper or a sanding block to prep the surface, along with clean rags for any spills or excess stain. Finally, make certain you have safety gear like gloves and a mask to protect yourself while working. Getting these tools ready now will streamline your staining process.
Protect Surrounding Surfaces
With your tools ready, it's important to focus on protecting the surrounding surfaces to prevent any accidental damage during the staining process. Start by removing furniture and items from the area, giving yourself plenty of space to work. Next, lay down protective coverings like drop cloths or plastic sheeting over baseboards, carpets, and any adjacent flooring. This surface preparation will safeguard against drips and spills, allowing you to work freely without worrying about messes. Use painter's tape to secure the edges of the coverings, ensuring a tight seal. Double-check that your protective layers are secure before you begin staining. Taking these steps will keep your surroundings safe and make your staining project smoother and more enjoyable.
Clean the Hardwood Floors
Before you start staining, it's important to clean your hardwood floors thoroughly. Gather your cleaning supplies, including a broom, vacuum, and a microfiber cloth, to guarantee you can tackle any dust or debris. Once you've got everything ready, sweep and vacuum the floors to create a smooth surface for the stain.
Gather Cleaning Supplies
To successfully clean hardwood floors before staining, you'll need a few essential supplies. Having the right tools at your disposal will streamline your cleaning methods and guarantee your floors are ready for a fresh coat of stain. Here's a quick supply checklist to get you started:
- Microfiber mop: Great for dust and dirt without scratching.
- Broom and dustpan: For sweeping up larger debris.
- Hardwood floor cleaner: Choose a pH-balanced solution to avoid damage.
- Soft cloths: Perfect for any stubborn spots or spills.
With these supplies on hand, you can tackle the cleaning process efficiently. Remember, a clean surface is vital for ideal adhesion of the stain, so take your time getting it right!
Sweep and Vacuum
While it might seem straightforward, effectively sweeping and vacuuming your hardwood floors is essential for preparing them for staining. Start with proper sweeping techniques; use a soft-bristle broom to avoid scratching the surface. Sweep in the direction of the wood grain to gather dust and debris efficiently.
Once you've swept, it's time for vacuuming. Use a vacuum with a hardwood floor attachment to pick up any remaining particles. Vacuuming tips include ensuring the brush roll is off to prevent damage and making slow, deliberate passes to catch all the dust. Pay special attention to corners and edges where debris tends to accumulate. This thorough cleaning sets the stage for a smooth, even stain application, allowing your hardwood floors to shine.
Sand the Surface
Sanding the surface of your hardwood floors is an essential step that can make a significant difference in the final appearance of your stain. Start by choosing the right grit selection; for initial sanding, use a coarser grit (around 36-60) to remove old finishes. Follow up with a finer grit (120-150) for a smooth finish.
Here are some effective sanding techniques to take into account:
- Use a belt sander for large areas and a detail sander for corners.
- Sand with the grain to avoid scratches.
- Keep the sander moving to prevent uneven spots.
- Vacuum between grits to remove dust and debris.
Taking your time during this step will guarantee a beautiful, even stain application later on.
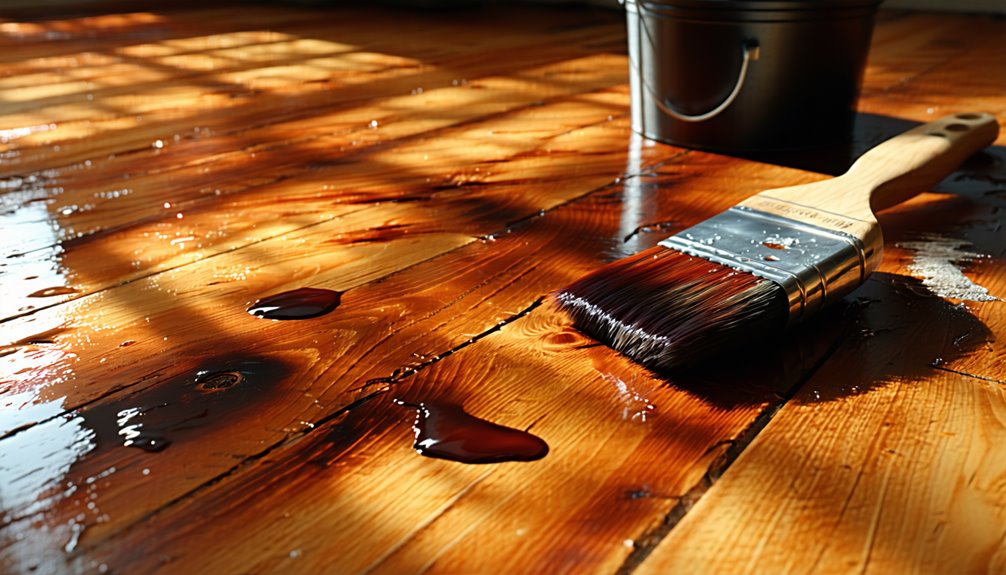
Apply Wood Stain
Now that you've meticulously sanded the surface, it's time to apply the wood stain. Choose your stain types—oil-based or water-based—depending on your desired finish. Prepare your application tools, like brushes or rags, and test on a scrap piece first to gauge the color.
| Stain Type | Drying Time | Finish Type |
|---|---|---|
| Oil-Based | 6-8 hours | Rich, deep hues |
| Water-Based | 1-2 hours | Quick-drying, clear |
| Gel Stain | 5-10 hours | Thick, even coat |
| Stain Wipes | 30 minutes | Quick touch-ups |
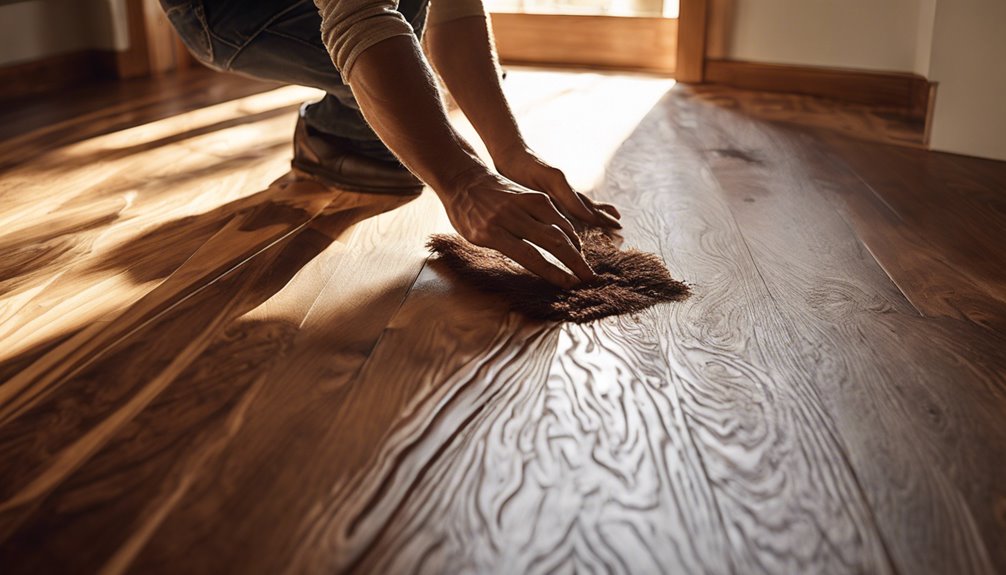
Apply the stain evenly, working in small sections. Use long, smooth strokes and follow the grain for a professional appearance. Enjoy the freedom of transforming your floors!
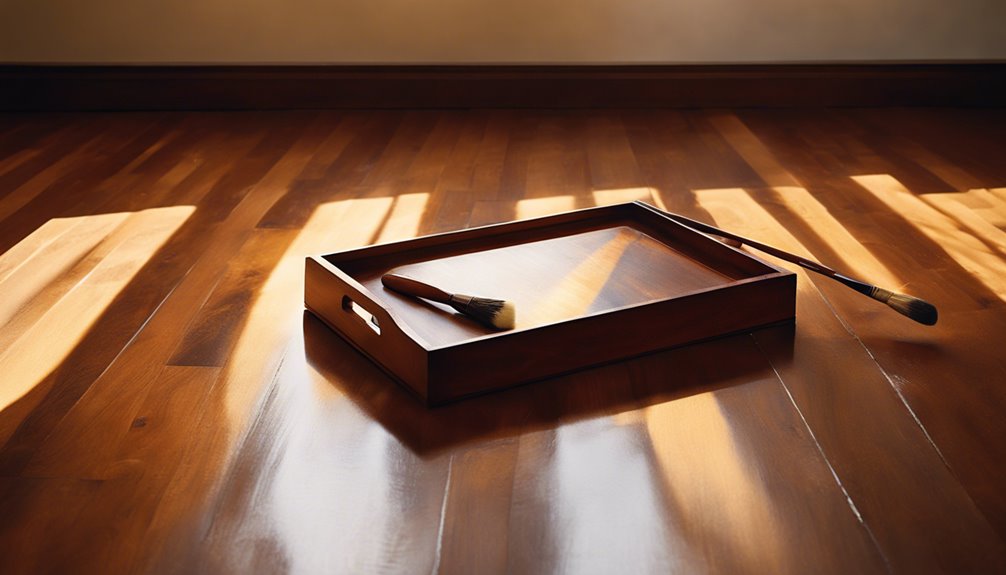
Choose the Right Technique
Choosing the right technique for applying wood stain can greatly impact the final look of your hardwood floors. You'll want to evaluate different stain types and application methods that suit your style and skill level. Here are some options to think about:
- Brush: Great for detailed work and edges.
- Roller: Quick and efficient for larger areas.
- Rag: Perfect for a more hands-on approach, allowing you to control the finish.
- Spray: Provides an even coat but requires extra preparation.
Experimenting with these methods can help you achieve that perfect finish. Remember to test your chosen technique on a small area first, ensuring you love the outcome before tackling the entire floor.
Allow for Proper Drying
Once you've applied the stain to your hardwood floors, it's important to allow for proper drying time to guarantee a flawless finish. Generally, you should let the stain dry for at least 24 hours, but this can vary based on humidity levels. If the air is humid, drying time may extend, so it's vital to monitor the conditions. Make sure your space is well-ventilated to help speed up the process. Avoid walking on the floors during this drying period to prevent any imperfections. Remember, patience is key here; rushing can lead to a less-than-ideal result. By allowing adequate drying time, you set the stage for a beautiful, long-lasting finish that enhances the natural beauty of your hardwood floors.
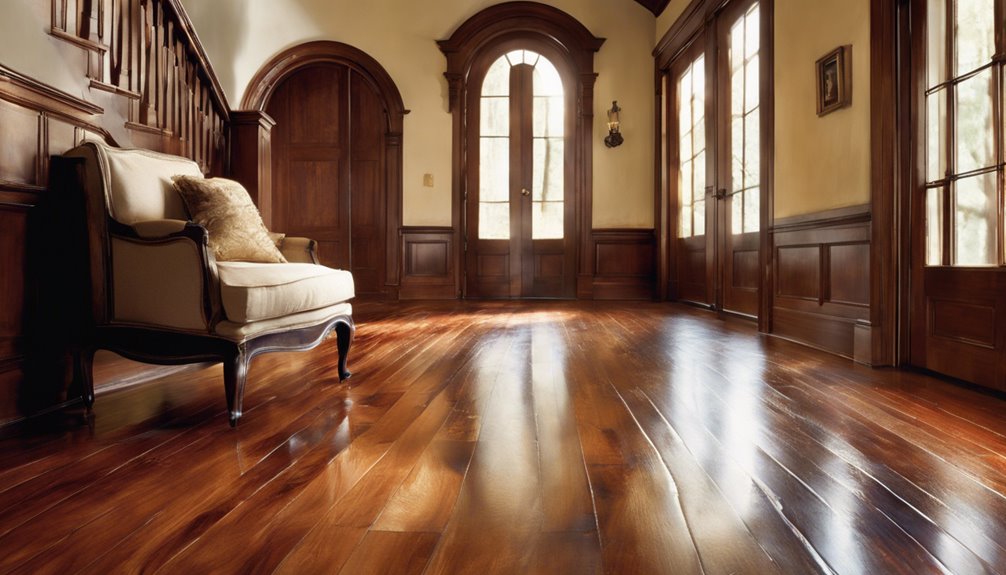
Apply a Protective Finish
After your stain has fully dried, the next step is to apply a protective finish to safeguard your hardwood floors. This finish not only enhances the beauty of your floors but also protects them from wear and tear. There are various finish types, such as polyurethane, varnish, or oil-based finishes, each offering unique benefits.
When applying, consider these application methods:
- Brush-On: Great for detailed areas.
- Roller: Efficient for larger spaces.
- Spray: Ideal for an even coat.
- Wipe-On: Perfect for quick touch-ups.
Whichever method you choose, make sure you follow the manufacturer's instructions for the best results. This way, you'll enjoy your beautifully stained floors for years to come!
Maintain Your Stained Floors
To guarantee your stained hardwood floors maintain their beauty and durability, regular maintenance is essential. Here are some floor maintenance tips to help you create effective cleaning schedules:
| Task | Frequency | Tips |
|---|---|---|
| Sweep or Dust | Daily | Use a soft-bristle broom |
| Damp Mop | Weekly | Use a pH-neutral cleaner |
| Deep Clean | Monthly | Consider a professional service |
| Reapply Finish | Every 3-5 years | Choose a compatible product |
| Inspect for Damage | Quarterly | Address scratches promptly |
Frequently Asked Questions
Can I Stain Engineered Hardwood Floors?
Imagine a vibrant room, sunlight streaming through the window, highlighting the rich tones of your engineered hardwood floors. Yes, you can stain engineered hardwood, but it's crucial to choose the right staining techniques. Start with a light sanding to prepare the surface, then apply a quality stain designed for engineered wood. Remember, though, since the top layer is thinner, always test a small area first to guarantee you achieve the desired look without damage.
How Long Does the Staining Process Take?
When you're considering how long the staining process takes, it really depends on the staining techniques you choose. Typically, applying stain can take a few hours, but you'll need to account for drying times as well. Most stains require at least 4-6 hours to dry before you can apply a second coat, and full drying can take up to 24 hours. So, plan your project accordingly to guarantee great results!
What Color Stain Is Best for My Space?
When choosing a stain color for your space, consider the stain color options that complement your furniture and decor. Don't forget to factor in room lighting; natural light can change how a color appears. For cozy rooms, warm tones like honey or chestnut can create an inviting atmosphere, while cooler shades like gray can bring a modern vibe. Test samples in different lighting to see what truly resonates with your style and enhances the room.
Is It Safe to Stain Floors While Pregnant?
Staining floors while pregnant can feel like walking a tightrope—balancing the desire for beauty with the need for safety. Chemical exposure from stains can pose risks, so it's best to err on the side of caution. If you're considering it, guarantee good ventilation and use low-VOC products. Always consult your healthcare provider for tailored advice. Prioritizing pregnancy safety is key, allowing you to create a lovely space without unnecessary worry.
How Often Should I Refinish My Stained Hardwood Floors?
You should consider refinishing your stained hardwood floors every 5 to 10 years, depending on your refinishing frequency and floor maintenance. If the finish starts to wear down or scratches become noticeable, it's time to act. Regular maintenance, like cleaning and using area rugs, can extend the life of your finish. Being proactive guarantees your floors stay beautiful and durable, giving you the freedom to enjoy your space without worrying about their condition.


