To sister floor joists in 5 easy steps, first assess your existing joists for damage or warping using a straightedge and measure deflection. Next, gather kiln-dried lumber matching your joists, along with structural screws, saw, and drill. Prepare sister joists by cutting to size and treating them against decay. Then, position and secure them flush against the old joists with adhesive and screws spaced evenly. Finally, inspect for alignment and secure fastening to restore strength fully. Understanding these fundamentals sets the stage for detailed reinforcement techniques.
Assess the Existing Floor Joists
Before you begin sistering floor joists, you need to thoroughly assess the existing joists to determine their condition and structural capacity. Start by closely inspecting each joist to evaluate joist stability, focusing on areas prone to stress, such as mid-span and near supports. Identify damage signs like cracks, splits, rot, or insect infestation, as these compromise integrity. Use a straightedge to detect warping or sagging, which can indicate compromised load-bearing ability. Measure deflection under light load for a quantitative gauge of strength. Document all findings meticulously to inform your reinforcement strategy. This analytical approach guarantees you address only compromised joists, preserving material efficiency and structural safety. By understanding the current state, you maintain control over your project’s freedom to deliver a robust, lasting floor system.
Gather Materials and Tools Needed
To effectively sister floor joists, you’ll need a specific set of materials and tools tailored to the task’s structural requirements. Proper material selection guarantees compatibility with existing joists, while tool safety protects you during installation. Focus on quality and precision to maintain floor integrity and your freedom to modify spaces confidently.
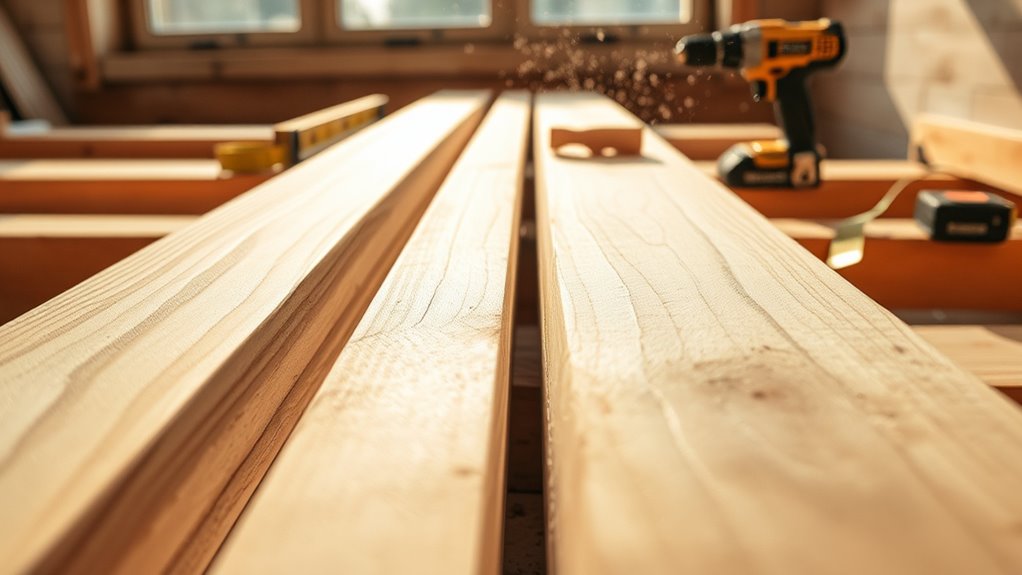
- Lumber: Choose kiln-dried, structurally graded lumber matching the dimensions and species of existing joists for uniform load distribution.
- Fasteners: Use galvanized nails or structural screws rated for floor joist applications to resist corrosion and guarantee long-term stability.
- Power Tools: Equip yourself with a circular saw for cutting lumber, a drill/driver for fastening, and personal protective equipment (PPE) to uphold tool safety standards throughout the process.
Prepare the Sister Joists for Installation
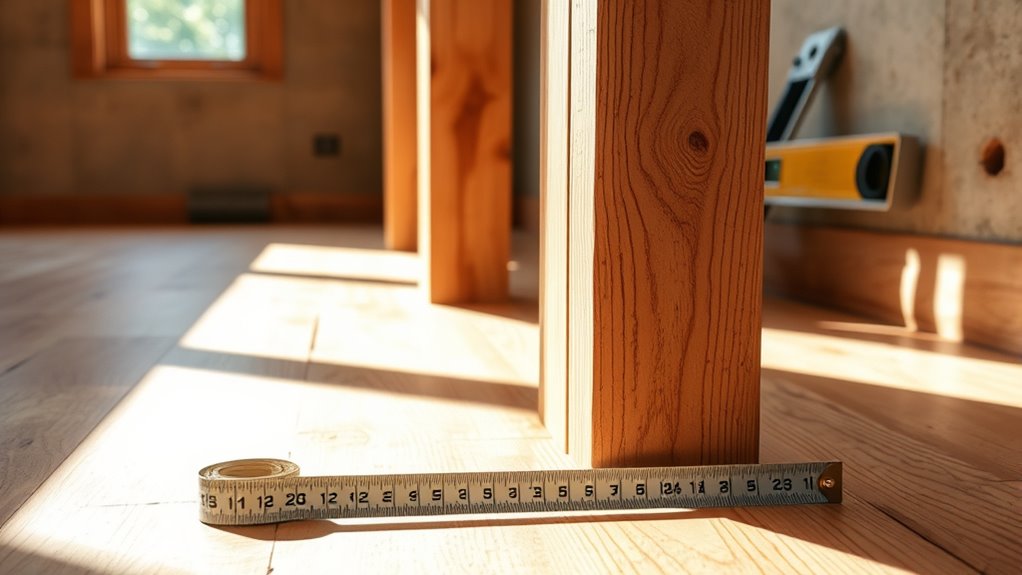
Although selecting quality lumber is essential, preparing the sister joists for installation requires precise cutting and inspection to guarantee a perfect fit alongside the existing joists. You’ll start by verifying the sister joist measurements, making sure length matches the existing joist exactly, factoring in any irregularities. Next, apply appropriate wood treatment to prevent decay and insect damage, prolonging structural integrity. Inspect each joist for cracks or warping before installation.
| Step | Action | Purpose |
|---|---|---|
| Measure | Confirm sister joist length | Ensure seamless alignment |
| Cut | Trim to precise size | Fit flush against existing joist |
| Treat | Apply wood preservative | Enhance durability and protection |
| Inspect | Check for defects | Avoid future structural issues |
Prepping your sister joists this way empowers you to achieve a robust, lasting floor reinforcement.
Attach Sister Joists Securely
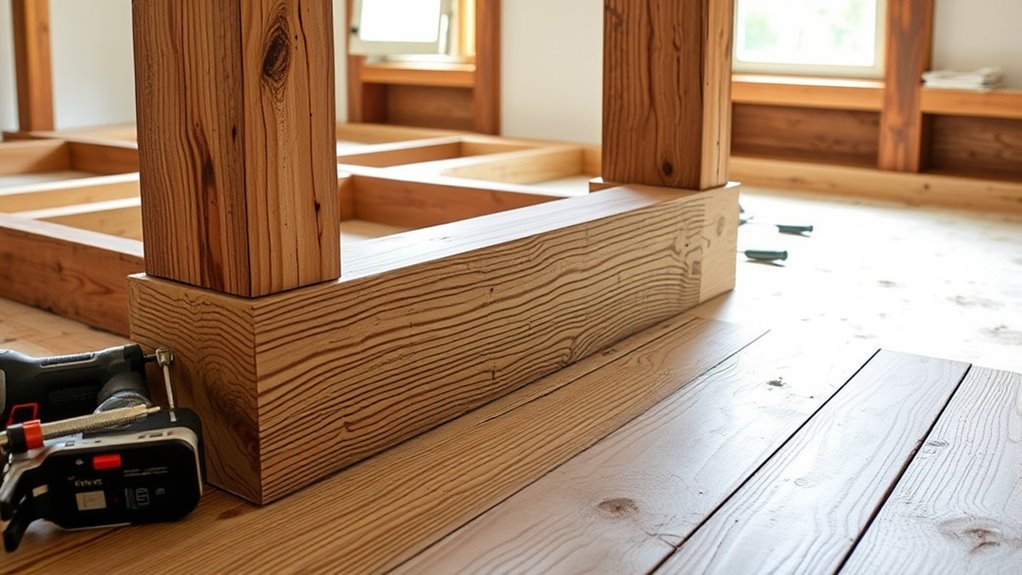
Begin by positioning the sister joist flush against the existing joist, guaranteeing full contact along their lengths. This alignment maximizes sister joist benefits, such as load distribution and structural reinforcement. To attach securely, follow these installation techniques:
Position sister joists flush with existing ones to ensure full contact and optimal structural support.
- Pre-drill holes through both joists to prevent wood splitting, maintaining integrity.
- Use structural screws or lag bolts spaced every 12-16 inches to guarantee strong, consistent fastening.
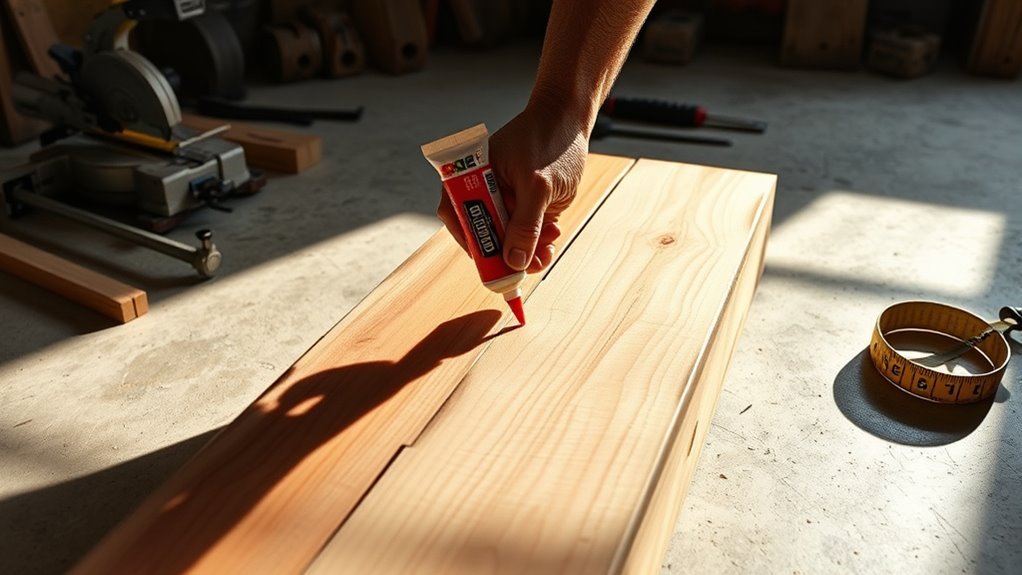
- Apply construction adhesive between joists before fastening to enhance rigidity and reduce squeaks.
Inspect and Finish the Reinforcement
Once the sister joists are firmly attached, you’ll need to inspect the reinforcement thoroughly to confirm proper alignment and fastening integrity. Start by verifying that the sister joist materials match in grade and dimensions, ensuring uniform load distribution. Check all fasteners—nails, screws, or bolts—to confirm they’re flush and secure, applying appropriate floor reinforcement techniques to avoid gaps or movement. Use a level and straightedge to detect any misalignment or twisting that could compromise structural performance. Finally, address any minor imperfections by sanding or trimming edges for a flush finish. This meticulous inspection guarantees that your sister joist reinforcement not only restores floor strength but also maintains long-term stability, granting you the freedom to proceed confidently with your flooring project.


