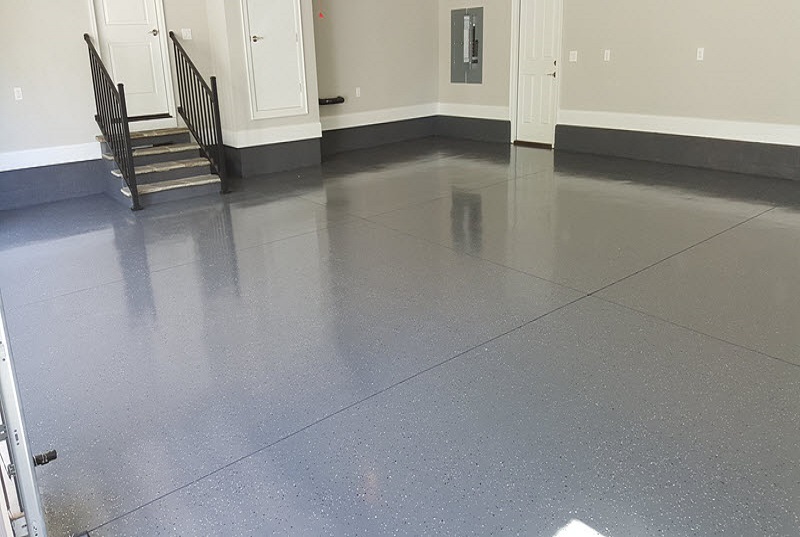
Imagine walking into your garage and seeing a pristine, glossy floor that not only looks fantastic but also stands the test of time. Sealing your garage floor can make this vision a reality, transforming a dull, stained surface into a durable, attractive space.
But why should you invest your time and effort into this project? Because it’s more than just aesthetics; it’s about protecting your space and increasing your home’s value. You might have concerns about how to start or what materials to use, but don’t worry—this guide will walk you through each step.
You’ll discover how easy it can be to achieve a professional finish without breaking the bank. Ready to give your garage the makeover it deserves? Let’s dive into the essentials of sealing your garage floor.
Benefits Of Sealing A Garage Floor
Sealing a garage floor offers many advantages. First, it makes cleaning easier. Dust and dirt don’t stick easily. Spills wipe away quickly. Second, it protects the floor from damage. Oil and chemicals won’t stain or harm it. Third, it improves appearance. The floor looks shiny and new. Fourth, it prevents cracks from forming. This keeps the floor strong for longer. Fifth, it adds value to your home. Buyers like clean, sealed floors. Finally, it is cost-effective in the long run. You save money on repairs.
Choosing The Right Sealant
Different sealants serve different purposes. Epoxy sealants are strong and long-lasting. They protect floors from spills and stains. Acrylic sealants are easier to apply. They dry quickly, making them ideal for quick jobs. Polyurethane sealants offer flexibility. They can handle temperature changes well. Penetrating sealants soak into the floor. They provide protection from the inside out. It’s important to choose the right sealant for your needs.
Think about your garage’s needs before choosing a sealant. Durability is key if your garage has heavy traffic. Ease of application matters for DIY projects. Cost is also important. Some sealants are more expensive. Drying time can affect your choice too. Quick-drying sealants save time. Environmental impact is another factor. Some sealants are eco-friendly. Choose wisely based on these factors.
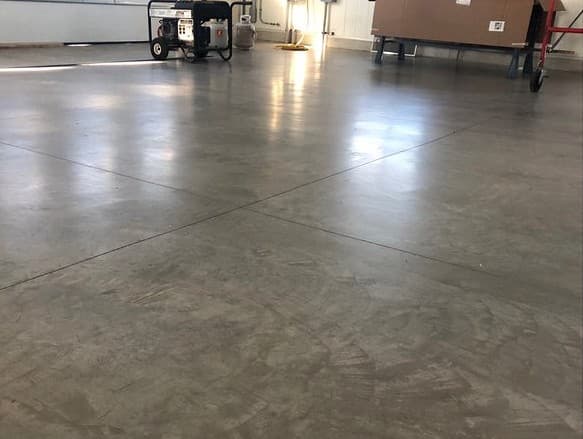
Preparing The Garage Floor
Start with a clean floor. Use a broom to sweep all dirt. Dust and debris can ruin the seal. Use a mop with soap and water. Scrub the floor well. Rinse with clean water. Let it dry completely.
Fill cracks and holes. Use a concrete filler for small gaps. Larger holes need a patching compound. Smooth the surface with a trowel. Wait for it to dry before sealing.
Check the floor for moisture. A dry surface is key. Use a fan or heater if needed. Moisture can prevent proper sealing. Make sure the floor is dry before you begin sealing.

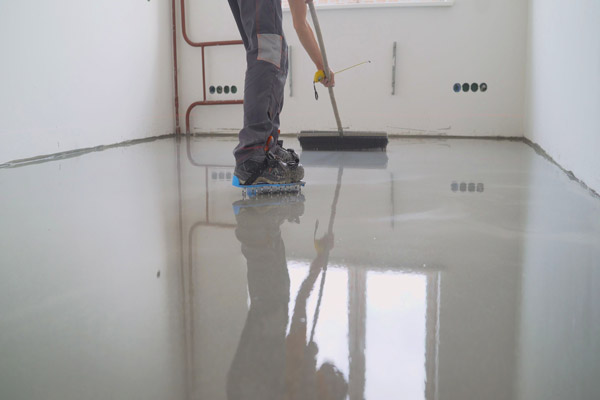
Application Techniques
Preparing the garage floor needs the right tools. A broom or vacuum cleans the surface. A pressure washer removes dirt and stains. For sealing, use a paint roller or brush. A bucket holds the sealant. Don’t forget safety gear. Gloves and goggles protect from chemicals.
Start by cleaning the floor. Remove all dust and debris. Next, wash the floor with a pressure washer. Allow it to dry completely. Pour the sealant into a bucket. Use a roller to apply it evenly. Move from one corner to the other. Let it dry for the time mentioned in instructions.
Applying sealant on a wet floor is a big mistake. It won’t stick well. Using too much sealant causes bubbles and cracks. Not cleaning the floor leads to poor adhesion. Always wear safety gear to avoid chemical burns. Follow the drying time mentioned in the instructions.
Curing And Finishing
Sealing a garage floor involves cleaning and repairing cracks. Apply a concrete sealer evenly for protection. Ensure proper ventilation to help the sealer dry thoroughly. This enhances durability and appearance.
Drying Time
The garage floor needs time to dry. This step is very important. A full day is usually enough. The air should be warm. This helps the floor dry faster. Keep the floor free from dust. No walking on it during this time.
Second Coat Considerations
A second coat may be needed. It makes the floor stronger. Wait for the first coat to dry. This usually takes a full day. The second coat should be thin. This helps it dry well. Use a clean brush or roller for this coat.
Final Touches
Once everything is dry, inspect the floor. Look for any missed spots. Touch them up with more sealant. The edges may need extra care. A small brush works well here. After touching up, let it dry again. Then, the garage floor is ready to use.
Maintenance Tips
Keeping the garage floor clean is very important. Dust and debris should be removed often. Use a broom or a vacuum for this task. A mop with mild soap works well for deeper cleaning. This helps keep the floor looking fresh and shiny. Avoid using harsh chemicals. They can damage the floor sealant.
Check the garage floor for any cracks or chips. Fix them quickly to prevent more damage. Use a concrete patch for small cracks. Larger issues may need professional help. Always ensure the sealant is in good condition. It protects the floor from spills and stains. A well-maintained floor lasts longer and looks better.
Troubleshooting Common Issues
Peeling floors can happen if the surface is not clean. Dust and dirt can cause the sealant to not stick. Always clean the floor first. Use a stiff broom or a vacuum to remove debris. Ensure the floor is dry before sealing. Moisture can make the sealant peel. Check for any oily spots. Clean them with a degreaser. A clean floor is the best starting point.
An uneven surface is tricky. It can make the sealant look bad. Use a level to find uneven areas. Sand down high spots. Fill low spots with a leveling compound. This makes the floor flat. A flat floor helps the sealant stick better. Always wear safety gear while sanding. Dust can be harmful. Take your time to prepare the floor well.
Frequently Asked Questions
What Is The Best Sealant For Garage Floors?
Choosing the right sealant depends on your needs. Epoxy is durable and great for high-traffic areas. Acrylic sealants are affordable and easy to apply. Polyurethane offers excellent resistance to chemicals and abrasion. Assess your garage’s specific requirements to select the best sealant.
How Often Should You Reseal A Garage Floor?
Resealing frequency depends on the sealant type. Epoxy floors typically need resealing every 5-10 years. Acrylic may require resealing every 2-4 years. Regular maintenance and inspection help determine the right resealing schedule. It’s essential to follow the manufacturer’s guidelines for optimal results.
Can You Seal A Painted Garage Floor?
Yes, you can seal a painted garage floor. Ensure the paint is fully cured before applying the sealant. Use a compatible sealant to avoid peeling or bubbling. Sealing helps protect the paint and prolongs its lifespan. Proper surface preparation is crucial for a successful application.
How Long Does Garage Floor Sealant Last?
Sealant longevity varies based on type and usage. Epoxy can last up to 10 years with proper care. Acrylic sealants may last 2-4 years. Polyurethane offers durability for 7-10 years. Regular maintenance and prompt repairs extend the sealant’s life. Follow manufacturer recommendations for best results.
Conclusion
Sealing your garage floor offers great benefits. It keeps dirt away and enhances durability. This simple process improves the appearance of your space. Start with cleaning the floor. Next, apply the sealer evenly. Let it dry properly. Protects against stains.
Adds value to your home. Always choose the right sealer for best results. Regular maintenance ensures longevity. Enjoy a cleaner, more attractive garage. With these steps, sealing becomes easy. Your garage floor transforms beautifully. Follow this guide for a successful project.
A sealed floor is a smart investment. Make your garage shine with little effort.


