Have you ever looked at your concrete floor and wished it were smoother, or maybe more polished? Sanding your concrete floor might be the solution you’ve been searching for.
This simple yet effective process can transform your space, making it look cleaner and more refined. Imagine walking across a perfectly smooth floor, feeling the difference beneath your feet. It’s not just about aesthetics; it’s about creating an environment that feels good.
You’ll discover exactly how to sand your concrete floor, ensuring a flawless finish that you can be proud of. We’ll guide you step by step, making the process easy to follow and even easier to accomplish. Ready to make your concrete floor shine? Let’s dive in!
Tools And Materials
Good tools make sanding easy. A sanding machine is the most important tool. Choose one that works for concrete. Sandpaper with different grits is needed. Start with coarse and finish with fine. Vacuum cleaner helps clean dust. Concrete patch fills holes and cracks. Water spray bottle keeps dust down.
Safety is very important. Safety goggles protect your eyes from dust. Dust mask helps you breathe clean air. Ear protection saves your ears from loud noise. Gloves keep your hands safe. Knee pads protect when working on the floor.
Preparation Steps
Begin by removing all items from the floor. This makes the work easier. Ensure the space is clear. Check for any small objects. Sweep the floor to remove dirt and debris. Pay attention to corners and edges. A clean area helps sanding. It reduces the risk of damage.
Look closely at the concrete surface. Check for cracks or uneven spots. These can affect sanding. If you find any, mark them. This helps in the repair process. Notice any stains. Stains may need extra cleaning. Make sure the surface is dry. Wet surfaces can be slippery.
Choosing The Right Sandpaper
Sandpaper has different grit levels. Grit tells how rough or smooth the sandpaper is. Lower grit numbers mean rougher sandpaper. Higher numbers mean smoother. For concrete floors, start with coarse grit. Usually, 40 to 60 grit is good. It helps remove big bumps. Then, use medium grit. This is around 80 to 120 grit. It makes the surface smoother. Finally, finish with fine grit. Use 200 grit or more for a smooth finish. Choosing the right grit is important. It makes the floor even and nice.
Sandpaper wears out with use. Change it when it feels smooth. If it doesn’t sand well, switch it. Look for signs like dust build-up. If it clogs, it’s time to change. Also, if sanding takes longer, get new sandpaper. Fresh paper works better and saves time. Keep an eye on how it feels and works. This helps in getting a smooth floor.
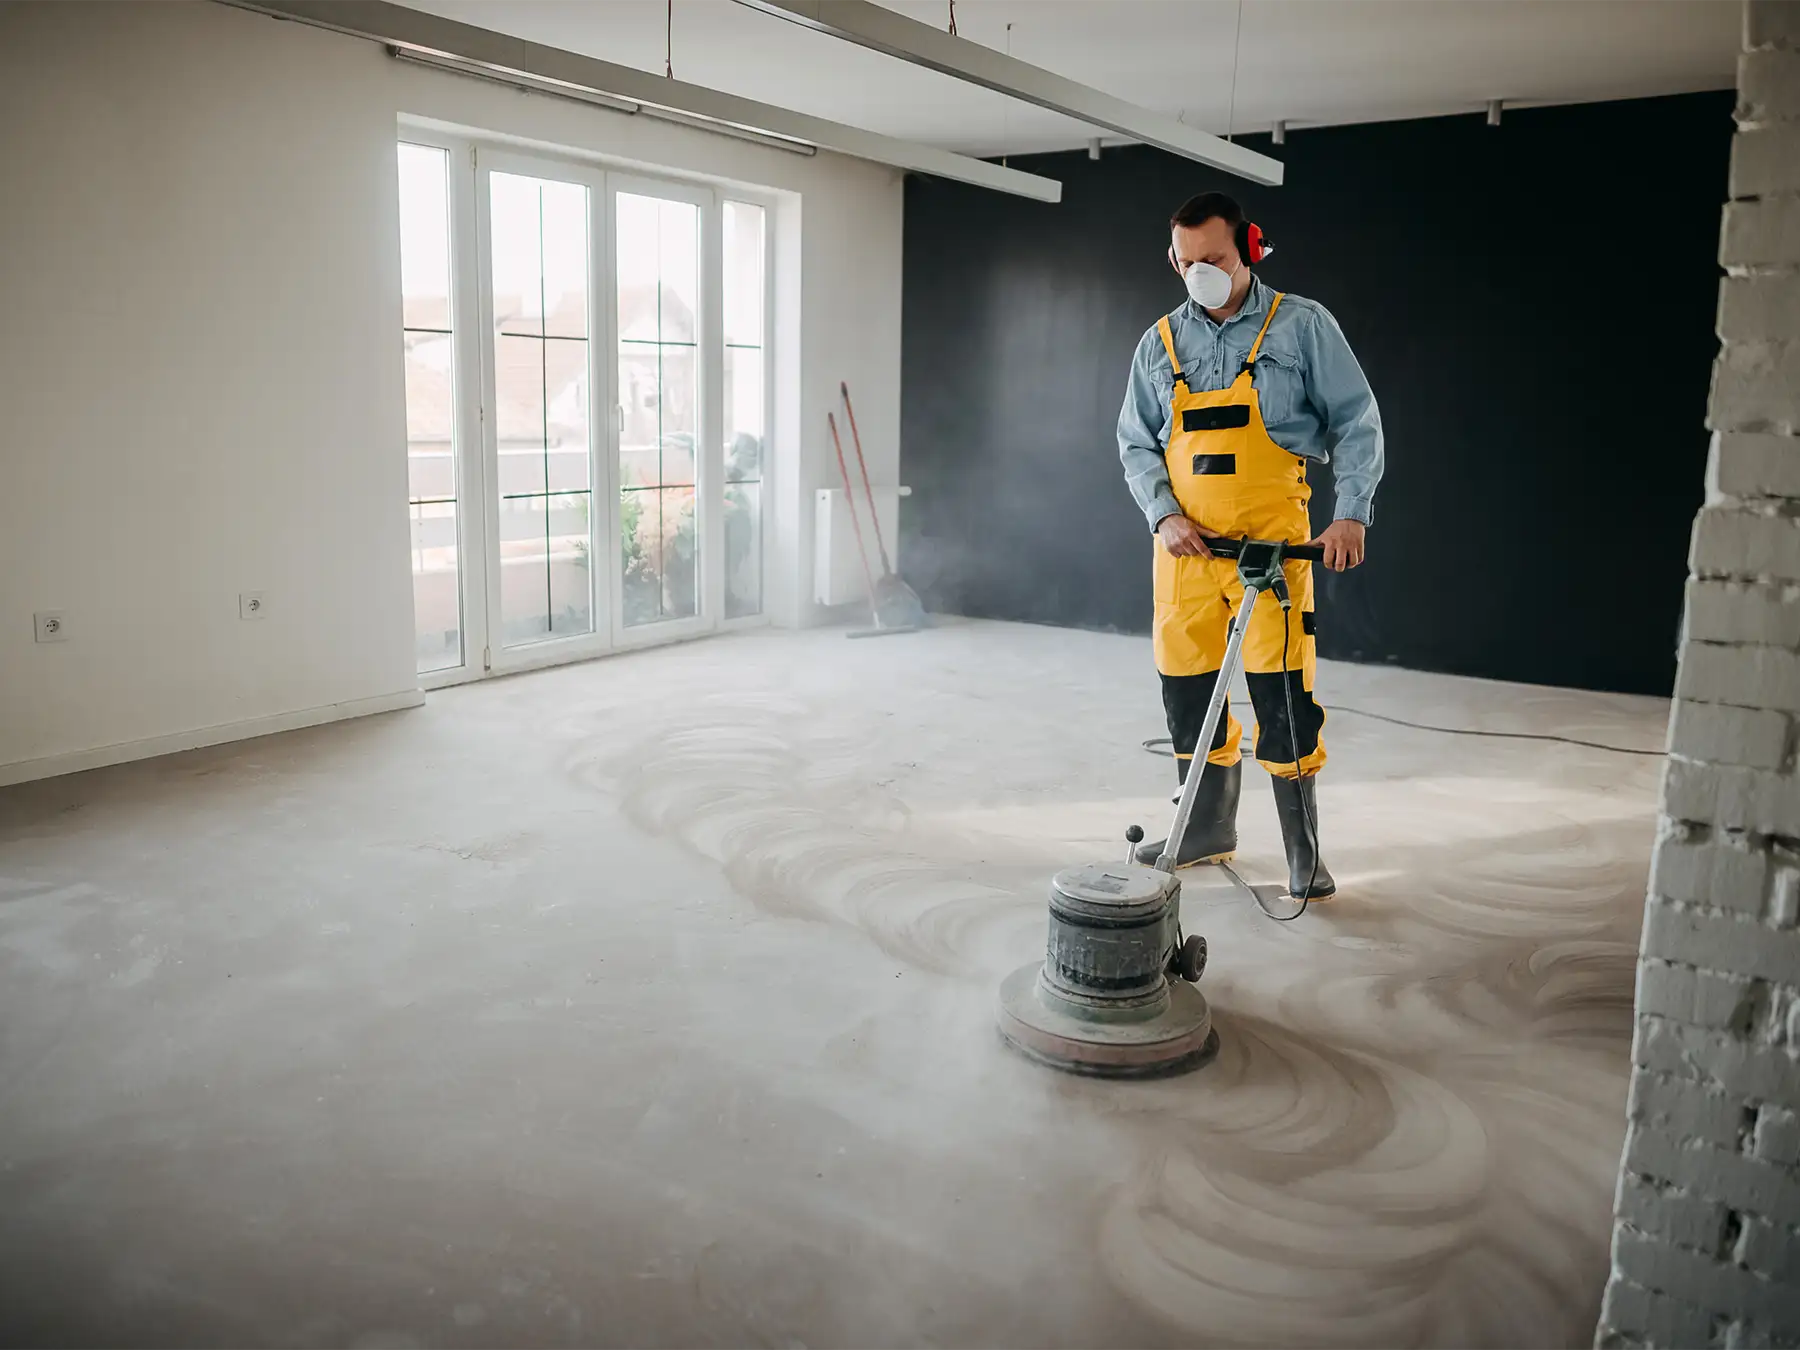
Sanding Techniques
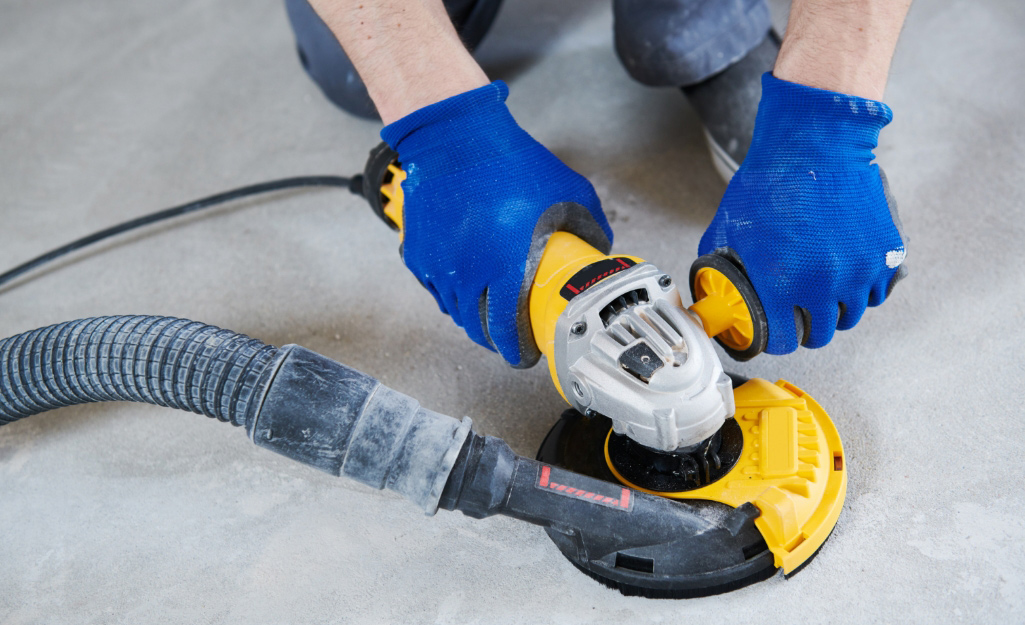
Hand sanding is slow but gives control. Great for small areas. Use sandpaper or sanding block. Choose rough or fine sandpaper. Machine sanding is faster. Perfect for large floors. Use a floor sander or grinder. Machines need power. They are noisy. Hand sanding is quiet. Machines are heavy. Hand tools are light. Machines can sand unevenly. Hand sanding is more even. Both have pros and cons.
Corners and edges are tricky. Machines can’t reach well. Use hand tools for these spots. A sanding block works best. Sand carefully to avoid damage. Be patient. Corners need gentle sanding. Edges need attention. Keep tools clean. Dust can hide areas. Check your work often. Smooth edges look nice.
Safety Precautions
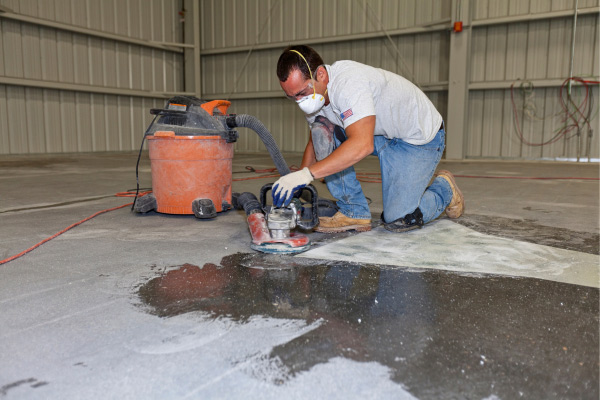
Dust from sanding can be harmful. Always use a vacuum with a filter. This keeps the air clean. Seal off the area with plastic sheets. This stops dust from spreading. Open windows for ventilation. Fresh air helps clear dust. Wear a dust mask. It protects your lungs. Clean up dust regularly. Use a damp cloth or mop. This keeps the floor tidy.
Sanding machines can be loud. Wear ear plugs or earmuffs. These protect your ears. Your eyes need protection too. Safety goggles are important. They stop dust from hurting your eyes. Check the fit of goggles. They should be snug. No gaps allowed. Always have these on while sanding. Your safety matters most.
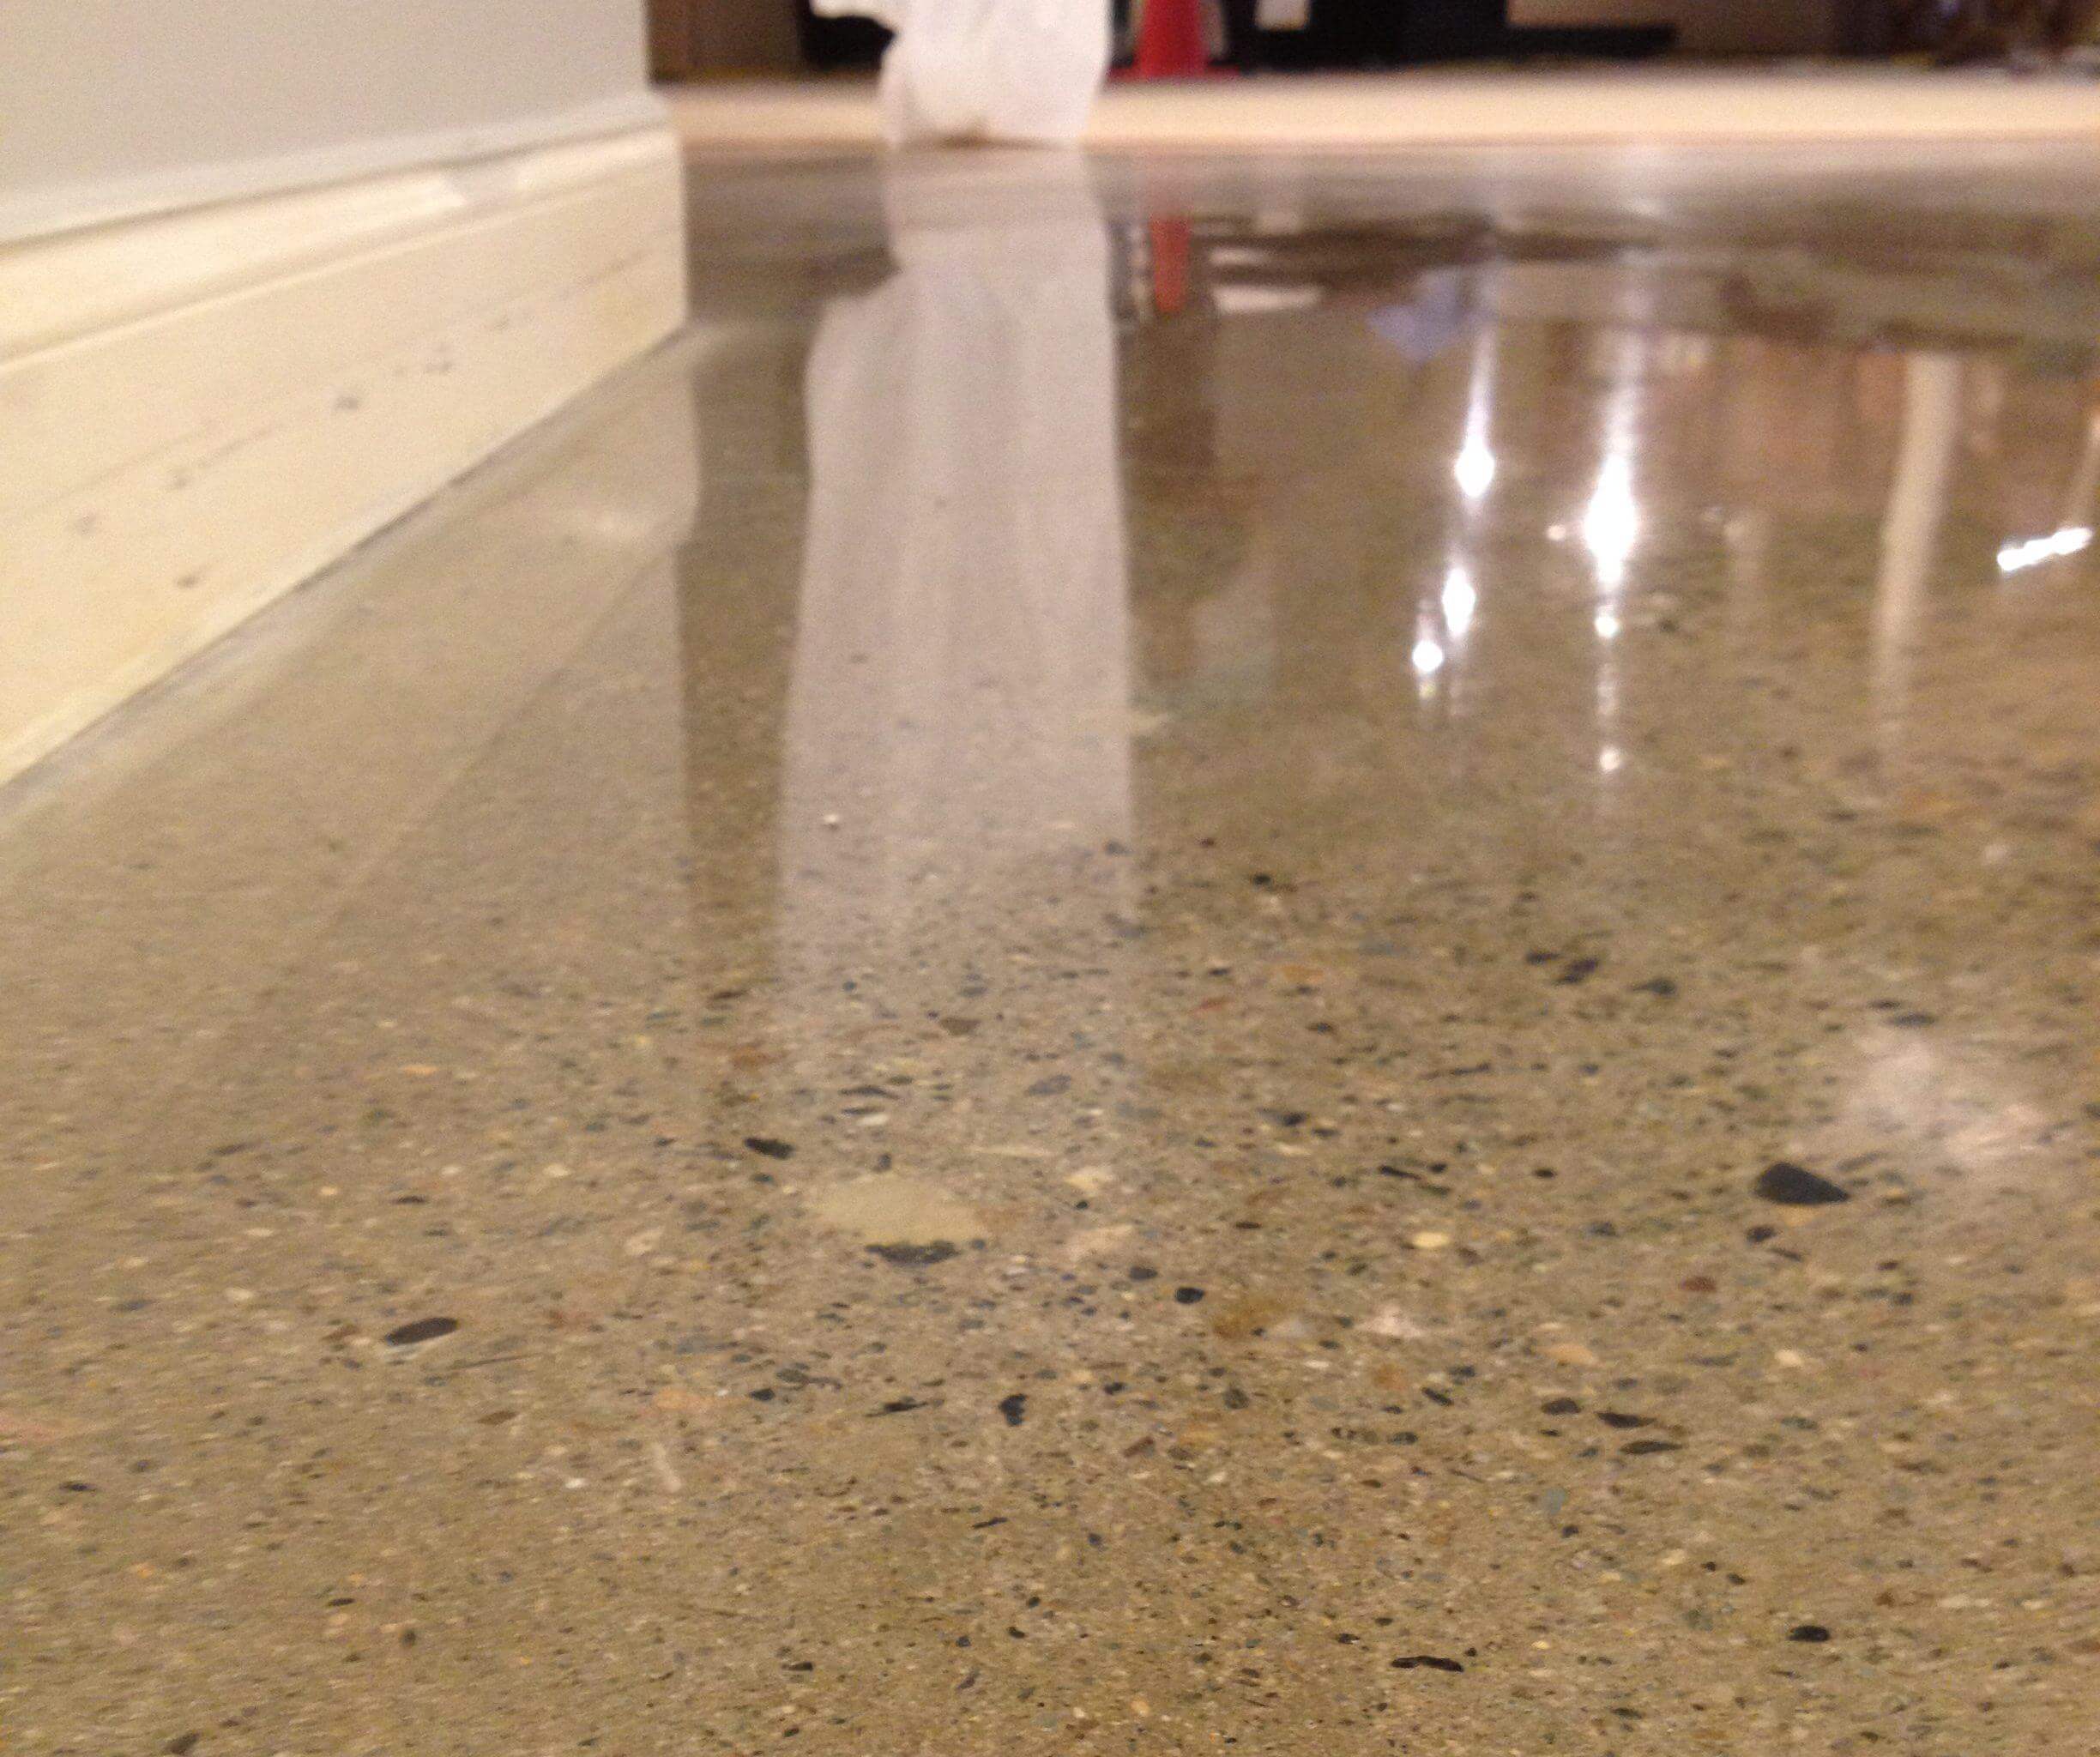
Polishing The Surface
Picking the right polishing pad is crucial for a smooth finish. Different pads work for different surfaces. A soft pad is gentle on the floor. Harder pads are for tougher jobs. Always check the pad size. It must fit your polisher perfectly. Using a wrong pad can damage the floor. Take your time to decide. The right choice makes your work easier.
Sealant protects the floor from stains and scratches. Always clean the surface before applying. Use a clean mop or sponge. Apply the sealant evenly. Avoid puddles or bubbles. Let the sealant dry completely. It usually takes a few hours. Check the instructions on the sealant bottle. Some sealants need a second coat. This ensures better protection. Keep the area ventilated while applying.
Troubleshooting Common Issues
Uneven surfaces can be tricky. First, look for high spots. Use a straightedge to find them. Mark these areas with chalk. Then, use a coarse-grit sandpaper. This helps to level the high spots. Work slowly. Check your progress often. It’s important to sand evenly. This helps avoid low spots.
Over-sanding can damage your floor. Sand lightly. Use finer grit sandpaper as you go. This keeps the surface smooth. Always check your work. If you see dust, stop. This means you are sanding too much. Take breaks often. It helps you stay careful.
Maintenance Tips
Keep the concrete floor clean for a long life. Sweep the floor daily to remove dirt and dust. Use a mop with warm water for better cleaning. Add a bit of mild detergent for tough spots. Rinse with clean water to avoid soap marks. Let the floor air-dry or use a soft cloth to dry.
Check for cracks or chips on the floor. Use a concrete patch to fix small cracks. Mix the patch with water until smooth. Apply it with a putty knife. Let it dry completely before walking on it. For deeper cracks, use a concrete filler. Smooth it out with a trowel. Wait for it to harden.
Frequently Asked Questions
How Do You Sand A Concrete Floor?
To sand a concrete floor, start by cleaning the surface thoroughly. Use a coarse-grit sandpaper or a concrete grinder for uneven areas. Gradually move to finer grits for a smooth finish. Ensure proper ventilation and wear protective gear. Regularly check progress to avoid over-sanding.
What Tools Do I Need For Sanding Concrete?
For sanding concrete, you’ll need a concrete grinder or a floor sander, various grits of sandpaper, and a vacuum. Safety gear like gloves, goggles, and a dust mask are essential. Additionally, use a broom and mop for cleaning the floor before and after sanding.
Can I Sand A Concrete Floor By Myself?
Yes, you can sand a concrete floor by yourself. It requires proper tools and safety gear. Follow a step-by-step approach, starting from coarse to fine grits. Ensure the workspace is well-ventilated and take necessary safety precautions. It’s a time-intensive task but manageable with patience.
How Long Does It Take To Sand Concrete?
The time to sand concrete depends on the floor’s size and condition. For a small room, it might take a few hours. Larger or more uneven areas may require a full day. Regular breaks are essential to prevent fatigue. Proper planning and preparation can streamline the process.
Conclusion
Sanding concrete floors transforms them into smooth surfaces. Start with the right tools. Ensure proper safety gear. Follow each step carefully. Begin with coarse grit sandpaper. Gradually move to finer grits. Keep your floor clean during the process. Pay attention to corners and edges.
Regular maintenance keeps the floor looking great. Finish with a sealant for protection. Now, your concrete floor shines and lasts longer. Enjoy your new, polished space. Feel proud of your hard work. Keep exploring DIY projects. Each task enhances your skills.
Sanding concrete can be challenging, but the results are rewarding.


