Are you dreaming of reviving your home’s hardwood floors to their original glory? You’ve come to the right place.
Sanding and refinishing hardwood floors may sound daunting, but it’s easier than you think—and incredibly rewarding. Imagine stepping into a room where the floors gleam with a rich, natural sheen. Those floors can be yours, and the transformation will breathe new life into your space.
By following a few simple steps, you can achieve professional results without breaking the bank. So, roll up your sleeves and get ready to discover how you can refresh your floors and elevate your home’s ambiance. Keep reading, because you’re about to unlock the secrets to making your hardwood floors look brand new!

Tools And Materials Needed
To sand and refinish hardwood floors, you need some key tools. A sander is very important. It helps make the floor smooth. Sandpaper is used with the sander. Different grits are needed. A vacuum cleans up dust. Broom and dustpan help too. Wood stain gives color. Brushes or rags apply the stain. A polyurethane finish protects the floor. Safety goggles and masks keep you safe from dust. Always keep gloves handy for protection.
Gather these materials before starting. It makes the job easier. Make sure everything is in good condition. This ensures a smooth process. Keep tools organized. It saves time and effort.
Preparing The Room
Move all furniture out of the room. Lift rugs carefully to avoid dust. Keep them in another room. This makes space for sanding. Check for small items left behind. Remove them for safety.
Use plastic sheets to block doorways. This keeps dust from spreading. Cover vents with tape. It stops dust from entering the system. Ensure all gaps are sealed. This protects other areas from dust.
Repairing Floor Damage
Sanding and refinishing hardwood floors restores their beauty and durability. Begin by removing old finishes with a sander. Next, apply a new stain and sealant for protection. This process refreshes the floor, enhancing its appearance and longevity.
Filling Gaps And Cracks
Gaps and cracks can make floors look old. Use a wood filler to fix them. Choose a filler that matches the floor color. Apply it with a putty knife. Let it dry completely. Sand the area until smooth. This helps the floor look even and nice.
Replacing Damaged Boards
Some boards might be too damaged. These need replacing. First, remove the old board with care. Measure the new board to fit the space. Cut it to the right size. Place the new board in the gap. Nail it down securely. Sand the edges to blend with the floor. This keeps the floor looking neat and tidy.
Sanding The Floors
Sanding and refinishing hardwood floors brings back their original shine and beauty. Start by removing furniture and cleaning the area. Use a sander to remove the top layer, then apply a fresh coat of finish for a stunning transformation.
Choosing The Right Sandpaper
Sandpaper is important for a smooth finish. Start with coarse grit. It removes old finish fast. Move to medium grit next. It smooths the surface. End with fine grit. It makes the floor shiny. Check the sandpaper often. Replace it when worn. This ensures a perfect finish.
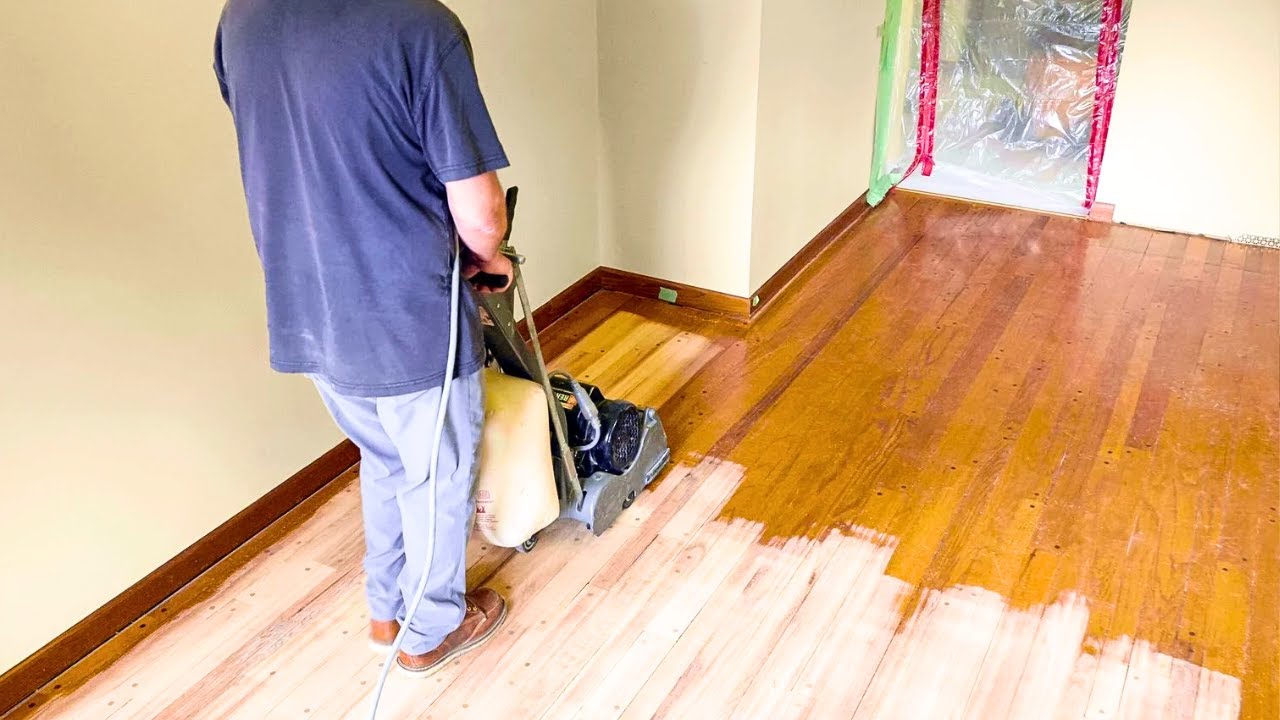
Operating The Drum Sander
Drum sanders are powerful machines. They remove old finishes quickly. Always check the machine before use. Turn it on slowly. Push it forward gently. Keep it moving evenly. Avoid leaving it in one spot. This prevents deep scratches. Always wear safety goggles. Protect your eyes from dust.
Using An Edge Sander
Edge sanders reach corners easily. They work where drum sanders cannot. Hold the sander firmly. Move it along the edges. Sand the corners carefully. Use light pressure for a smooth finish. Check the edges after sanding. Look for rough spots. Sand them again if needed. This ensures a neat finish.
Cleaning Up Dust
Dust flies everywhere when sanding floors. It covers every corner of the room. Use a vacuum to remove this dust. Make sure to get every spot. Don’t forget to check under furniture and in corners. A broom can help with hard-to-reach places. Sweep the dust into a dustpan. Dispose of it in a trash bag.
Masks are important while cleaning. They protect you from breathing dust. Wear them throughout the process. Goggles can keep dust out of your eyes. It’s good to open windows too. Fresh air helps remove any remaining dust particles. This keeps the room clean and safe.
Applying The Stain
Choosing the right stain color is fun. First, look at the room. Think about what looks nice. Dark stains can make a room feel warm. Light stains can make it look big.
Try samples on a small spot. See how it looks. Always check in daylight. This helps you know the real color. Take your time. Choosing a color is important.
Applying the stain takes care. Use a clean cloth. Dip it in the stain. Rub it on the wood slowly. Make sure the color is even. No dark spots.
Work in small sections. This helps you see how it looks. Wipe off extra stain quickly. This helps the wood look smooth. Always follow the grain. This keeps the wood looking natural.
Sealing With Finish
Picking the right finish is important for your floors. There are different types to choose from. Oil-based finishes are shiny and last long. Water-based finishes dry fast and have less smell. Wax finishes give a natural look but need more care. Polyurethane finishes are strong and protect well. Choose what works best for your home.
Start by cleaning the floor well. Use a clean cloth to remove dust. Apply the finish with a brush or roller. Use even strokes for a smooth look. Let the finish dry before walking on it. Some finishes need more than one coat. Always check the drying time on the can.

Curing And Final Touches
Wood floors need time to cure after sanding. This means waiting before you walk on them. Usually, it takes about 48 hours. During this time, keep the floor clear. No heavy objects should be placed on it. This helps the floor to set well. A well-cured floor lasts longer. Patience is key here.
Once the floor is ready, it’s time to reinstall fixtures and furniture. Carefully place tables and chairs back. Avoid dragging them on the floor. Lift them instead to prevent scratches. Use felt pads under furniture legs. This protects the floor from marks. Your floor will look neat and polished.
Frequently Asked Questions
What Tools Do I Need To Refinish Hardwood Floors?
To refinish hardwood floors, you’ll need a drum sander, edge sander, sandpaper, vacuum, and a buffer. Safety gear like masks and goggles is essential. Ensure you have wood filler for repairs. Finally, apply a wood stain and finish for protection and shine.
How Long Does Refinishing Hardwood Floors Take?
Refinishing hardwood floors usually takes 3-5 days. Sanding and cleaning require a day or two. Applying stain and finish takes another couple of days. Drying time is essential to ensure the finish sets properly. Always plan for extra time for unexpected issues.
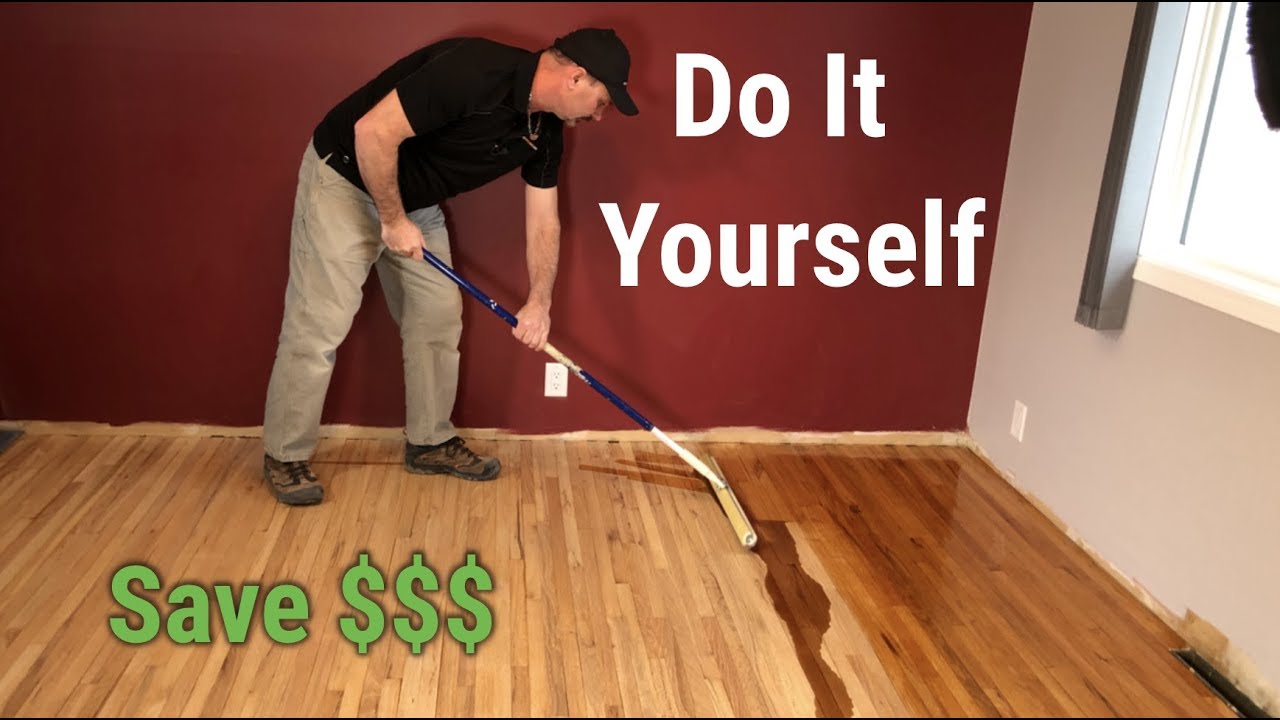
Can I Refinish Hardwood Floors Myself?
Yes, you can refinish hardwood floors yourself. It requires patience, the right tools, and careful execution. DIY refinishing can save money but demands effort and time. Ensure you follow proper steps to achieve a professional finish. Safety precautions are crucial during the process.
How Often Should Hardwood Floors Be Refinished?
Hardwood floors should be refinished every 7-10 years. High-traffic areas might require more frequent refinishing. Regular maintenance and cleaning can extend the period between refinishes. Inspect floors for wear and damage signs to determine if refinishing is necessary sooner.
Conclusion
Sanding and refinishing hardwood floors can refresh your home. It’s a simple process with rewarding results. You need patience and the right tools. Remember to follow safety tips during the work. Ventilate the area well. Protect yourself with masks and goggles.
Choose a finish that matches your style. Apply it evenly and let it dry completely. Enjoy the beauty of your renewed floors. Regular maintenance keeps them shiny and strong. Embrace the satisfaction of a job well done. Your home feels new and inviting.
Keep exploring DIY projects for more home improvements.


