To replace your boat flooring, start by evaluating the current flooring for damage and moisture levels. Choose a durable material like marine-grade vinyl or teak that matches your aesthetic. Gather essential tools such as a utility knife, pry bar, and safety gear. Remove the old flooring carefully, then install the new material according to manufacturer instructions, ensuring proper adhesive application. Finally, apply protective coatings and maintain the area regularly to extend its lifespan. More detailed guidance awaits ahead.
Assessing Your Current Flooring
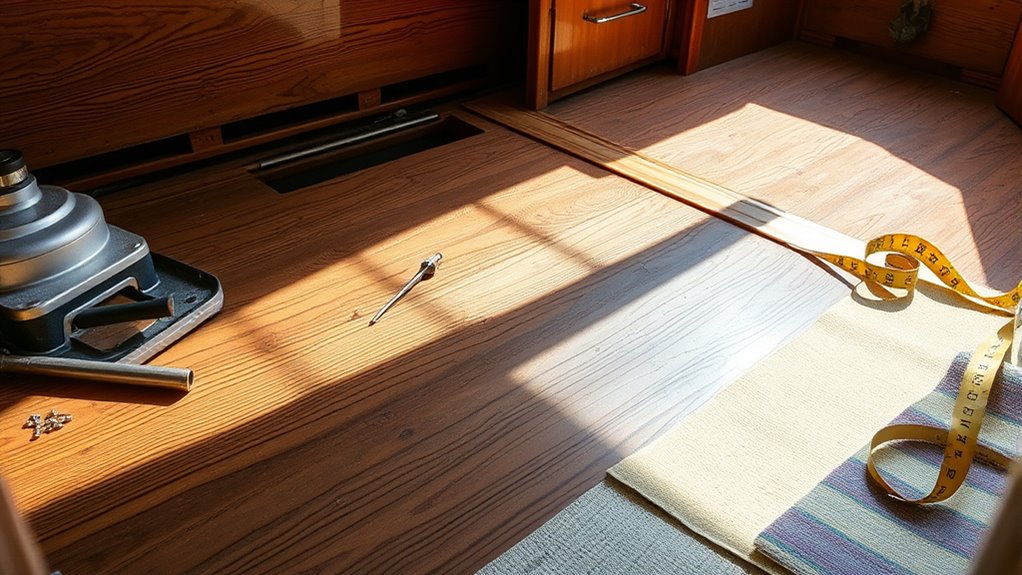
Before you plunge into replacing your boat flooring, it's essential to assess your current flooring's condition. Start by examining for any visible damage like cracks, warping, or delamination. These indicators can reveal underlying issues that need addressing. Next, check the moisture levels in your flooring; using a moisture meter can provide accurate readings. Elevated moisture can lead to mold growth and structural damage, so it's important to identify these levels early. If you find high moisture, consider the source—whether from leaks or inadequate ventilation. Document your findings meticulously to guide your replacement choices. This assessment not only guarantees a smoother replacement process but also empowers you to make informed decisions, ultimately enhancing your boat's performance and longevity.
Choosing the Right Flooring Material
Choosing the right flooring material for your boat is essential, as it directly impacts durability, comfort, and maintenance. When evaluating options, consider flooring durability first; materials like marine-grade vinyl or teak offer resilience against moisture and wear, ensuring longevity. Next, think about aesthetic considerations—your chosen flooring should complement your boat's style while reflecting your personal taste. For instance, a sleek, modern look might benefit from a durable laminate, while a classic feel could be achieved with rich hardwood. Additionally, weigh the maintenance requirements of each material; some options require regular upkeep, while others are more forgiving. Ultimately, select a flooring that balances durability and aesthetics to create a comfortable, inviting space that enhances your freedom on the water.
Gathering Necessary Tools and Supplies
Before you start replacing your boat flooring, you need to gather the essential tools and supplies. This includes selecting the right flooring material, as well as ensuring you have the necessary safety equipment on hand. Having everything organized will streamline the process and enhance your efficiency.
Essential Tools Needed
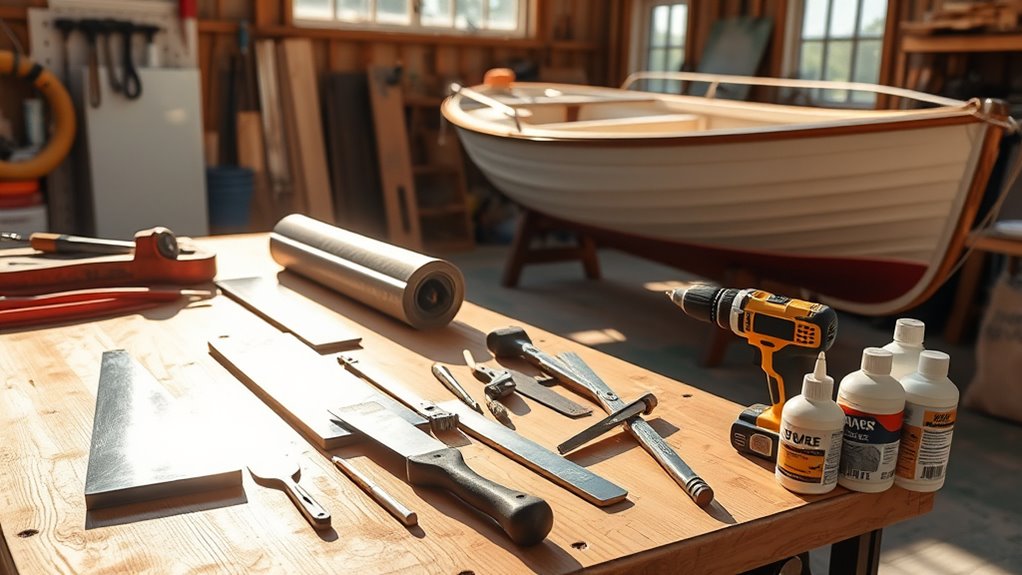
When starting on the task of replacing your boat's flooring, it is vital to gather the right tools and supplies to guarantee a smooth process. Begin with fundamental equipment such as a utility knife for cutting, a pry bar for removing old materials, and a power sander for surface prep. Tool types like a measuring tape and square secure accurate cuts and fitting. Don't forget a heat gun for adhesive removal and a vacuum to keep your workspace clean. Safety gear, including gloves and goggles, is critical for protection. Having these tools on hand not only streamlines your project but also gives you the freedom to tackle any unexpected challenges confidently. Equip yourself well, and your flooring replacement will be a breeze.
Flooring Material Options
Selecting the right flooring material for your boat is essential to its durability and appearance. You've got several options to take into account, each offering unique benefits. Here are some popular flooring materials:
- Vinyl Options: Lightweight and resistant to water and stains, vinyl is easy to install and maintain.
- Teak Alternatives: Synthetic teak provides the classic look of wood without the upkeep, making it a stylish and practical choice.
- Carpet: While it offers comfort, verify it's marine-grade to withstand moisture.
- Rigid PVC: Durable and slip-resistant, this option stands up to harsh conditions while providing a sleek finish.
Evaluate these materials based on your specific needs, making sure that your choice enhances both your boat's functionality and aesthetic appeal.
Safety Equipment Required
Safety is paramount when replacing boat flooring, so gathering the right tools and supplies is essential. Make certain you have the necessary safety gear to protect yourself, as well as an emergency kit on hand. Here's a quick reference table for your safety equipment:
| Tool/Supply | Purpose | Quantity |
|---|---|---|
| Safety Goggles | Eye protection | 1 pair |
| Gloves | Hand protection | 1 pair |
| Dust Mask | Respiratory protection | 1 |
| First Aid Kit | Emergency care | 1 |
| Fire Extinguisher | Fire safety | 1 |
With the right safety gear and an emergency kit, you'll guarantee a safer, more efficient flooring replacement process. Prioritize your safety and enjoy the freedom of working on your boat.
Removing the Old Flooring

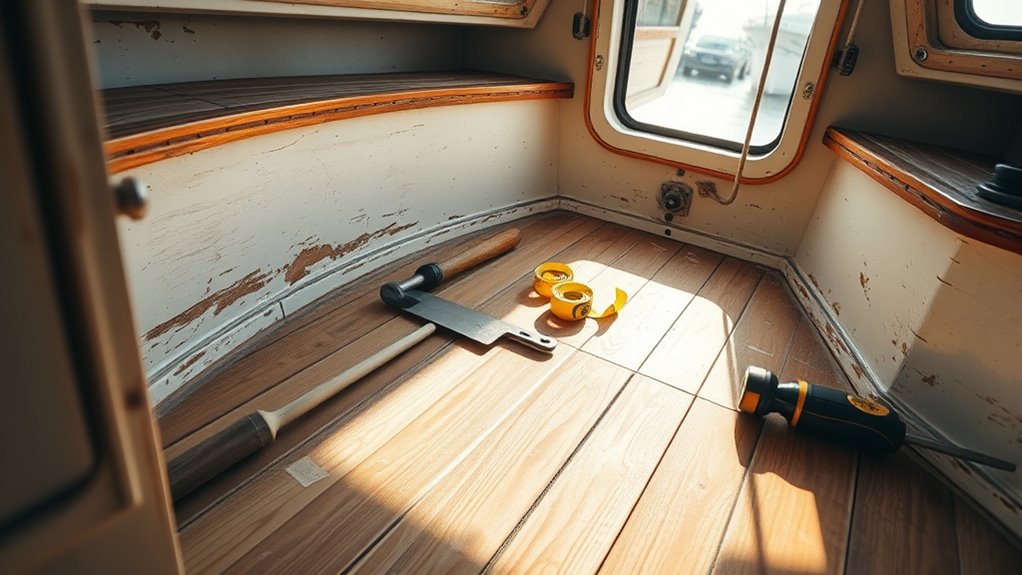
To successfully remove the old flooring from your boat, start by gathering the necessary tools, including a utility knife, pry bar, and scrapers. The right removal techniques will make the process efficient and effective.
- Cut the old flooring into manageable sections using your utility knife.
- Pry up the edges gently with the pry bar, taking care not to damage the underlying surface.
- Scrape away any adhesive residue with scrapers to guarantee a clean base for your new flooring.
- Dispose of the old flooring properly, considering recycling options if available.
Installing the New Flooring
With the old flooring removed and the surface prepped, you're ready to install the new flooring in your boat. Begin by selecting the right flooring material that suits your boating lifestyle. Familiarize yourself with various installing techniques, whether you're opting for a snap-in, glue-down, or interlocking system. Apply flooring adhesives according to the manufacturer's instructions, ensuring even coverage for ideal bonding. Start laying the flooring at one end, pressing it firmly into the adhesive, and work your way across the surface. Use a roller to eliminate air bubbles, ensuring a smooth finish. Regularly check for alignment and adjust as necessary. This meticulous approach will guarantee a durable, aesthetically pleasing floor, letting you enjoy the freedom of the open water.
Finishing Touches and Maintenance Tips
Once you've installed the new flooring, maintaining its appearance and durability is essential. Regular cleaning and inspections will help you catch minor damage before it escalates, ensuring your investment lasts longer. By following these maintenance tips, you'll keep your boat looking pristine and performing at its best.
Cleaning and Care
Maintaining the cleanliness and condition of your new boat flooring is essential for longevity and performance. To guarantee your flooring stays in top shape, employ effective cleaning techniques and high-quality care products. Here are four key tips:
- Regular Sweeping: Remove dirt and debris regularly to prevent scratches.
- Gentle Cleaning Solutions: Use mild soaps and cleaners specifically designed for marine environments.
- Soft Brushes or Mops: Employ non-abrasive tools to avoid damaging the surface.
- Dry Thoroughly: After cleaning, dry the flooring completely to prevent mold and mildew.
Regular Inspections
While it's easy to focus on the aesthetics of your boat flooring, regular inspections are essential for ensuring its durability and safety. Performing routine checks can reveal early signs of wear, potential hazards, and moisture intrusion that might compromise your flooring. The regular inspection benefits include prolonging the life of your flooring and preventing costly repairs down the line.
Avoid common inspection mistakes like neglecting hard-to-see areas or overlooking minor imperfections. Use a flashlight to illuminate dark spots and check for loose sections or cracks. Remember, even the smallest issues can escalate if left unattended. By staying proactive, you'll maintain not just the beauty of your boat but also its safety and performance, allowing you to truly enjoy the freedom of the open water.
Repairing Minor Damage
Repairing minor damage to your boat flooring can greatly extend its lifespan and maintain its appearance. Regular damage assessments allow you to catch issues early, preventing more extensive repairs later. Here's how to tackle minor repairs effectively:
- Identify Damage: Inspect for scratches, chips, or soft spots.
- Choose Repair Method: Depending on the damage, use epoxy, wood filler, or replacement panels.
- Prepare the Surface: Clean the area thoroughly and sand if necessary to guarantee good adhesion.
- Finish and Seal: Apply protective coatings to match your flooring, guaranteeing longevity.
Frequently Asked Questions
How Much Does It Cost to Replace Boat Flooring?
When considering the cost to replace boat flooring, you'll need to account for several cost factors. These can include the type of flooring materials you choose, such as vinyl, carpet, or composite, which vary considerably in price. Labor costs also play a role, especially if you hire professionals. Generally, you might expect to spend anywhere from $15 to $40 per square foot, depending on the quality and complexity of the installation process.
Can I Replace the Flooring Alone or Need Help?
You can definitely replace the flooring alone, but it might be wise to take into account some DIY assistance, especially if you're unfamiliar with the materials involved. Certain flooring materials can be tricky to handle, and having a second pair of hands could expedite the process and guarantee precision. If you're comfortable with tools and have a solid plan, go for it; otherwise, don't hesitate to ask for help to achieve the best results.
How Long Does the Flooring Replacement Process Take?
The flooring replacement process can take anywhere from a few hours to several days, depending on the flooring materials and your experience level. If you're using simple snap-in tiles, installation time might be shorter. However, if you're working with adhesive materials or intricate designs, expect a longer timeframe. It's essential to plan ahead, accounting for drying times and ensuring everything's properly fitted to achieve that sense of freedom you crave on the water.
What Are Common Mistakes During Flooring Replacement?
When tackling flooring replacement, you might run into common mistakes that can hinder your progress. Poor preparation is a significant pitfall; skipping this step can lead to complications down the line. Additionally, inadequate measurement often results in improper fit, wasting materials and time. To achieve a successful outcome, take your time to prepare the workspace and double-check all measurements. This attention to detail will guarantee your project goes smoothly, giving you the freedom to enjoy your new flooring.
Will New Flooring Affect My Boat's Resale Value?
Yes, new flooring can greatly impact your boat's resale value. In the resale market, buyers often prioritize aesthetics and quality materials. If you choose durable, high-end flooring materials, it not only enhances your boat's appearance but also signals that it's well-maintained. Conversely, opting for cheaper options might deter potential buyers. Ultimately, the right flooring can make your boat more appealing, giving you the freedom to negotiate a better selling price.


