Imagine walking into your living room, only to spot a glaring scratch on your beautiful hardwood floor. It’s frustrating, isn’t it?
You might feel a mix of annoyance and helplessness, wondering if your perfect floor will ever look the same again. But don’t worry—you’re not alone, and there’s a way to fix it without breaking the bank or losing your mind.
This guide will walk you through the simple steps to repair scratches in your hardwood floor, restoring its charm and elegance. You’ll learn easy techniques that can save you money and help your floor look as good as new. Stick with us, and by the end of this article, you’ll have the confidence and knowledge to tackle those scratches head-on. Your floor deserves a little TLC, and you’re just a few steps away from bringing back its natural beauty.
Assessing The Damage
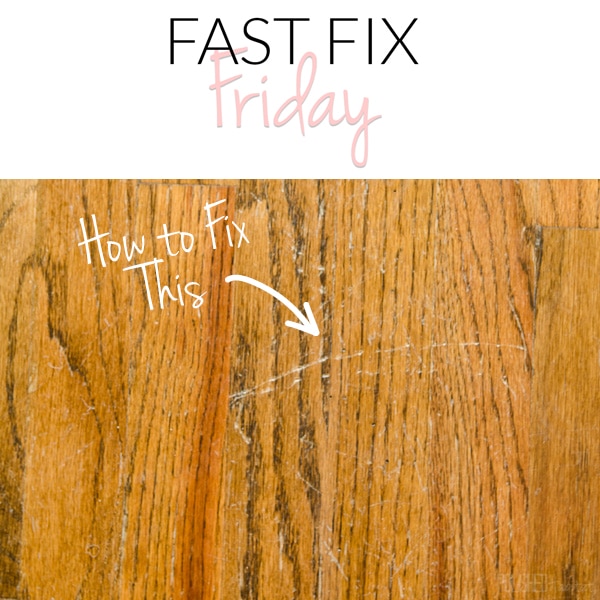
Check the floor for any big scratches. Look for small and deep ones. Deep scratches need more care. Light scratches are easier to fix. Feel the scratch with your finger. This helps know how deep it is. Use a flashlight to see better. Check the floor from different angles. Make sure to see all scratches. Take notes of where they are.
Measure the scratch length. This helps know how much material you need. Compare the scratch to a ruler. Look for scratches near each other. Group close scratches together. This helps when fixing them. Think about the floor finish. Different finishes need different fixes. Know your floor type. Wood type affects how to fix it.
Gathering Necessary Tools
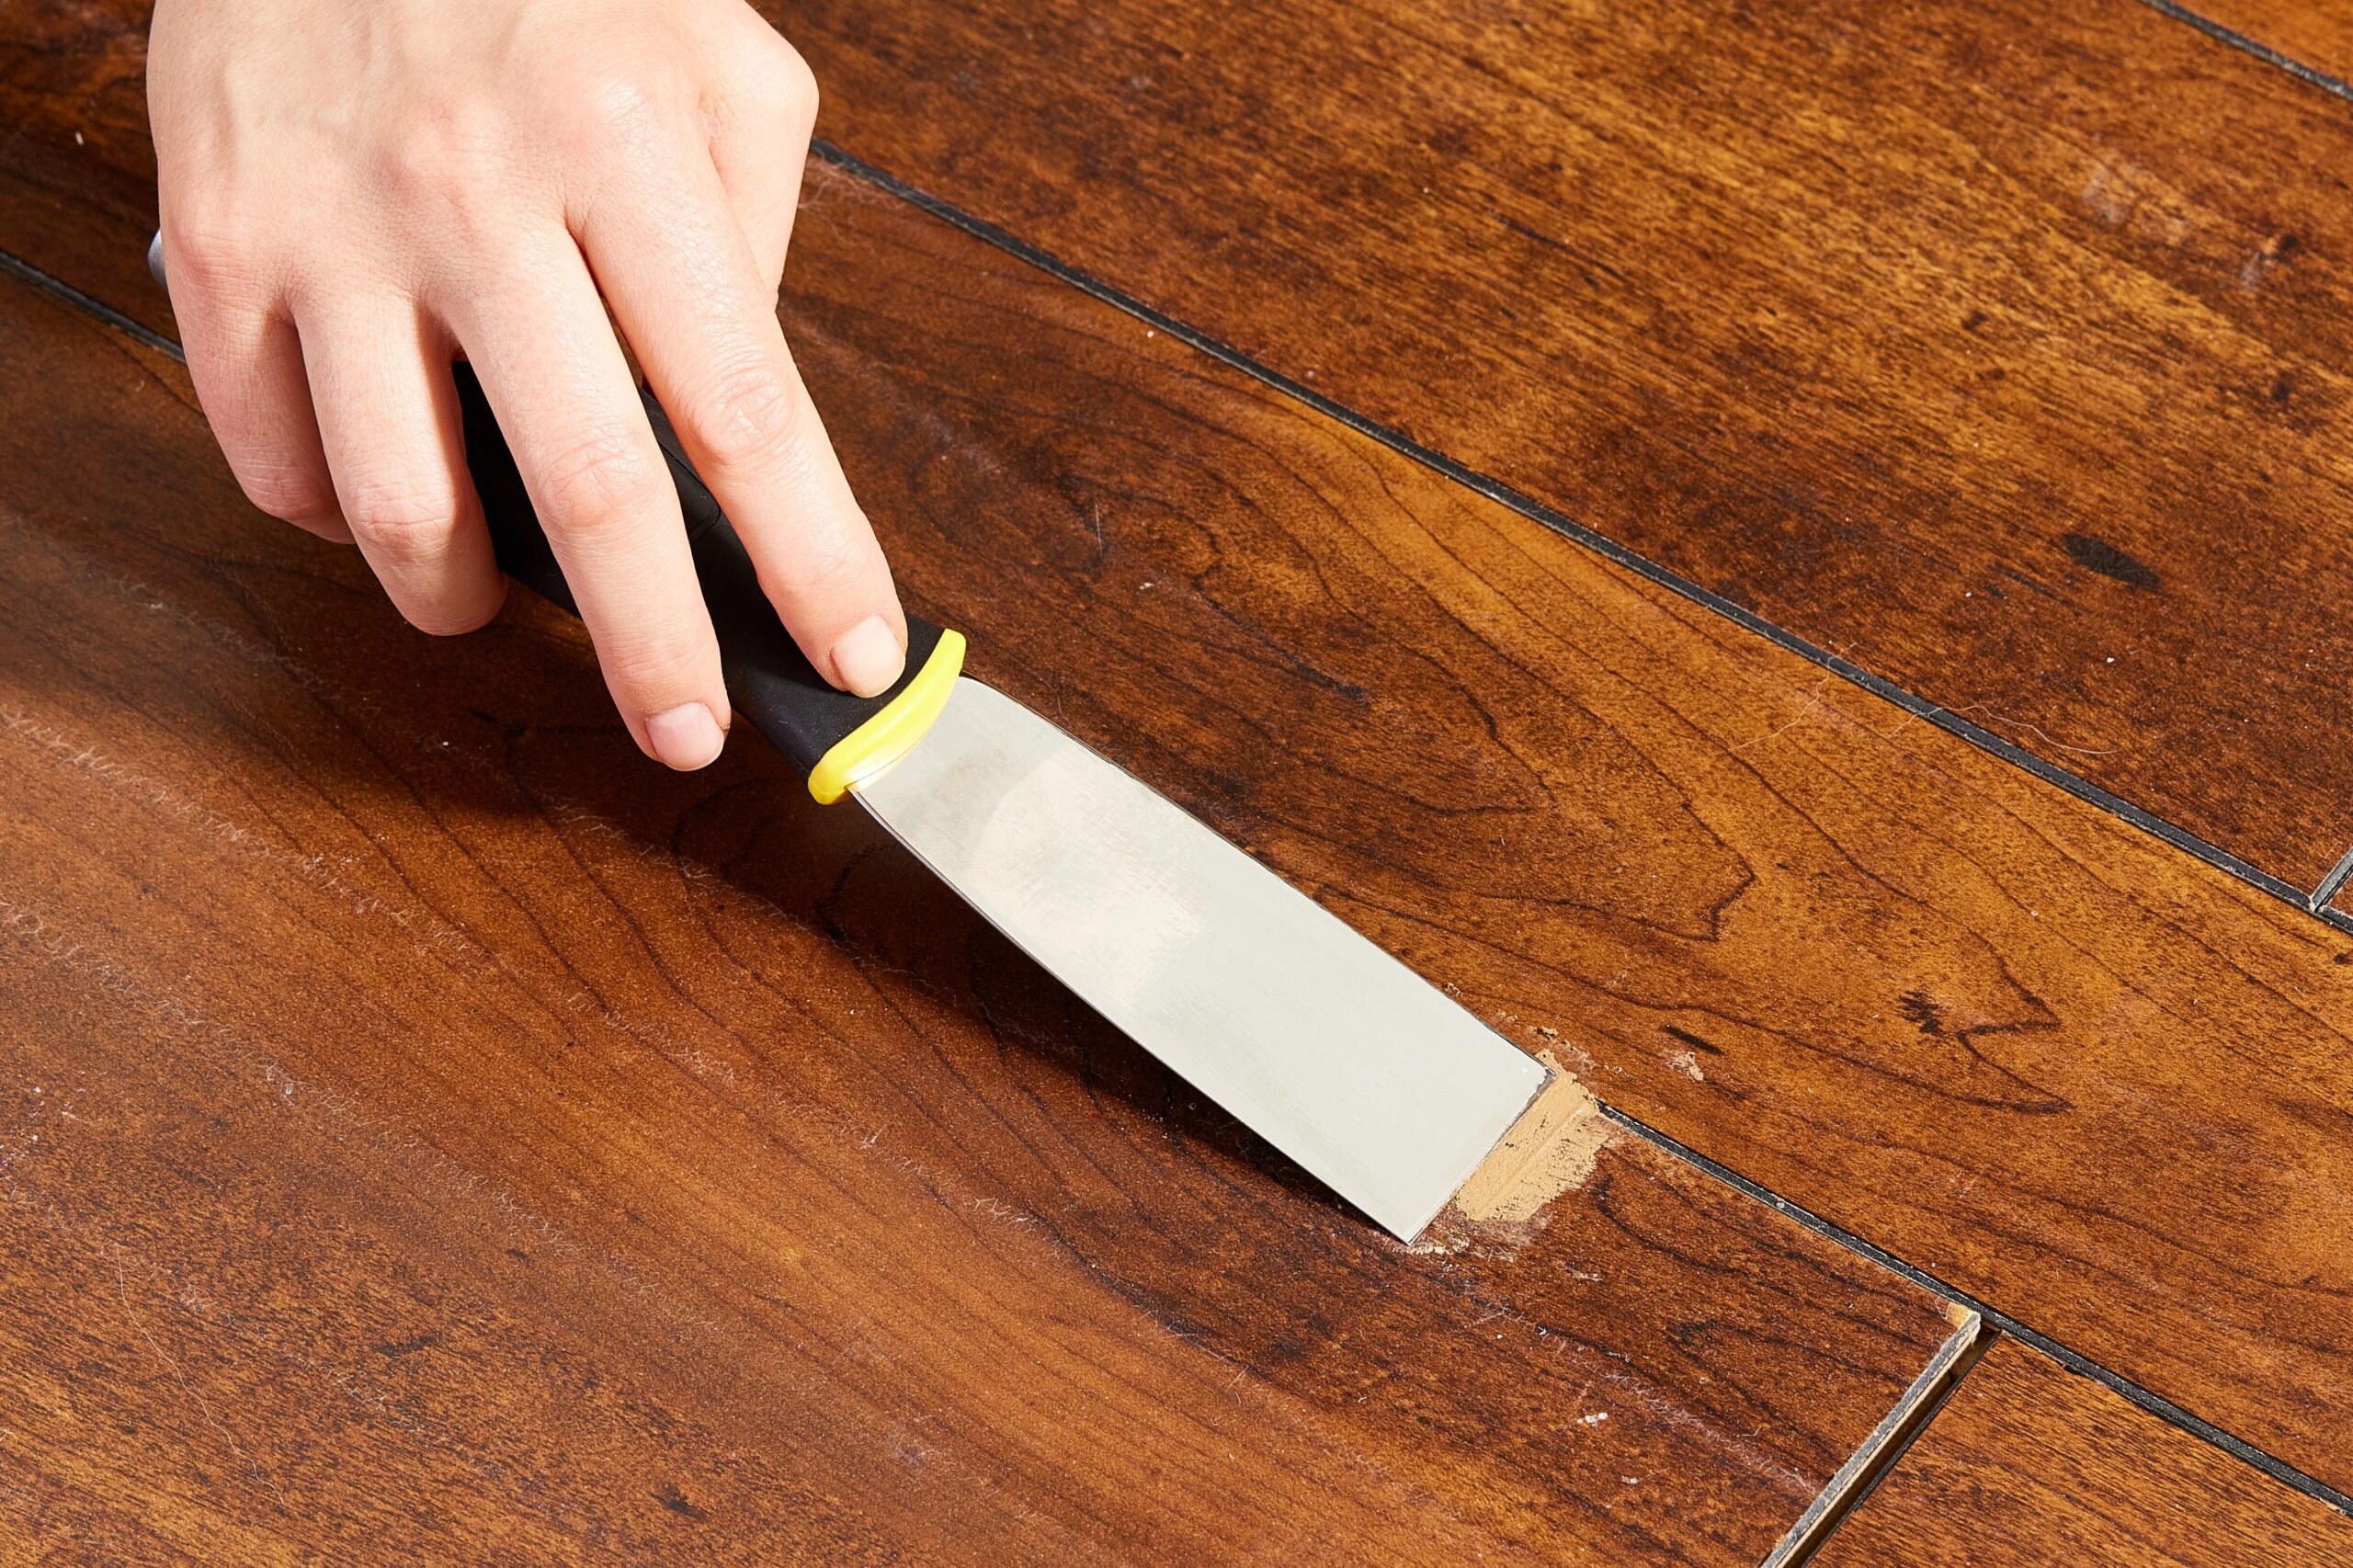
Begin with a soft cloth for cleaning. Use a fine-grit sandpaper to smooth the scratch. This helps in preparing the floor. Next, a wood filler is needed. Choose one that matches your floor color. A putty knife will help spread the filler. Ensure it is smooth. Keep a damp cloth ready. This will help in cleaning any excess. Finally, use a floor finish. This will seal and protect the repair. These tools are essential. Always have them handy. Simple and effective.
Cleaning The Area
Start by cleaning the area to see the scratch clearly. Use a soft cloth and mild cleaner. This removes dust and debris, ensuring a smooth repair process.
Removing Dust And Debris
Start by sweeping the floor with a soft-bristle broom. This will help remove any loose dirt or dust. Use a vacuum cleaner with a hard floor setting next. Be sure to get into the corners. Dust and debris can make scratches worse. So, it is important to clean thoroughly.
Using Appropriate Cleaners
Choose a cleaner that is safe for hardwood floors. Read the label for instructions. Avoid using too much water. Water can damage the wood. Instead, use a damp mop. Dry the floor with a soft cloth after mopping. This keeps the wood safe and clean.
Choosing The Right Repair Method
Surface scratches are shallow marks on hardwood floors. These scratches do not go deep into the wood. Cleaning the area first is important. Use a soft cloth and hardwood cleaner. Buffing the scratch with a walnut can help. Walnuts have natural oils. These oils fill the scratch. Applying a floor polish can hide the scratch more. This method works for small scratches. Preventing future scratches is key. Use rugs and furniture pads. They help protect the floor.
Deep scratches are more serious. These scratches cut into the wood. Filling the scratch with wood filler is a solution. Choose a filler that matches the floor color. Sanding the area smooths it out. Use fine sandpaper for this task. Staining the area makes the repair blend in. Apply a matching stain. Sealing the repair is the last step. Use a hardwood floor finish to seal. This protects the repair and the floor.
Filling And Buffing
Wood fillers are great for fixing floor scratches. They fill in the gaps. Choose a filler that matches the floor color. Clean the scratch area first. Use a damp cloth to remove dirt. Then, apply the wood filler with a putty knife. Spread it evenly over the scratch. Let it dry completely. This might take a few hours. Once dry, sand the area lightly. This makes the surface smooth.
Buffing techniques make the floor shine again. Start by cleaning the floor. Use a soft cloth or a mop. Then, use a buffing machine or a hand buffer. Move the buffer in circles over the scratch. Apply gentle pressure. This helps the floor look new. Buffing also blends the repaired area. It hides the scratch. Always follow the wood grain when buffing. This gives the best results.

Staining And Finishing
Selecting the Correct Stain is important for your hardwood floor. First, clean the floor well. You can use a damp cloth. Let it dry completely. Choose a stain that matches your floor color. Test the stain on a small area first. This helps see the color result. If it looks good, use it for the whole scratch.
Applying Finish for Protection gives your floor a shiny look. It also protects it. You will need a brush or a clean cloth. Apply a thin layer of finish over the stain. Let it dry. It might take a few hours. You can add more layers if needed. This keeps your floor safe and looking new.
Preventing Future Scratches
Place protective pads under furniture legs. These pads help stop scratches. They are easy to find in stores. They come in many sizes. Choose the right size for your furniture. Make sure they are clean and stick well. Change them if they wear out. This simple step keeps your floor safe.
Keep your floor clean. Dirt can scratch the wood. Use a soft broom or vacuum. Clean up spills quickly. Water can harm the wood. Avoid walking with sharp shoes. Trim your pet’s nails often. This stops them from scratching the floor. These habits keep your floor looking nice.
Frequently Asked Questions
How Do You Fix Small Scratches On Hardwood Floors?
To fix small scratches, clean the area thoroughly. Apply a hardwood floor cleaner and buff with a soft cloth. If needed, use a wood stain marker matching your floor color. Gently fill in the scratch and let it dry. Buff again to ensure a smooth finish.
Can You Use Vinegar On Hardwood Floors?
Using vinegar on hardwood floors isn’t recommended. Vinegar is acidic and can damage the floor’s finish over time. Instead, use a cleaner specifically designed for hardwood floors. Always follow the manufacturer’s instructions to maintain the floor’s integrity and appearance.
What’s The Best Product For Scratch Repair?
Wood stain markers are excellent for small scratches. For deeper scratches, consider a wax stick or a floor repair kit. These products are designed to blend seamlessly with your floor’s color, restoring its original beauty.
How Often Should Hardwood Floors Be Refinished?
Hardwood floors typically need refinishing every 7 to 10 years. This depends on the amount of foot traffic and wear. Refinishing helps maintain the floor’s appearance and extends its lifespan. Always consult a professional for the best results.
Conclusion
Repairing scratches on hardwood floors is simple with the right steps. Follow practical methods for a smooth, polished finish. You can choose from various techniques. Use scratch repair kits, simple oils, or specialized products. Regular maintenance is key. Clean and polish floors often.
Prevent future scratches by using rugs or furniture pads. Protect your beautiful hardwood investment. Enjoy the elegance of a well-maintained floor. Restore its natural charm easily. Keeping floors in top shape enhances your home’s beauty. Small efforts lead to a big impact.
Your hardwood can stay flawless for years.


