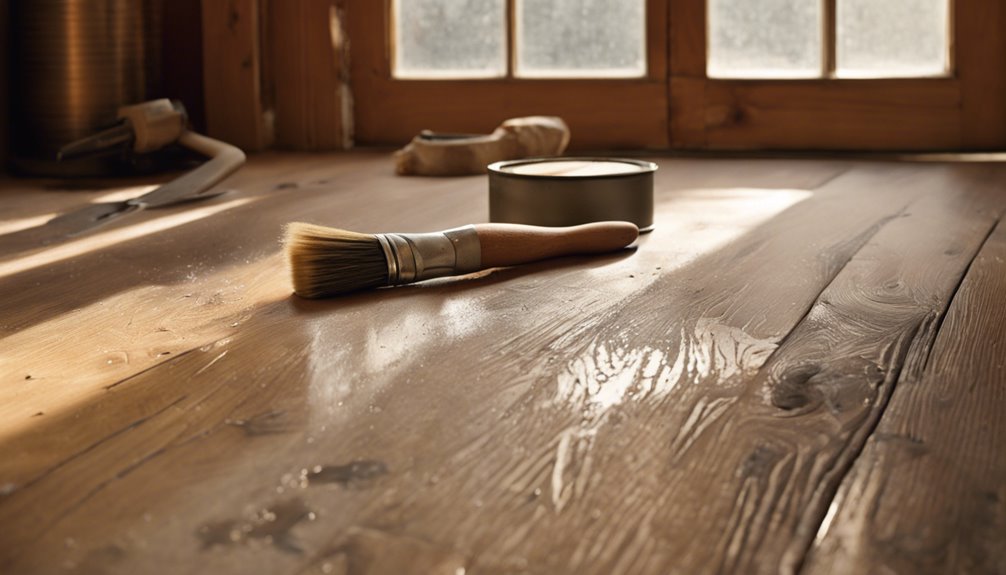
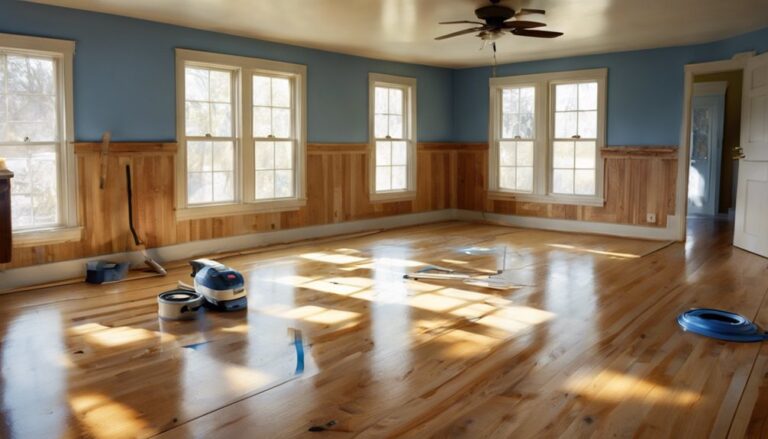
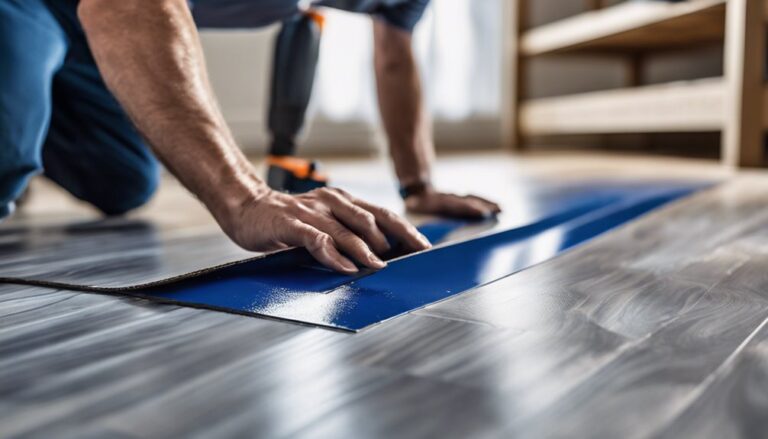
To repair hardwood floors, start by evaluating the damage, including scratches and dents. For minor scratches, use a wax crayon or a mixture of vinegar and olive oil. Shallow dents can be fixed with a damp cloth and an iron, while deeper gouges may require wood filler and sanding. If boards are extensively damaged, replacement is necessary. Regular maintenance is essential; clean spills immediately and keep humidity levels between 30-50%. For a glossy finish, consider sanding and refinishing the floors. Keep exploring for more tips and techniques to keep your hardwood floors looking their best.
Assessing the Damage
Evaluating the damage to hardwood floors is essential before you begin any repair process. Start by conducting a thorough damage evaluation to determine the extent of wear and tear. Inspect for scratches, dents, water stains, and warping, as these flaws directly impact the floor condition. Pay particular attention to areas with heavy foot traffic and moisture exposure. Use a moisture meter to assess potential water damage, as excess moisture can lead to further deterioration. Document your findings, noting specific locations and types of damage, to guide your repair strategy effectively. Understanding the current state of your floors allows you to make informed decisions on necessary repairs, ensuring the longevity and aesthetic appeal of your hardwood flooring.
Gathering Necessary Tools
Before you begin your hardwood floor repair, it's vital to gather the necessary tools. You'll need to familiarize yourself with essential tools and select the right ones for your specific project, ensuring they meet quality standards. Additionally, don't overlook the importance of safety equipment to protect yourself during the repair process.
Essential Tools Overview
When initiating the journey to repair hardwood floors, having the right tools at your disposal is vital for achieving a successful outcome. Start with a quality floor sander, a putty knife for filling gaps, and a mallet for snug fitting. You'll also need a tape measure for precise measurements and a level to guarantee even surfaces. Don't overlook safety gear like goggles and knee pads. Proper tool maintenance is essential; make sure your tools are clean and functioning to avoid complications during the repair process. Effective tool organization will also save you time and frustration. Keep your workspace tidy, with tools easily accessible, so you can focus on the task at hand and enjoy the freedom of transforming your hardwood floors.
Tool Selection Tips
Selecting the right tools for hardwood floor repair can greatly impact the efficiency and quality of your work. Start by identifying essential tool types, such as a flooring nailer, pry bar, and a saw for precise cuts. Don't overlook smaller tools like measuring tapes and sanders, which can make a significant difference in your results. For peak performance, verify you understand tool maintenance; keeping your tools clean and well-oiled will prolong their lifespan and enhance functionality. Before beginning, gather everything you need to avoid interruptions. By investing time in selecting and maintaining your tools, you'll set yourself up for a successful and satisfying hardwood floor repair project, allowing you the freedom to focus on the craftsmanship without unnecessary setbacks.
Safety Equipment Importance
While you might be focused on the tools for repairing hardwood floors, it's essential not to overlook the importance of safety equipment. Proper safety gear is critical to guarantee your well-being during the repair process. Start with protective eyewear to shield your eyes from dust, debris, or flying particles when sanding or cutting. A dust mask is also essential to prevent inhalation of harmful particles that can arise during the repair. Additionally, consider wearing gloves to protect your hands from splinters and chemicals. Steel-toed boots can safeguard your feet from heavy objects. All these elements contribute to a safer work environment, allowing you to concentrate on the task at hand without unnecessary distractions or injuries. Prioritize your safety; it's the foundation of successful repairs.
Repairing Minor Scratches
Although minor scratches on hardwood floors might seem insignificant, they can detract from the overall appearance of your space. To effectively address these imperfections, you can utilize various scratch repair techniques. Here's a quick reference table to guide you:
| Technique | Materials Needed | Steps |
|---|---|---|
| Crayon Method | Wax crayon | Match color, fill in scratch, buff lightly. |
| Vinegar & Oil | Vinegar, olive oil | Mix, apply, rub in, wipe excess. |
| Commercial Repair Kit | Scratch repair kit | Follow manufacturer instructions for application. |
Fixing Dents and Gouges
Minor scratches can be easily addressed, but when it comes to dents and gouges, the repair process requires more attention. First, identify denting causes, such as heavy furniture, pet claws, or dropped objects. For shallow dents, apply a damp cloth and use an iron on low heat to steam the wood, allowing the fibers to swell back into shape. For deeper gouges, fill the area with a wood filler that matches your floor's color. Once dry, sand it smooth and blend with the surrounding wood. To avoid future issues, practice gouge prevention by using felt pads under furniture and keeping heavy items off your floors. Regular maintenance is key to preserving your hardwood's beauty and longevity.
Sanding and Refinishing
To achieve a smooth and attractive finish on your hardwood floors, you'll need to start with proper surface preparation, confirming all dust and debris are removed. Selecting the right stain is essential for achieving the desired color and depth, while applying finish coats will protect the wood and enhance its appearance. Each step must be executed with precision to guarantee long-lasting results.
Preparing the Floor Surface
Before diving into the sanding and refinishing process, it's essential to confirm that your hardwood floor is in the right condition to achieve the best results. Start with thorough cleaning techniques to remove dirt, dust, and debris. This guarantees proper adhesion during refinishing.
Here's a quick reference table for effective floor preparation:
| Step | Description |
|---|---|
| Inspect for Damage | Check for scratches, dents, and gaps |
| Clean Thoroughly | Use a vacuum and damp mop |
| Allow to Dry | Verify the surface is completely dry |
Once you've completed these steps, you're ready for sanding. Proper preparation is critical for a flawless finish, so take your time with each step.
Choosing the Right Stain
With the floor surface thoroughly prepared and dry, the next step is selecting the right stain for your hardwood floors. You'll encounter various stain types, including oil-based and water-based options, each with unique characteristics. Oil-based stains penetrate deeply, offering rich color and durability, while water-based stains provide quicker drying times and less odor. When choosing a stain, consider color matching with your existing decor or desired ambiance; test samples on inconspicuous areas first. Keep in mind the wood species, as different types absorb stains differently. A well-chosen stain enhances your floor's natural beauty while ensuring it complements your style. Make informed selections to achieve the aesthetic you envision for your space.
Applying Finish Coats
Once you've selected the appropriate stain and allowed it to cure fully, the next essential step involves applying finish coats through sanding and refinishing. Start by sanding the surface using a fine-grit sandpaper, ensuring you create a smooth base for the finish application techniques. Remove any dust with a vacuum and tack cloth to prevent imperfections. When applying the finish, consider using a brush or roller for even distribution, typically in two to three coats. Allow each coat to dry thoroughly before lightly sanding between applications, which enhances adhesion. For final coat considerations, choose a finish that matches your desired sheen and durability, ensuring your hardwood floors not only look stunning but also withstand daily wear.
Maintaining Your Hardwood Floors
Although maintaining your hardwood floors may seem straightforward, it requires a systematic approach to guarantee their longevity and appearance. To keep your floors looking pristine, you should focus on effective cleaning techniques and humidity control. Regular maintenance will prevent damage and preserve the natural beauty of your hardwood.
- Use a microfiber mop for gentle cleaning.
- Implement a humidity control system to avoid warping.
- Apply protective mats in high-traffic areas.
Frequently Asked Questions
Can I Use Vinegar to Clean My Hardwood Floors?
You can use vinegar to clean your hardwood floors, but it's important to dilute it with water. Vinegar benefits include its natural antibacterial properties and ability to break down grime. However, be cautious, as excessive acidity can damage the finish over time. Consider cleaning alternatives like pH-balanced cleaners specifically designed for hardwood, which can provide a safer, more effective solution without the risk of dulling the surface. Always test any cleaner in a small area first.
How Often Should I Refinish My Hardwood Floors?
You should typically refinish your hardwood floors every 5 to 10 years, depending on their condition and your refinishing frequency. Regular maintenance tips, like cleaning with the right products and using area rugs, can extend the life of your finish. If you notice wear, scratches, or dullness, it might be time to refinish sooner. Staying proactive with care will help maintain the beauty and integrity of your floors over time.
What Type of Finish Is Best for Hardwood Floors?
When choosing a finish for your hardwood floors, you've got two primary options: water-based finishes and oil-based finishes. Water-based finishes dry quickly, emit fewer odors, and maintain clarity over time, making them ideal for a low-maintenance approach. On the other hand, oil-based finishes offer a richer color and superior durability but take longer to dry and have a stronger smell. Ultimately, it depends on your preferences for maintenance, appearance, and environmental impact.
Can I Repair Hardwood Floors Myself or Hire a Professional?
You've got two paths: tackle DIY repairs or opt for professional services. If you're handy and enjoy projects, repairing hardwood floors yourself can be rewarding and cost-effective. However, if you're unsure or lack the time, hiring a professional guarantees a polished finish and saves you from potential pitfalls. Weigh your skills against the complexity of the repair; sometimes, letting an expert handle it is the wisest choice for lasting results.
How Do I Prevent Future Damage to My Hardwood Floors?
To prevent future damage to your hardwood floors, focus on preventive measures and regular floor maintenance. Start by placing mats at entryways to trap dirt and moisture. Use furniture coasters to avoid scratches, and keep humidity levels stable to prevent warping. Regularly clean with a soft broom or vacuum and avoid excessive water when mopping. By taking these steps, you'll not only preserve the beauty of your floors but also extend their lifespan considerably.


