To repair hardwood floor scratches, start by identifying the scratch type: light, medium, or deep. For light scratches, buff with a wax and use a soft cloth. Medium scratches can be filled with color-matched wood filler and smoothed out. Deep scratches may require sanding and refinishing the area. Clean the affected space first with a gentle wood cleaner. Gather essential tools like a putty knife, fine-grit sandpaper, and matching wood filler. Regular maintenance can help prevent future scratches. If you're dealing with significant damage, consider when it might be time to call in an expert for assistance.
Identifying Scratch Types
How can you tell what type of scratch your hardwood floor has? Start by examining the scratch severity and the surface damage. Light scratches usually affect only the finish, and you can often feel them with your fingers but won't see them from a distance. Medium scratches penetrate deeper, reaching the wood but aren't too noticeable unless you're looking closely. Deep scratches, on the other hand, can be quite severe, exposing raw wood and possibly requiring more extensive repairs. Identifying the type of scratch is essential for choosing the right repair method. By understanding the damage level, you can decide whether a simple buff or a more involved restoration is necessary, giving your floor the care it deserves.
Gathering Necessary Supplies
Before you start repairing those scratches, you'll need to gather a few essential supplies. Make sure you've got the right repair tools, recommended wood stains, and cleaning supplies on hand. Having everything ready will make the process smoother and more effective.
Essential Repair Tools
While repairing hardwood floor scratches might seem intimidating, having the right tools on hand can make the process much smoother. Start by gathering essential repair tools like a soft cloth, a putty knife, and fine-grit sandpaper. You'll also need a wood filler that matches your floor's color and a clear finish to seal the repair. If the scratches are deeper, consider a touch-up pen for a more precise application. These essential materials will equip you to tackle those scratches effectively. Don't forget a clean, dry cloth for final touch-ups. With these tools at your side, you'll feel empowered to restore your hardwood floors and enjoy the beauty of your space once more.
Recommended Wood Stains
Once you've gathered your repair tools, it's time to focus on selecting the right wood stains. For effective color matching, you'll want to choose a stain that closely resembles your existing floor. Take a sample or swatch to your local hardware store to find a match. Ideally, opt for water-based stains; they're easier to apply and dry faster. When it comes to stain application, use a clean cloth or a small brush for precision. Apply a thin layer, and remember, you can always add more if needed. Let it dry fully before evaluating the color. This way, you'll guarantee a seamless finish that blends with the rest of your hardwood flooring, restoring its natural beauty.
Cleaning Supplies Needed
To effectively repair hardwood floor scratches, you'll need a few essential cleaning supplies. Gathering the right cleaning products will make your job easier and guarantee a smooth finish.
Here's a handy table to help you organize what you'll need:
| Supplies | Purpose |
|---|---|
| Microfiber cloth | For gentle cleaning |
| Surface cleaners | To remove dirt and grime |
| Wood polish | To restore shine and luster |
Having these supplies ready will set you up for success. Don't forget to avoid harsh chemicals that could damage your floor. Instead, opt for gentle, eco-friendly surface cleaners that clean effectively without harming your beautiful hardwood. Get ready to bring back that shine!
Cleaning the Affected Area
Before you start repairing scratches, you need to clean the affected area thoroughly. Gather your cleaning supplies, then sweep and vacuum to remove dust and debris. Finally, spot clean the scratches to make certain the surface is ready for treatment.
Gather Cleaning Supplies
Gathering cleaning supplies is essential for effectively addressing scratches on your hardwood floor. Having the right tools on hand guarantees you can tackle the problem efficiently. Here's what you'll need:
- Cleaning solutions: Choose a gentle hardwood floor cleaner that won't damage the finish.
- Microfiber cloths: These are perfect for applying cleaning solutions without scratching the surface.
- Soft-bristled brush: This helps remove any debris or dirt around the scratched area, guaranteeing a clean workspace.
With these supplies, you'll be well-prepared to clean the affected area. Remember, following these maintenance tips not only helps in repairing scratches but also keeps your hardwood floors looking great for years to come.
Sweep and Vacuum
Sweep and vacuum the scratched area thoroughly to remove dust and debris that can make the scratches more noticeable. Regular floor maintenance is essential for keeping your hardwood looking its best, and this step is vital in your cleaning routines. Start by using a soft-bristled broom to gather dirt and particles, ensuring you reach into corners and under furniture. Once you've swept the area, follow up with a vacuum equipped with a hardwood floor attachment to capture any remaining debris. This not only helps in minimizing the appearance of scratches but also prepares the surface for further treatment. Keeping your floors clean will enhance their longevity and maintain their natural beauty, giving you the freedom to enjoy your space without worry.
Spot Clean Scratches
After ensuring the area is free of dust and debris, it's time to focus on spot cleaning the scratches. This step is essential for both aesthetics and longevity. Here's how to tackle it:
- Choose the Right Cleaner: Use a hardwood floor cleaner that's safe for your finish. Avoid harsh chemicals.
- Apply with Care: Dampen a soft cloth with the cleaner and gently rub the scratched area, following the grain of the wood.
- Dry Thoroughly: Wipe the area with a clean, dry cloth to remove excess moisture.
For best results, incorporate scratch prevention tips into your flooring maintenance checklist, ensuring your hardwood floors remain beautiful and scratch-free for years to come.
Using a Wood Scratch Repair Kit
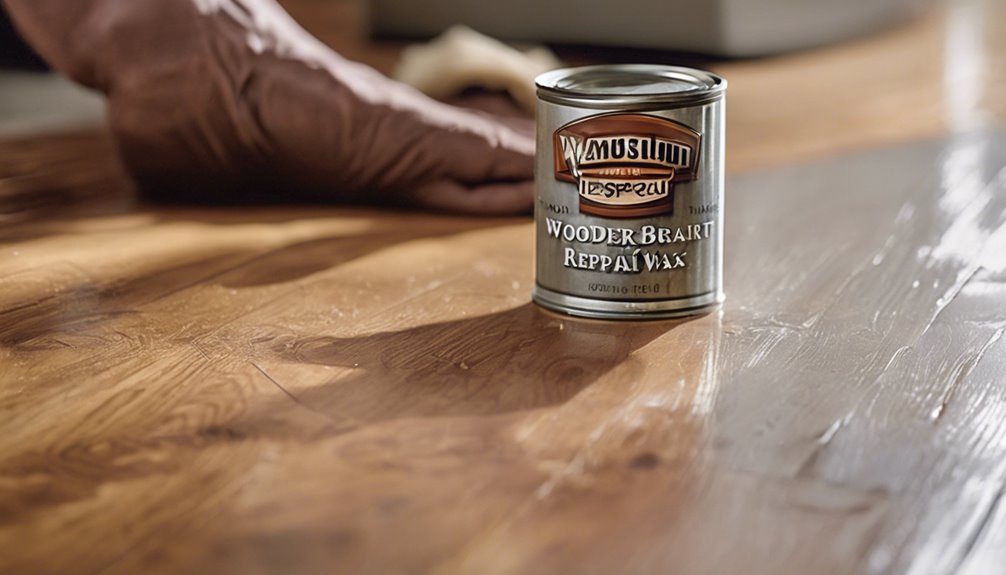
Many homeowners find themselves frustrated by unsightly scratches on their hardwood floors, but using a wood scratch repair kit can make the process of fixing them straightforward. These kits typically include markers, wax sticks, and filler compounds that allow you to tackle scratches effectively. Start by choosing a color that matches your floor, then apply the appropriate wood repair techniques. Use scratch blending methods to fill in the scratch, ensuring a seamless appearance. For deeper scratches, you might need to layer the filler and smooth it out. Once it's dry, buff the area lightly to restore shine. With a little patience, you can bring back the beauty of your hardwood floors and enjoy them without worry.
DIY Solutions for Minor Scratches
If you're dealing with minor scratches on your hardwood floor, there are simple DIY solutions you can try. The wax and buff method can effectively conceal small marks, while a mixture of vinegar and olive oil can restore shine and minimize the appearance of scratches. Both techniques are easy to apply and can save you time and money.
Wax and Buff Method
A simple and effective way to tackle minor scratches on hardwood floors is through the wax and buff method. This technique not only helps conceal scratches but also restores your floor's shine. Here's how you can do it:
- Choose the Right Wax: Select a wax that matches your floor's finish and color. Consider paste or liquid wax based on your preference.
- Apply Wax Using Techniques: Use wax application techniques like circular motions to evenly cover the scratched area. A soft cloth works best for this.
- Buff the Area: Grab your buffing tools, such as a microfiber cloth or an electric buffer, to gently buff the waxed area until it blends seamlessly with the rest of your floor.
With this method, you'll enjoy a refreshed look without much hassle!
Vinegar and Olive Oil
Occasionally, using a simple mixture of vinegar and olive oil can effectively minimize the appearance of minor scratches on hardwood floors. The vinegar benefits include its natural ability to clean and restore shine, while olive oil nourishes and conditions the wood. To make this DIY solution, combine equal parts of both ingredients in a spray bottle. Shake well, then lightly spray the affected area. Using a soft cloth, rub the mixture into the scratches in a circular motion. This method not only reduces the visibility of scratches but also enhances the overall luster of your floors. Remember, it's a quick fix for minor issues, keeping your hardwood looking beautiful and well-maintained without resorting to professional help.
How to Fill Deep Scratches
Deep scratches in hardwood floors can be frustrating, but filling them effectively can restore your floor's beauty. To tackle deep scratches, consider these filling techniques:
- Wood Filler: Choose a color-matched wood filler, apply it into the scratch, and smooth it out with a putty knife.
- Wax Crayon: For a quick fix, use a wax crayon that matches your floor. Rub it into the scratch, then buff with a soft cloth.
- Colored Putty: Mix colored putty to match your floor, fill the scratch, and sand lightly for a seamless finish.
After you've filled the scratches, remember that scratch prevention is key. Regular maintenance and protective pads under furniture can help keep your hardwood looking pristine.
Sanding and Refinishing Techniques
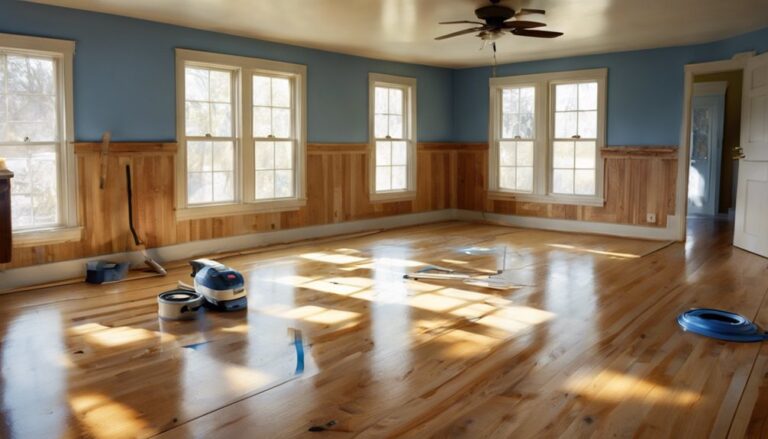
Revitalize your hardwood floors with effective sanding and refinishing techniques that can breathe new life into worn surfaces. Start by selecting the right sanding techniques; using a floor sander, you can remove the top layer of finish and any scratches. Opt for a finer grit sandpaper to achieve a smooth texture. After sanding, consider your refinishing options. Water-based finishes dry quickly and emit fewer fumes, while oil-based finishes provide a rich color but take longer to cure. Apply your chosen finish in thin, even coats, allowing adequate drying time between applications. Once complete, your floors will look refreshed, showcasing their natural beauty. With these techniques, you'll reclaim the freedom of stunning hardwood floors.
Preventing Future Scratches
While it's impossible to completely eliminate scratches on hardwood floors, there are several practical steps you can take to minimize future damage. Implementing effective floor protection strategies is key. Here are some furniture placement tips to reflect upon:
- Use felt pads: Attach these to the bottoms of furniture legs to reduce friction when moving items.
- Area rugs: Place rugs in high-traffic areas to shield your floor from wear and tear.
- Avoid dragging: Always lift furniture instead of dragging it across the floor.
When to Call a Professional
Even with proactive measures to prevent scratches, there may come a time when your hardwood floors require more extensive repair than you can handle on your own. If you notice deep gouges, extensive damage, or a finish that's beyond simple touch-ups, it's wise to seek a professional assessment. Hiring experts can save you time and guarantee the job is done right. They have the tools and experience to address issues like refinishing or replacing damaged boards effectively. Additionally, if you're unsure about the extent of the damage, a professional can provide clarity and peace of mind. Don't hesitate to reach out for help when your floors need more than just a quick fix; it's an investment in your home's beauty and longevity.
Maintaining Your Hardwood Floors
To keep your hardwood floors looking their best, regular maintenance is essential. Incorporating a few hardwood care essentials into your routine will help maintain their beauty and durability. Here are some floor maintenance tips you can follow:
- Dust and Sweep Regularly: Remove dirt and debris to prevent scratches and preserve the finish.
- Use a Damp Mop: Clean with a slightly damp mop using a hardwood-safe cleaner to avoid water damage.
- Place Rugs and Mats: Use rugs in high-traffic areas to shield your floors from wear and tear.
Frequently Asked Questions
Can I Use Vinegar to Clean Hardwood Floor Scratches?
You can use vinegar to clean hardwood floors, but be careful! Vinegar has benefits like cutting through grime and leaving floors shiny, but it's acidic and can damage the finish if used too often. For best results, mix vinegar with water in a spray bottle and use gentle cleaning techniques, like a microfiber mop. Always spot test in an inconspicuous area first to guarantee it won't harm your floor's surface.
Will Sunlight Fade My Repair Efforts Over Time?
Like a fading photograph, sunlight exposure can indeed diminish your repair efforts over time. If you've put in the work to fix those scratches, you'll want to protect your investment. Direct sunlight can lead to discoloration and reduce the repair longevity, making your efforts seem futile. To maintain that fresh look, consider using rugs or window treatments to block harsh sunlight. This simple step can keep your floors looking pristine for years.
How Often Should I Maintain My Hardwood Floors?
You should maintain your hardwood floors regularly to keep them looking great. Establish a cleaning schedule that includes sweeping or vacuuming at least once a week to remove dirt and dust. Every month, mop with a wood-safe cleaner to prevent buildup. Additionally, consider applying a protective finish every few years to combat wear and tear. By staying on top of floor maintenance, you can enjoy beautiful, lasting hardwood floors without much hassle.
Are There Specific Products to Avoid on Hardwood Floors?
When caring for hardwood floors, it's essential to avoid certain cleaning solutions that can damage the finish. Stay clear of harsh chemicals, vinegar, or ammonia-based cleaners, as they can strip protective coatings and harm the wood. Instead, opt for pH-balanced cleaners specifically designed for hardwood. Regularly check your products to verify they're safe, and always test on a small area first to maintain the beauty and integrity of your floors.
Can Pets Cause More Scratches on Hardwood Floors?
Imagine your hardwood floor as a canvas, and your pets as playful artists. While they bring joy, their nails can certainly create scratches. To minimize damage, focus on regular pet nail care; keeping those claws trimmed can greatly reduce wear and tear. Additionally, consider floor protection options like rugs or mats in high-traffic areas. With a little effort, you can enjoy the freedom of your pets without sacrificing your beautiful hardwood floors.


