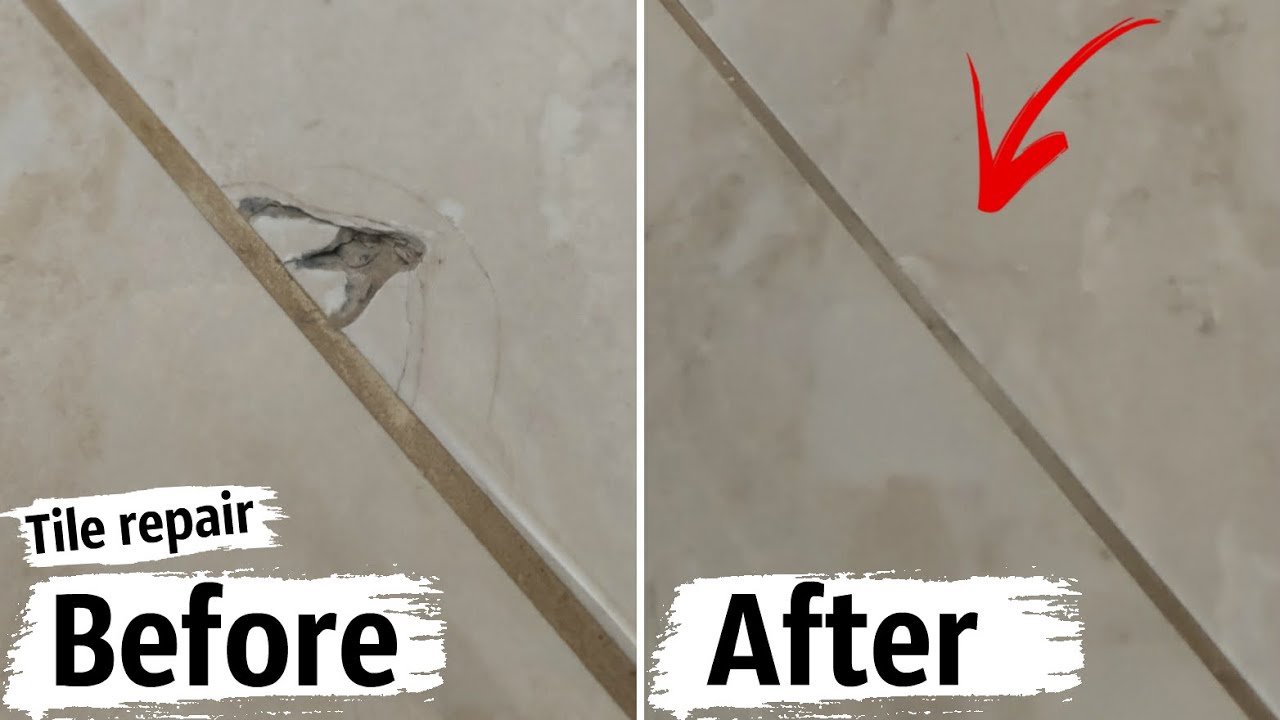
Cracked floor tiles can be a real eyesore, can’t they? Not only do they disrupt the smooth look of your beautiful home, but they also pose risks of injury and further damage if left unchecked.
But don’t worry, you’ve come to the right place. Imagine walking across your floor, feeling the smooth, even tiles underfoot, and knowing that you fixed them yourself. This article is here to guide you through the simple steps to repair those pesky cracks in your floor tiles.
You’ll feel empowered, save money, and restore the elegance of your space. Ready to take control and bring back the charm to your floors? Let’s dive into the world of tile repair together.
Identifying Cracked Tiles
Cracks in tiles happen for many reasons. Heavy objects can fall on tiles. This can cause cracks. Tiles might also crack due to temperature changes. Hot and cold can make tiles expand and shrink. Old tiles can also crack more easily. The floor under the tiles might move. This causes cracks too. Poor installation is another reason. If tiles are not set well, they might crack.
First, look at the crack closely. Is it wide or thin? Are there many cracks or just one? Check if tiles are loose. Tap the tile lightly. Listen for a hollow sound. This means the tile is loose. Also, see if the crack is spreading. If the crack is spreading, it needs fixing soon. Use a ruler to measure the crack length. Note the crack’s direction. This helps in deciding the next steps.

Gathering Necessary Tools
Start by gathering essential tools to fix cracked floor tiles. You’ll need a chisel, hammer, and adhesive. Safety gear like gloves and goggles is also important to protect yourself during the repair process.
Essential Tools And Materials
To fix cracked tiles, you need some tools. Start with a hammer and chisel. These help remove broken pieces. Tile adhesive is next. It sticks tiles back in place. A notched trowel spreads the adhesive well. Have replacement tiles ready. They must match the old ones. Grout fills gaps between tiles. A sponge and bucket help clean excess grout. Lastly, a tile cutter shapes tiles to fit. Gather all these before you start.
Safety Gear And Precautions
Safety is very important. Wear gloves to protect your hands. Safety goggles keep eyes safe from dust. Dust masks stop you from breathing in small particles. Knee pads protect knees while working on the floor. Keep tools organized. This prevents accidents. Make sure the area is clean and clear. Avoid tripping over debris.
Removing The Damaged Tile
Start by cleaning the tile area. Use a gentle cleaner or soap. Remove all dust and dirt. This helps you see the crack better. Next, cover nearby tiles with painter’s tape. This keeps them safe. Wear gloves and goggles. They protect your hands and eyes. Be careful with tools. Safety is key.
Take a sharp tool like a chisel. Place it at the tile edge. Tap gently with a hammer. Start from one corner. Slowly lift the tile. Be gentle to avoid damage. If the tile doesn’t move, use more taps. Patience is important. Keep working until the tile comes loose. Once removed, clean the space. It’s ready for a new tile.
Preparing The Surface
Start by removing dirt from the tile area. Use a damp cloth for cleaning. Ensure the surface is clean and dry. Dust or moisture can affect repairs. Use sandpaper to smooth rough edges. This helps the tile look better. Smooth surfaces ensure good bonding. Spend time smoothing and cleaning.
Check if the tile is level. Place a ruler or level tool on it. Uneven surfaces can cause problems. Adjust the tile if needed. Make sure it’s flat and stable. Use spacers to keep the tile level. A level tile looks neat and lasts longer. Focus on getting it right.
Replacing The Tile
Clean the floor first. Remove dust and dirt. Use a damp cloth for this. Get the adhesive ready. Follow instructions on the package. Use a notched trowel. Spread the adhesive on the floor. Spread it evenly. Make sure there are no gaps. Too much adhesive will make a mess. Just use enough. This helps the tile stick well. Let the adhesive sit for a moment. This makes it sticky. The tile will hold better.
Place the new tile gently. Align it with other tiles. Press it down firmly. Do not slide it. This might disturb the adhesive. Use a tile spacer. Keep the same space between tiles. Check if the tile is level. Adjust if needed. Wait for the adhesive to dry. Usually a day or two. Once dry, the tile will be secure.
Grouting And Sealing
Fixing cracked floor tiles involves grouting and sealing to restore their appearance. Start by cleaning the damaged area thoroughly. Apply grout to fill gaps, ensuring a smooth finish. Seal the repaired tile to protect against future damage. This process enhances durability and maintains the beauty of your flooring.
Choosing The Right Grout
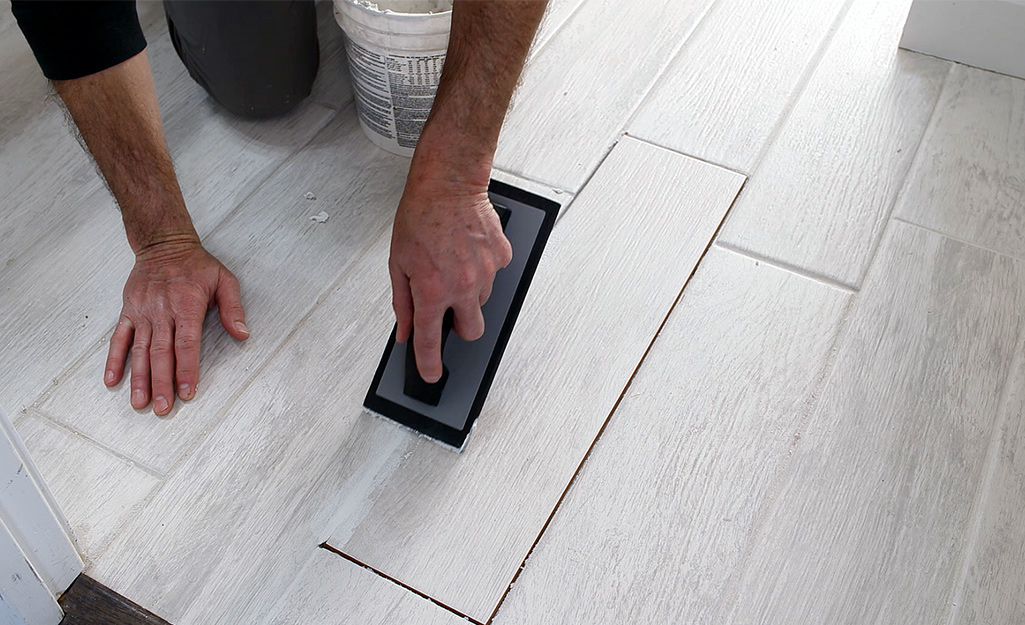
Choosing the right grout is important. Grout holds tiles together. It fills the gaps. Sanded grout works well for wide joints. It is strong. Unsanded grout is smooth. It fits narrow spaces. Grout color should match or complement tiles. Dark grout hides dirt. Light grout shows stains easily. Mix grout with water. Follow the package instructions. Mix until smooth. Avoid lumps. Let it rest for 10 minutes. Stir again before use. Apply with a grout float. Press it into the gaps. Remove excess grout with a damp sponge. Let it dry completely.
Sealing For Durability
Sealing makes tiles last longer. It protects against water and stains. Choose a high-quality sealer. Use a brush or roller for application. Cover all grout lines evenly. Let it dry as per instructions. Test the sealer by sprinkling water. Water should bead up. If it soaks in, apply more sealer. Re-seal every year for best results. This keeps your tiles beautiful and strong.
Final Touches
Cleaning up is very important after tile repair. Use a damp cloth to wipe away any extra grout or dust. Make sure the tile surface is smooth. Check the area for any remaining debris. A clean finish makes the tile look new again. It’s a simple step but very effective.
Inspecting the repair is crucial to ensure quality. Look closely at the tile and grout lines. Check for cracks or gaps. If you see any, fill them with more grout. Ensure the tile is level with others. A good repair should blend in. Make sure everything looks neat and tidy. This ensures your floor stays strong and beautiful.
Frequently Asked Questions
How Do I Fix A Cracked Tile?
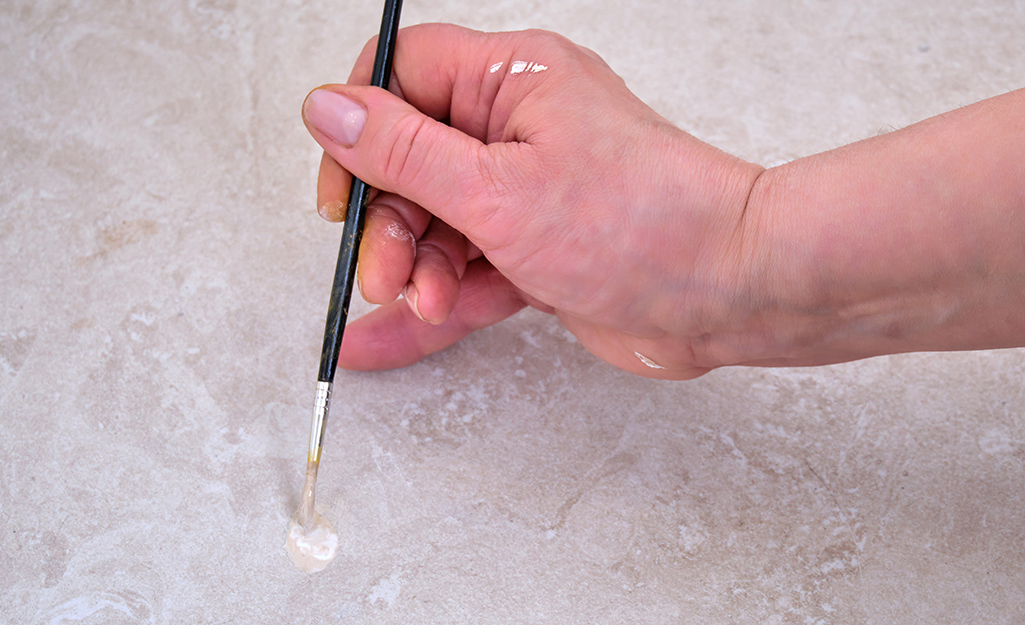
To fix a cracked tile, first clean the area thoroughly. Apply epoxy or tile adhesive to the crack, ensuring it fills completely. Smooth out the surface with a putty knife. Allow it to dry completely before using the floor again to ensure a durable repair.
Can Cracked Tiles Be Repaired Without Replacement?
Yes, cracked tiles can be repaired without replacement. Use epoxy or tile adhesive to fill the crack. This method is effective for minor cracks and preserves the tile’s integrity. For larger cracks, consult a professional for advice on whether replacement is necessary.
What Causes Floor Tiles To Crack?
Floor tiles crack due to various reasons, including improper installation and heavy impacts. Subfloor movement or settling can also cause cracks. Additionally, temperature changes and moisture can lead to expansion and contraction, causing tiles to crack over time.
Is Diy Tile Repair Effective?
DIY tile repair is effective for small cracks. Using epoxy or tile adhesive can restore the tile’s appearance. For larger damage, professional repair or replacement might be necessary. Ensure proper application and drying time for best results in DIY tile repair.
Conclusion
Repairing cracked floor tiles is doable with the right tools. Follow the steps carefully for a smooth finish. Clean the area well before starting. Use adhesive to secure the tile firmly. Seal the edges to prevent moisture damage. Allow ample drying time.
Regularly check for new cracks. This keeps your floors looking fresh. Repairing tiles yourself saves money. Plus, it gives satisfaction from fixing things. A little effort goes a long way. Ensure safety by wearing gloves. Keep your tiles in top condition with simple maintenance.
Enjoy your refreshed, beautiful floor!


