To remove linoleum flooring, start by gathering your tools: a utility knife, pry bar, hammer, and putty knife. Clear the area and protect the subfloor with drop cloths. Cut the linoleum into two-foot strips, starting from a corner, and cut through any backing if present. As you pull up the sections, use the pry bar and hammer for stubborn parts. Once the linoleum is removed, tackle any adhesive residue with a cleaning solution and a putty knife. Finally, inspect your subfloor for any issues like cracks or moisture. You'll find more tips to guarantee a smooth removal process.
Gather Your Tools
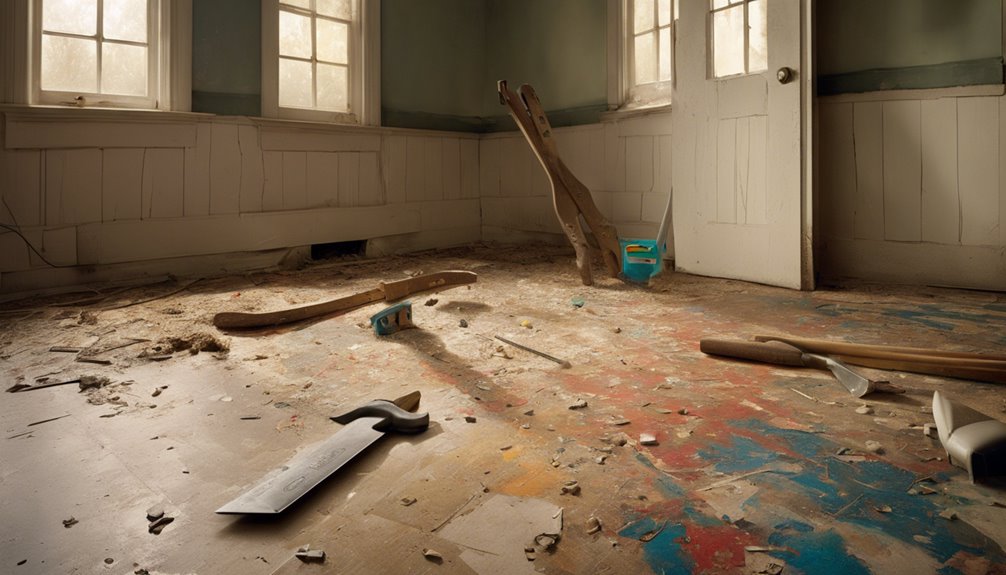
Before you plunge into removing linoleum flooring, you'll need to gather a few essential tools to make the job easier. Start with a utility knife for cutting the linoleum, and a pry bar or floor scraper to lift it off the subfloor. A hammer can help with stubborn sections, while a putty knife is great for scraping away adhesive. Don't forget safety goggles and gloves—these are vital safety precautions to protect yourself from debris and sharp edges. A dust mask is also wise, especially if you're dealing with older flooring that might contain asbestos. With the right tool selection in hand, you're set to tackle the project confidently and reclaim your space.
Prepare the Area
With your tools ready, it's time to prepare the area for linoleum removal. Start by clearing the space of any furniture, rugs, or obstacles. This not only helps with efficiency but also guarantees you're working in a safe environment. Next, lay down drop cloths or old sheets to protect the subfloor and catch debris. Don't forget to wear safety goggles and gloves—these safety precautions are essential for protecting yourself from sharp tools and dust. Organize your workspace by placing tools within reach and keeping the area well-lit. A clean, organized workspace allows you to focus on the task at hand without distractions. Taking these steps will set you up for a smoother linoleum removal process.
Cut the Linoleum
Start by carefully cutting the linoleum into manageable sections to make removal easier. Depending on the linoleum types, you might find it easier to work with a utility knife or a straight edge. Use sharp blades to guarantee clean cuts and avoid tearing. Begin at a corner and cut along the edges, creating strips about two feet wide. If your linoleum has a backing, make sure to cut through both layers. Employing different cutting techniques, like scoring lightly before cutting deeper, can help control the process. Always wear safety gear, including gloves and goggles, to protect yourself. Once you've cut the linoleum, you'll have smaller sections that are simpler to lift and remove without hassle.
Remove Adhesive Residue
Removing adhesive residue after lifting the linoleum is essential for a smooth flooring surface. Start by gathering your adhesive removal supplies, like a putty knife, scraper, and cleaning solutions such as vinegar or commercial adhesive removers. Apply your chosen cleaning solution to the sticky areas and let it sit for a few minutes to break down the adhesive. Then, use the putty knife or scraper to gently lift the residue off the floor. Work in small sections to avoid overwhelming yourself. If needed, repeat the process until all residue is gone. Finally, wipe the area clean with a damp cloth to remove any remaining cleaning solution. Taking these steps guarantees your new flooring has a proper foundation.
Inspect the Subfloor
Once you've cleared away the adhesive residue, it's important to inspect the subfloor for any damage or imperfections. Different subfloor types, such as plywood, concrete, or OSB, can have unique issues. Conducting a moisture assessment is vital to guarantee the longevity of your new flooring. Here's what to look for:
- Cracks or chips: These can affect the stability of your flooring.
- Warping or buckling: Indicates moisture issues or age.
- Uneven surfaces: May require leveling before installation.
- Mold or mildew: A sign of prolonged moisture exposure.
- Pest damage: Check for signs of termites or rodents.
Address any concerns before proceeding to guarantee a solid foundation for your new flooring.
Frequently Asked Questions
Can I Remove Linoleum Flooring Without Damaging the Subfloor?
Yes, you can remove linoleum flooring without damaging the subfloor if you use the right removal techniques. Start by heating the linoleum with a heat gun to soften the adhesive. Carefully peel it back, using a putty knife to lift it without gouging the subfloor. If you encounter stubborn areas, apply adhesive remover. Working slowly and patiently will help you avoid subfloor damage, ensuring a smooth changeover for any new flooring you plan to install.
What Safety Gear Should I Wear While Removing Linoleum?
When you're removing linoleum, it's essential to prioritize flooring safety. You should wear protective equipment like gloves, safety goggles, and a dust mask. Gloves protect your hands from sharp edges or debris, while goggles shield your eyes from dust and particles. A dust mask helps you avoid inhaling harmful substances that may be released. Taking these precautions guarantees you can work confidently and safely, making the process much smoother for you.
How Do I Dispose of Old Linoleum Flooring Materials?
When you're ready to dispose of old linoleum flooring, consider local linoleum recycling options first. Many areas have facilities that can repurpose the material. If recycling isn't available, check disposal guidelines from your waste management service to verify you're following regulations. It's important to avoid illegal dumping. You might also want to visit a landfill that accepts construction debris, confirming a responsible and eco-friendly disposal approach for your old flooring.
Is It Necessary to Replace the Underlayment After Removal?
Did you know that about 30% of homeowners face subfloor damage when replacing flooring? It's essential to assess your underlayment types after removal. If your old underlayment shows signs of wear or moisture damage, it's best to replace it. A good underlayment provides sound insulation and moisture protection, ensuring your new flooring lasts longer. So, take the time to evaluate; it can save you from more extensive repairs down the line.
How Long Does the Entire Removal Process Typically Take?
The entire removal process typically takes around 4 to 8 hours, depending on the removal techniques you use and the size of the area. If you're well-prepared and have the right tools, it can go faster. Just remember, factors like adhesive type or subfloor condition can affect your time estimate. Plan for breaks, and don't rush—taking your time guarantees a smoother, cleaner removal, giving you the freedom to start fresh.


