To remove laminate flooring, start by gathering tools like a pry bar, utility knife, gloves, and safety goggles. Clear the area of furniture and turn off power to outlets. Gently remove baseboards with a pry bar, then locate a corner to begin lifting planks. If the laminate is glued, cut it carefully with a utility knife. Work in sections to keep everything manageable. After removing the planks, tackle any adhesive residue using the appropriate method for your adhesive type. Finally, clean the subfloor thoroughly to prepare for your new flooring. There's more to explore that can make your project smoother.
Gather Necessary Tools

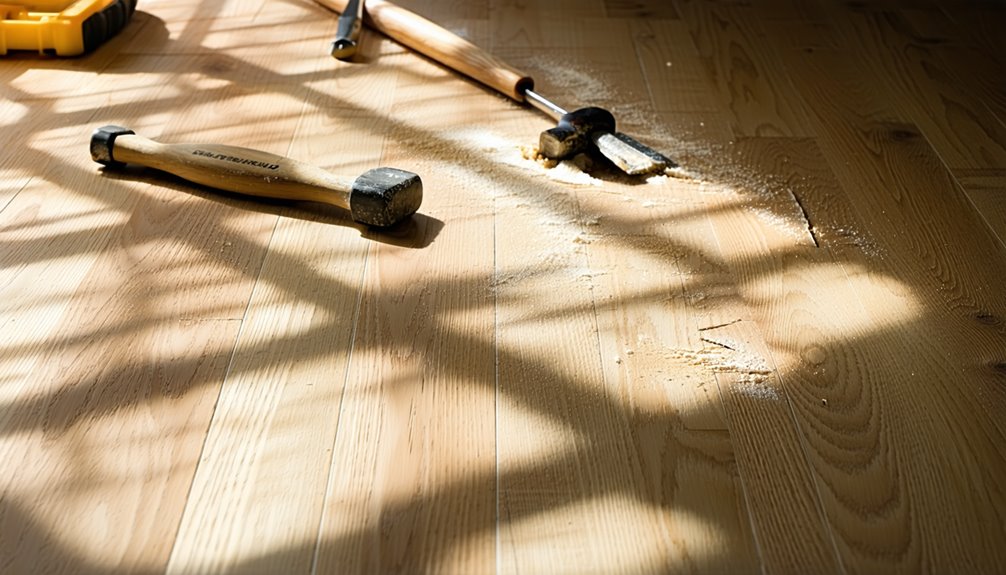
Before you plunge into removing laminate flooring, it's vital to gather the right tools for the job. Start with a pry bar and a hammer; these are essential for lifting the planks. You'll also need a utility knife to cut through any stubborn sections. Don't forget safety goggles and gloves, as they'll protect you from debris. For a smoother experience, consider using a floor scraper to remove any adhesive residue. As for tool selection tips, make sure you've got a sturdy bucket for debris and a vacuum for cleanup. Having this essential equipment on hand will make the process more efficient and enjoyable. So, gear up, and you'll be ready to tackle that laminate flooring like a pro!
Prepare the Workspace
Before you start removing laminate flooring, it's crucial to prepare your workspace. Clear the area of furniture and obstacles to create a safe environment. Also, make sure you've got adequate lighting and all your necessary tools within reach for a smooth process.
Clear the Area
To get started on removing laminate flooring, it's essential to clear the area and prepare your workspace effectively. Remove any furniture or obstacles that might get in your way. This not only provides a safer environment but also makes the process smoother. Different flooring types may require specific approaches, so make certain your area is well-organized. Consider the installation methods used, as that can affect how you remove the laminate.
Here's a quick checklist to help you clear the space:
| Task | Status |
|---|---|
| Remove furniture | Not Started |
| Clear debris | In Progress |
| Protect adjacent areas | Not Started |
| Gather supplies | Not Started |
| Check for hazards | Not Started |
A clear workspace allows you to work freely and efficiently.
Gather Necessary Tools
Gathering the right tools is essential for a successful laminate flooring removal project. Start with a pry bar or a laminate puller to lift the planks easily. You'll also need a hammer, utility knife, and a floor scraper for stubborn sections. Don't forget safety goggles and gloves to protect yourself—safety precautions are key. A dust mask can help keep particles at bay too. Organize your tools in one spot to streamline the process. Before starting, check your tools for proper function; tool maintenance will guarantee you're ready for action. Having everything at your fingertips allows you to focus on the task at hand, making the removal process smoother and more efficient.
Ensure Adequate Lighting
Having adequate lighting in your workspace is essential for safely and effectively removing laminate flooring. Good illumination helps you spot potential hazards and guarantees you don't miss any fasteners or damage to the subfloor. Here are some great lighting options to evaluate:
- LED Work Lights: Bright and energy-efficient, perfect for large areas.
- Clamp Lights: Easily adjustable, you can position them where you need extra illumination.
- Natural Light: If possible, work during the day to take advantage of sunlight.
- Floor Lamps: Provide additional lighting without taking up much space.
Remove Baseboards and Trim
Before you start removing your laminate flooring, you'll need to take off the baseboards and trim. Gather the right tools, like a pry bar and a utility knife, to make the process smoother. Let's walk through the steps to safely remove these elements without damaging your walls.
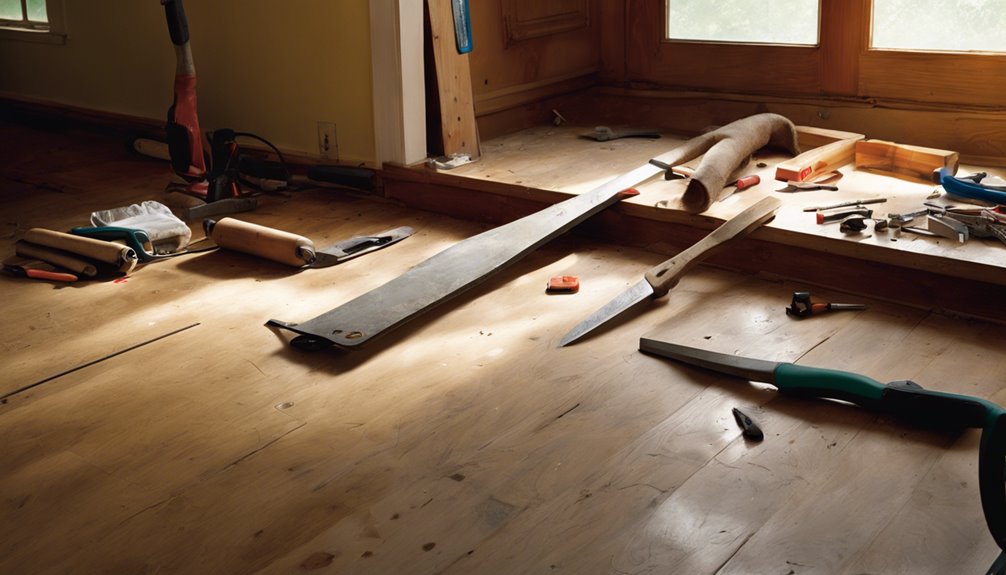
Tools Needed for Removal
To successfully remove laminate flooring, you'll need a few essential tools to tackle the baseboards and trim. These tools will help guarantee that you can efficiently apply flooring removal techniques without damaging your walls or the baseboards themselves. Here's what you'll need:
- Pry Bar – For gently removing the baseboards.
- Utility Knife – To score caulk or paint sealing the trim.
- Hammer – To assist with the pry bar when needed.
- Putty Knife – For scraping off any adhesive that might be left behind.
With these tools in hand, you'll be well-prepared to handle different laminate flooring types and make the removal process smoother. Enjoy the freedom of a clean, clear space ready for your next project!
Step-by-Step Process
Removing the baseboards and trim is a crucial step in the laminate flooring removal process. Start by taking necessary safety precautions—wear gloves and safety goggles to protect yourself. Carefully use a pry bar or flathead screwdriver to gently lift the trim away from the wall. If the trim is nailed down, be cautious not to damage it, especially if you plan to reuse it later. Depending on the floor types, you might encounter different cutting techniques for the trim. Make sure you keep track of any nails or screws you remove. Once all baseboards and trim are off, you'll have a clear space to proceed with the laminate flooring removal. Enjoy your freedom to create a fresh look!
Locate the Starting Point
How do you determine the best spot to start removing laminate flooring? Finding the right starting point is key for a smooth process. Here are some useful starting point techniques and floor layout considerations to keep in mind:
- Identify the layout: Determine how the planks are arranged; starting from the edge can make removal easier.
- Check for damage: If some planks are damaged, you might want to start there to avoid further complications.
- Access points: Look for areas where you can easily access the edges, like doorways or connections.
- Plan your exit: Confirm that your starting point allows a clear path for removing planks without blocking your way.
Using these tips will make your removal project more efficient and hassle-free.
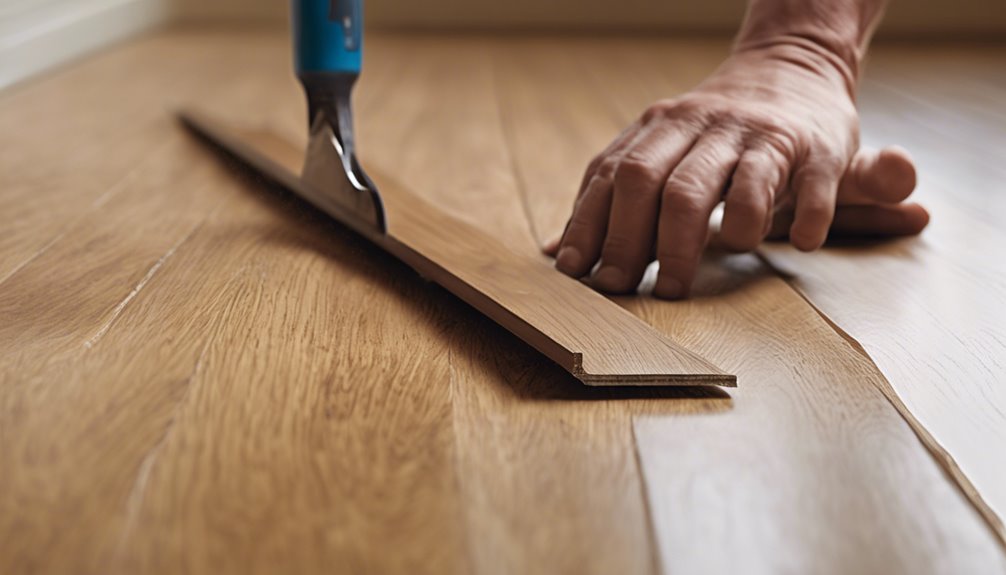
Begin Lifting the Planks

Start by gently lifting the edge of the first plank using a pry bar or a flathead screwdriver. This initial lift is vital for effective plank separation. As you work, remember to apply consistent pressure and use appropriate lifting techniques to avoid damaging surrounding planks. Once you've successfully lifted the first plank, continue to carefully pry up adjacent ones.
Here's a quick reference table for your lifting techniques:
| Technique | Description | Tips |
|---|---|---|
| Pry Bar | Insert under the plank edge | Use a gentle upward motion |
| Flathead Screwdriver | Leverage for small gaps | Work slowly to prevent damage |
| Hand Lifting | For planks that easily separate | Verify the area is clear |
Work in Sections
As you progress with the removal, working in sections can simplify the process and minimize disruption. A clear work methodology will help you maintain focus and efficiency. Here's how to implement section division effectively:
- Choose a Starting Point: Select a corner or edge to begin your removal.
- Define Your Sections: Break the area into manageable sections, based on room size or planks.
- Remove One Section at a Time: Focus on completely removing one section before moving to the next, ensuring a clean job.
- Keep Tools Handy: Have all necessary tools nearby for quick access, preventing unnecessary interruptions.
Handle Adhesive Residue
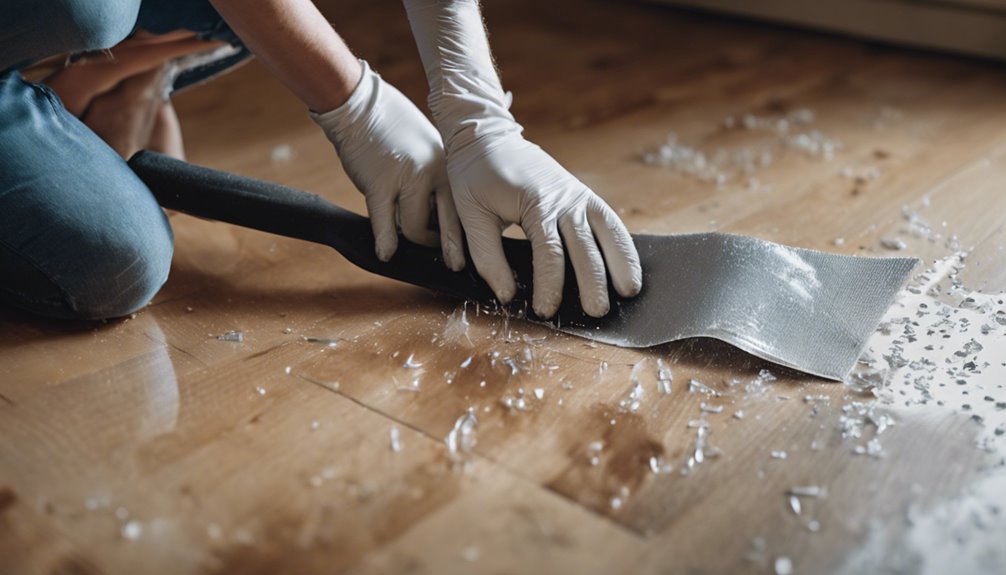
After removing the laminate flooring, you'll likely encounter adhesive residue that needs attention. Different adhesive types may require specific removal techniques, so identify what you're dealing with first. For water-based adhesives, a mixture of warm water and dish soap can work wonders; just scrub gently with a sponge. For tougher, solvent-based adhesives, consider using a commercial adhesive remover or rubbing alcohol. Apply it to a cloth and let it sit for a few minutes before scraping with a plastic putty knife. Always test a small area first to avoid damaging the subfloor. Once you've tackled the residue, wipe the area clean with a damp cloth and let it dry before proceeding with your next project.
Dispose of Old Flooring
With the adhesive residue taken care of, it's time to focus on disposing of the old laminate flooring. You've got options that can align with your desire for sustainability and freedom from clutter. Here's how to handle old flooring disposal effectively:
- Check Local Regulations: Some areas have specific guidelines for laminate disposal.
- Recycle Laminate: Look for facilities that accept laminate for recycling, reducing landfill waste.
- Donation: If the flooring's still in good shape, consider donating it to local charities or community projects.
- Waste Management: If all else fails, contact your waste management service for bulk pick-up or drop-off options.
Clean the Subfloor
Cleaning the subfloor is a crucial step that shouldn't be overlooked. Proper subfloor preparation guarantees a stable foundation for your new flooring and helps with moisture control, preventing future issues. Start by sweeping away debris and vacuuming to eliminate dust. For stubborn stains, a damp cloth and mild cleaner will do the trick.
| Task | Purpose |
|---|---|
| Sweep and Vacuum | Remove debris and dust |
| Wipe stains | Maintain cleanliness |
| Check for moisture | Prevent damage |
| Allow to dry | Guarantee stability |
Once the subfloor is clean and dry, you're ready to move forward. This attention to detail will enhance the longevity and performance of your new flooring, granting you peace of mind.
Frequently Asked Questions
Can I Remove Laminate Flooring Without Damaging the Subfloor?
You might worry that tearing up your laminate flooring will mean costly subfloor damage, but it doesn't have to be that way. By using proper removal techniques, like gently prying up the boards and avoiding excessive force, you can preserve your subfloor. Take your time, work methodically, and consider using a pull bar or tapping block to minimize stress on the underlying surface. With care, you can achieve a clean removal without any harm.
How Long Does It Typically Take to Remove Laminate Flooring?
When it comes to removing laminate flooring, the time it takes can vary based on your skills and the removal techniques you use. On average, you're looking at about 2 to 4 hours for a standard room if you manage your time well. If you plan ahead and gather your tools, it can make the process smoother. Just remember, staying organized helps you finish quicker and gives you that freedom to enjoy your space sooner!
Is It Necessary to Wear Protective Gear During Removal?
When starting any home improvement journey, it's wise to contemplate a few safety precautions. While you might feel invincible, donning protective equipment isn't just a formality; it's essential. Wearing gloves, goggles, and a dust mask can shield you from potential hazards like splinters or dust. So, before you plunge into your project, take a moment to equip yourself. Your safety is paramount, ensuring you can enjoy your space without worry.
What Should I Do if I Encounter Stubborn Planks?
If you encounter stubborn planks, don't worry—you've got options! First, gather the tools needed, like a pry bar and a rubber mallet. Carefully use the pry bar to lift the stubborn plank. If it won't budge, try a removal technique like applying gentle heat with a hairdryer to soften any adhesive. Patience is key; take your time to prevent damage, and soon you'll regain your space without hassle!
Can I Reuse Laminate Flooring After Removal?
Yes, you can reuse laminate flooring after removal, but it depends on its condition. If the planks are intact and not damaged, you're in luck! For reuse, make sure to keep them clean and dry. When reinstalling, consider using some reuse tips like staggering the seams for a better fit. Remember, if the laminate shows signs of wear or water damage, it might be better to replace it.


