Are you staring at your old hardwood flooring, wishing for a change? Whether it’s damaged, outdated, or simply not your style anymore, removing hardwood flooring is a task many homeowners face.
But where do you start? The good news is, you don’t have to feel overwhelmed. This guide will empower you with simple steps and insider tips to make the process as smooth as possible. Imagine transforming your space into something fresh and new, just by taking action on your floors.
Dive in, and discover how easy it can be to tackle this project yourself, saving time and money while achieving the look you desire. Ready to make a change? Let’s get started!
Tools And Materials Needed
Removing hardwood flooring needs some basic tools. A pry bar helps lift the wood. A hammer is essential for tapping. Pliers are handy for pulling nails. Safety is important. Wear safety goggles to protect your eyes. Use gloves to protect your hands. A utility knife can cut through tough spots. Keep a dust mask to avoid breathing dust. Garbage bags help in cleaning up.
A drill helps with stubborn nails. Wooden wedges can support the floor as you work. Floor scraper is useful for removing glue or debris. Proper tools make the job easier. Always check the tools before you start. Safety first, always!
Safety Precautions
Before starting, wear safety goggles to protect your eyes. Use gloves to keep hands safe from splinters. Knee pads can help avoid knee pain. Make sure the room is well-ventilated. Dust and debris can be harmful. Mask is important to keep dust away from your lungs.
Keep children and pets out of the work area. Tools should be in good condition. Check tools for any damage before use. A first aid kit should be nearby. Keep your phone handy for emergencies. Be aware of your surroundings. Stay alert and focused.
Preparing The Room
Start by taking out all the furniture. Remove rugs and any loose items. This makes the area clear for work. Check for nails or tacks on the floor. Use a hammer to pull them out if needed. Make sure the floor is smooth before starting.
Cover the walls with large sheets. Tape them to stay in place. This keeps dust away from paint. Next, use plastic to wrap light fixtures. Secure it with tape. This helps keep them clean and safe.
Removing Baseboards
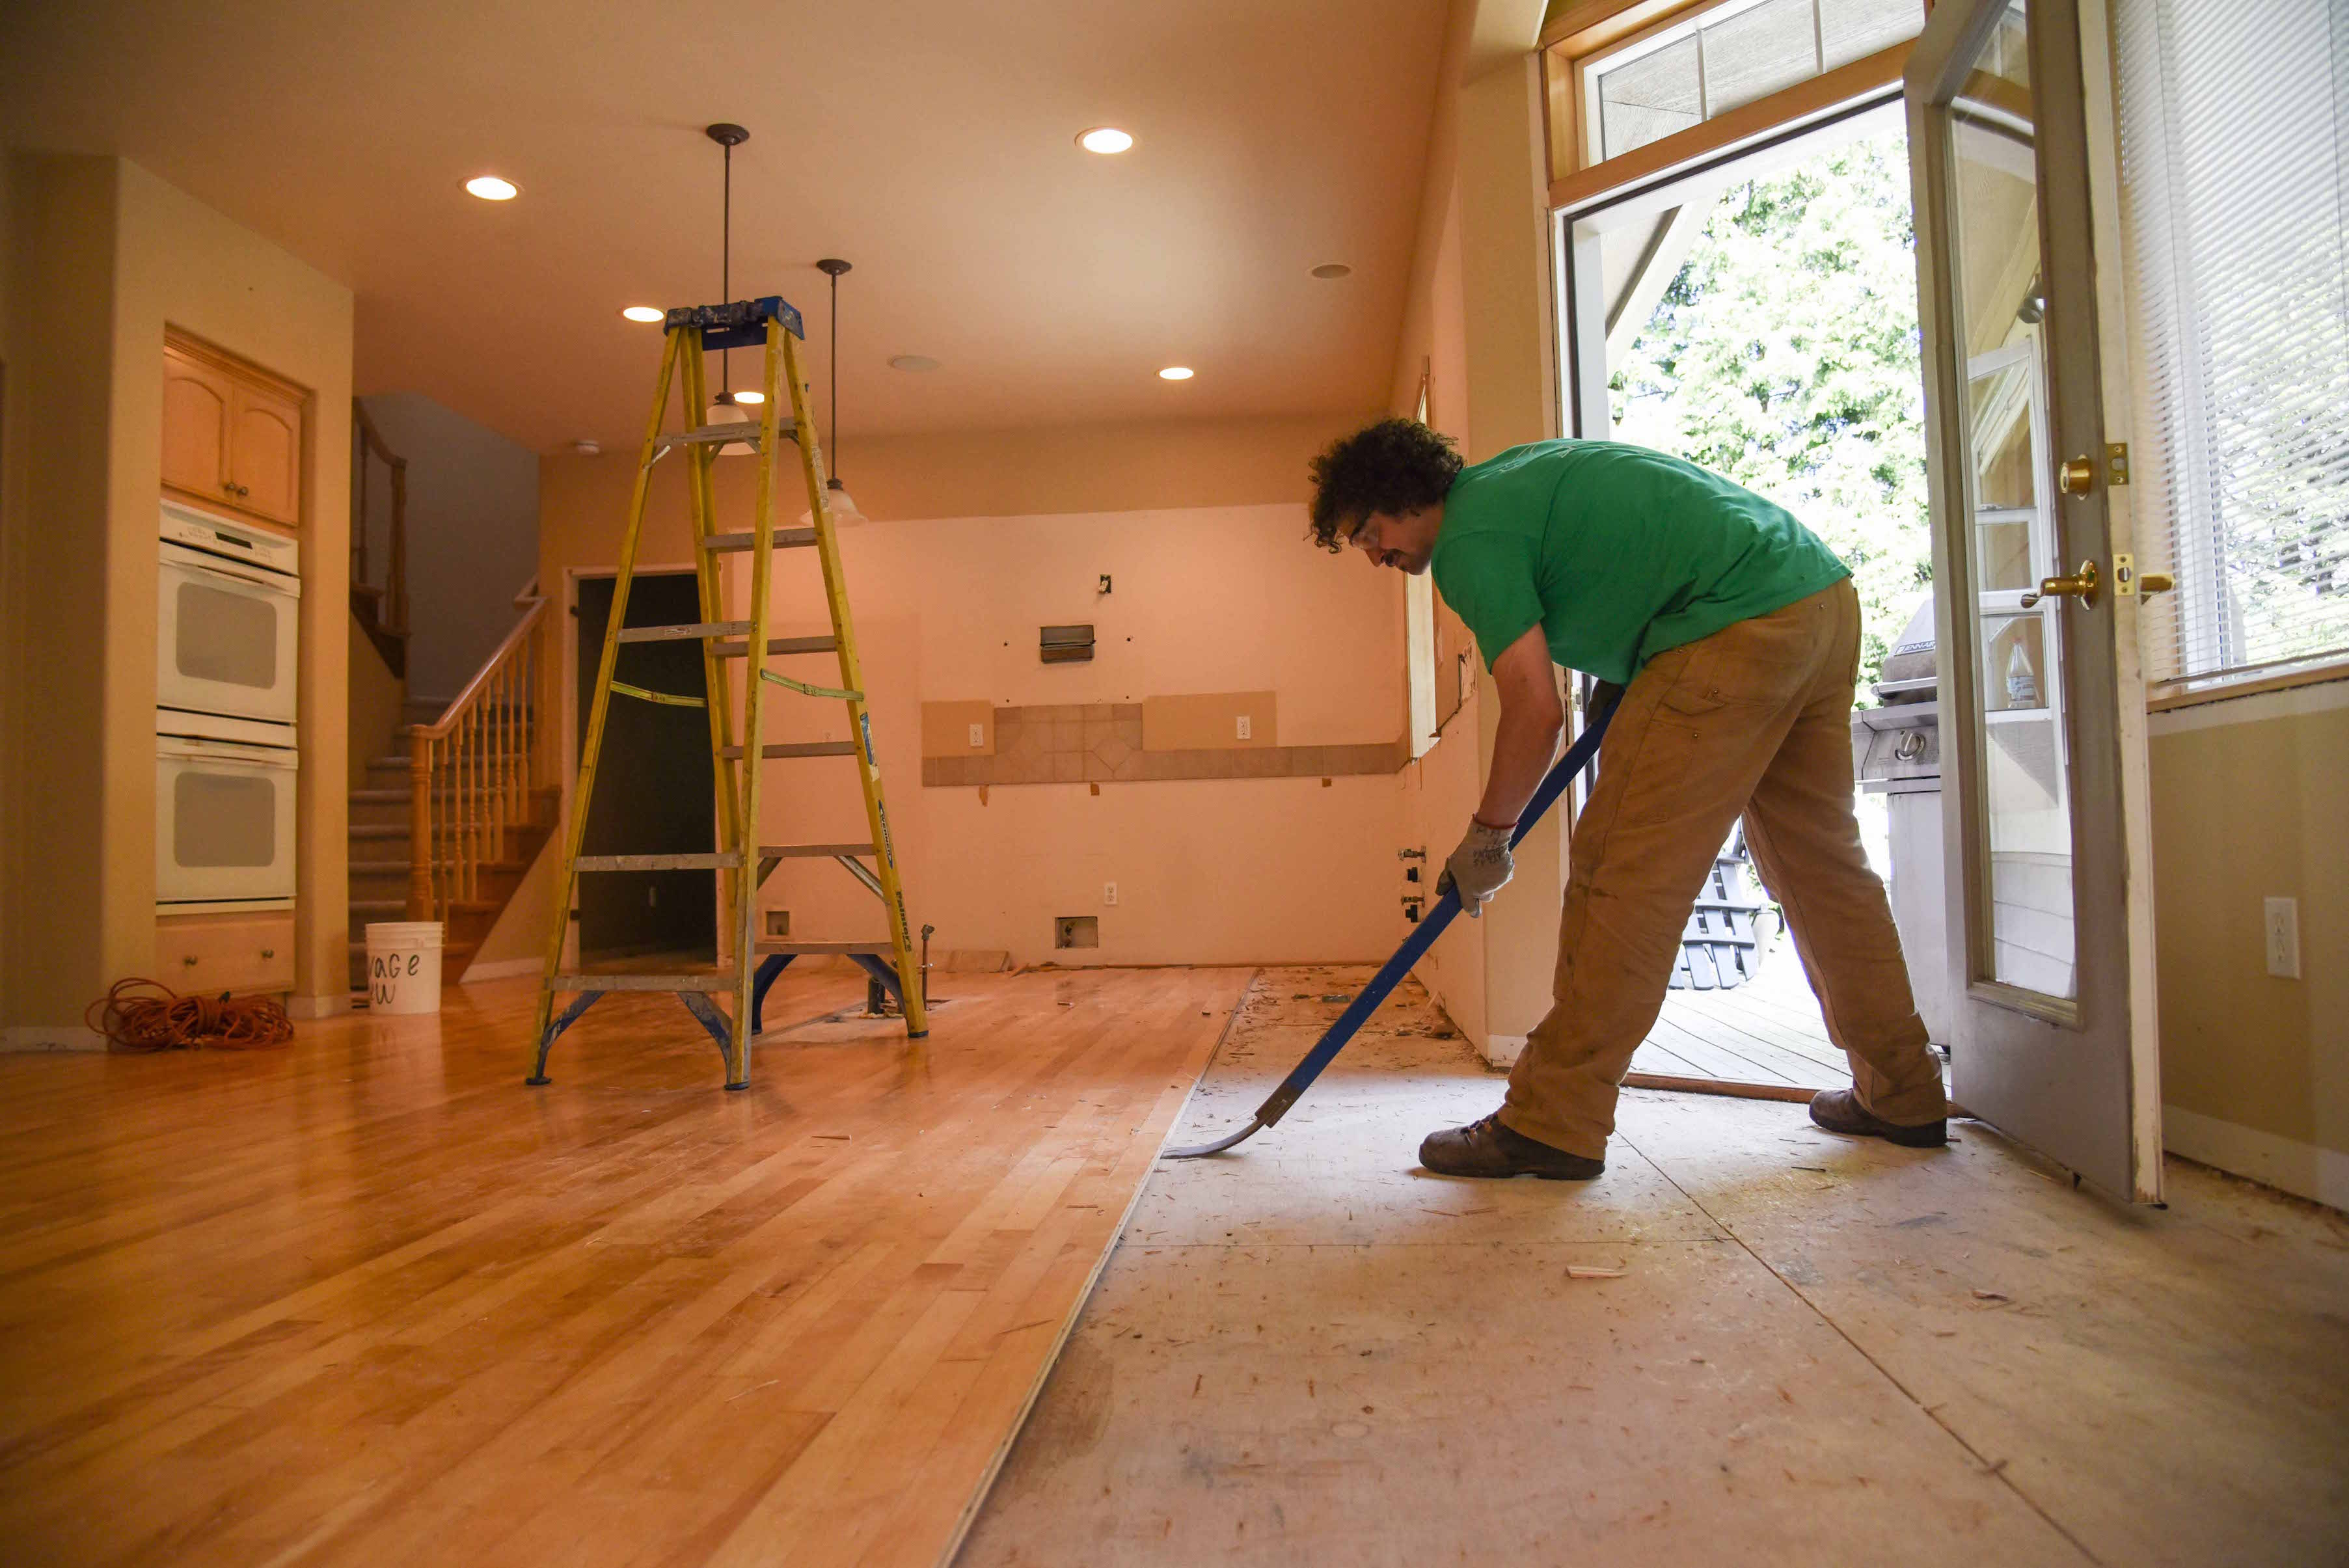
Use a pry bar carefully to remove baseboards. Start by placing the bar under the baseboard. Apply gentle pressure to lift it. This prevents breakage. Move the pry bar along the length of the baseboard. This helps remove it evenly. Use a hammer to tap the pry bar if needed. Ensure the bar doesn’t damage walls.
Protect walls by using a thin piece of wood behind the pry bar. This acts as a shield. It stops the bar from pressing into the wall. Check for any nails or screws before pulling. This prevents damage. Always work slowly. This gives better control and reduces mistakes.
Cutting And Lifting Floorboards
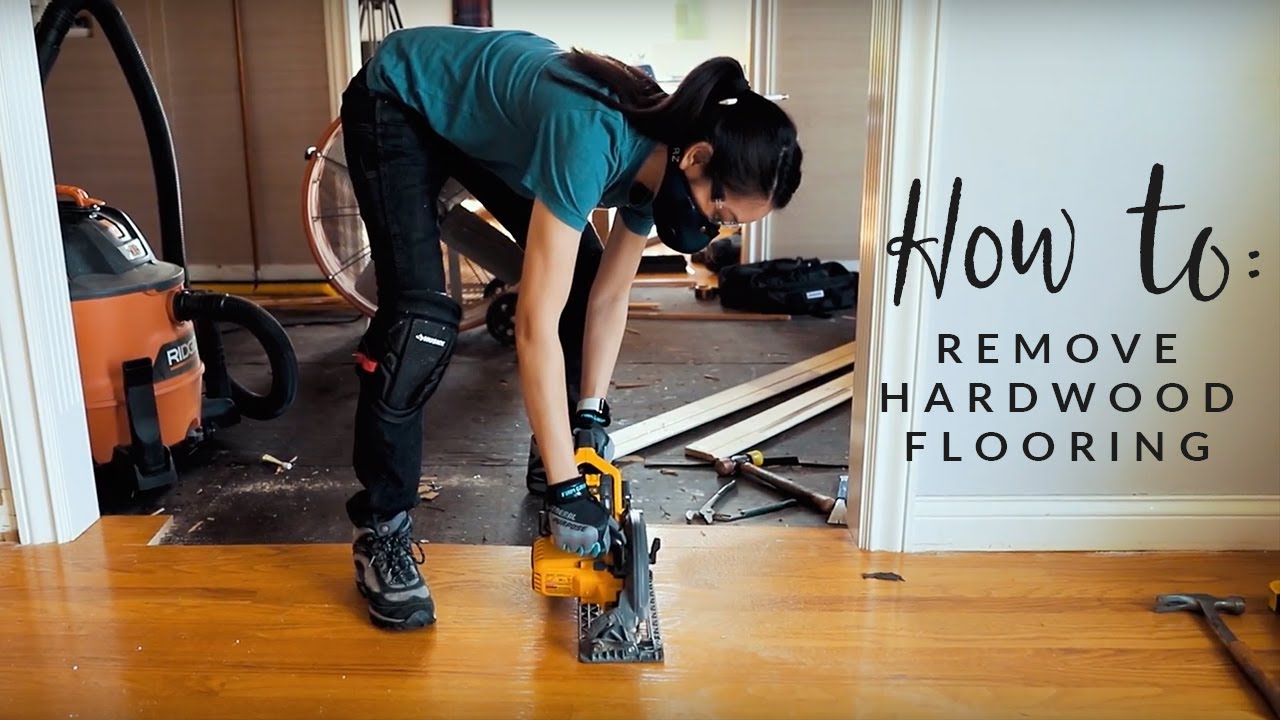
Start by marking the floorboards with a pencil. Ensure you draw straight lines for accuracy. Then, adjust the circular saw blade to the right depth. Safety is important, so wear goggles and gloves. Cut along the marked lines. If boards are wide, cut them into smaller pieces. This makes lifting easier.
Some boards may be stuck tight. Use a pry bar to loosen them. Insert the pry bar at the edge of the board. Apply gentle pressure to lift it. For very stubborn boards, a mallet can help. Tap the pry bar gently with the mallet. Avoid hitting too hard to prevent damage. Patience is key when dealing with tough boards.
Handling Nails And Staples
Use a claw hammer or nail puller to remove nails. Gently slide the tool under the nail head. Slowly pull the handle to lift the nail. Ensure you do not damage the wood. Protect your hands with gloves. Keep the area clean to avoid stepping on nails.
Use a flathead screwdriver to lift staples. Insert the screwdriver under the staple. Twist gently to loosen it. Once loose, use pliers to pull it out. Work carefully to avoid breaking the staple. Check for leftover bits. Ensure the floor is smooth.
Dealing With Adhesive
Tackling the removal of hardwood flooring involves addressing stubborn adhesives. Begin by softening the glue with a heat gun or adhesive remover. Carefully pry the planks using a pry bar, ensuring minimal damage to the subfloor.
Types Of Adhesive
Adhesives hold the hardwood flooring firmly in place. There are different types of adhesives used in flooring. Water-based adhesives are easy to clean. But they may not be as strong. Solvent-based adhesives are stronger. Yet, they can be tricky to remove. Urethane adhesives are the toughest. They are also the most challenging to deal with. Understanding these types helps in removing them.
Effective Solvent Use
Solvents make adhesive removal easier. Apply the solvent directly on the adhesive. Let it sit for a while. This softens the adhesive. Use a scraper to gently lift the adhesive. Safety is important. Always wear gloves and a mask. Ventilate the room well. This keeps you safe from fumes. Keep the area clean and tidy.
Disposal Of Old Flooring
Wood flooring can be reused. It’s better than dumping it. Recycling saves trees and helps the planet. Many places take old wood. Check for local recycling centers. They might accept old flooring. Donating is another option. Some people need wood for projects. Schools and community centers can use it. This is a good way to help others. Always think of the environment. Choose ways that are good for Earth.
Each area has its own rules. Disposal laws can be strict. It’s important to follow them. Local councils have guidelines. Contact them for details. They can guide you. Some areas need special permits. Others have set days for disposal. Fines can be high if rules are broken. It’s best to stay informed. Always check before disposing. This keeps you out of trouble.
Preparing For New Flooring
Removing hardwood flooring requires careful planning and the right tools. Start by clearing the room and wearing safety gear. Use a pry bar and mallet to gently lift the boards, avoiding damage to the subfloor.
Cleaning The Subfloor
Clean the subfloor after removing old flooring. Remove all nails and debris. Sweep thoroughly to get rid of dirt and dust. Use a vacuum for small particles. Check for any sticky residue and scrub it off. Ensure the surface is smooth and clean. This helps the new flooring stick well.
Inspecting For Damage
Look for any damage on the subfloor. Check for cracks or holes. Use a flashlight to see better. Small holes can grow bigger. Fill them with wood filler. Let it dry completely. Check if the floor is level. Use a level tool to check this. Fix any uneven areas before installing new flooring.
Frequently Asked Questions
What Tools Are Needed To Remove Hardwood Flooring?
To remove hardwood flooring, you’ll need a pry bar, hammer, circular saw, and utility knife. Safety gear like gloves and goggles are essential. A dust mask is recommended to protect against airborne particles. These tools will help in efficiently removing the flooring without causing damage to the subfloor.
How Long Does It Take To Remove Hardwood?
Removing hardwood flooring typically takes a few hours to a day. The time varies based on room size and flooring type. Professional removal is faster, while DIY may take longer. Proper planning and having the right tools can speed up the process considerably.
Can I Reuse Old Hardwood Planks?
Yes, old hardwood planks can be reused if they’re in good condition. Carefully remove and inspect each plank for damage. Reused planks can be sanded and refinished for a fresh look. This is an eco-friendly option and can save costs on purchasing new flooring.
What Should I Do With The Removed Flooring?
Consider recycling or donating your removed hardwood flooring. Many recycling centers accept wood, and some organizations may take donations. If the wood is in good condition, it can be reused in other projects. Proper disposal ensures environmental responsibility and reduces waste.
Conclusion
Removing hardwood flooring can seem tough. With patience, it’s manageable. Gather your tools. Follow each step carefully. Ensure safety by wearing gloves and goggles. Keep your workspace clean. Dispose of old flooring responsibly. Consider seeking professional help if needed. Preparing your floor for new installation is crucial.
Measure accurately and choose quality materials. Think about your future flooring needs. Plan wisely to avoid surprises. Enjoy your refreshed space. Feel proud of your hard work. Remember, practice makes perfect. Each project teaches new skills. You can do it!


