Are you tired of looking at the same old, worn-out floor tiles in your home? Perhaps you’ve been dreaming of a fresh new look but feel overwhelmed by the thought of removing those stubborn tiles yourself.
You’re not alone. Many homeowners face this challenge, wondering if they can tackle it without professional help. The good news is, you can do it! With the right tools and guidance, removing floor tiles can be a manageable DIY project that saves you money and gives your space a stunning transformation.
But before you grab your tools, it’s important to know the right steps and techniques to ensure a smooth and effective tile removal process. This guide will walk you through everything you need to know, from preparing your workspace to removing the tiles without damaging the underlying floor. You’ll discover tips and tricks that make the process easier and more efficient, helping you achieve the beautiful results you desire. Are you ready to transform your space and uncover the secrets to successful tile removal? Let’s dive in!
Tools And Materials
Start by gathering all the necessary tools and materials. You will need a sturdy chisel and a reliable hammer. A sharp utility knife is essential for cutting. Use a scraper to remove adhesive. Don’t forget safety goggles to protect your eyes. Gloves keep your hands safe. A dust mask is crucial to avoid breathing dust. You also need a bucket for debris. Make sure to have a good work light if the room is dark. Finally, a trash bag will help with cleanup.
Having these items on hand makes the job easier. It also ensures safety while working. Gather everything before you start.
Preparing The Area
Start by moving all furniture out of the room. This creates space to work safely. Remove rugs and any loose items. Ensure the floor is clear from obstacles. Dust and dirt should be swept away. This makes the tiles visible and easy to reach. Gather your tools in one place for easy access.
Wearing protective gear is important. Use gloves to protect your hands. Wear safety goggles to shield your eyes. A dust mask keeps harmful particles away. Sturdy boots protect your feet from debris. This gear keeps you safe during the tile removal process.
Identifying Tile Type
Ceramic tiles are hard and shiny. They are often found in kitchens and bathrooms. These tiles are made from clay and baked at high temperatures. They can be glossy or matte. Be careful, they can break easily. Check the edges; they are usually smooth.
Vinyl tiles are soft and flexible. They are easy to peel up. These tiles are often found in older homes. They come in many colors and patterns. Vinyl tiles feel warm underfoot. They can be cut with a knife. Waterproof, but can stain over time.
Stone tiles are heavy and natural. They are made from real stone like granite or marble. These tiles are found in luxury spaces. Each tile is unique. Stone tiles are durable but can be slippery. They need special cleaning products. The edges can be rough.
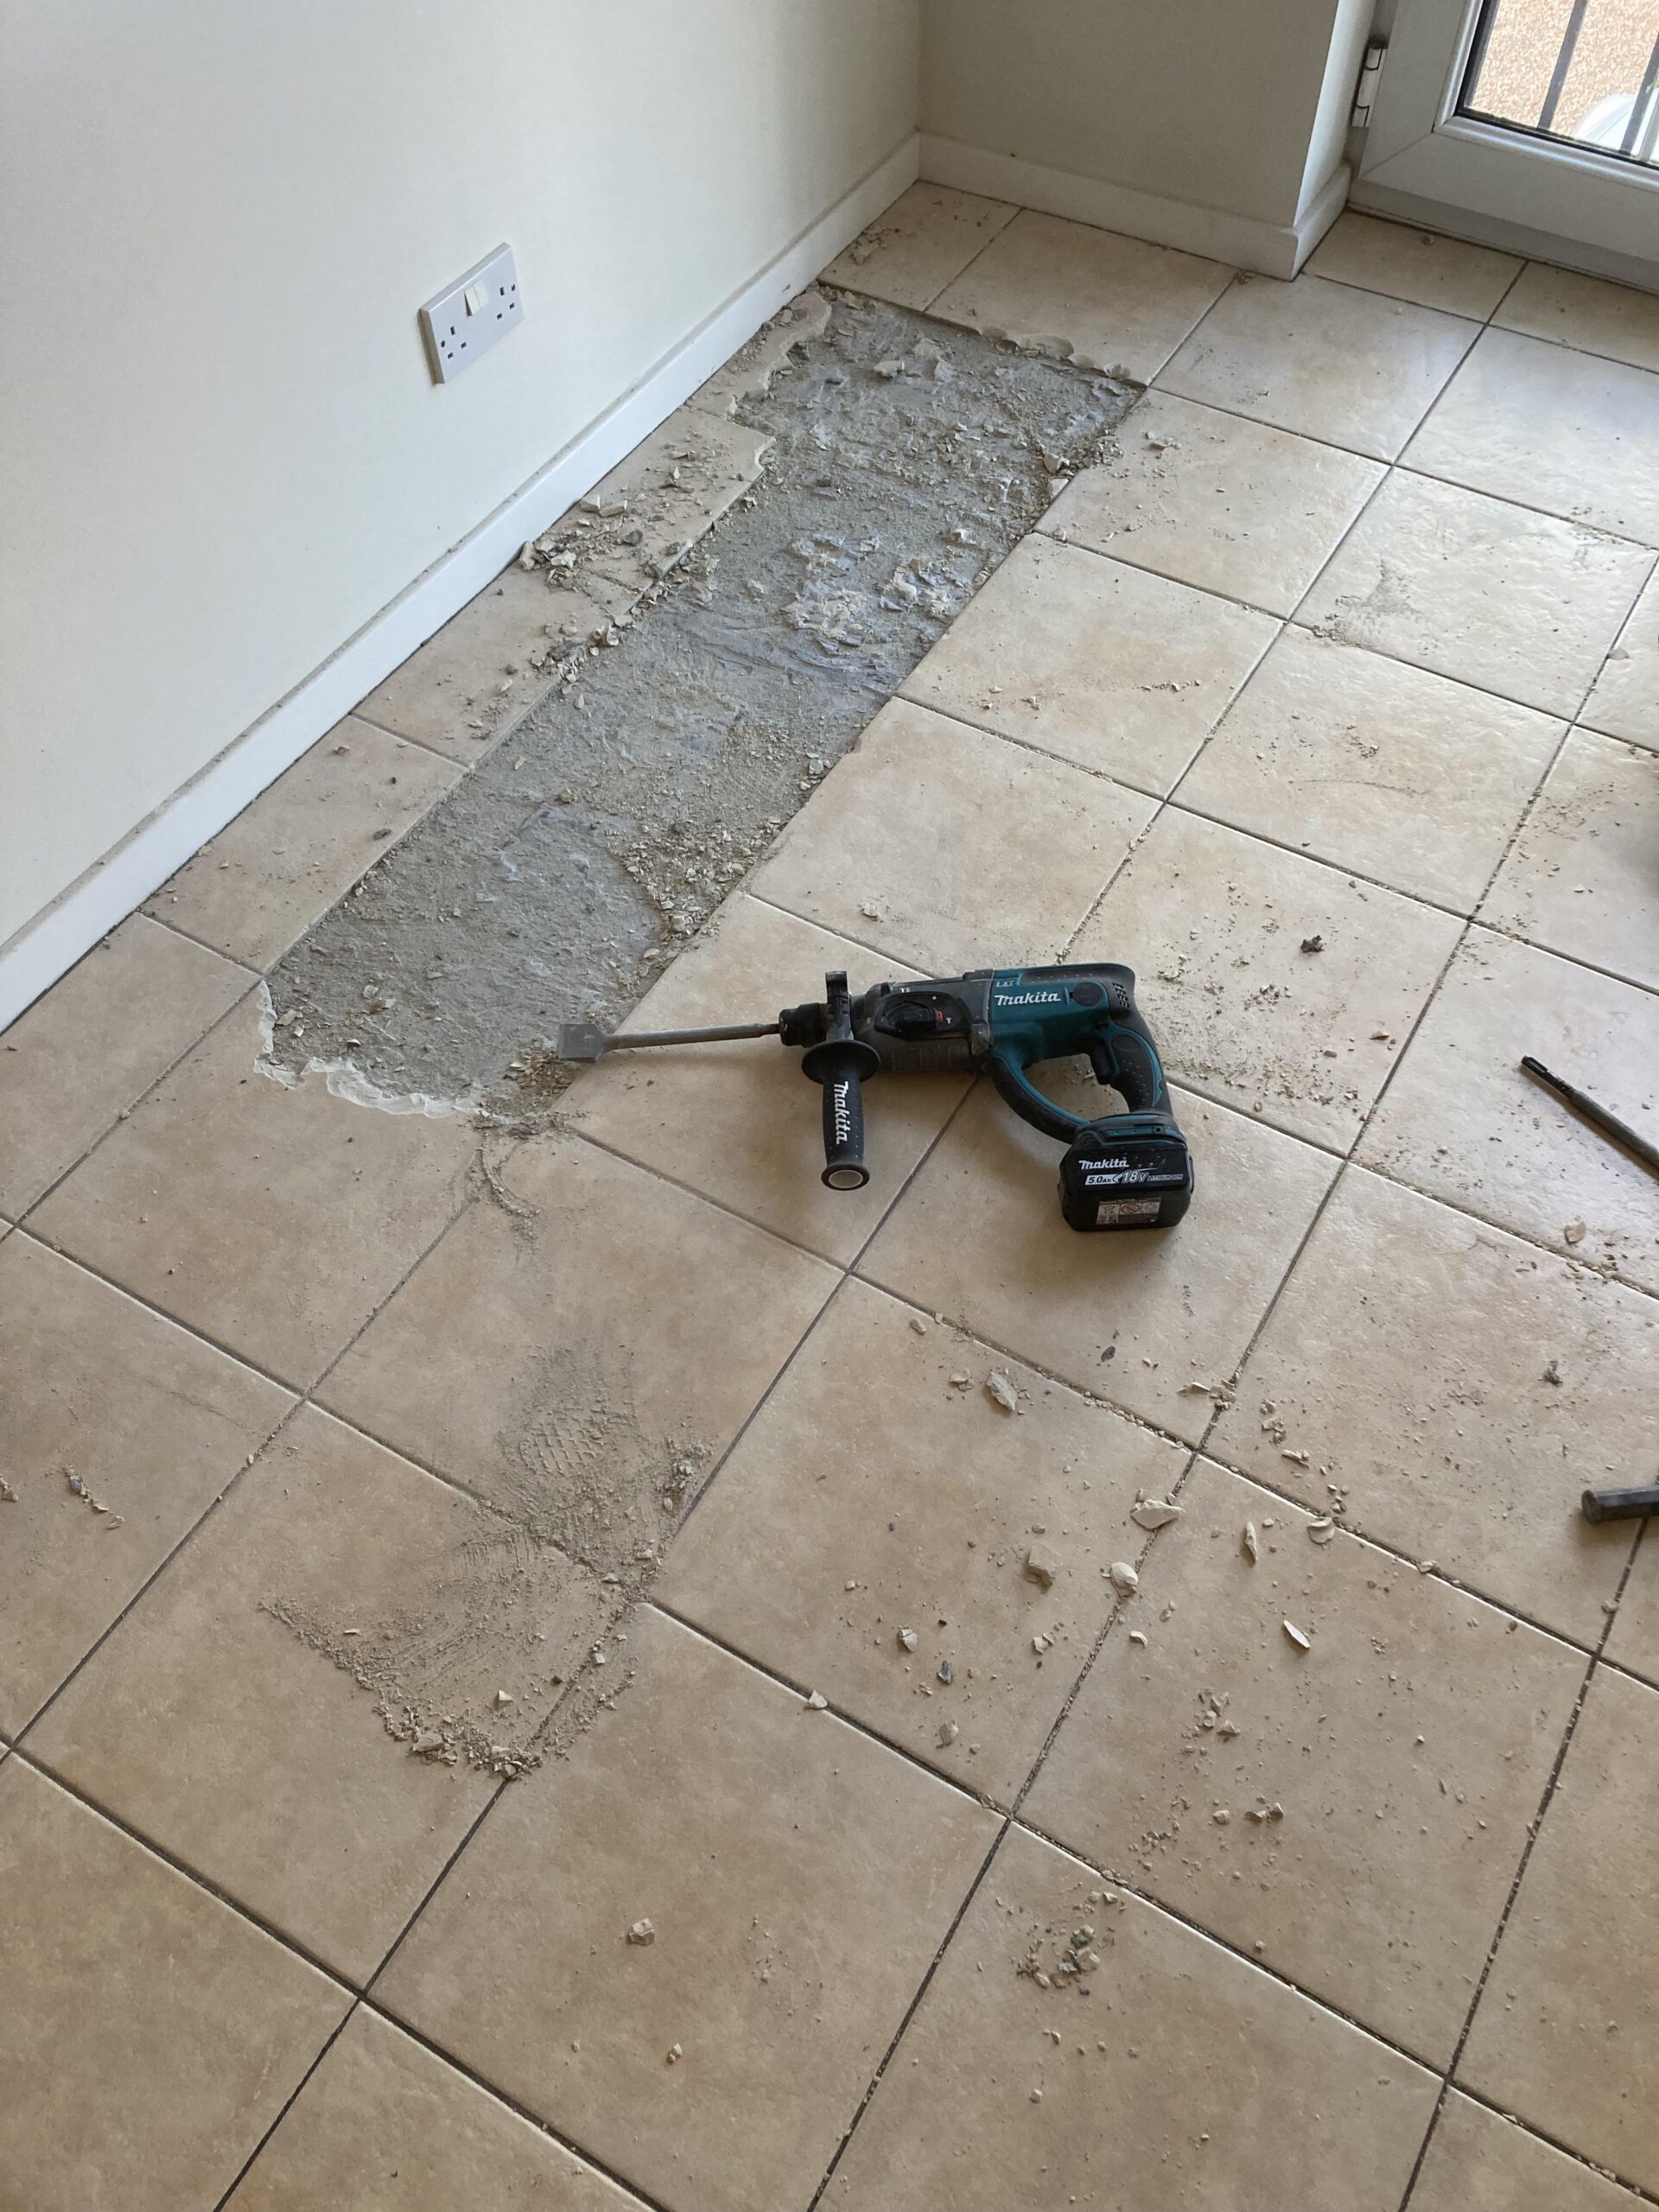
Breaking The First Tile
Pick a tile at the edge of the room. It’s easier to start here. Edges help to find loose tiles. Loose tiles are simpler to remove. Look for tiles that sound hollow. Tap tiles gently to find the hollow sound. Hollow tiles are ready to remove. These tiles break easily. Starting at the edge is smart. The edge is less visible. Mistakes can hide here.
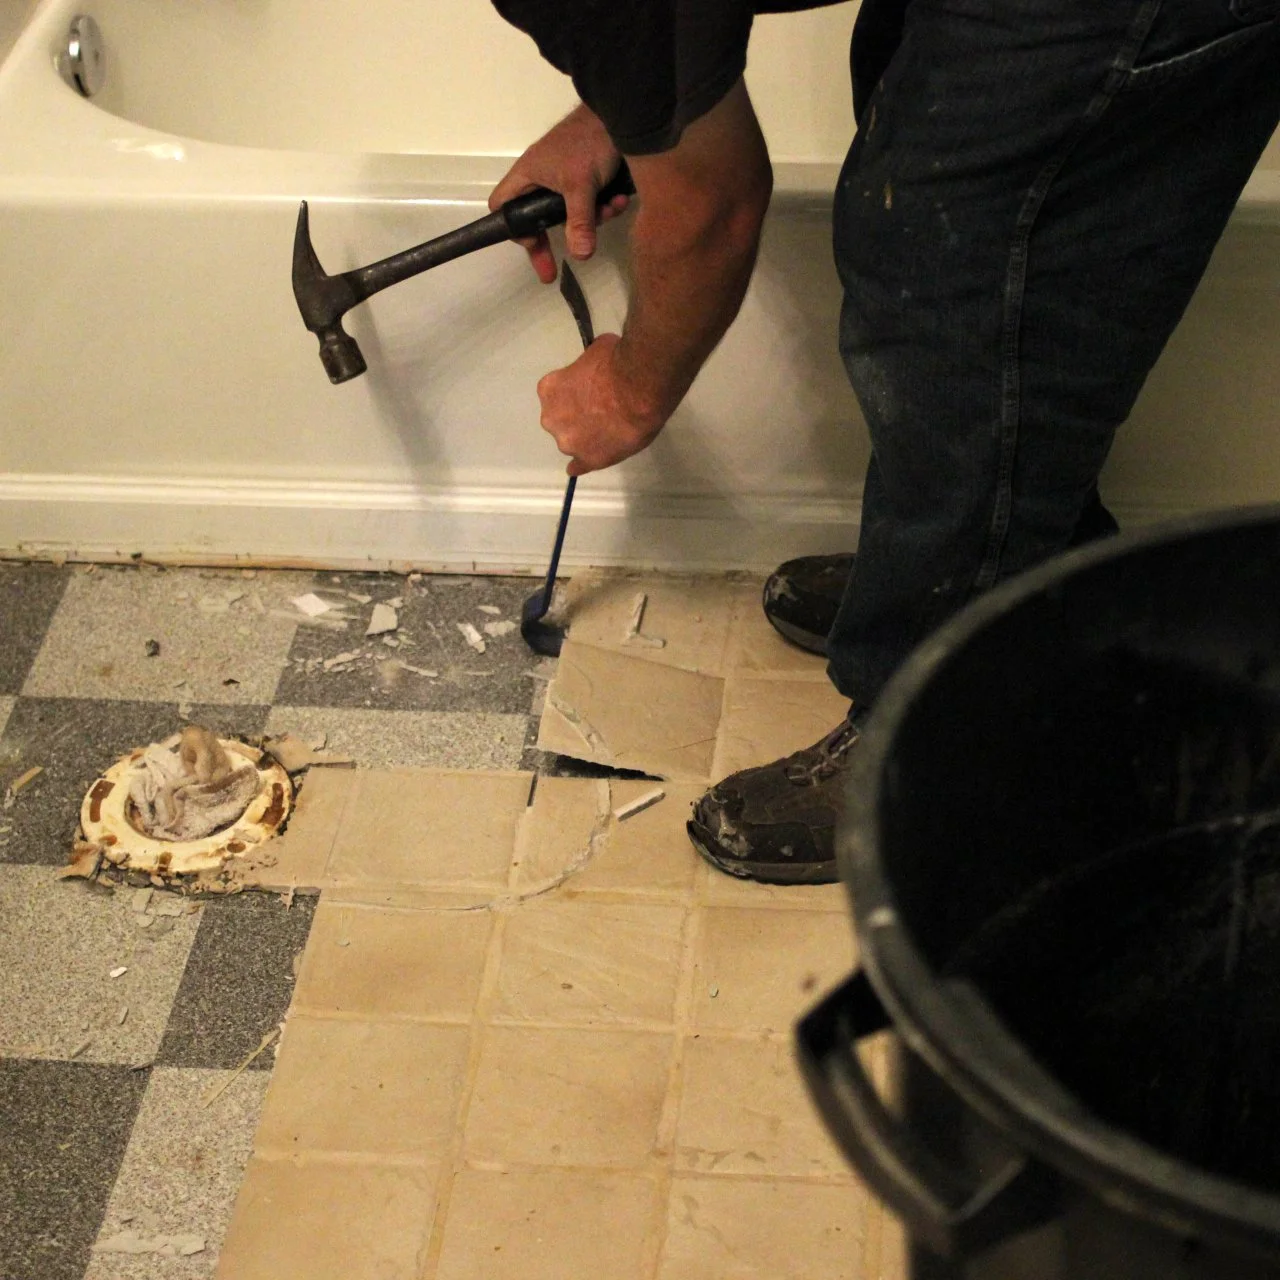
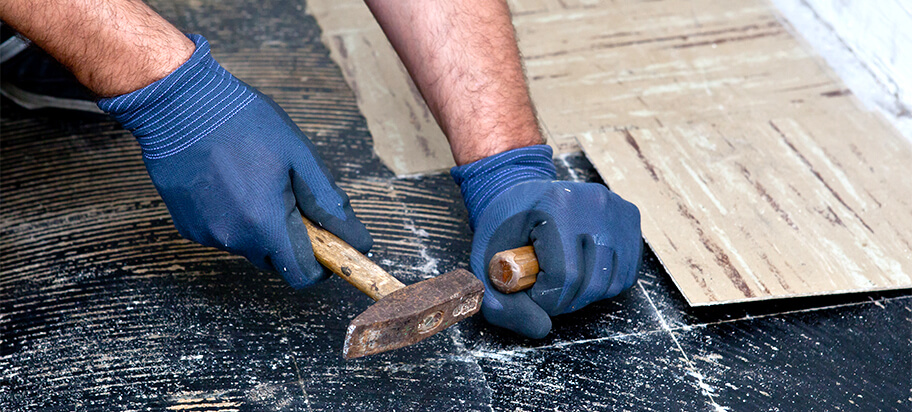
Hold the chisel at the tile’s edge. Hit the chisel gently with the hammer. Small taps work best. Hard hits might break the tile. Watch for cracks. Cracks mean the tile is breaking. Lift the broken pieces with care. Use gloves to protect hands. Repeat until the tile is loose. Remove all pieces slowly. Continue with the next tile.
Removing Remaining Tiles
Use a pry bar to take off the tiles. Slide the bar under the tile. Gently lift it up. This helps to pop off the tile. Be careful not to break the tile. Tile edges can be sharp. Wear gloves to protect your hands. Work slowly and carefully. It makes the job easier.
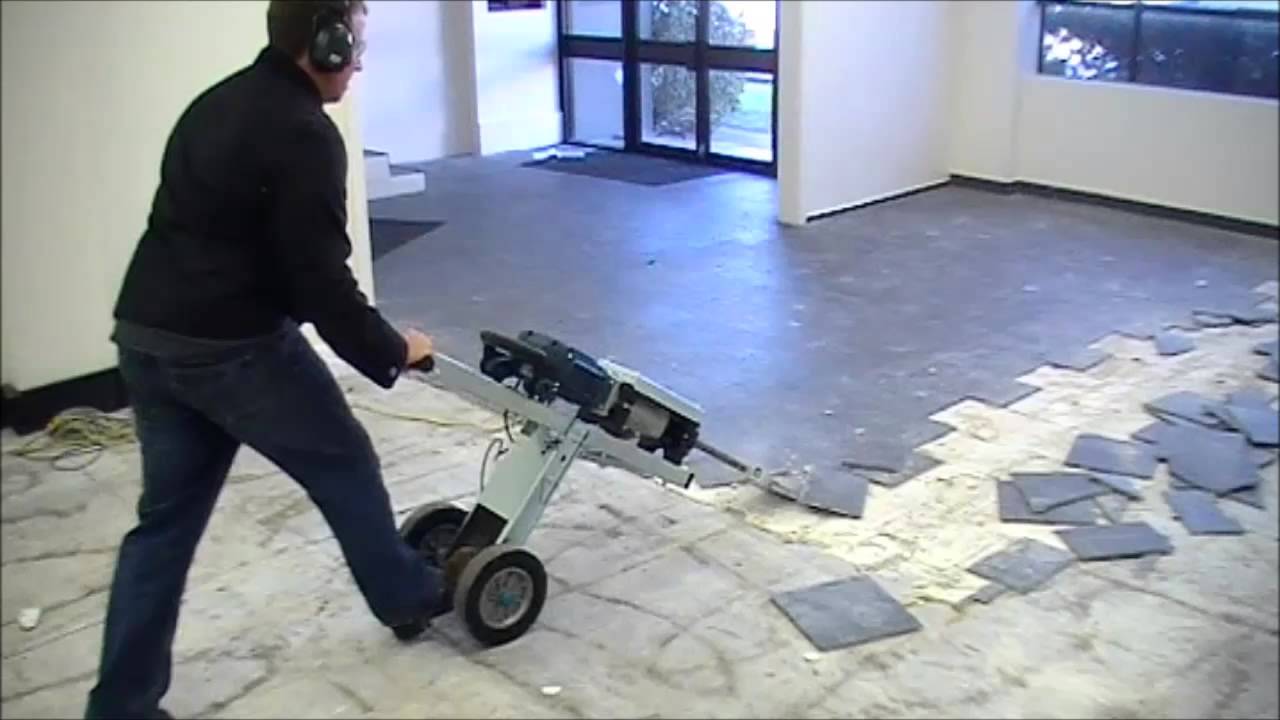
A floor scraper is also helpful. Push the scraper under the tiles. It is best for large areas. The scraper removes tiles fast. Hold it steady and push forward. Use your body weight for more force. This makes the tiles come up easier. Scrapers can handle tough jobs. They work well on stubborn tiles.
Dealing With Adhesive
Removing floor tiles involves carefully dealing with adhesive residue. Scraping tools help loosen tiles effectively. Soaking adhesive with warm water softens it for easy removal.
Scraping Off Residue
Start by using a putty knife to scrape the floor. This helps in removing the sticky residue left by the tiles. Be gentle to avoid damaging the floor. Work in small sections. This makes it easier to manage. Wipe away any loose bits. Keep your work area clean and tidy.
If the residue is hard, use a heat gun. It helps to soften the adhesive. This makes scraping much easier. Be careful with the heat to avoid burns or damage.
Applying Adhesive Remover
Choose a good adhesive remover from the store. Follow the instructions on the label. Apply the remover to the sticky areas. Let it sit for the suggested time. This helps to break down the glue.
Use a cloth or sponge to wipe the area. Work in small sections for better results. Repeat the process if needed. Ensure the floor is clean and smooth before moving on.
Cleaning The Subfloor
Removing floor tiles involves several steps. First, clear the room of furniture and debris. Next, gently pry up tiles using a chisel and hammer. Be careful not to damage the subfloor beneath. Dispose of tiles safely, and clean the subfloor thoroughly to prepare for new flooring.
Sweeping And Vacuuming
Start by removing loose dirt and dust. Use a broom to sweep the floor. Make sure you reach every corner. A vacuum cleaner can help with the fine dust. This step is important for a smooth subfloor.
Inspecting For Damage
Look closely at the subfloor for any signs of damage. Check for cracks or any loose parts. If you find damage, it needs fixing before new tiles. A stable subfloor ensures a long-lasting tile floor.
Safety Tips
Sharp tools can be dangerous. Always wear gloves to protect your hands. Keep tools away from your face. Use tools carefully to avoid cuts. Safety goggles protect your eyes from flying bits. Store tools safely when not in use.
Dust can make breathing hard. Wear a mask over your nose and mouth. Open windows for fresh air. Use a vacuum to clean dust often. Take breaks in fresh air to clear your lungs. Always clean your work area well.
Disposal Of Old Tiles
Old tiles must be disposed of properly. Check local rules for tile disposal. Some areas have strict rules. Follow these rules to avoid fines. Contact your local waste management office. They can provide information. Ask questions if unsure about the rules.
Tiles can be recycled. Look for recycling centers nearby. Some centers accept construction waste. Call ahead to confirm. Recycling helps the environment. Reduce waste by recycling tiles. Some charities also accept tiles. Donate them if possible. Always check first.
Frequently Asked Questions
What Tools Are Needed To Remove Floor Tiles?
To remove floor tiles, you need a hammer, chisel, pry bar, and safety gear. A rotary tool or tile cutter helps with stubborn tiles. Always wear gloves and goggles for protection. A dust mask is recommended to avoid inhaling debris.
Consider renting power tools for large areas.
How Do I Start Removing Floor Tiles?
Begin by clearing the room of furniture and debris. Identify a loose tile or edge to start. Use a chisel and hammer to pry up tiles carefully. Work in small sections. Remove adhesive residue with a scraper. Ensure the floor is clean before installing new tiles.
Can I Remove Tiles Without Damaging The Subfloor?
Yes, you can remove tiles without damaging the subfloor. Use gentle tools like a chisel and hammer. Work slowly and carefully to avoid deep gouges. For stubborn tiles, use a rotary tool cautiously. Protect the subfloor by removing adhesive residue thoroughly.
How Long Does Tile Removal Take?
Tile removal time varies by room size and tile type. A small area might take a few hours. Larger spaces can take a day or more. Factors like adhesive strength and tool availability affect duration. Plan for extra time to clean and prepare the floor afterward.
Conclusion
Removing floor tiles can be simple with the right approach. Follow safety tips. Use proper tools. Take your time. Start by loosening edges. Work carefully across the surface. Avoid damage to the subfloor. Dispose of old tiles responsibly. Remember, practice makes perfect.
Every project teaches something new. Enjoy the satisfaction of a fresh space. Tackle small areas first. Gradually gain confidence. Soon, you’ll master the process. With patience, your floors will look great. A clean slate opens endless possibilities. Transform your room.
Bring your vision to life. Happy renovating!


