
To remove floor tile, start by evaluating the tile type – ceramic, porcelain, or vinyl – as this influences your approach. Gather essential tools like a chisel, hammer, and pry bar, and don safety gear such as gloves and goggles. Clear your workspace of furniture, ensuring ample ventilation. If grout's in the way, carefully cut it with a utility knife before prying the tiles loose. For stubborn tiles, leverage the pry bar strategically. After removal, clean up debris thoroughly to set the stage for new flooring. You'll find effective strategies for every step ahead as you continue.
Assessing Your Tile Type
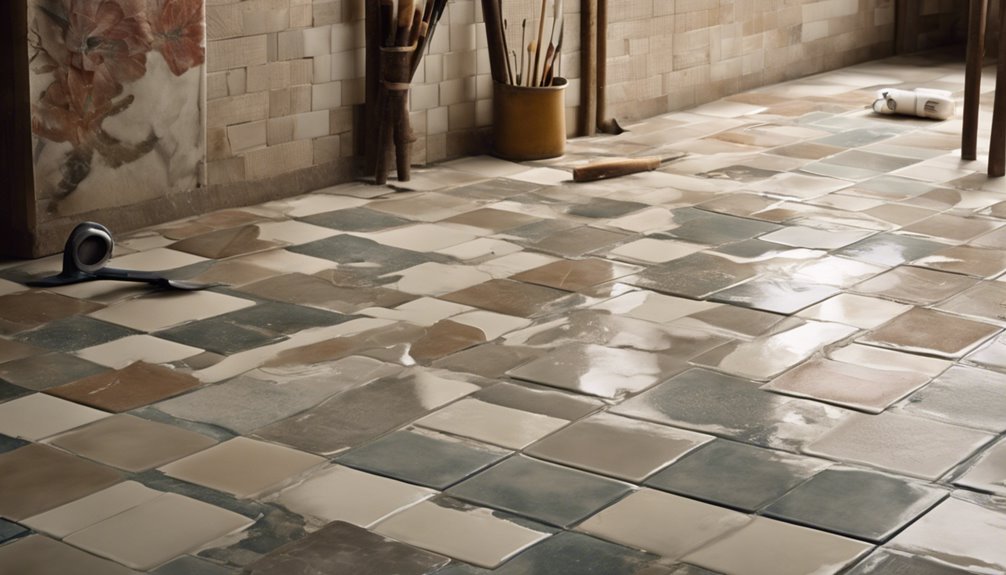
Before you plunge into removing your floor tile, it's vital to identify the type of tile you're dealing with, since different materials require different approaches. Common tile materials include ceramic, porcelain, vinyl, and natural stone. Each has unique properties that affect installation and removal. For instance, ceramic and porcelain tiles are usually glued down with thin-set mortar, making them tougher to remove, while vinyl tiles might just peel off. Inspect your tiles by looking for signs of grout or adhesive, and tap on them to assess their sound—hollow sounds often mean they're loose. Knowing your tile type not only streamlines the removal process but also guarantees you take the right steps for a smooth shift to your next flooring adventure.
Gathering Necessary Tools
When you're ready to tackle the job of removing floor tile, gathering the right tools is vital for a smooth and efficient process. You'll want to make sure you have everything at your fingertips to apply effective tile removal techniques. Here's a quick list of must-have tools:
- Chisel and Hammer: For prying up tiles and breaking the adhesive bond.
- Pry Bar: To help lift tiles without damaging the surrounding area.
- Floor Scraper: For removing leftover adhesive after tiles are lifted.
- Safety Gear: Including gloves and goggles for protection during the process.
Don't forget to perform regular tool maintenance to keep everything in top shape for this project. With these tools, you're well on your way to successfully removing your floor tiles!
Preparing the Workspace
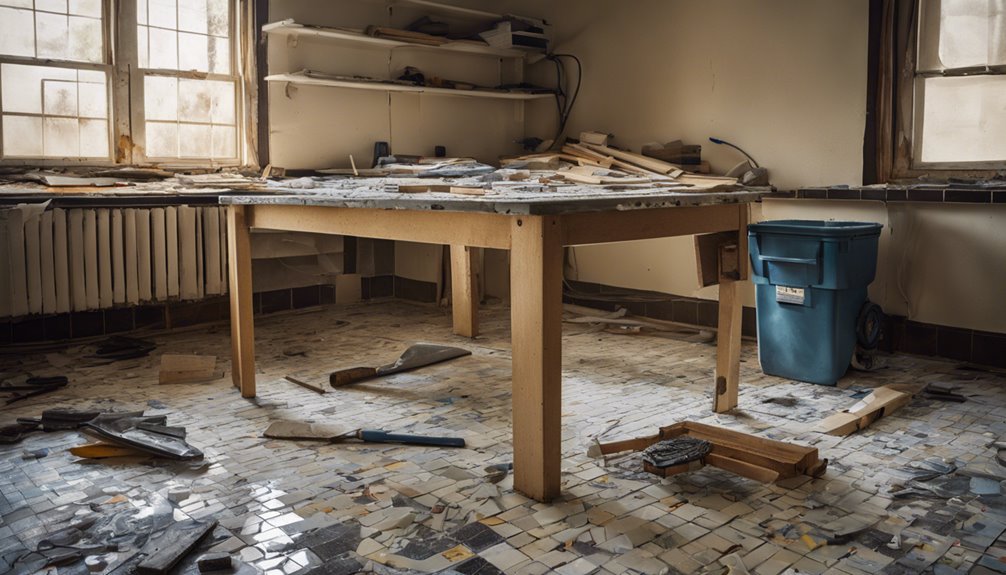
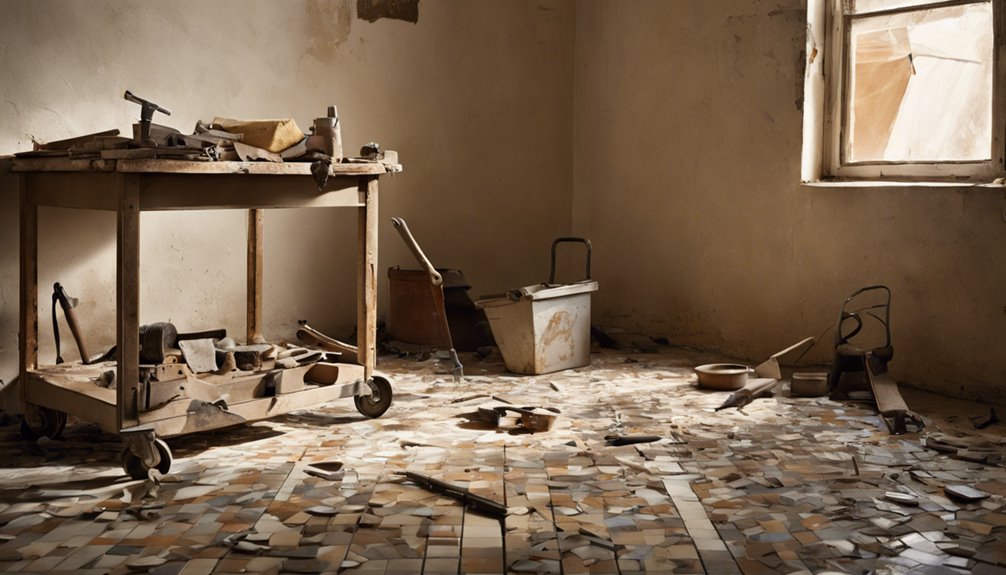
Preparing your workspace is essential for a successful tile removal project, and taking a few steps can make all the difference. Start by organizing your workspace; clear the area of any furniture or obstacles. This not only provides you with a safe environment but also allows for efficient movement. Next, lay down floor protection, such as drop cloths or plastic sheets, to shield the underlying surface from damage and debris. Make certain you have easy access to your tools, keeping them within reach but out of the way of your working space. Finally, consider ventilation; open windows or use fans to keep the air fresh. A well-prepared workspace sets the stage for a smoother and more enjoyable tile removal experience.
Safety Precautions
While tackling a tile removal project, it's crucial to prioritize safety to prevent injuries and guarantee a smooth process. Start by making sure your work environment is clear of unnecessary clutter. Here are some key safety precautions to follow:
- Wear protective gear: Always use safety goggles, gloves, and a dust mask to shield yourself from sharp debris and dust.
- Check for hazards: Inspect the area for any loose wires or unstable flooring that could pose a risk.
- Use tools correctly: Familiarize yourself with the tools you'll be using and handle them with care to avoid accidents.
- Maintain ventilation: Ensure proper airflow in your workspace to minimize exposure to dust and fumes.
Removing Grout
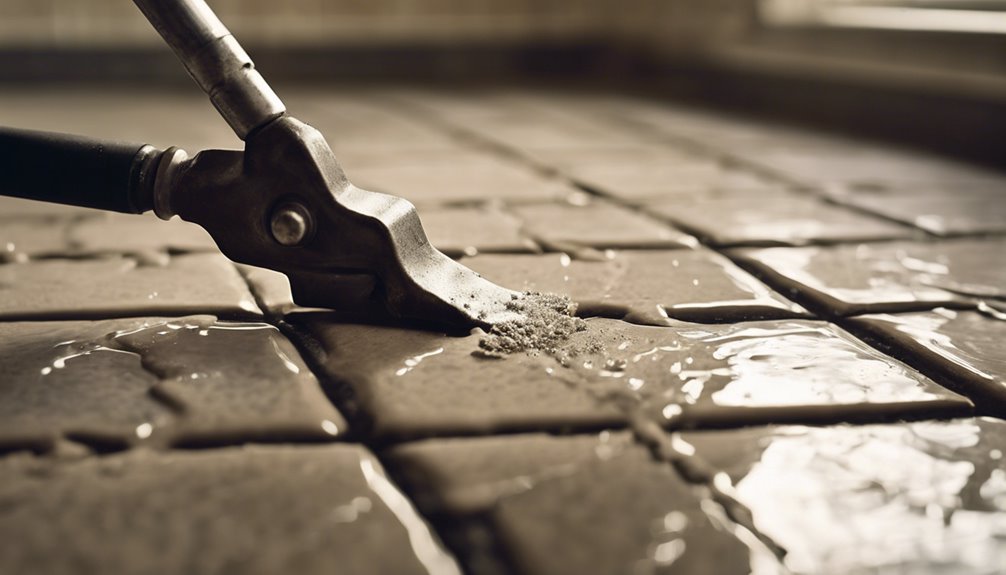
Before you start removing grout, gather the essential tools like a grout saw or oscillating tool, which will make the job easier. You'll also want to follow effective techniques to guarantee a clean removal, minimizing damage to the tiles. Remember, safety precautions are essential, so wear protective eyewear and a mask to safeguard against dust and debris.
Tools Needed for Grout
To effectively remove grout from your floor tiles, you'll need a few essential tools that will make the task easier and more efficient. Here's what you should gather for successful grout removal:
- Grout Saw or Grout Removal Tool – This specialized tool helps you scrape out old grout without damaging the tiles.
- Utility Knife – A sharp utility knife can help with precision when cutting away stubborn grout.
- Putty Knife – For digging out any remaining grout after initial removal.
- Vacuum – To clean up dust and debris after grout sealing, ensuring a tidy workspace.
With these tools in hand, you're ready to tackle that grout removal project efficiently and enjoy the freedom of a fresh, clean floor!
Techniques for Effective Removal
Start by evaluating the grout's condition and determining the best approach for removal. If the grout is cracked or loose, you can often use a grout saw or rotary tool to remove it easily. For tougher grout, consider a chemical grout remover, but always test it on a small area first. Use tile removal techniques like scoring the grout lines to help break it up. After removing the grout, clean the joints thoroughly to prepare for new flooring. Effective floor preparation methods involve ensuring the surface is clean and free of debris. This makes the next steps easier and helps your new tiles adhere properly. Stay focused and take your time to achieve the best results in your tile removal project.
Safety Precautions to Follow
When removing grout, taking safety precautions is essential to protect yourself from potential hazards. You want to guarantee your workspace is safe and secure. Here are four key safety tips to follow:
- Wear Protective Gear: Always use safety goggles, gloves, and a dust mask to shield yourself from debris and dust.
- Guarantee Proper Ventilation: Open windows and use fans to keep air flowing, especially if you're using chemical grout removers.
- Be Aware of Electrical Hazards: Check for any electrical wires beneath the tile to avoid accidents when using tools.
- Keep a First Aid Kit Handy: Accidents can happen, so be prepared with a kit to address any minor injuries quickly.
With these precautions in mind, you can work confidently and safely.
Starting Tile Removal
Before diving into the tile removal process, it is essential to gather the right tools and prepare your workspace. Start by selecting your preferred tile removal methods, whether it's using a chisel, floor scraper, or a rotary hammer. Make certain your area is clear of furniture and debris; this will aid in your efficiency.
| Tool | Purpose |
|---|---|
| Chisel | Loosens tiles from the adhesive |
| Floor Scraper | Removes tiles and residual adhesive easily |
| Rotary Hammer | Breaks up large sections of tile quickly |
| Safety Goggles | Protects your eyes from debris |
Focusing on effective floor preparation techniques will guarantee a smoother removal process and minimize damage to your subfloor.
Dealing With Stubborn Tiles
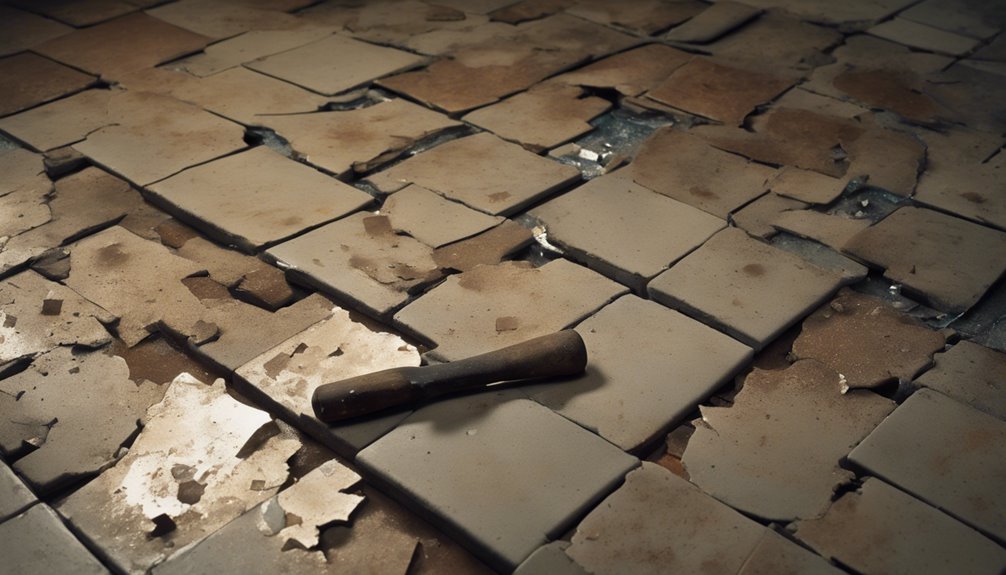
Although you may have successfully removed most of the tiles, stubborn ones can pose a significant challenge. Don't worry; you can tackle them with the right stubborn tile techniques. Here's how to approach tile adhesive removal effectively:
- Heat Application: Use a heat gun to soften the adhesive, making it easier to pry the tile up.
- Pry Bar: Employ a pry bar to get under the stubborn tile, working it gently to avoid damage.
- Chisel Method: A chisel can help break the bond of the adhesive; tap it carefully around the edges.
- Chemical Adhesive Remover: If all else fails, a chemical adhesive remover can dissolve stubborn residue for easier removal.
With these techniques, you'll regain your freedom to install new flooring!
Cleaning Up Debris
After you've successfully removed the floor tiles, it's time to tackle the mess left behind. Start by gathering all the debris—broken tiles, adhesive, and dust. Use a heavy-duty broom or vacuum with a strong suction to collect the bulk of the mess. For finer particles, a damp mop can help capture dust that's settled.
Next, consider your debris disposal options. If you've got a substantial amount, renting a dumpster might be smart. Otherwise, check local regulations for proper disposal methods. You can also bag smaller amounts and take them to a waste facility. Remember, a clean workspace not only feels great but sets the stage for your next project. With these cleanup methods, you'll reclaim your space in no time!
Preparing for New Flooring
Before you lay down new flooring, it's crucial to gather all the necessary tools, like a pry bar, hammer, and level. Once you have everything, assess the condition of your subfloor to verify it's clean, dry, and stable. Address any issues now to avoid complications later on.
Gather Necessary Tools
To successfully remove floor tile, you'll need to gather a few essential tools that will make the process smoother and more efficient. Proper workspace organization is key, so make certain your area is clear before you begin. Here's a list of tools you'll need:
- Chisel and Hammer – For breaking the adhesive bond.
- Utility Knife – To cut through any grout or caulking.
- Pry Bar – Essential for lifting tiles off the floor.
- Safety Gear – Including gloves and goggles to protect yourself.
With these tools in hand, you'll be ready to tackle various tile removal techniques. A well-prepared workspace not only enhances your efficiency but also guarantees a safer environment as you work.
Assess Subfloor Condition
Evaluating the subfloor condition is essential for guaranteeing a stable foundation for your new flooring. Start with a thorough subfloor inspection; look for signs of damage, such as cracks, warping, or soft spots. These issues can compromise your new flooring's longevity and performance. Next, conduct a moisture assessment. Use a moisture meter to check for excessive dampness, which can lead to mold and mildew. If you find moisture issues, address them before proceeding. Repair any damaged areas, and guarantee the subfloor is clean and dry. This preparation not only enhances the durability of your new flooring but also grants you the freedom to enjoy a beautiful, long-lasting surface without future worries. Take your time; a solid foundation is key.
Tips for Future Projects
While tackling future flooring projects, it's crucial to take into account your workspace and the materials you'll be using. To guarantee a smooth renovation process, consider these practical tips:
- Plan Ahead: Outline your project timeline and budget to avoid surprises.
- Choose the Right Tools: Equip yourself with high-quality tools to make removal easier and safer.
- Test Your Subfloor: Before installation, check for moisture or damage to guarantee a solid foundation.
- Seek Help: Don't hesitate to enlist a friend or a professional for larger projects—it can save time and reduce stress.
Frequently Asked Questions
How Long Does It Typically Take to Remove Floor Tiles?
When it comes to tile removal, think of it as peeling an onion; layer by layer, it takes time. Typically, you'll find that most tile removal techniques can take anywhere from a few hours to a couple of days, depending on the size of the area and the type of adhesive used. For accurate time estimates, consider factors like your skill level and the tools at your disposal. Patience will be your best friend!
Can I Reuse the Tiles After Removal?
Yes, you can reuse the tiles after removal, but it depends on their condition. If you've used careful removal techniques, like scoring and prying, the tiles may stay intact. Check for cracks or chips; those can affect reusability. Clean them thoroughly to remove adhesive residue before reinstalling. If they're in good shape, you'll have the freedom to create a fresh look without buying new tiles, saving you time and money!
What Should I Do if I Damage the Subfloor?
If you damage the subfloor, you've got to act quickly. First, assess the extent of the damage—look for moisture issues that could worsen over time. If it's minor, you can patch it with a subfloor repair compound. For larger areas, you may need to replace sections of the subfloor. Always guarantee the area is dry before proceeding, as moisture can lead to bigger problems later. Don't hesitate to consult a professional if needed!
Is It Necessary to Remove Old Adhesive Before Installing New Flooring?
Think of your flooring as a canvas; every layer matters. If you're installing new flooring, it's vital to remove old adhesive to guarantee a smooth, lasting finish. Different adhesive types require specific removal techniques, like scraping or using a solvent. Skipping this step can lead to uneven surfaces and costly repairs down the line. So, before you lay down that new flooring, take the time to prep your canvas properly for a beautiful result.
How Can I Avoid Damaging Nearby Walls During Tile Removal?
To avoid damaging nearby walls during tile removal, you should take some safety measures. Start by applying painter's tape along the edges of the walls to create a protective barrier. Use a utility knife to score the grout lines carefully, minimizing the risk of chipping. When prying up tiles, opt for a flat pry bar to gently lift without force. Always work slowly and methodically, ensuring you're maintaining wall protection throughout the process.


