To regrout your shower floor, start by carefully removing the old grout with a grout saw or oscillating tool, then clean and dry the area thoroughly to guarantee a solid base. Next, mix the appropriate grout type and apply it using a rubber float at a 45-degree angle, working diagonally to pack it in well. Finally, seal the grout evenly and let it cure for 24 to 48 hours for lasting protection. Keep going to uncover expert tips and techniques for flawless results.
Remove Old Grout and Clean the Area
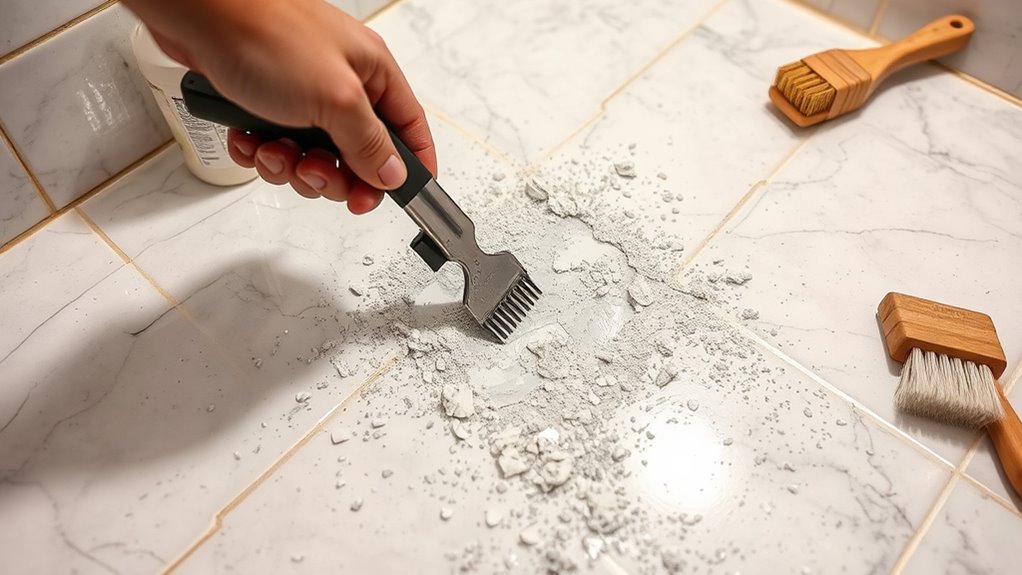
Begin by carefully removing the old grout using a grout saw or oscillating tool with a grout removal blade. Precision is key; avoid damaging the surrounding tiles as you work. Focus on extracting all deteriorated grout to guarantee a solid base for new application. Once grout removal is complete, apply thorough cleaning techniques to eliminate dust, debris, and any mildew. Use a vacuum or damp cloth to clear residue from the joints. For stubborn dirt, a mild detergent combined with a stiff brush will do the job without compromising tile integrity. Dry the area completely before proceeding. These meticulous steps grant you the freedom to achieve a durable, flawless finish, laying the foundation for successful regrouting and extending your shower floor’s longevity.
Mix and Apply New Grout
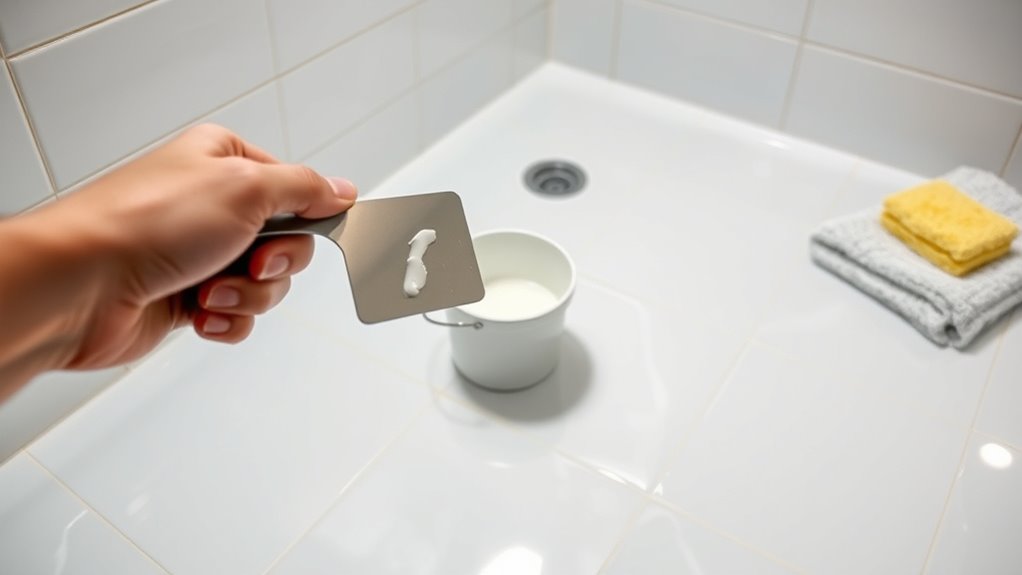
With the old grout fully removed and the area cleaned and dried, you’re ready to mix the new grout. Select the grout type that fits your shower floor—sanded grout for wider joints or unsanded for narrow ones. Follow the manufacturer’s instructions precisely, blending the powder and water until you get a smooth, peanut butter-like consistency. Avoid lumps to guarantee even application.
Use a rubber float to apply the grout, holding it at a 45-degree angle. Press firmly, forcing grout into every joint. Work in small sections to maintain control and prevent premature drying. Employ diagonal strokes to pack grout thoroughly, then scrape off excess. Mastering these application techniques will give your shower floor a clean, professional finish, restoring both function and freedom to your space.
Seal the Grout and Let It Cure
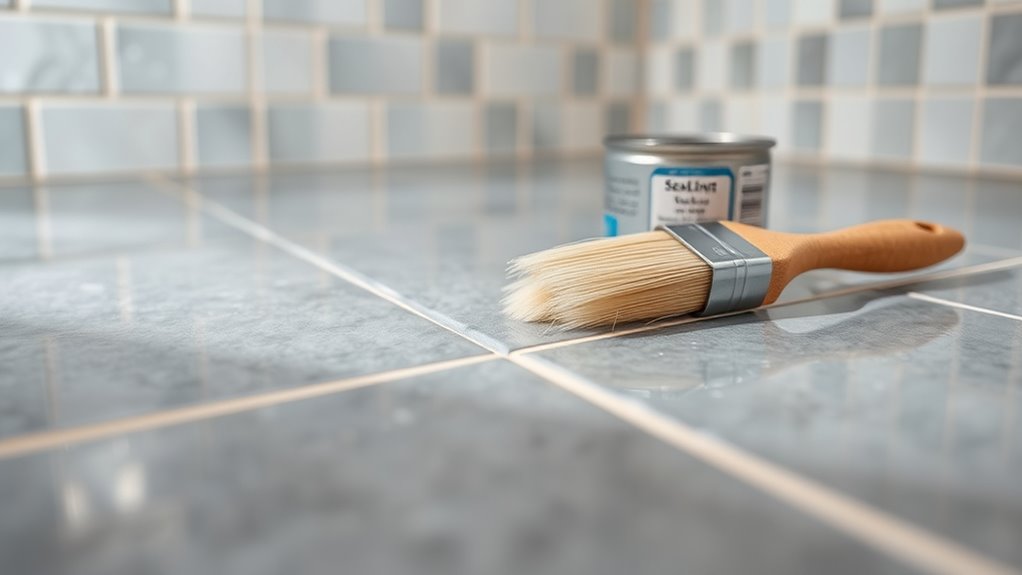
After the grout has been applied and allowed to set for the recommended time, sealing it is vital to protect against moisture and stains. Using a high-quality grout sealer guarantees durability and maintains the integrity of your shower floor. Here’s how to proceed:
- Clean the grout lines thoroughly to remove any residue or dust.
- Apply the grout sealer evenly with a small brush or applicator, focusing on all grout surfaces.
- Allow the grout sealer to penetrate for the time specified by the manufacturer, usually 5–10 minutes.
- Wipe off any excess sealer and let the grout cure completely, respecting the full cure time—typically 24 to 48 hours.
Following these steps provides your shower floor lasting protection and freedom from frequent maintenance.


