Revive your hardwood floors by inspecting for scratches and discoloration. Gather tools like sanders, sandpaper, and wood filler. Prepare by clearing the room and removing protruding nails. Use sanders for smoothing, working parallel to the grain. Apply stain and finish, selecting a color that suits your style. Remember to let the stain dry before applying the finish. Take care of your refinished floors for enduring beauty.
Assessing the Condition of Your Floors
Before you begin refinishing your hardwood floors, assess their condition by checking for any scratches, dents, or discoloration. Take a walk around the room and inspect each plank carefully. Look for areas where the finish has worn off or where the wood feels rough to the touch. These imperfections may require special attention during the refinishing process.
If you notice minor scratches or shallow dents, don’t worry – these can often be easily sanded out. However, deeper scratches or gouges may need to be filled with wood filler before you can proceed with refinishing. Discoloration, whether from sun exposure or water damage, may also impact the overall look of your floors and should be addressed accordingly.
Gathering the Necessary Tools and Materials
To gather the necessary tools and materials for refinishing your hardwood floors, start by creating a checklist of items required for the job. You’ll need a drum sander, an edge sander, sandpaper in various grits, a vacuum cleaner, a broom, and a dust mask to protect yourself.
Additionally, gather wood filler, wood stain, a paintbrush, a roller, a floor buffer, and polyurethane finish for the final touches. Make sure you have a putty knife, painter’s tape, and a tack cloth for clean-up purposes. Don’t forget to have some clean rags or cloths on hand for wiping down surfaces.
It’s important to have all these tools and materials ready before starting the refinishing process to guarantee a smooth and efficient job. By having everything prepared and organized, you’ll be able to focus on the task at hand and achieve professional results. So, take the time to gather these items beforehand, and you’ll be well on your way to revitalizing your hardwood floors.
Preparing the Hardwood Surface
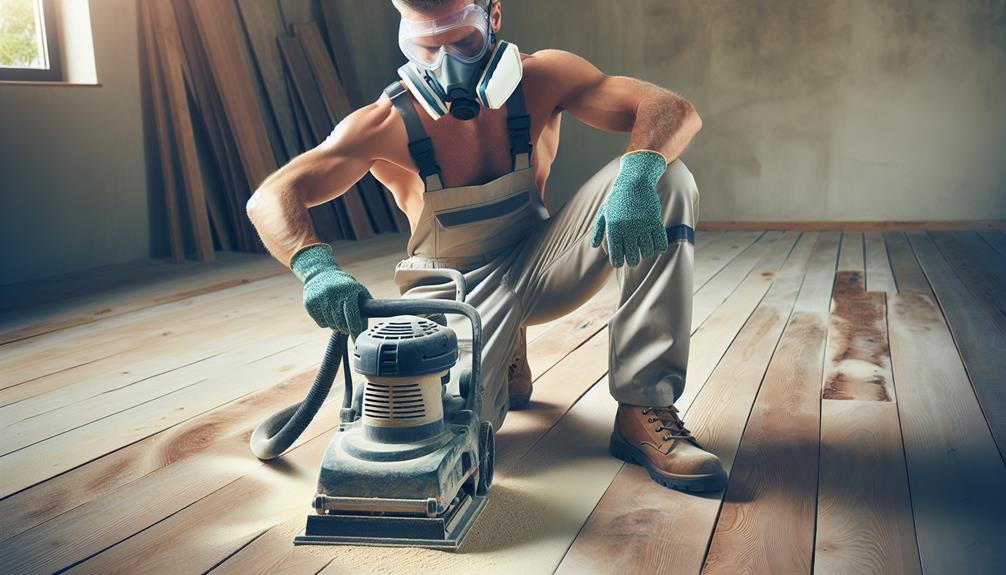
Now is the time to prepare the hardwood surface for refinishing by thoroughly sanding away the old finish and imperfections. Begin by clearing the room of furniture and rugs, giving yourself space to work freely.
Inspect the floor for any protruding nails or staples that could damage the sandpaper. Utilize a floor sander to strip off the existing finish, moving in the direction of the wood grain for best results. Pay extra attention to high-traffic areas that may require more sanding to remove deep scratches.
Once the old finish is removed, go over the floor with a fine-grit sandpaper to smooth out any rough patches left behind. This process will ensure that the new finish adheres properly and creates a polished look.
Remember to wear a mask and protective eyewear during this step to shield yourself from dust and debris. By preparing the hardwood surface meticulously, you set the stage for a successful refinishing project.
Sanding and Smoothing the Floors
You can achieve a smooth finish on your hardwood floors by carefully sanding away imperfections and rough patches left behind after removing the old finish. Start by using a drum sander for large areas and an edger for corners and edges. Begin with a coarse grit sandpaper to remove the existing finish and level the surface. Work your way up to finer grits to smooth out the wood gradually. Make sure to sand parallel to the grain to prevent scratches.
Vacuum or sweep the dust between each sanding stage and wipe the floor with a damp cloth to eliminate any remaining particles. Check for any remaining imperfections and sand them down until the surface is uniform. Remember to wear a dust mask and protective gear while sanding to guarantee your safety.
Once you have achieved a smooth and even surface, you’re ready to move on to the next step of applying the stain and finish for a beautiful final look.
Applying the Stain and Finish
After sanding and smoothing the hardwood floors, the next step involves applying the stain and finish to enhance the overall appearance and protect the wood. This is where you get to add your personal touch and bring out the natural beauty of the hardwood.
Start by selecting a stain color that complements your style and existing decor. Apply the stain with a brush or cloth, following the wood grain for a professional finish. Guarantee the stain to dry completely before moving on to the next step.
Once the stain is dry, it’s time to apply the finish. Choose between polyurethane, varnish, or wax based on your preferences and lifestyle. Apply the finish evenly using a lambswool applicator or brush, working in small sections to confirm a smooth coating. Let the first coat dry according to the manufacturer’s instructions before applying a second coat for added durability.
Caring for Your Refinished Hardwood Floors
To maintain the beauty and longevity of your refinished hardwood floors, regular cleaning and proper care are essential. Keeping your floors in top condition doesn’t have to be a hassle. Here are some simple tips to help you care for your refinished hardwood floors:
| Do’s | Don’ts |
|---|---|
| Use a damp mop or cloth for regular cleaning | Avoid using harsh chemicals or excessive water |
| Place felt pads under furniture legs to prevent scratches | Don’t drag heavy furniture across the floor |
| Wipe up spills immediately to prevent damage | Don’t let spills sit for a long time |
| Use area rugs in high-traffic areas to protect the floor | Don’t use abrasive cleaning tools like steel wool |
Frequently Asked Questions
Can I Refinish Hardwood Floors in a Home With Pets or Young Children?
You can refinish hardwood floors in a home with pets or young children, but it requires extra caution. Consider their safety by using pet-safe and child-friendly products. Create a plan to minimize disruptions during the process for a smooth renovation experience.
How Long Should I Wait Before Moving Furniture Back Onto the Refinished Hardwood Floors?
After refinishing hardwood floors, you should wait at least 24 to 48 hours before moving furniture back. This guarantees the finish has enough time to cure properly, preventing any marks or damage from occurring.
Is It Possible to Change the Color of Hardwood Floors During the Refinishing Process?
Yes, you can change the color of hardwood floors during refinishing. Consider exploring various stain options to achieve the desired look. It’s a great opportunity to personalize your space and give your floors a fresh new vibe.
Are There Any Environmentally-Friendly Options for Refinishing Hardwood Floors?
To refinish hardwood floors in an eco-friendly way, consider water-based finishes or natural oils. These options are kinder to the environment and your health. Embrace the green approach and enjoy a refreshed space guilt-free!
What Should I Do if I Accidentally Spill Stain or Finish on the Hardwood Floors During the Refinishing Process?
If you accidentally spill stain or finish on the hardwood floors during refinishing, act quickly. Use a clean cloth to blot up as much as possible. Then, gently scrub the area with a damp cloth and mild soap.


