First, thoroughly clean and sand your floor to guarantee a smooth, dust-free surface. Next, select a polyurethane that balances drying time, durability, and appearance—water-based or oil-based options both work. Apply a thin, even first coat following the wood grain, then lightly sand with fine grit paper to remove imperfections. Finally, apply the last coat carefully, avoiding thick layers or brush marks for a flawless finish. More detailed guidance will help you master each step with confidence.
Preparing the Floor Surface
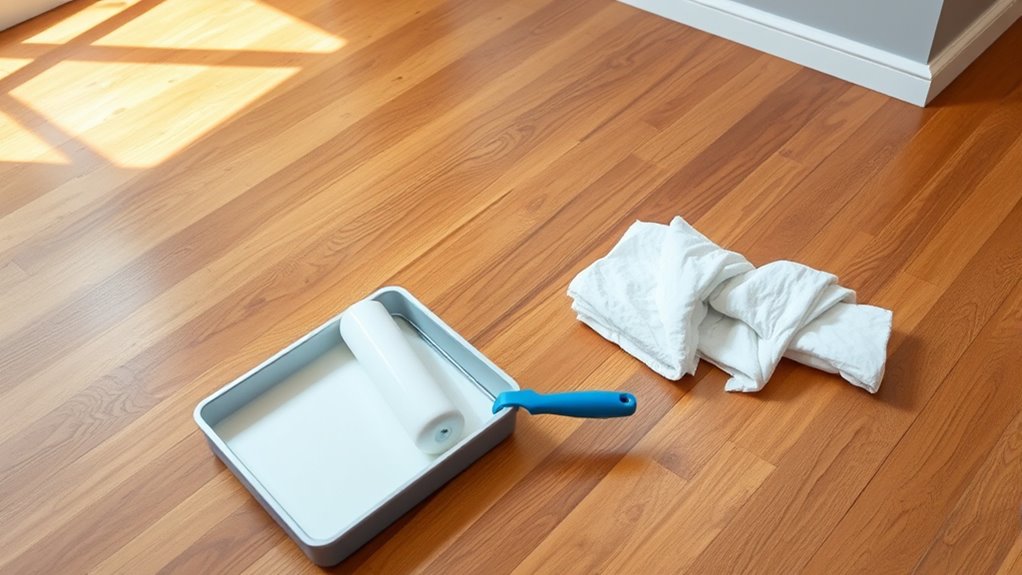
Before applying polyurethane, you’ll need to thoroughly prepare the floor surface to secure proper adhesion and a smooth finish. Begin by conducting a detailed surface inspection to identify imperfections, residual finishes, or contaminants that could compromise the coating. Use appropriate cleaning techniques such as sweeping, vacuuming, and damp mopping with a pH-neutral cleaner to remove dust, grease, and debris. Avoid water accumulation, which may damage the wood. Sand the floor uniformly with progressively finer grit to create a consistent texture, enhancing polyurethane bonding. After sanding, perform a final surface inspection to verify no spots were missed. Employ tack cloths to eliminate microscopic dust particles. These precise preparations grant you the freedom to achieve a durable, flawless polyurethane application that protects and beautifies your floor effectively.
Selecting the Right Polyurethane
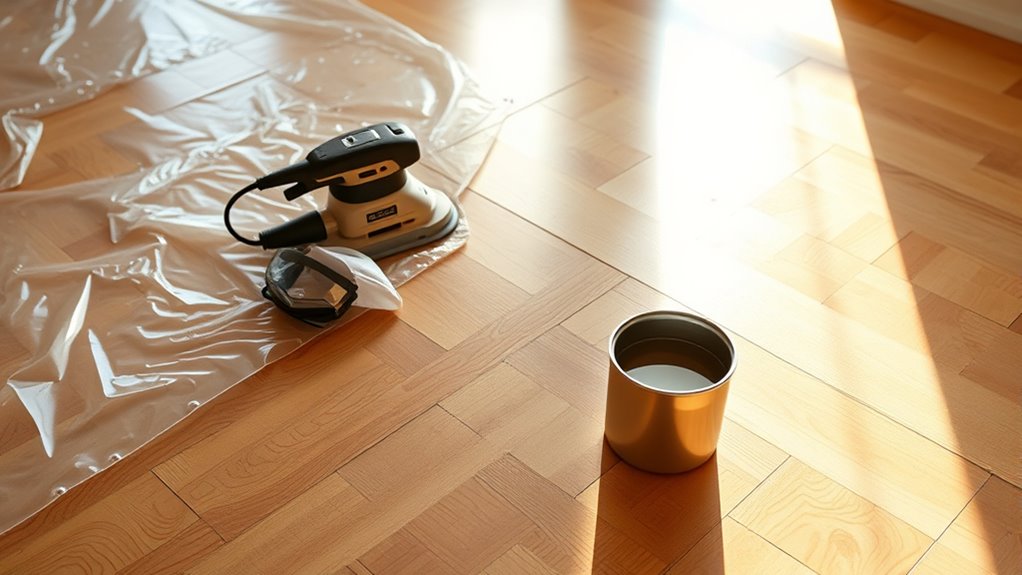
With the floor surface meticulously prepared, your next step is choosing the appropriate polyurethane to secure ideal protection and finish quality. You’ll find two main types: water based options and oil based advantages. Water based options dry faster, emit fewer odors, and offer a clear finish that preserves the wood’s natural color. They’re ideal if you want quick recoat times and minimal environmental impact. Oil based advantages provide superior durability and a richer amber tone, enhancing the wood grain while resisting wear and tear better. However, they take longer to dry and release stronger fumes. Your choice depends on balancing drying time, aesthetic preference, and durability needs. Selecting the right polyurethane guarantees your floor remains protected while giving you the freedom to enjoy a flawless, long-lasting finish.
Applying the First Coat
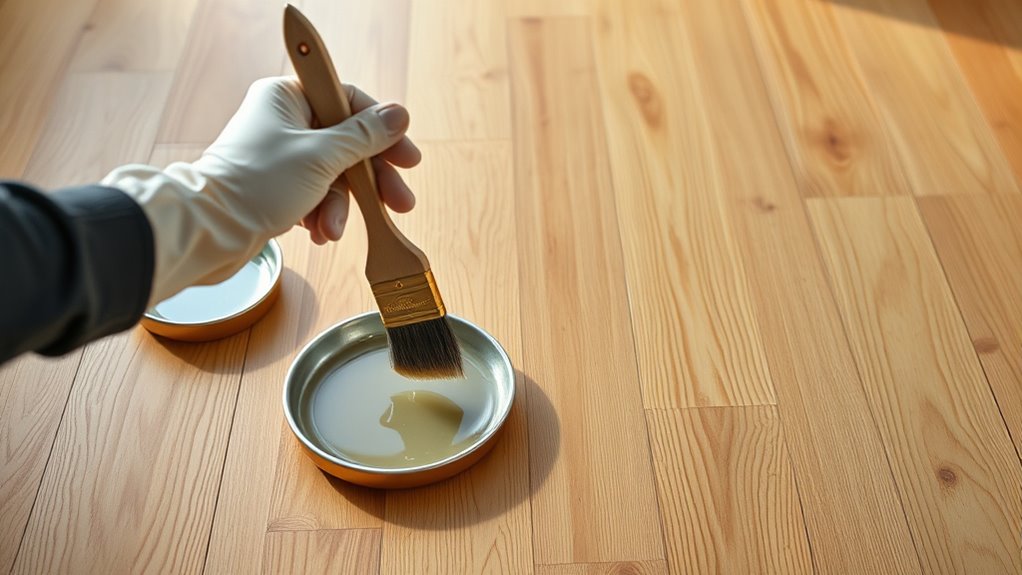
Once you’ve selected the appropriate polyurethane, you’ll need to apply the first coat evenly to guarantee proper adhesion and a smooth finish. Begin by stirring the polyurethane gently to avoid bubbles. Use a high-quality synthetic brush or a lambswool applicator for your application technique, ensuring you follow the wood grain direction. Apply thin, consistent layers to prevent runs or pooling. Maintain a wet edge to avoid lap marks, working systematically across the floor. Avoid over-brushing, which can introduce air bubbles and unevenness. Proper ventilation and ambient temperature are essential during application to allow the polyurethane to level out smoothly. Mastering the first coat application technique sets the foundation for durability and clarity, providing you the freedom to achieve a flawless, resilient finish that enhances your floor’s natural beauty.
Sanding Between Coats
Although the first coat of polyurethane provides a protective layer, sanding between coats is essential to guarantee proper adhesion and a smooth, flawless finish. You’ll want to employ precise sanding techniques, using a fine-grit sandpaper—typically between 220 and 320 grit—to lightly abrade the surface without cutting through the polyurethane layer. This step removes any dust nibs, bubbles, or unevenness, ensuring the next coat bonds effectively. Avoid aggressive sanding, as it can compromise the finish. Use a sanding block or a fine orbital sander for even pressure distribution. After sanding, meticulously clean the floor to eliminate all dust particles. Mastering grit selection and sanding techniques gives you control over the process, freeing you to achieve a professional, durable floor finish that lasts.
Applying the Final Coat

Before applying the final coat, confirm the surface is impeccably clean and free of dust or debris, as any contamination will be trapped under the finish and compromise its appearance and durability. Use a high-quality brush or roller designed for polyurethane to confirm an even application. Employ final coat techniques such as long, smooth strokes in the direction of the wood grain to avoid bubbles and streaks. Avoid common mistakes like over-brushing or applying too thick a layer, which can lead to uneven drying and surface imperfections. Allow the final coat to dry thoroughly in a dust-free environment. This precision confirms a resilient, flawless finish that protects your floor while preserving your freedom to enjoy a pristine, long-lasting surface.


