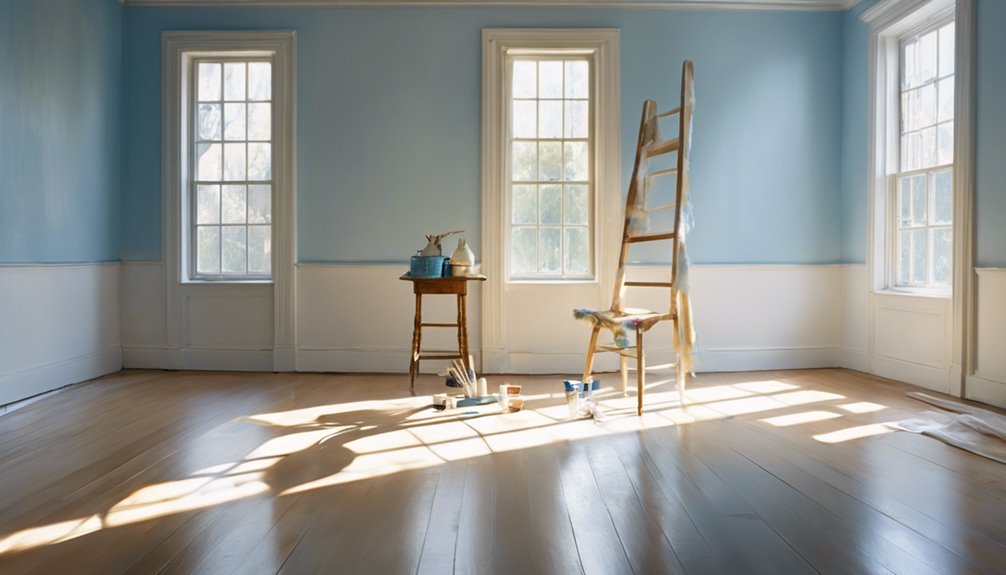
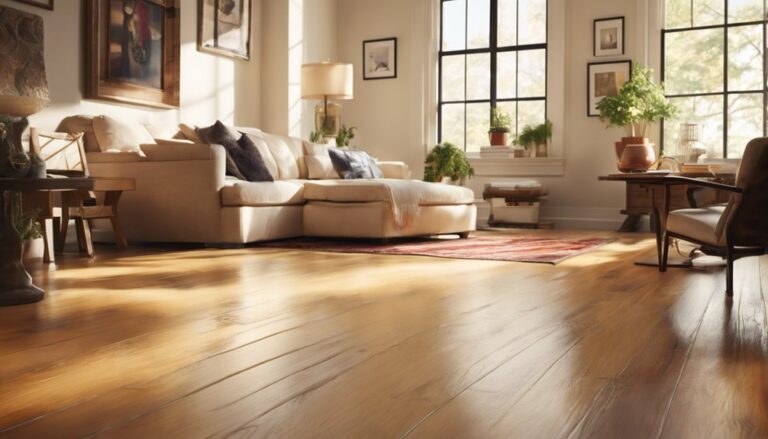
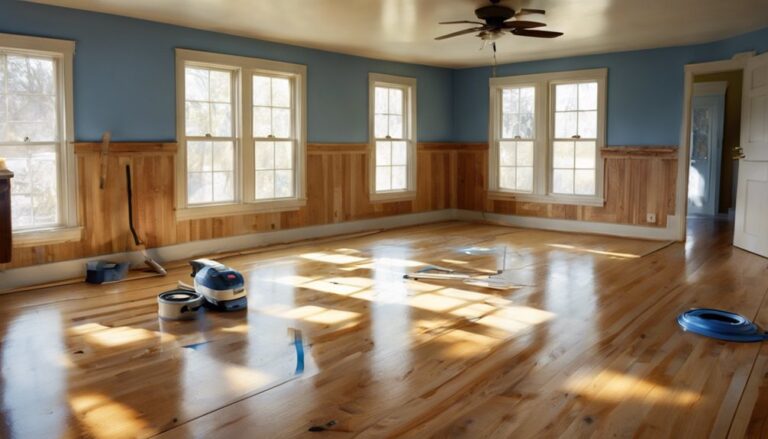
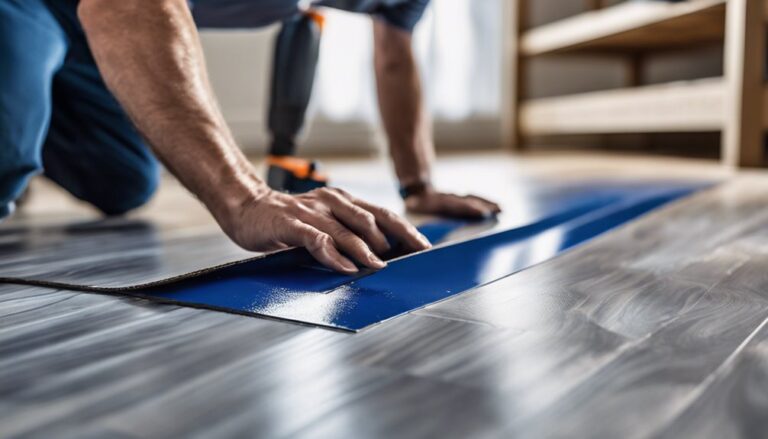
To paint wood floors, start by gathering supplies like high-quality paint, primer, brushes, and rollers. Prepare the area by clearing furniture and cleaning the floors thoroughly. Sand any imperfections and vacuum dust. Apply a primer for better paint adhesion, letting it dry completely. Then, choose your paint color and finish—stick with multiple thin coats for an even look. Allow the paint to cure for about 48 hours before replacing furniture. For longevity, consider a protective sealant, and keep up with regular maintenance to preserve your work. There's more to explore for a flawless finish!
Gather Your Supplies
Before you plunge into painting your wood floors, it's essential to gather all the supplies you'll need. Start by choosing the right paint types—consider using acrylic or oil-based paints, as they offer durability and a smooth finish. Check local hardware stores or online supply sources for good options. You'll also need a high-quality primer to guarantee proper adhesion. Don't forget tools like brushes, rollers, and painter's tape for clean edges. A floor sander can come in handy if you need to smooth out imperfections. Finally, grab some protective gear, like gloves and masks, to keep yourself safe while you work. Having everything ready will set you up for a successful and liberating painting experience!
Prepare the Floor
To guarantee a successful paint job, preparing the floor is essential and can make all the difference. Start with thorough surface cleaning; sweep away dust and debris, and mop with a suitable cleaner to remove any grease or grime. Allow the floor to dry completely before moving on. Next, inspect for any imperfections like scratches or dents. If you find any, sand them down to create a smooth surface. Pay attention to the corners and edges, too. After sanding, vacuum again to eliminate dust particles that could interfere with the paint adhesion. Finally, if your floor has a glossy finish, consider lightly sanding that as well for better paint grip. With this careful floor preparation, you're set up for painting success!
Choose the Right Paint
Choosing the right paint is essential for achieving a durable and attractive finish on your wood floors. You'll want to take into account both paint types and color selection to guarantee lasting results. Here are some key factors to keep in mind:
- Oil-based paints: Offer a hard finish and great durability.
- Water-based paints: Dry quickly and have lower VOC levels, making them eco-friendly.
- Color selection: Choose shades that complement your decor and enhance natural light.
- Finish options: Satin, semi-gloss, or high-gloss finishes can affect the look and feel of your space.
Apply Primer
Applying primer is an essential step in painting your wood floors, as it helps create a smooth, even surface for the paint to adhere to. You'll want to choose the right primer type based on your floor's condition and the paint you'll use. Here's a quick overview:
| Primer Type | Benefits | Application Technique |
|---|---|---|
| Oil-based | Strong adhesion, durable finish | Brush or roller for even coat |
| Water-based | Quick-drying, low odor | Foam roller for smoothness |
| Shellac-based | Stains and odors block | Brush for detailed areas |
Before you begin, verify your floor is clean and dry. Using long, even strokes will help you achieve a flawless primer coat, setting the stage for your beautiful new finish.
Paint the Floors
With the primer now set, you're ready to paint the floors and bring your vision to life. First, choose your color wisely; it can dramatically change the room's vibe. Consider how the color selection complements your decor and enhances the floor texture you want to achieve. When painting, use a high-quality floor paint and a roller for even application.
- Start in a corner and work your way out.
- Apply thin coats to avoid drips and guarantee better adhesion.
- Allow each coat to dry completely before adding another.
- Don't forget to ventilate the space for a quicker drying time.
With these tips, your wood floors will look stunning, reflecting your unique style and sense of freedom.
Add a Protective Finish
Once you've painted your wood floors, it's essential to add a protective finish to guarantee durability and longevity. You'll want to choose the right finish that suits your lifestyle and the look you want to achieve. As you apply it, make certain to do so evenly and carefully to avoid any unsightly streaks or bubbles.
Choose the Right Finish
Choosing the right finish for your painted wood floors is essential to ensuring their longevity and appearance. You'll want to evaluate different finish types based on the level of finish durability you need. For high-traffic areas, opt for a tougher finish that can withstand wear and tear.
Here are some popular options:
- Polyurethane: Offers excellent durability and moisture resistance.
- Water-based finishes: Quick-drying and low in odor, ideal for indoor use.
- Oil-based finishes: Provide a warm, rich color but take longer to dry.
- Wax finishes: Easy to apply but require more maintenance over time.
Apply Evenly and Carefully
After selecting the right finish for your painted wood floors, the next step is to apply it evenly and carefully. Start by using a high-quality brush or roller, as these tools help achieve a smooth, even application. Pour a small amount of finish into a tray and dip your brush or roller, ensuring it's not overloaded. Begin in a corner and work your way out, applying the finish in long, even strokes. Use a careful technique to avoid drips and puddles; if you notice any, gently spread them out immediately. Allow the first coat to dry completely before applying a second coat, following the same process. This will enhance durability and protect your beautiful wood floors.
Maintain Your Painted Floors
To keep your painted floors looking fresh, establish a regular cleaning schedule that includes sweeping and mopping with gentle solutions. Avoid harsh chemicals that can strip the paint and damage the finish. Additionally, using protective rugs in high-traffic areas can help minimize wear and tear, extending the life of your beautiful floors.
Regular Cleaning Schedule
While it might be tempting to overlook the upkeep of your painted wood floors, establishing a regular cleaning schedule is vital for maintaining their beauty and longevity. By committing to a consistent cleaning frequency, you can prevent dirt buildup and keep your floors looking vibrant. Aim for weekly cleanings using gentle, suitable cleaning products that won't damage the paint.
Consider these tips for an effective routine:
- Sweep or vacuum to remove loose debris.
- Mop with a damp (not soaking) cloth to avoid excess water.
- Spot clean any stains immediately to prevent lasting marks.
- Reassess cleaning products regularly to verify they're still appropriate for your floors.
With this routine, you'll enjoy your painted floors for years to come.
Avoid Harsh Chemicals
Because painted wood floors require special care, it is essential to avoid harsh chemicals that can damage the finish and underlying wood. Instead, opt for eco-friendly alternatives that are gentle yet effective. Look for plant-based cleaners or vinegar and water solutions that won't strip the paint. When cleaning, use soft mops or cloths to prevent scratching the surface. Also, always test any new product on a small, inconspicuous area first to confirm it's safe for your painted floors. By choosing safe painting methods and products, you'll not only maintain the beauty of your floors but also contribute to a healthier environment. Remember, a little care goes a long way in preserving your investment!
Use Protective Rugs
Maintaining the pristine look of your painted wood floors goes beyond using gentle cleaning methods; incorporating protective rugs is a smart strategy. These floor coverings not only enhance your decor but also shield your floors from damage. Choosing the right protective fabrics can greatly prolong the life of your paint.
- Select durable materials: Look for rugs made from tough, stain-resistant fibers.
- Opt for non-slip designs: Guarantee safety by preventing slips and falls.
- Place rugs in high-traffic areas: Protect your floors where foot traffic is heaviest.
- Regularly clean the rugs: Keep them free of dirt and debris to maintain their protective qualities.
Frequently Asked Questions
Can I Paint Over Existing Floor Stains or Finishes?
You can't just paint over existing floor stains or finishes without proper prep. First, you'll need to focus on stain removal to guarantee a smooth surface. Different finish types require varying approaches; for instance, oil-based finishes might need sanding. After cleaning and prepping, you can apply your chosen paint. Remember, a good base is essential for the durability of your new look, so take the time to do it right!
How Long Will the Painted Floor Last Before Needing Maintenance?
The longevity of your painted floor depends on several durability factors, like the type of paint used and the amount of foot traffic. Generally, you can expect it to last several years, but regular maintenance is key. Establishing a maintenance schedule—cleaning regularly and touching up worn areas—can extend its life. By being proactive, you'll enjoy your beautifully painted floor longer, allowing for that freedom to express your style without constant worry.
Is There a Specific Temperature for Painting Wood Floors?
Think of painting wood floors like baking a cake; you need the right conditions for the best results. The ideal temperature for painting is between 50°F and 90°F. Anything outside this range can hinder the paint's adhesion and drying time. Also, keep an eye on humidity levels—ideally, they should be between 40% and 70%. Too much moisture can cause issues, while too little can lead to cracking. So, set the stage for success!
Can I Use Spray Paint on Wood Floors?
You might be tempted to use spray paint on wood floors, but it's not the best choice. Spray paint types often lack the durability needed for floors, leading to quick wear and peeling. Instead, opt for a dedicated floor paint that's designed to withstand foot traffic and environmental factors. Using the right products guarantees your finish lasts longer, allowing you to enjoy your newfound freedom without worrying about constant touch-ups or repairs.
How Do I Fix Mistakes or Imperfections After Painting?
Think of your painted surface as a canvas—every artist makes mistakes. If you've got common errors like drips or uneven spots, don't worry! Use touch-up techniques like sanding the area lightly, then applying a matching paint layer. A small brush or sponge can be your best friend here. Always test your fix on a hidden spot first, ensuring you achieve that perfect finish, making your space feel free and fresh again!


