To level concrete floors in 3 easy steps, start by thoroughly cleaning and inspecting the surface for cracks or debris that could affect bonding. Next, mix the self-leveling compound precisely as instructed and pour it evenly, using tools like a gauge rake to spread it out smoothly. Finally, smooth the surface with a trowel and let it cure without disturbance for at least 24 hours. Mastering these basics sets you up to explore more detailed techniques and tips.
Assess and Prepare the Concrete Surface
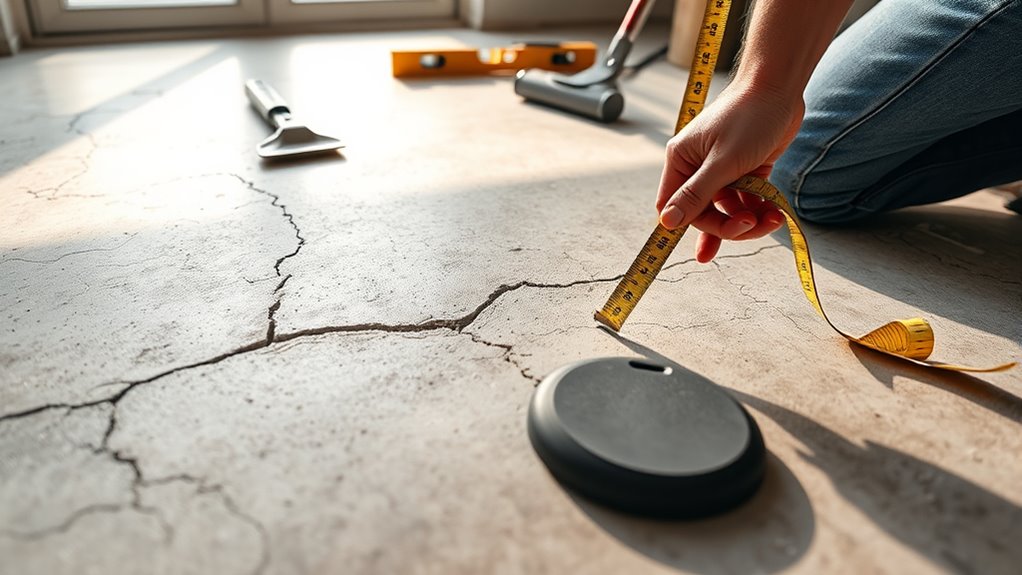
Before you begin leveling, you need to thoroughly assess the concrete surface for cracks, uneven areas, and contaminants that could compromise adhesion. Your surface evaluation should include checking for oil, dirt, loose particles, and moisture, as these factors affect bonding. Use a moisture meter to verify the concrete is sufficiently dry. Preparation techniques involve cleaning the floor rigorously—pressure washing or scrubbing with a degreaser works well. Repair any cracks or holes with an appropriate patching compound and allow it to cure fully. Grinding high spots or rough areas guarantees uniformity, while vacuuming removes residual dust. Proper surface evaluation and preparation techniques are crucial to confirm the self-leveling compound adheres correctly and performs efficiently, giving you the freedom to proceed confidently with the next steps in leveling your concrete floor.
Mix and Apply the Self-Leveling Compound
With your concrete surface properly prepared and any imperfections addressed, you can move on to mixing the self-leveling compound. Follow manufacturer instructions precisely, combining powder with water to achieve a smooth, lump-free consistency. Use a drill mixer for uniform blending. Pour the compound promptly to prevent premature setting.
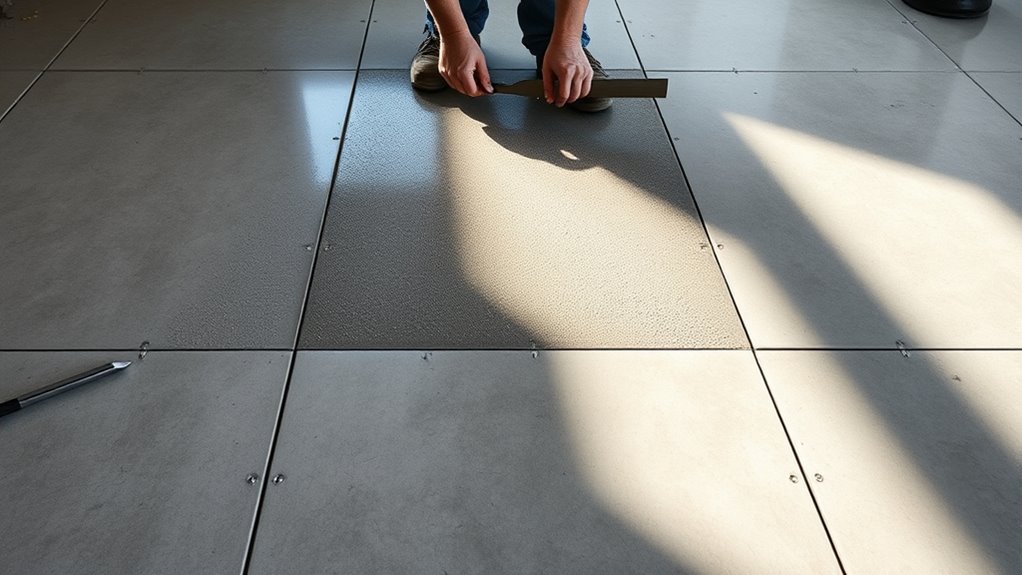
Apply the compound evenly, allowing it to flow and settle into low spots. Employ self leveling techniques such as spreading with a gauge rake or smoothing with a trowel for consistent coverage. Work efficiently to maintain fluidity.
| Step | Action |
|---|---|
| 1 | Measure powder and water |
| 2 | Mix with drill for 2-3 minutes |
| 3 | Pour onto floor |
| 4 | Spread using gauge rake |
| 5 | Smooth edges with trowel |
This precise compound application guarantees a level, durable base.
Smooth and Cure the Leveled Floor
Once you’ve spread the self-leveling compound evenly, you’ll need to smooth its surface carefully to eliminate any ridges or air bubbles. Use these smoothing techniques to achieve a flawless finish:
- Employ a smoothing trowel or gauge rake to level the compound gently, working from the center outward.
- Lightly tap the surface with a spiked roller to release trapped air and secure uniform thickness.
- Check for low spots and fill them promptly with additional compound.
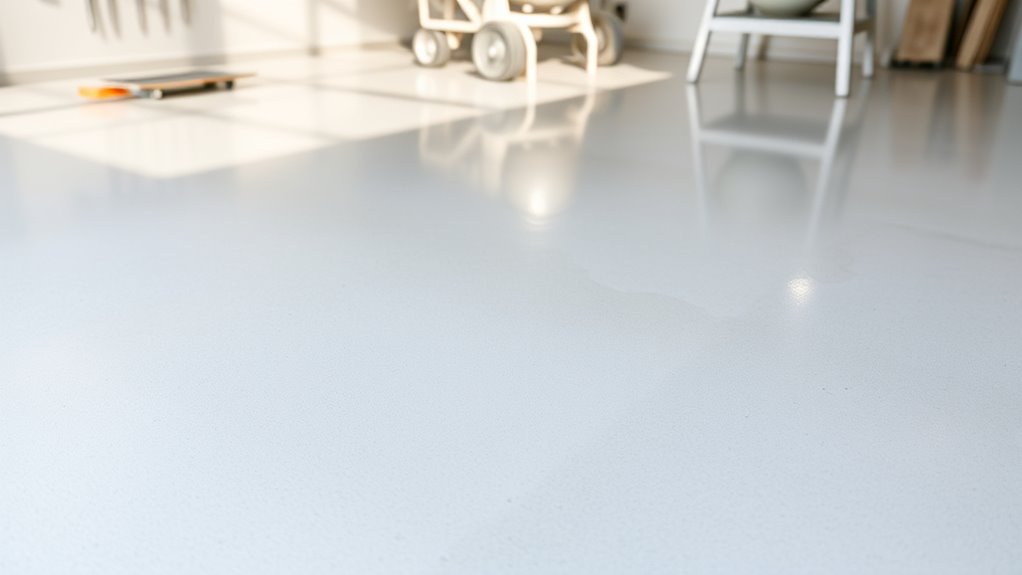
For curing methods, maintain a consistent temperature and humidity to allow proper hydration. Avoid walking on the floor for at least 24 hours, and protect it from drafts and direct sunlight. Proper smoothing and curing will guarantee a durable, level concrete floor, giving you the freedom to proceed with your project confidently.


