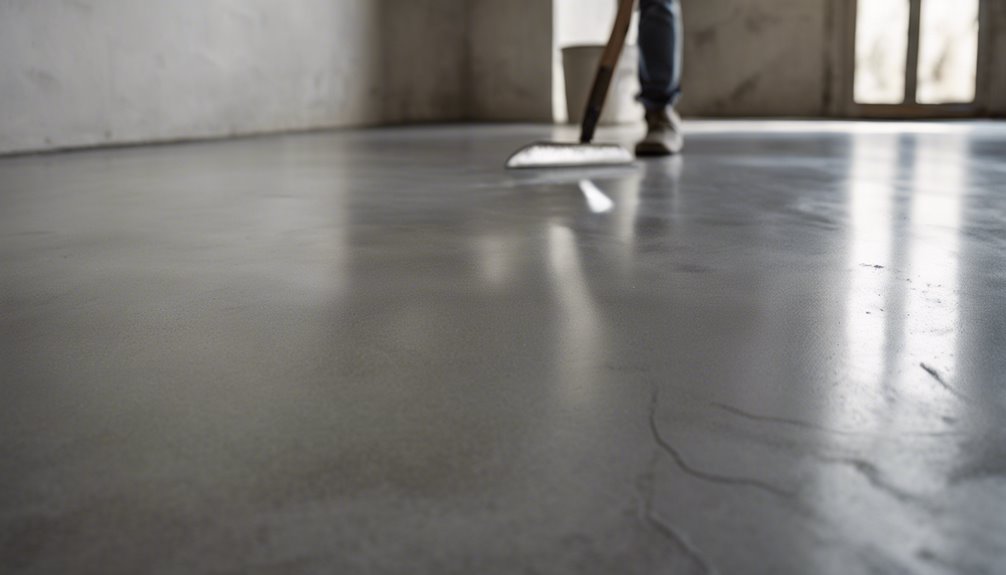
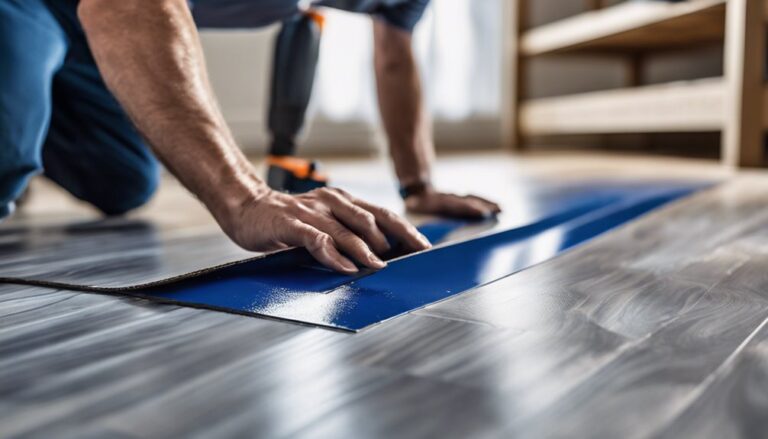
To level your concrete floor, start by evaluating its condition for cracks and unevenness. Gather your tools, including a self-leveling compound, trowel, and level. Clean the surface thoroughly, removing all debris and moisture. Identify high and low spots using a level. Mix the self-leveling compound according to the manufacturer's instructions, then pour it evenly across the floor, spreading quickly with a trowel. Allow it to cure properly, covering it to retain moisture. Finally, seal the surface for added protection. There's much more to guarantee a flawless finish, so keep going to uncover additional essential steps.
Assessing Your Concrete Floor
Before you begin leveling your concrete floor, it is essential to assess its current condition. Start by examining the floor for cracks, unevenness, or surface damage. Look for signs of moisture, which can affect the floor condition and compromise surface integrity. Use a level to identify high and low spots, marking them for reference. Measure the depth of any dips and the height of any raised areas. If you find significant issues, consider whether repairs are necessary before leveling. This assessment will help you understand the amount of leveling compound required and guide your approach. By ensuring you're aware of the floor's condition, you'll achieve a smoother, more durable finish that meets your needs for freedom and functionality.
Gathering Necessary Tools
Before you start leveling your concrete floor, you'll need to gather the essential tools for the job. This includes not only leveling equipment but also safety gear to protect yourself during the process. Ensuring you have the right tools on hand will streamline your work and enhance safety.
Essential Tools Overview
To successfully level a concrete floor, you'll need to gather a variety of essential tools that will streamline the process and guarantee accuracy. Having the right leveling equipment and concrete tools is vital for achieving a smooth finish. Here's a list of must-have items:
- Self-Leveling Compound: This material fills low spots and creates a smooth surface.
- Trowel: Essential for spreading and smoothing the compound.
- Level: Verify your floor is perfectly flat by checking for inconsistencies.
- Mixing Paddle: Use this with a drill to mix your leveling compound thoroughly.
With these tools in hand, you'll be well-prepared to tackle your concrete leveling project effectively and efficiently.
Safety Equipment Importance
While gathering your tools for leveling a concrete floor, don't overlook the importance of safety equipment. Using proper safety gear is vital to personal protection during the process. Start with safety goggles to shield your eyes from dust and debris. Wear a dust mask to prevent inhalation of harmful particles. Heavy-duty gloves are essential to protect your hands from sharp tools and rough surfaces. Steel-toed boots will safeguard your feet from potential injuries caused by falling objects. Additionally, knee pads can provide comfort and protection when kneeling on hard surfaces. Prioritizing your safety reduces the risk of accidents, allowing you to focus on achieving that perfectly leveled floor with confidence and freedom. Invest in the right equipment; your well-being is worth it.
Cleaning the Surface
Once you've gathered your tools, the first step in leveling a concrete floor involves thoroughly cleaning the surface. This guarantees that any surface debris won't interfere with the leveling compound's adhesion. Use appropriate cleaning products to remove dirt, grease, and stains. Start by sweeping or vacuuming the area to eliminate loose debris. Then, apply a suitable cleaner with a mop or scrub brush to tackle stubborn spots.
- Choose a pH-neutral cleaner for best results.
- Rinse the floor with clean water to remove any residue.
- Allow the surface to dry completely before proceeding.
- Inspect for any remaining debris, guaranteeing a pristine surface for leveling.
A clean floor enhances the effectiveness of your leveling efforts.
Identifying High and Low Spots
To effectively identify high and low spots on your concrete floor, start with a thorough visual inspection. You'll need measuring tools, such as a leveling laser or a straightedge, to accurately assess the surface. This process is essential for determining the areas that require leveling.
Visual Inspection Techniques
A thorough visual inspection is essential for identifying high and low spots on a concrete floor. By employing effective visual inspection methods, you can conduct a detailed floor condition assessment. Start by examining the surface for irregularities and variations in texture.
- Look for cracks, divots, or discoloration.
- Observe the flow of water when poured on the surface.
- Check for areas where debris collects, indicating low spots.
- Utilize natural light or a flashlight to enhance visibility of imperfections.
These techniques not only help in locating defects but also provide vital insights into the floor's overall stability. Taking the time to perform this inspection will lay the groundwork for a successful leveling process.
Measuring Tools Needed
While visual inspection provides a solid foundation, precise measurement tools are essential for accurately identifying high and low spots on a concrete floor. Start with a tape measure to determine the overall dimensions and locate any noticeable dips or rises. Measure at regular intervals across the floor to establish a baseline. A laser level is invaluable for this task; it projects a straight line across the surface, allowing you to see discrepancies in height clearly. Position the laser level at a fixed height and check the floor against the beam, marking any high or low spots. Combining these tools will give you a thorough understanding of the floor's condition, enabling effective leveling measures to follow.
Choosing a Leveling Method
Choosing the right leveling method for your concrete floor is essential, as it directly impacts the durability and appearance of the finished surface. You've got a couple of options: self leveling compounds and manual leveling techniques. Each method has its benefits, and your choice will depend on the specific conditions of your floor and your desired results.
Consider the following factors when deciding:
- The extent of the unevenness in your floor
- The time you have available for the project
- Your budget for materials and labor
- Your experience level with concrete work
Mixing Leveling Compound
Before you begin pouring the leveling compound, it is vital to mix it properly to achieve a smooth and even surface. Start by following the manufacturer's guidelines for mixing ratios, as these are important for ideal results. Typically, you'll combine the compound powder with water in a clean bucket or mixer, ensuring you measure accurately. Stir thoroughly until you achieve a lump-free, consistent mixture. Depending on the specific product, you may need to adjust the water content slightly to suit your application techniques. Once mixed, allow the compound to sit for a few minutes before use. This helps to activate the bonding agents, ensuring better adherence to the existing concrete surface. Don't rush this step; proper mixing sets the foundation for a successful leveling job.
Applying the Leveling Compound
Before applying the leveling compound, guarantee the surface is clean and free of debris to promote adhesion. Once prepared, mix the compound according to the manufacturer's guidelines, then pour it evenly across the floor. Timing is essential, so work quickly to spread the compound before it begins to set.
Surface Preparation Techniques
When preparing to apply a leveling compound, it's crucial to confirm the surface is clean, dry, and free of any debris. This guarantees ideal adhesion and effectiveness of the leveling techniques you'll be using. Follow these surface preparation steps to achieve the best results:
- Remove any existing flooring materials, like carpet or tile.
- Vacuum thoroughly to eliminate dust and dirt.
- Repair any cracks or holes in the concrete.
- Verify the concrete surface is dry, ideally with a moisture content below 5%.
Mixing and Pouring Process
Once the surface is properly prepared, you can begin the mixing and pouring process of the leveling compound. Start by following the manufacturer's instructions for mixing ratios. Use a heavy-duty mixer for consistent results, employing effective mixing techniques to avoid lumps. Pour the compound into a clean bucket with water first, then add the powder gradually, mixing thoroughly.
When you're ready to pour, use a gauge rake to spread the compound evenly across the floor. Pouring tips include starting at the farthest corner and working towards the exit, ensuring you maintain a wet edge. Keep a consistent thickness to achieve ideal leveling. Allow the compound to cure as per the manufacturer's guidelines before proceeding with any further flooring work.
Smoothing the Surface
To achieve a smooth, even surface on your concrete floor, start by evaluating the existing conditions and identifying any high or low spots. Once you've pinpointed these areas, you can apply effective smoothing techniques to rectify imperfections. Use appropriate surface materials to fill low spots and level out the floor.
- Utilize a concrete float to spread the leveling compound evenly.
- Employ a trowel for precise smoothing in smaller areas.
- Consider using a power screed for larger expanses.
- Regularly check the surface level with a straightedge to guarantee accuracy.
Curing the Leveling Compound
After applying the leveling compound, ensuring proper curing is vital for achieving a durable and stable floor. The curing time is important; typically, it ranges from 24 to 72 hours, depending on the product used. During this period, keep the area well-ventilated and maintain an ideal temperature of 50°F to 85°F (10°C to 29°C). Avoid exposing the compound to extreme heat or cold, as this can compromise its integrity. If possible, cover the surface with plastic sheeting to retain moisture, promoting even curing. Regularly check for any signs of cracking or unevenness. Once the curing time is complete, you can proceed with your flooring project, confident that the leveling compound has set correctly.
Finishing Touches and Maintenance
While the leveling compound has cured, it's essential to focus on the finishing touches and maintenance of your newly leveled concrete floor. Implementing effective polishing techniques will enhance its appearance and durability. Regularly performing routine inspections will help identify any potential issues early, preventing costly repairs down the line.
Consider the following:
- Apply a high-quality sealer to protect the surface.
- Use a concrete polish for a sleek, shiny finish.
- Schedule periodic cleaning to remove dirt and debris.
- Inspect for cracks or damage to address promptly.
Frequently Asked Questions
How Long Does It Take for Leveling Compound to Cure?
Did you know that under ideal conditions, leveling compounds can cure in as little as 24 hours? However, the curing time can vary considerably based on drying conditions. If the temperature is cooler or humidity is high, you might find it takes longer. Generally, allowing 24 to 48 hours before applying any load is advisable. Always check the manufacturer's instructions for specific recommendations tailored to the compound you're using to guarantee the best results.
Can I Level a Concrete Floor in Cold Weather?
Yes, you can level a concrete floor in cold weather, but you need to take proper cold weather preparation steps. Verify the temperature is above the minimum requirement for the leveling compound you're using. Use heaters or insulation to maintain warmth during the curing process, as low temperatures can slow down hydration and elongate curing times. Always check the manufacturer's guidelines for specific temperature limits to guarantee peak results.
Is It Necessary to Use a Primer Before Leveling?
Imagine a smooth canvas, ready for your vision. Using a primer before leveling isn't just a choice; it's a necessity. Primer benefits include improved adhesion, which helps the leveling material bond effectively to the surface, preventing future cracks. When employing leveling techniques, a well-primed surface guarantees uniformity and durability. So, don't skip this step; your project deserves that solid foundation to thrive and flourish, giving you the freedom to create without limits.
What Are Signs of an Improperly Leveled Floor?
If you're noticing an uneven surface in your home, it's likely a sign of an improperly leveled floor. Look for gaps between your flooring and walls, uneven floor stability when walking, or water pooling in certain areas. Additionally, cracks or warping can point to issues beneath the surface. Addressing these signs early can prevent more significant problems down the line, ensuring your space remains safe and functional.
How Often Should I Maintain My Leveled Concrete Floor?
You should maintain your leveled concrete floor regularly to guarantee its longevity. Aim for a deep clean every six months, using appropriate cleaning techniques that won't damage the surface. In between, sweep or vacuum weekly to remove debris. Inspect for cracks or wear annually, and address any issues promptly. Proper floor maintenance not only enhances appearance but also prevents costly repairs, allowing you to enjoy your space free of stress.


