To level your bathroom floor, first assess for cracks, moisture, and uneven areas, then clean and prepare the surface thoroughly. Next, mix and pour a self-leveling compound evenly, using a trowel or gauge rake to fill low spots without overworking it. Finally, once cured, sand the surface smooth and clear away dust to guarantee good adhesion for your flooring. Follow these steps for a solid base, and you’ll find practical tips to perfect the process ahead.
Assess and Prepare the Bathroom Floor
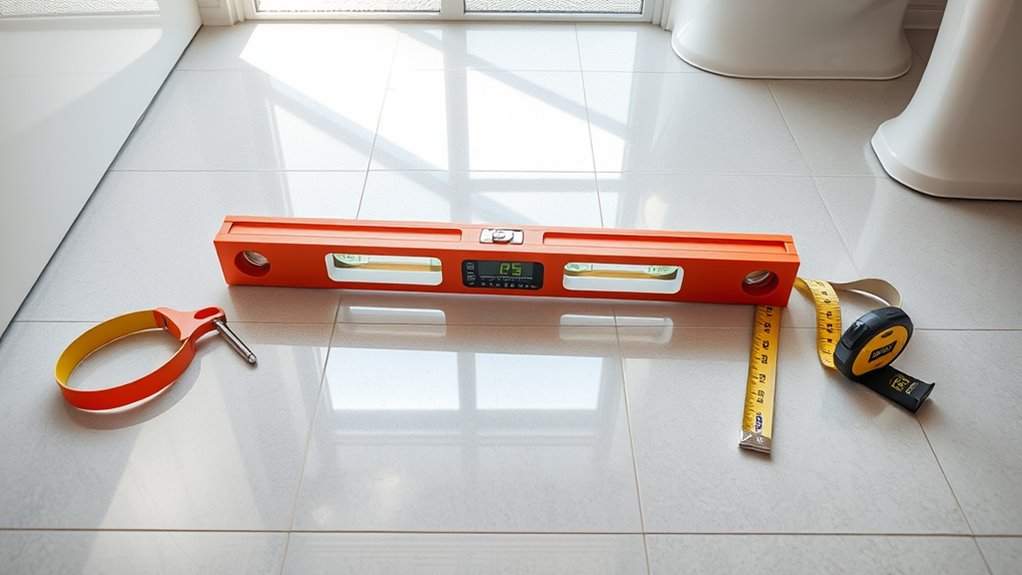
Before you begin leveling, carefully assess the bathroom floor to identify any dips, slopes, or damaged areas. Start with a thorough floor inspection, checking for cracks, loose tiles, or uneven spots that could affect the leveling process. Next, conduct a moisture assessment—bathrooms are prone to dampness, which can compromise your work. Use a moisture meter or look for visible signs like discoloration or mold. Address any water issues before moving forward to guarantee a stable base. This step is essential because ignoring moisture can lead to future damage and failed leveling. By performing a detailed floor inspection and moisture assessment, you set a solid foundation for your project, giving you the freedom to proceed confidently and avoid costly mistakes down the line.
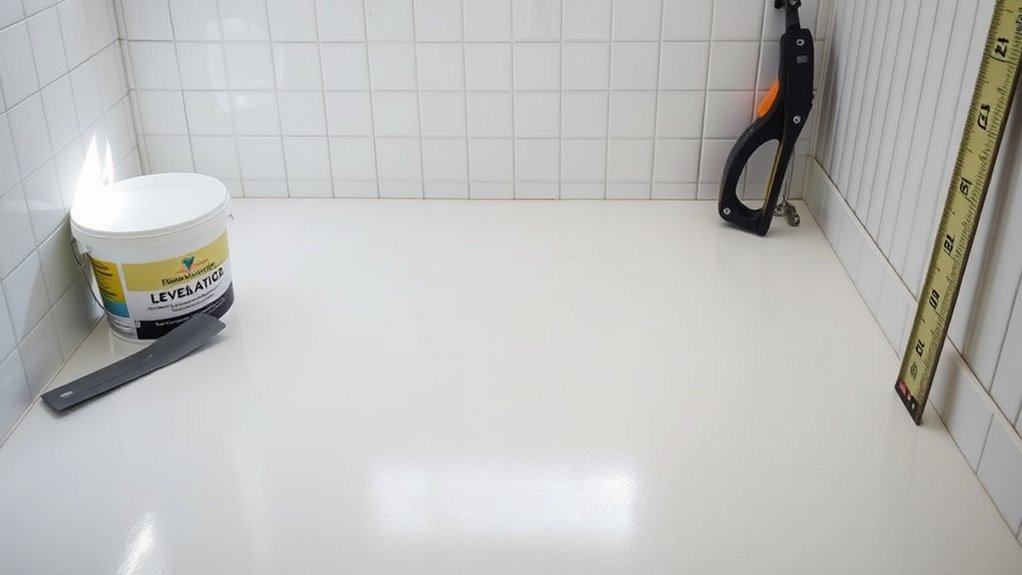
Apply a Self-Leveling Compound
With a stable, dry surface ready, you can move on to applying the self-leveling compound. Start by mixing the compound according to the manufacturer’s instructions, ensuring a smooth, lump-free consistency. Use self leveling techniques like pouring the mixture directly onto the floor and guiding it with a gauge rake or trowel to encourage even spread. The compound will naturally flow and settle, filling low spots effortlessly. Work quickly but carefully, as the compound sets fast. Avoid overworking the surface to maintain its smoothness. Proper compound application is essential—it guarantees a flat, durable base for your bathroom floor. Once applied, allow it to cure fully before proceeding. Mastering this step gives you the freedom to install your flooring with confidence and precision.
Sand and Finish the Surface

Smooth the surface by sanding once the self-leveling compound has fully cured. Use proper sanding techniques to avoid gouging the floor—start with medium-grit sandpaper to knock down high spots, then finish with fine-grit for a smooth, even finish. Employ a sanding block or an orbital sander for consistent results, ensuring you maintain control and avoid over-sanding. Surface finishing is key to a flawless floor, so clean away all dust with a vacuum and damp cloth before proceeding. This prepares the floor for your chosen flooring material, ensuring strong adhesion and durability. By mastering sanding techniques and focusing on precise surface finishing, you’ll achieve a level, professional-quality bathroom floor that’s ready for any flooring option, giving you the freedom to design your space your way.


