To level an uneven floor, first measure the extent of unevenness using a level or laser tool to find high and low spots. Gather tools like a trowel and self-leveling compound suited for your subfloor. Clean and prepare the surface, removing debris and securing loose boards. Apply leveling compound evenly, then sand once dry for smoothness. Perform final checks for levelness and moisture before installing new flooring. You’ll find more detailed steps and tips to guarantee a perfect finish ahead.
Assessing the Extent of Floor Unevenness
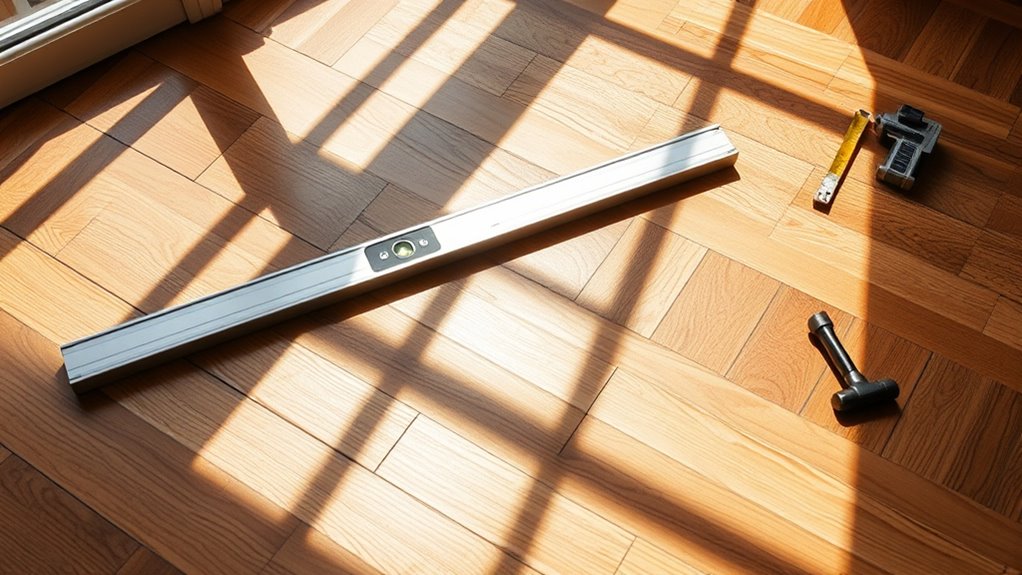
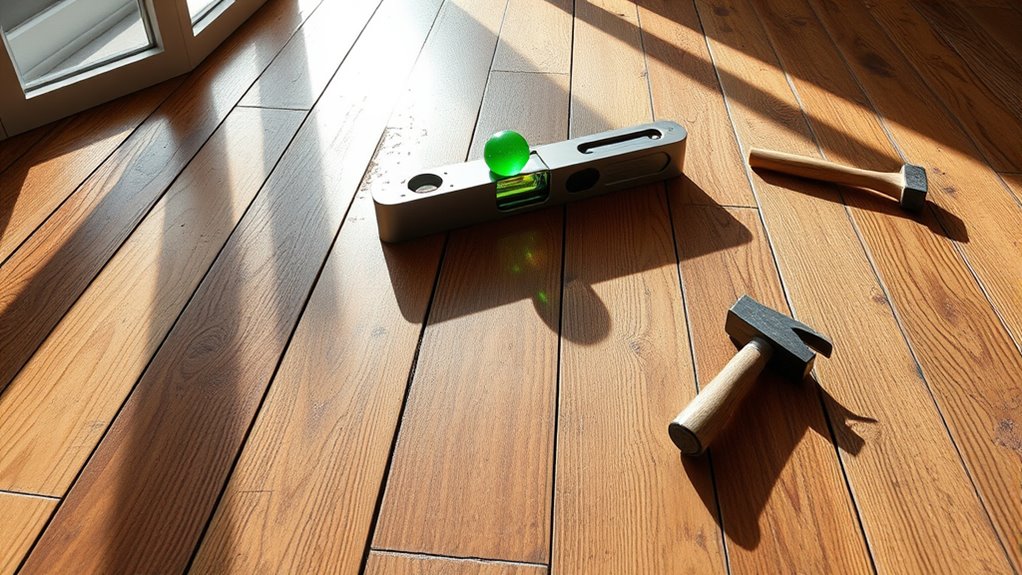
Before you begin leveling, you need to accurately evaluate how uneven your floor is. Understanding the causes of unevenness—such as settling foundations, moisture damage, or structural weaknesses—helps you pinpoint critical areas requiring attention. Use precise measuring techniques to quantify the extent of deviation. Start with a laser level or a long straightedge combined with a carpenter’s level to detect high and low spots across the surface. Mark these points clearly to map the floor’s profile. A digital inclinometer can provide additional accuracy, especially on larger floors. This data allows you to plan effective corrections confidently, ensuring your floor’s stability and longevity. By thoroughly evaluating the unevenness, you gain the freedom to address the problem efficiently, avoiding guesswork and unnecessary labor.
Gathering the Necessary Tools and Materials
Several essential tools and materials are required to level an uneven floor effectively. Start by assembling a tools checklist: a spirit level or laser level for accuracy, a hammer, chisel, measuring tape, mixing bucket, trowel, and a straightedge. Depending on the floor’s condition, you may also need a grinder or sander to smooth rough spots.
Material types vary based on the floor substrate. Common choices include self-leveling compound for minor unevenness, cement-based floor patch for deeper repairs, and plywood or shims for structural adjustments. Selecting the right materials guarantees durability and precision. Gathering these tools and materials upfront gives you the freedom to work efficiently and confidently, avoiding delays during the leveling process. Stick to your tools checklist to maintain control throughout the project.
Preparing the Floor Surface for Leveling
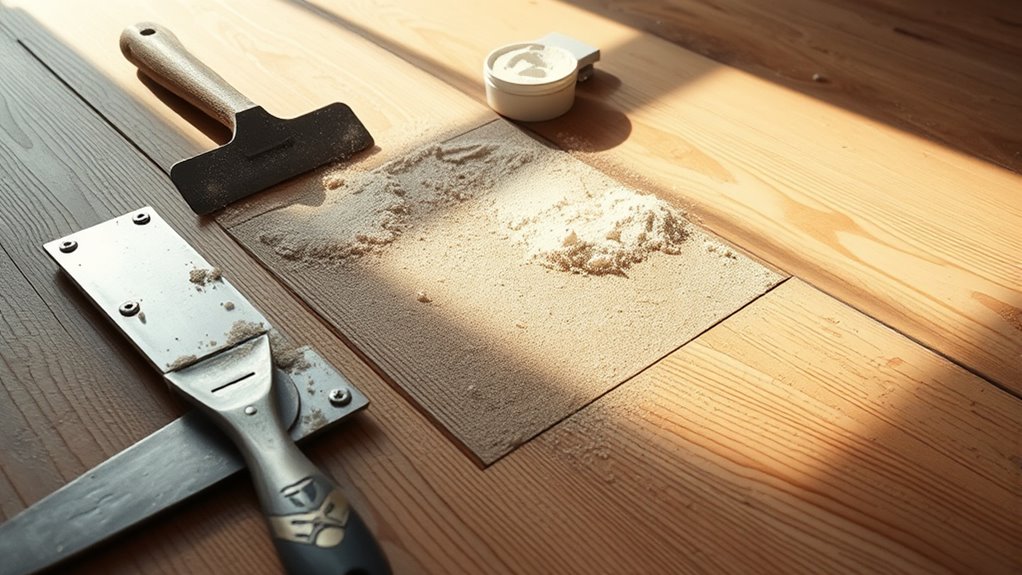
To prepare the floor surface for leveling, you’ll need to thoroughly clean and inspect the area to guarantee proper adhesion of leveling materials. Start with extensive floor cleaning—remove dust, debris, grease, and old adhesives using a vacuum and appropriate cleaners. Any residue can compromise bonding strength. Next, conduct a moisture assessment; excessive moisture can cause leveling compounds to fail or cure improperly. Use a moisture meter to check the subfloor, especially on concrete slabs. If moisture levels exceed manufacturer recommendations, address the source before proceeding. Inspect for loose boards, nails, or damaged sections and secure or replace them to provide a stable base. By ensuring a clean, dry, and sound surface, you set the foundation for an even, durable floor that grants you the freedom to customize your space confidently.
Applying Self-Leveling Compound or Floor Patching
Before you apply the self-leveling compound, verify the surface is clean, primed, and free of dust or debris. Mix the compound precisely according to the manufacturer’s instructions to achieve the correct consistency. When pouring, use a gauge rake or trowel to spread the compound evenly, working quickly to maintain a smooth, level finish.
Surface Preparation Steps
One critical step in leveling an uneven floor is properly preparing the surface by applying a self-leveling compound or floor patching material. Start your floor prep by thoroughly cleaning the area—remove dust, debris, grease, and loose particles, guaranteeing peak adhesion. Next, address any cracks or holes with a suitable patching compound, following manufacturer guidelines for drying times. Employ effective leveling techniques by priming porous substrates to prevent moisture absorption and promote compound bonding. You’ll want to ascertain the floor is structurally sound and free of contaminants, as this directly impacts the compound’s performance. Proper surface prep sets the foundation for a smooth, even application, minimizing future issues. Taking these steps seriously grants you the freedom of a durable, level floor ready for finishing.
Mixing Self-Leveling Compound
Mixing self-leveling compound correctly is essential for achieving a smooth, even floor surface. Start by carefully measuring water according to the manufacturer’s specified mixing ratios. Use a clean bucket and a drill with a paddle mixer to combine water and compound, ensuring you follow these ratios precisely for ideal compound consistency. Avoid adding excess water—it weakens the mixture and compromises strength. Mix vigorously for 2-3 minutes until you achieve a lump-free, fluid consistency that flows easily but isn’t overly runny. The right consistency allows the compound to spread uniformly, filling low spots without sagging or shrinking. Once mixed, use the compound promptly, as it begins to set quickly. Adhering to proper mixing ratios and compound consistency gives you control and freedom to create a flawless leveling base.
Application Techniques and Tips
The application of self-leveling compound demands careful attention to technique to guarantee an even, durable surface. Begin by pouring the mixed compound onto the lowest area, allowing it to flow naturally and fill depressions. Use a gauge rake or smoothing tool to spread the material evenly, addressing any abrupt floor textures that may cause uneven curing. Work efficiently, as setting times are limited. For complex leveling challenges, apply in thin layers rather than a single thick pour to avoid cracking. Ascertain the substrate is clean and primed to promote adhesion. Avoid overworking the compound, which can introduce air bubbles and weaken the surface. By following these precise steps, you’ll achieve a smooth, level floor ready for finishing, giving you the freedom to proceed confidently with your project.
Sanding and Smoothing the Leveled Floor
You’ll need to select sandpaper with the appropriate grit to efficiently smooth the leveled floor without causing damage. Use consistent, even sanding techniques to guarantee a uniform surface across the entire area. Finally, prepare the floor by thoroughly cleaning and inspecting it to confirm it’s ready for finishing.
Choosing the Right Sandpaper
Although selecting the correct sandpaper grit might seem minor, it directly affects the efficiency and finish quality of your floor leveling project. You’ll encounter various sandpaper types—coarse grits (40-60) for aggressive material removal, medium grits (80-120) for smoothing, and fine grits (150-220) to prepare surfaces for finishing. Choosing the right grit depends on your floor’s initial unevenness and desired smoothness. Using inappropriate grit wastes effort or damages the surface. Understand that each sandpaper type interacts differently with wood or concrete substrates, influencing your sanding techniques. For ideal results, begin with a grit that balances removal speed and control, then progressively switch to finer grits to refine the surface. This approach guarantees you maintain control while achieving a level, smooth floor ready for finishing.
Techniques for Even Sanding
Mastering three essential sanding techniques will guarantee your leveled floor achieves a uniformly smooth surface. Begin with cross-grain sanding to eliminate high spots and create an even base. Follow with longitudinal sanding, aligning with the wood grain to refine the surface. Finally, perform a circular or random orbital sanding to remove any remaining imperfections and prepare the floor for final treatments. Each technique plays a critical role in achieving consistent surface finishes and preventing uneven texture. Use progressively finer grit sandpaper to shift smoothly between sanding stages, ensuring the floor’s integrity. By applying these sanding techniques systematically, you’ll gain control over the floor’s uniformity, enabling freedom in choosing subsequent finishes without worrying about underlying flaws. This disciplined approach guarantees professional-quality results every time.
Final Surface Preparation
Once the floor’s level has been established through careful sanding techniques, it’s crucial to focus on final surface preparation to guarantee ideal adhesion and finish quality. Begin by thoroughly vacuuming and wiping the floor to remove all dust and debris, ensuring a clean substrate. Inspect the surface for any remaining imperfections; spot-sand these areas with fine-grit sandpaper to achieve uniform smoothness. Final surface considerations should include moisture content and compatibility with your chosen floor finish options—whether polyurethane, oil-based, or wax. Proper surface preparation directly affects the durability and appearance of the finish, so don’t skip this step. By meticulously preparing the leveled floor, you’ll create an optimal foundation that maximizes adhesion, enhances aesthetic appeal, and extends the longevity of your flooring investment.
Final Checks Before Installing New Flooring
Before you install new flooring, you need to assure the surface is completely level, clean, and dry. Use a straightedge or laser level to confirm no deviations exceed manufacturer specifications. Check for dust, debris, or moisture that could compromise adhesion or cause warping. Ascertain any leveling compounds are fully cured. Your final checklist should include verifying subfloor integrity—no soft spots or movement—and confirming moisture levels with a reliable meter. Double-check that expansion gaps are planned per flooring type. This disciplined approach prevents costly errors and prolongs flooring life. By rigorously following this final checklist, you maintain control over your flooring installation, assuring a stable, durable foundation that supports your freedom to design without limits. Don’t rush; a precise start assures lasting results.


