Are you tired of uneven floors causing havoc in your home? Whether it’s an older house with character or a newer build with a few quirks, those pesky dips and slopes can be a real headache.
Imagine walking across a perfectly level floor, where every step feels stable and secure. It’s not just about aesthetics; it’s about comfort and peace of mind. You might be wondering, how can you achieve this without a major renovation? The answer lies in an easy and cost-effective solution—plywood.
By the end of this article, you’ll discover how to level your floors with plywood, transforming your space into a haven of balance and beauty. Ready to create a sturdy foundation for your home? Let’s dive into the details.
 Floor With Plywood: Expert DIY Guide”/>
Tools And Materials Needed
You will need some basic tools for this task. A measuring tape helps measure the floor. A level ensures flatness. A saw cuts the plywood to size. Have a hammer and nails ready. A drill is useful for screws. Keep a pencil for marking.
For materials, get plywood of the right thickness. You will need screws or nails for fixing. Wood glue can help in some areas. Sandpaper will make the edges smooth. Gather everything before you start.
Preparing The Floor
First, clear the area. Remove all furniture and items from the floor. Use a broom to sweep away dust and dirt. A vacuum can help too. The surface should be clean and smooth. This helps the plywood stick well.
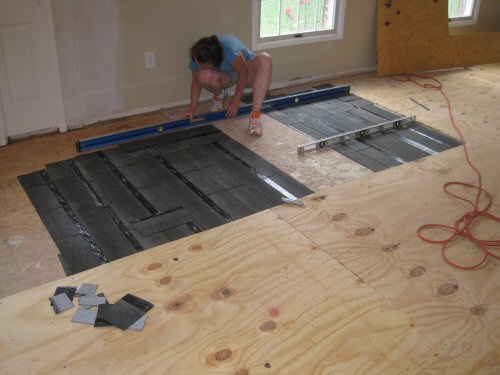
Walk around the room. Feel for bumps or dips. A long, straight board helps find uneven spots. Place it on the floor. Look for gaps under it. These show low spots. Mark them with chalk. Repeat this step until you’ve found all uneven areas.
Choosing The Right Plywood
Plywood comes in many types. Softwood plywood is used for floors. Hardwood plywood is strong and durable. For floors, softwood is a better choice. It is lighter and easier to work with. Hardwood is used for furniture. It is heavier and more expensive. Marine plywood resists water. It is great for bathrooms. Structural plywood supports heavy loads. It is used for building walls.
Plywood thickness matters. Thicker plywood is strong. Thin plywood bends easily. Floors need thick plywood. 3/4 inch is a good thickness. It supports weight well. It does not bend or break. Thin plywood is cheap. It is not good for floors. It can break under pressure. Always choose the right thickness. Strong floors need strong plywood.
Measuring And Cutting Plywood
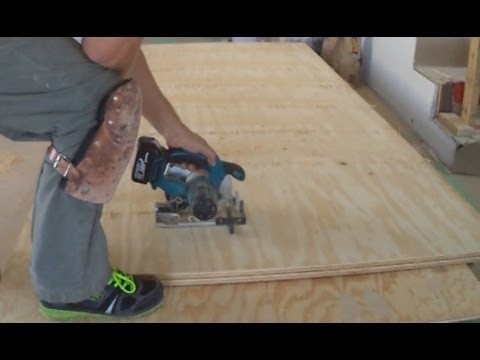
Start with a tape measure. Check the length and width of the area. Write down each measurement. Double-check every number. Small mistakes can cause big problems later. Use a level to find uneven spots. Mark these spots clearly. Good marks help with cutting later.
Use a saw for cutting plywood. A hand saw works well for small cuts. A circular saw helps with big sheets. Wear safety glasses to protect your eyes. Cut slowly and carefully. Follow your marks closely. Keep your hands away from the blade. Finished cuts should be smooth. Smooth edges fit better together.
Installing The Plywood
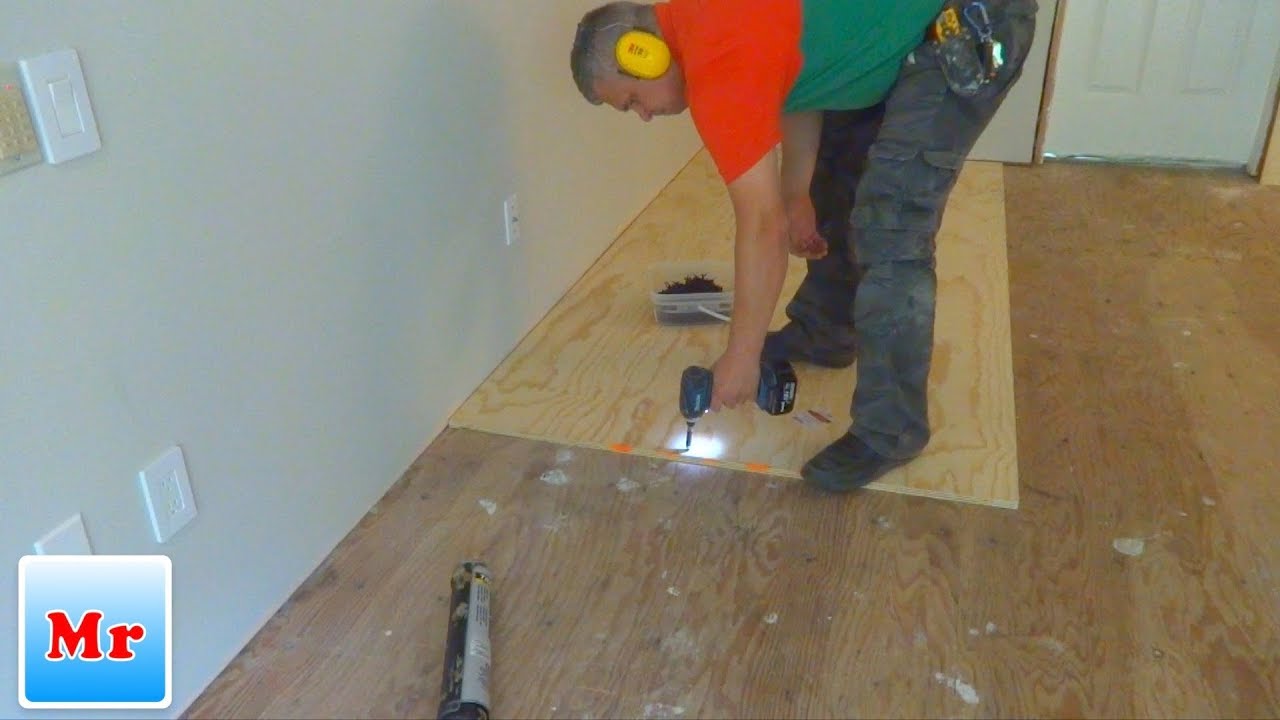
Start by cleaning the floor. Ensure it’s free of dust. Place the first plywood sheet in a corner. Align it with the walls. Check for any gaps. Use a level to make sure it’s flat. Adjust if necessary.
Drill screws into the plywood. Space them evenly. Secure all edges first. Then, add screws in the center. Ensure screws are flush with the surface. This will keep the plywood steady. Avoid gaps between sheets.
Use a chalk line to guide you. This helps keep sheets straight. Check the alignment after each sheet. Adjust as needed to maintain a straight line. This ensures a smooth floor. Keep checking the level as you go.
Finishing Touches
Achieve a smooth finish by leveling floors with plywood. Begin by cleaning the surface and identifying uneven areas. Securely attach plywood sheets to create a flat, stable foundation.
Filling Gaps
Gaps between plywood pieces can cause problems. Use wood filler to fill these gaps. This will help make the floor smooth. Apply the filler with a putty knife. Make sure it’s even with the plywood. Wait for the filler to dry. It might take a few hours. After it dries, check if more is needed. Repeat the process if necessary. A smooth surface is important for the next steps.
Sanding The Surface
After filling gaps, it’s time to sand. Sanding makes the floor smooth. Use sandpaper or a sanding machine. Start with coarse sandpaper. This removes rough spots. Then, use fine sandpaper. This gives a nice finish. Always sand in a circular motion. It helps in making the surface even. Clean the dust with a cloth after sanding. A clean floor is ready for more work.
Common Mistakes To Avoid
Not using a level can cause big problems. Floors may not be even. Uneven floors can cause accidents. Always check the level carefully.
Using the wrong tools makes work hard. Plywood needs special tools. A saw and drill are needed. Measure twice to avoid mistakes.
Many skip reading instructions. This can lead to errors. Follow each step. Your floor will be better.
Safety is important. Wear gloves and goggles. Protect your hands and eyes. It is better to be safe than sorry.
Maintenance Tips
Keep your plywood floor clean and dry. This helps it last longer. Use a soft broom for daily cleaning. A damp mop is best for deeper cleaning. Avoid using too much water. Plywood can warp if it gets too wet. Always dry the floor after mopping. Look for scratches or dents often. Fix them quickly to prevent bigger problems.
Check for loose nails or screws. Tighten them to keep the floor safe. Protect the floor by using rugs in high-traffic areas. This reduces wear and tear. Don’t drag heavy furniture. Lift it to prevent scratches. Use furniture pads for extra protection. These simple steps will keep your floor looking good for years.
Frequently Asked Questions
What Tools Are Needed To Level A Floor With Plywood?
To level a floor with plywood, you’ll need a circular saw, a measuring tape, a level, a straight edge, and a drill. Additionally, gather screws, a pry bar, and safety gear. These tools help ensure precise cutting and secure installation, creating a smooth and even floor surface.
How Thick Should Plywood Be For Floor Leveling?
For floor leveling, use plywood that’s at least 3/4 inch thick. This thickness provides adequate support and stability. Thicker plywood can help accommodate greater irregularities in the subfloor. Always check the specific requirements of your project to ensure optimal results and avoid potential issues.
Can Plywood Fix An Uneven Concrete Floor?
Yes, plywood can fix an uneven concrete floor. Use it as a subfloor to create a level surface. Start by cleaning the concrete and applying a leveling compound if needed. Install the plywood securely, ensuring it lies flat and stable.
This provides a smooth base for your final flooring material.
Is Plywood A Durable Choice For Floor Leveling?
Plywood is a durable choice for floor leveling due to its strength and stability. It provides a solid foundation and can withstand heavy foot traffic. Additionally, plywood resists warping and moisture, ensuring a long-lasting and reliable subfloor. Proper installation enhances its durability and effectiveness.
Conclusion
Leveling a floor with plywood is practical and straightforward. You’ve learned the steps to create a smooth surface. Gather the right tools and materials for success. Take time to measure and cut accurately. Secure the plywood firmly to avoid future issues.
Follow safety tips for a hassle-free process. A leveled floor enhances your home’s look and feel. Enjoy the improved space and stability. Keep these tips handy for future projects. A little effort now creates lasting comfort. Happy flooring!


