Imagine walking into a room where everything is sleek and stylish, but the floor feels uneven under your feet. It’s not just a minor inconvenience; it can affect the look and durability of your beautiful new tiles.
You want your home to be a place of comfort and charm, and leveling your floor before laying tiles is crucial to achieving this. But how exactly do you ensure a perfect, even surface? You’ll discover simple steps to level a floor for tile, ensuring that your home looks stunning and your tiles last for years to come.
Whether you’re a DIY enthusiast or someone tackling this task for the first time, you’ll find practical tips that make the process straightforward and stress-free. By the end, you’ll be equipped with the knowledge to transform your space into the stylish haven you’ve always dreamed of. Dive in and unlock the secrets to a flawless floor finish.
Preparation Essentials
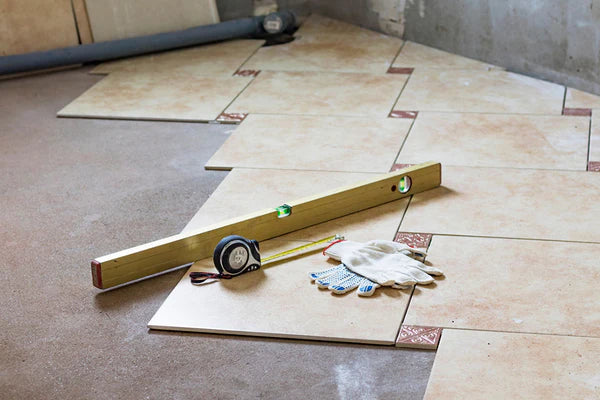
Before starting, gather all the necessary tools for the job. You need a level, a trowel, a mixing bucket, and a rubber mallet. A floor scraper can help remove old adhesives. Don’t forget safety gear like gloves and goggles. Having the right tools makes the job easier and safer.
Check the floor for any bumps or holes. Bumps make the tiles uneven. Holes can cause cracks. Use a straight edge to find uneven areas. Mark these spots for fixing. A clean, smooth floor is important for good tile work.
Identifying Floor Irregularities
Use a straightedge to check the floor. Lay it flat on the floor surface. This tool helps find uneven spots. Look for gaps under the straightedge. These gaps show low areas. High areas push the straightedge up.
Mark high and low spots with a pencil. This helps remember where they are. High spots need sanding or grinding. Low spots need filling. This will help make your floor smooth.
Choosing The Right Leveling Compound
There are many leveling compounds. Some are for wood floors. Others are for concrete. Self-leveling compounds are easy to use. They spread out evenly. Patch compounds fill small holes and cracks. Each type serves a purpose.
Wood floors need special compounds. They prevent damage. Concrete floors require different compounds. These are stronger. Always check the floor type first. Then choose the right compound.

Preparing The Floor Surface
Start by removing all furniture and objects. Sweep the floor to get rid of dust. Use a vacuum cleaner for deeper cleaning. Check for any stains or spots. Use a damp cloth to wipe them away. Ensure the floor is dry before moving to the next step.
Choose a good primer for your floor type. Pour the primer into a tray. Use a roller to apply the primer. Cover the entire surface evenly. Let the primer dry completely. This step is important for tile adhesion. Make sure no areas are missed.
Mixing And Applying Leveling Compound
Always read the instructions on the leveling compound package. Use clean water to mix the compound. Add the powder slowly to avoid clumps. Stir the mixture well until smooth. Use a drill with a mixing paddle for best results.
Pour the mixture onto the floor. Start from the corner farthest from the door. Use a trowel or a spreader to distribute it evenly. Work quickly, as the compound dries fast. Check for air bubbles and pop them with a needle if needed. Ensure the surface is smooth before it dries.

Smoothing And Finishing Touches
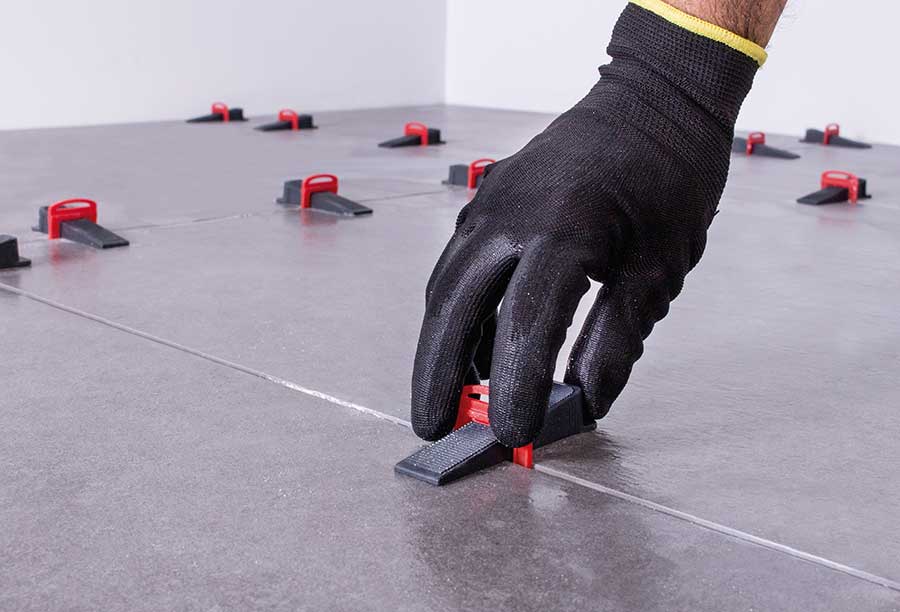
Achieving smooth and even surfaces ensures tiles lay perfectly, enhancing aesthetics. Proper leveling minimizes future maintenance needs. A well-prepared floor is crucial for durability and long-lasting appeal.
Using A Trowel
A trowel is like a flat tool. It helps smooth surfaces. Spread the mix evenly on the floor. Hold the trowel at a slight angle. Move it back and forth gently. This removes extra mix. Smooth until the floor looks flat. Keep checking for bumps or dips. Fix them with the trowel. Patience is key here. Each move should be careful. This ensures a nice, even floor for tiles. Use gentle pressure to avoid mistakes. Practice makes perfect!
Drying And Curing Time
After smoothing, let the floor dry. This can take several hours. It depends on the mix used. Check the package for exact times. The floor must be completely dry before tiling. This ensures tiles stick well. Rushing can cause mistakes. Once dry, let it cure. This means letting it set firmly. Curing usually takes a day or two. Waiting is important for best results. A well-cured floor lasts longer.
Common Mistakes To Avoid
Using too much or too little filler can cause problems. Overfilling leads to a bumpy floor. Underfilling leaves gaps and uneven spots. Both mistakes make tiles break or crack easily. Always measure the area properly. This helps in knowing the right amount of filler needed. A smooth floor ensures tiles stick well and last longer.
Every product comes with a guide. These instructions tell you the best way to use the product. Skipping them can lead to mistakes. Follow each step carefully. Proper use helps avoid damage and saves time. Reading instructions ensures you do it right the first time.
Maintenance Tips For Leveled Floors
Regular cleaning keeps your floor looking nice. Use a soft broom or vacuum. Avoid harsh chemicals that can damage tiles. A damp mop works well for regular cleaning. Dry the floor after mopping to prevent slips. Clean spills quickly to avoid stains.
Watch for new bumps or dips in the floor. Uneven floors can cause accidents. Use a level tool to check your floor. Small fixes are easier than big repairs. Call a professional if you see big changes. Regular checks help keep your floor safe.
Frequently Asked Questions
What Tools Do I Need To Level A Floor?
You’ll need a spirit level, trowel, and self-leveling compound. For larger areas, a concrete grinder may be useful. Safety gear like gloves and goggles are also recommended. Each tool plays a crucial role in ensuring the floor is even, which is essential for tile installation.
Can I Level A Floor Myself?
Yes, you can level a floor yourself with patience and the right tools. Follow step-by-step guides for best results. However, for complex issues or large areas, consider hiring a professional. DIY floor leveling can be cost-effective if done correctly.
How Long Does Floor Leveling Take?
Floor leveling generally takes a few hours, depending on the size of the area. Drying time for self-leveling compound is typically 24 hours. Ensure all steps are completed thoroughly for best results. Planning and preparation can reduce overall time spent on the project.
Why Is Floor Leveling Important For Tiles?
Floor leveling ensures tiles adhere properly and prevents future cracking. An even surface provides a stable foundation for tiles. It enhances the aesthetic appeal and longevity of the flooring. Proper leveling is crucial to avoid costly repairs and maintain the quality of the tile installation.
Conclusion
Leveling a floor for tile can be simple. Start with clean, dry surfaces. Use a level to check for uneven spots. Fill gaps with a self-leveling compound. Let it dry thoroughly. Check again to ensure smoothness. Preparing the floor correctly saves time and effort.
It also makes the tiles last longer. A well-leveled floor prevents tile cracks. Follow these steps for a flawless tile finish. Enjoy a durable and beautiful floor. Remember, careful preparation is key. Keep tools handy and take your time. Your floor will look great and stay strong.


