To level a floor for laminate, first inspect it with a level tool to spot uneven areas over 3/16 inches. Next, gather tools like a mixing bucket, trowel, and self-leveling compound. Clean the surface thoroughly, removing dust and residues for better adhesion. Then, mix and pour the compound evenly into low spots, spreading it smoothly. Finally, allow it to cure fully before rechecking for evenness to guarantee a stable base. Follow these basics, and you’ll guarantee a flawless laminate installation.
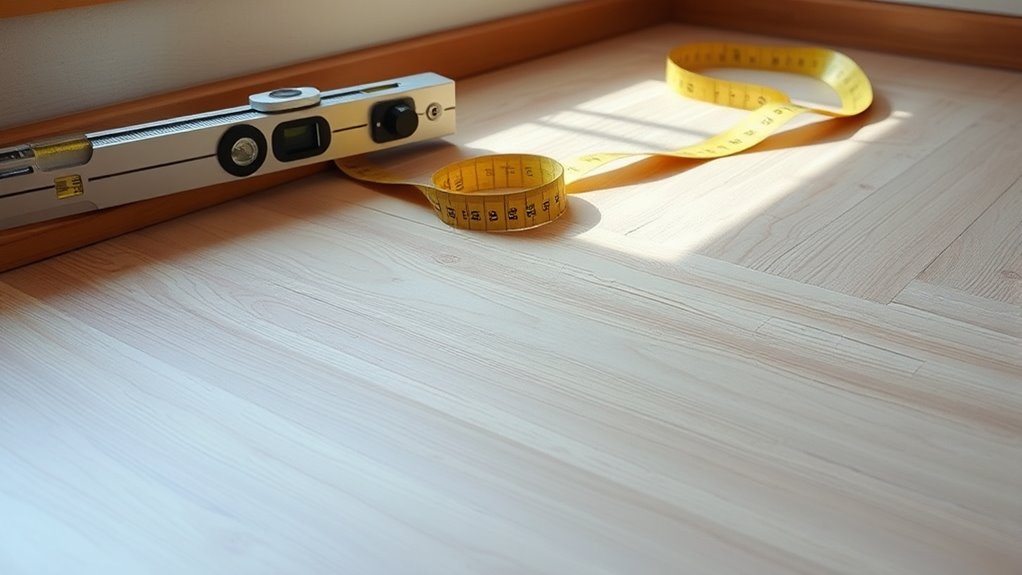
Assess the Current Floor Condition
Before you begin leveling your floor for laminate installation, you need to thoroughly assess its current condition. Conduct a detailed floor inspection to identify any uneven surfaces that could compromise the laminate’s stability. Use a straightedge or level tool to detect high spots or dips exceeding 3/16 inches over a 10-foot span, as these require correction. Check for structural issues, moisture problems, or loose boards, which must be addressed before leveling. Document all irregularities, focusing on areas with pronounced slopes or gaps. This assessment guarantees you know exactly where to apply leveling compounds or sanding, allowing you to create a perfectly flat base. By carefully inspecting the floor, you gain the freedom to proceed confidently, avoiding future laminate damage or installation challenges.
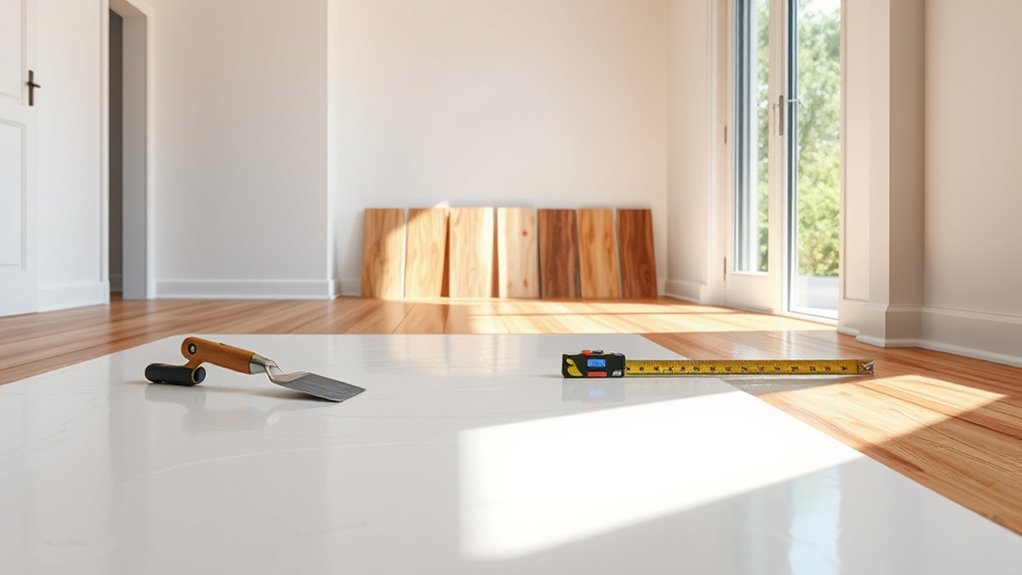
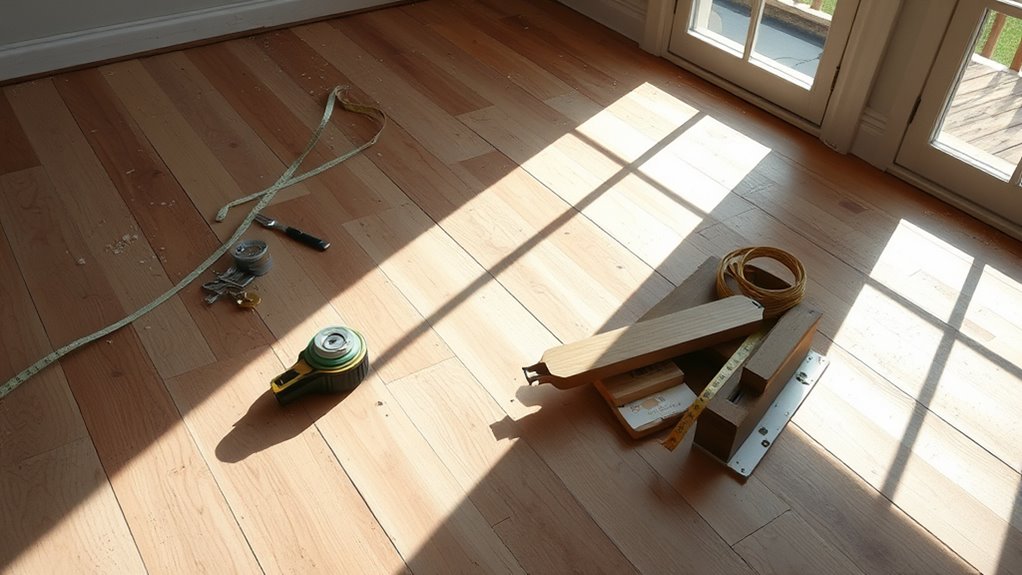
Gather Necessary Tools and Materials
Although evaluating your floor is essential, gathering the right tools and materials is the next important step to guarantee a smooth leveling process. Start by identifying necessary tool types: a laser level or spirit level for accuracy, a putty knife or trowel for applying leveling compound, a mixing bucket, and a drill with a mixing paddle. Material selection is critical—choose a high-quality self-leveling compound compatible with your subfloor, along with primer if required. You’ll also need sandpaper or a floor sander for minor adjustments and safety gear like gloves and a mask. Having these tools and materials ready guarantees you won’t interrupt your workflow, allowing you to work efficiently and maintain the freedom to progress confidently through your laminate floor leveling project.
Clean and Prepare the Floor Surface
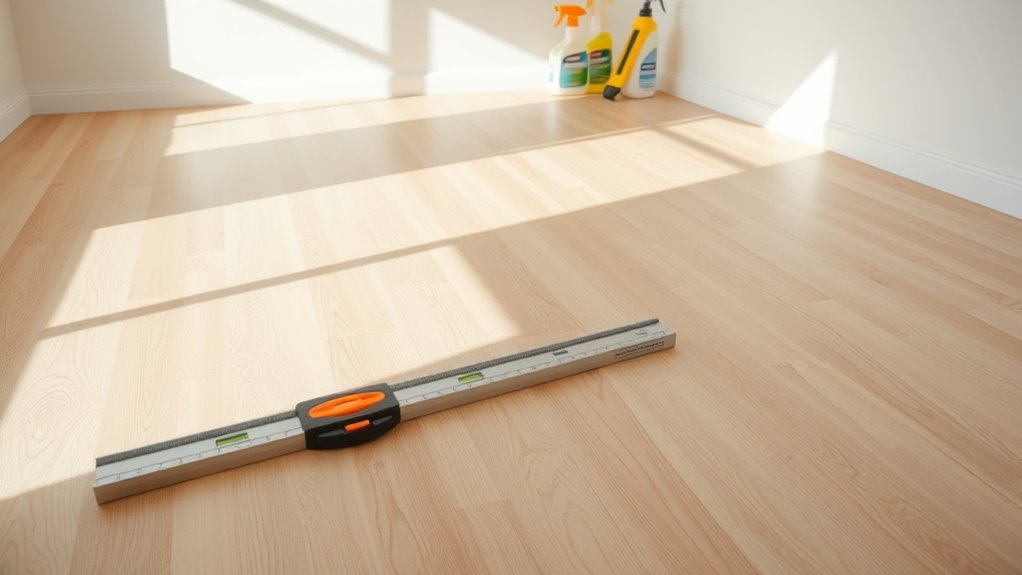
Start by thoroughly cleaning the floor to remove dust, debris, grease, or old adhesive residues that could prevent proper bonding of the leveling compound. Effective surface preparation guarantees ideal adhesion and durability. Use appropriate cleaning techniques such as vacuuming, sweeping, and degreasing with a solvent if necessary. After cleaning, inspect the floor for damage or loose sections that require repair before leveling.
| Step | Description |
|---|---|
| Remove debris | Sweep and vacuum to clear loose dirt |
| Eliminate residues | Use solvent or adhesive remover |
| Inspect surface | Check for cracks, holes, or loose areas |
Proper cleaning and preparation free you to apply leveling compounds without complications.
Apply Floor Leveling Compound
With the floor cleaned and any damaged areas repaired, you can move on to applying the leveling compound. Select a compound suited for your specific floor type—concrete, plywood, or OSB—since compatibility affects adhesion and drying time. Mix the compound thoroughly, following manufacturer instructions to avoid lumps. Use a trowel or gauge rake for even distribution, starting from the lowest point and working outward. Application techniques vary: pour the mixture steadily, then spread it smoothly to fill dips and low spots. For porous surfaces, consider a primer to improve bonding. Maintain consistent thickness as excessive layers can cause cracking or extended drying. Proper technique guarantees a flat, stable base that preserves your freedom to install laminate confidently and achieve a flawless finish.
Allow the Floor to Cure and Check for Evenness
Once you’ve applied the leveling compound, you’ll need to let it cure fully before proceeding. The curing process typically takes 24 to 48 hours, depending on the product and environmental conditions. Avoid walking on the surface during this time to guarantee proper hardening. After curing, assess the floor evenness using a straightedge or level tool. Slide the straightedge across the surface to identify any dips or high spots that could affect your laminate installation. If you find inconsistencies exceeding manufacturer tolerances, you may need to apply an additional thin layer of leveling compound. Confirming complete curing and verifying floor evenness assures a stable, flat foundation, preventing future issues like laminate warping or gaps. This step is vital for achieving a durable, professional laminate floor installation.


