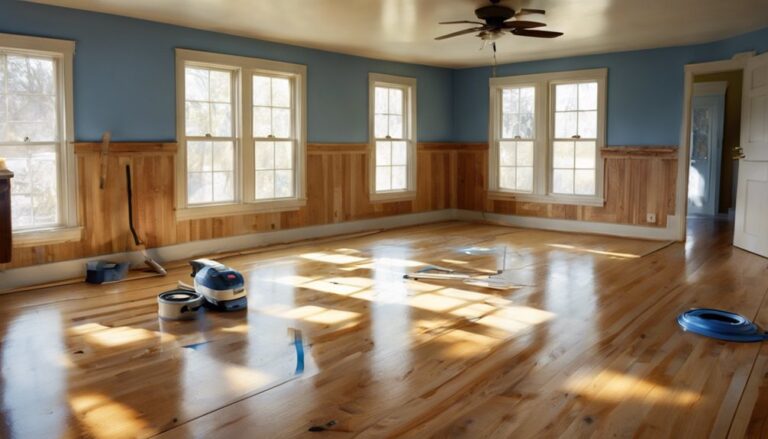
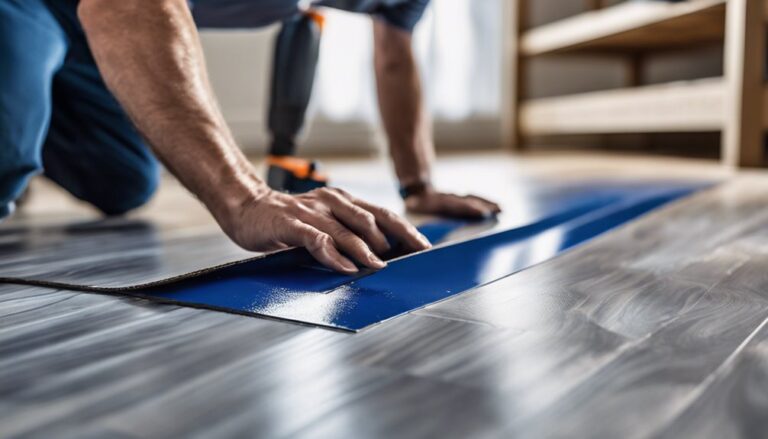
To lay vinyl sheet flooring, start by gathering essential tools: a utility knife, measuring tape, straight edge, and vinyl roller. Confirm your subfloor is clean, dry, and free of debris. Then, measure and cut the vinyl sheets accurately, slightly oversizing them for adjustments. Dry fit the sheets and apply adhesive evenly with a trowel before laying them down from the center outwards, eliminating air bubbles. Trim excess material with precision and seal edges properly to create a moisture barrier. Regular maintenance, such as sweeping and mopping, will extend its lifespan. There's more to mastering this process effectively.
Gather Your Tools and Materials

Before you begin laying vinyl sheet flooring, it's essential to gather the right tools and materials to guarantee a smooth installation. Start with essential tool types such as a utility knife, straight edge, and a measuring tape. You'll also need a vinyl roller for proper adhesion and a trowel if you're using adhesive. For material options, choose high-quality vinyl sheets that suit your aesthetic and functional needs. Make sure you have underlayment if necessary, as it can enhance comfort and sound absorption. Don't forget to stock up on safety gear like knee pads and gloves. With the right tools and materials in hand, you'll be ready to embrace the freedom of transforming your space efficiently.
Prepare the Subfloor
To guarantee a successful installation of vinyl sheet flooring, you must prepare the subfloor meticulously. Start by confirming the subfloor is clean, dry, and free from debris. Any imperfections, like cracks or uneven areas, should be addressed with a suitable leveling compound. Conduct moisture testing using a reliable method, such as a moisture meter or plastic sheet test, to confirm the subfloor's moisture levels are within acceptable limits, ideally below 5%. If moisture issues arise, consider using a vapor barrier to mitigate potential damage. Additionally, confirm the subfloor is structurally sound—replace any damaged sections. Proper subfloor preparation is essential for achieving a smooth, lasting finish that enhances your flooring's performance and longevity.
Measure and Cut Vinyl Sheets

Before you cut your vinyl sheets, gather the necessary tools, including a straightedge, utility knife, and measuring tape. You'll need to accurately measure your floor dimensions to guarantee a proper fit, accounting for any obstacles like doorways or cabinets. Once you have your measurements, you can apply cutting techniques that will help you achieve clean, precise edges for installation.
Gather Necessary Tools
Gathering the necessary tools for measuring and cutting vinyl sheets is crucial to achieving a professional finish. You'll need a sharp utility knife, a straightedge or ruler, a measuring tape, and a square. The utility knife will help you accurately cut through various vinyl types, while the straightedge guarantees clean, straight lines when slicing. A measuring tape is important for determining dimensions and aligning your flooring patterns, while the square helps maintain right angles. Don't forget a chalk line or marker for marking your cutting lines clearly. Having these tools ready will empower you to cut your vinyl sheets precisely, allowing for a seamless installation that enhances your space's aesthetic freedom.
Measure Floor Dimensions
Accurate measurements are essential for a successful vinyl sheet flooring installation. Start by selecting appropriate floor measurement techniques, such as the straightedge method or using a measuring tape for irregular spaces. Make sure you've got accurate measuring tools on hand—preferably a laser measuring device for precision. Measure the length and width of each room, noting any alcoves or protrusions. It's best to write down your measurements immediately to avoid confusion later. If your floor includes multiple rooms, consider measuring doorways and connections as well. By ensuring you have precise dimensions, you'll minimize waste and gain a seamless fit. This meticulous approach lays the groundwork for a stunning finish that reflects your freedom in design choices.
Cutting Techniques Explained
Once you've measured your floor dimensions, the next step is to cut the vinyl sheets to fit your space perfectly. You can use various cutting methods, such as straight cuts with a utility knife or more intricate shapes with a vinyl cutter. For straight edges, lay the sheet on a flat surface, align a straight edge, and score along the line with your knife, applying firm pressure. For curves or corners, a vinyl tool like a snipping tool or a rotary cutter may work best. Remember to cut slightly larger than needed to guarantee a snug fit, and trim excess after laying the sheet. Taking your time with these techniques will provide a clean, professional look to your flooring.
Dry Fit the Vinyl
Before you start cutting your vinyl sheet flooring, it's essential to dry fit the pieces in the designated area. This step guarantees accurate vinyl placement and helps identify any adjustments needed before making permanent cuts. Lay the vinyl sheets out, allowing for a slight overlap at the seams. Check for any obstacles, such as vents or door frames, and verify the edges fit snugly against walls.
| Step | Action | Purpose |
|---|---|---|
| Step 1 | Lay out the vinyl | Visualize final placement |
| Step 2 | Adjust as needed | Confirm proper fit |
| Step 3 | Mark areas to cut | Guide for cutting process |
Apply Adhesive

When applying adhesive for vinyl sheet flooring, selecting the right type is essential for ensuring a strong bond. You'll need to apply the adhesive evenly across the substrate to prevent any lifting or bubbling. After application, allow the adhesive to set according to the manufacturer's instructions before laying the vinyl.
Selecting the Right Adhesive
Choosing the right adhesive for your vinyl sheet flooring is vital to guarantee a durable and seamless installation. You'll encounter various adhesive types, including pressure-sensitive, releasable, and full-spread adhesives. Each type has specific applications based on the flooring and subfloor material. It's important to assess surface compatibility; for instance, pressure-sensitive adhesives work best on smooth surfaces, while full-spread adhesives offer enhanced bonding for porous subfloors. Before making your choice, consider factors like moisture levels and expected foot traffic, as these can influence your adhesive selection. Remember, the right adhesive not only secures the longevity of your flooring but also maintains its aesthetic appeal, allowing you the freedom to enjoy your space without worry.
Applying Adhesive Evenly
With the right adhesive selected, the next step is to apply it evenly across the subfloor. Start by checking the adhesive consistency; it should be smooth and not too thick or runny. Using a notched trowel, employ application techniques that create uniform ridges. Hold the trowel at a consistent angle to achieve an even layer, ensuring full coverage without excess adhesive pooling. Work in manageable sections, allowing you to focus on detail without feeling rushed. If you notice any inconsistencies, adjust your technique immediately. Remember, a well-applied adhesive not only enhances the bond but also contributes to the overall durability of your vinyl flooring. Precision in this step is essential for a successful installation.
Allowing Adhesive to Set
After applying the adhesive, you'll need to allow it to set properly before laying down the vinyl sheet flooring. This adhesive curing process is essential for ensuring a strong bond between the flooring and the subfloor, ultimately enhancing your flooring's longevity. Typically, you'll want to wait about 30 minutes to an hour, but always refer to the manufacturer's instructions for specific curing times. During this period, avoid walking on the adhesive to prevent any displacement. Monitor the environment, as temperature and humidity can affect the curing time. Once the adhesive is adequately set, you can confidently proceed to lay the vinyl sheet, knowing that a solid foundation supports your flooring for years to come.
Lay the Vinyl Sheet
Begin by carefully positioning the vinyl sheet in the desired location, making sure it aligns with your room's layout. Double-check that your surface preparation is complete; any imperfections could compromise the installation techniques you'll use. Once satisfied, gently press down on the vinyl, starting from the center and working your way outwards. This helps eliminate air bubbles that can disrupt adhesion. If you're using adhesive, follow the manufacturer's instructions for best results. Confirm the edges are securely placed, as this will aid in preventing future lifting. Take your time while laying the sheet; precision in this step is vital for a seamless look. Remember, a well-laid vinyl sheet enhances not just aesthetics but also durability.
Trim Excess Material

Once the vinyl sheet is securely laid and free of air bubbles, it's time to trim excess material around the edges. Start by using a sharp utility knife and a straightedge to guarantee clean cuts. Position the straightedge along the edge of the flooring, aligning it with the wall or any obstructions. Apply steady pressure as you score the vinyl with the knife, using effective trimming techniques to avoid tearing. Once scored, snap the vinyl along the line for a precise edge. For edge finishing, make sure the cut is flush with the wall or baseboards, which creates a seamless look. Repeat this process on all sides, maintaining a consistent and professional finish throughout your newly installed flooring.
Seal the Edges
Sealing the edges of your vinyl sheet flooring is essential to prevent moisture infiltration and enhance durability. Proper edge sealing creates a robust moisture barrier that protects your flooring from damage. You'll want to apply an adhesive or sealant along the edges where the vinyl meets walls or other surfaces. Here's a quick guide to help you:
| Step | Action | Purpose |
|---|---|---|
| Clean the edges | Remove debris and dust | Guarantees proper adhesion |
| Apply sealant | Use a caulking gun | Creates a moisture barrier |
| Smooth the sealant | Use a putty knife | Guarantees an even finish |
Following these steps guarantees that your vinyl flooring remains resilient, providing you with the freedom to enjoy your space without worry.
Maintain Your New Flooring

Maintaining your new vinyl sheet flooring is essential for preserving its appearance and longevity. To achieve this, follow effective cleaning tips: regularly sweep or vacuum to remove dirt and debris, and use a damp mop with a mild cleaner specifically designed for vinyl. Avoid abrasive tools and harsh chemicals that can cause damage. For damage prevention, place mats at entryways to minimize grit, and use felt pads under furniture to prevent scratches. If spills occur, clean them promptly to prevent staining. Additionally, avoid excessive water exposure, as it can seep into seams and edges. By adhering to these practices, you'll guarantee your vinyl flooring remains beautiful and functional for years to come.
Frequently Asked Questions
Can I Install Vinyl Sheet Flooring Over Existing Flooring?
Yes, you can install vinyl sheet flooring over existing flooring, but you need to guarantee proper surface preparation. Before proceeding, check the condition of the existing floor; it should be clean, dry, and level. You might want to avoid any major removal process if the current flooring is in good shape. However, if there are significant imperfections, consider removing it for a smoother finish. Always follow manufacturer guidelines for the best results.
How Long Does Vinyl Sheet Flooring Last?
Vinyl sheet flooring can last anywhere from 10 to 20 years, depending on its durability and how well you maintain it. While it offers an affordable, stylish option for your space, neglecting maintenance can shorten its lifespan. Regular cleaning and avoiding harsh chemicals can enhance vinyl sheet durability. It's crucial to address any scratches or damages promptly, ensuring your flooring remains a reliable, attractive feature in your home for years to come.
Is Vinyl Sheet Flooring Waterproof?
Yes, vinyl sheet flooring is generally waterproof, offering significant water resistance benefits. This makes it an excellent choice for areas prone to moisture, like kitchens and bathrooms. To maintain its integrity, avoid standing water and clean spills promptly. Regularly sweeping or vacuuming prevents dirt buildup, while occasional mopping with a gentle cleaner will keep it looking fresh. With proper care, you'll enjoy the durability and aesthetic appeal of your vinyl flooring for years.
Can I Use Vinyl Sheet Flooring in Bathrooms?
Why wouldn't you use vinyl sheet flooring in your bathroom? It's an excellent choice due to its waterproof nature and ability to withstand bathroom moisture. With proper installation, it can handle the humidity and spills typical in these spaces. Plus, flooring maintenance is a breeze; just regular cleaning keeps it looking great. So, if you're seeking durability and style, vinyl sheet flooring could be your perfect solution for a bathroom upgrade.
What Is the Difference Between Vinyl Sheet and Vinyl Plank Flooring?
The difference between vinyl sheet and vinyl plank flooring lies in their design and installation. Vinyl sheet advantages include its seamless appearance, making it ideal for large spaces, while vinyl plank characteristics offer a more realistic wood-like look with individual planks. Sheets are typically easier to install in wet areas due to fewer seams, whereas planks allow for easier replacement of damaged sections, giving you flexibility in maintenance and design choices.


