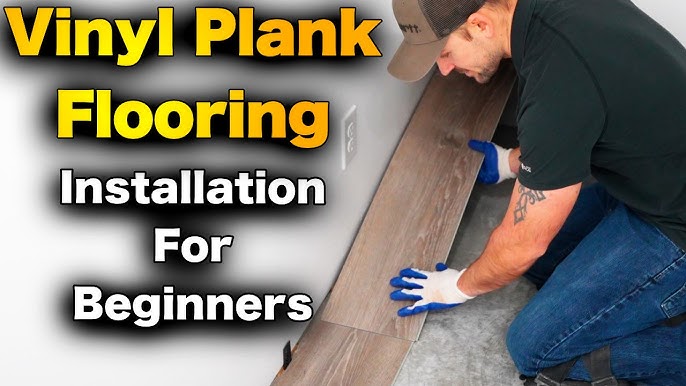
Are you ready to transform your concrete floor with a fresh, stylish look? Laying vinyl plank flooring is a fantastic way to achieve a modern, elegant finish without breaking the bank.
Whether you’re sprucing up your living room, kitchen, or even a basement, vinyl plank flooring offers both durability and aesthetic appeal. But where do you start? The process might seem daunting, but with the right guidance, you can do it yourself.
Imagine walking across a beautifully sleek floor that you’ve installed with your own hands. Exciting, right? Let’s dive into how you can make that vision a reality, step by step. Keep reading to discover the secrets to laying vinyl plank flooring on concrete like a pro.
Preparation Steps
Collect all the tools before you start. You will need a tape measure, utility knife, and straight edge. Get a floor roller and adhesive. Don’t forget safety glasses and gloves. Having everything ready saves time. Make sure tools are in good condition.
Measure the room length and width. Use a tape measure for this. Write down each measurement. Calculate the total area. This helps to know how many planks you need. Double-check your measurements to avoid mistakes.
Start by sweeping the floor. Remove all dust and debris. Use a vacuum for fine particles. The surface should be clean and dry. This ensures the planks stick well. A clean floor is very important.
Look for cracks or holes in the concrete. Use concrete filler to fix them. Let the filler dry completely. Sand the area if needed. Make sure the surface is smooth. Imperfections can cause problems later.
Choosing The Right Vinyl Plank
Vinyl planks come in many types. Luxury vinyl planks are popular. They look like real wood. Waterproof vinyl is great for wet areas. There are also rigid core planks. These are strong and durable. Each type has its own benefits. Choose the one that fits your needs best.
Thickness matters for comfort and durability. Thicker planks feel soft underfoot. They can also last longer. Texture adds beauty and realism. Some planks have a wood-like feel. Others are smooth and sleek. Pick the right texture for your style.
Design is important for home style. Wood-look designs are classic. They suit many rooms. Bright or dark colors can change the mood. Patterns add interest to floors. Look for designs that match your home decor. Let your floors shine.
Acclimating The Vinyl Planks
Vinyl planks need time to adjust to room temperature. This process is called acclimation. It helps the planks fit better on the floor. Always give them at least 48 hours in the room. Ensure the room is at normal living temperature. This helps the planks expand or shrink properly. Without this step, your floor might not last long.
Store vinyl planks flat on the floor. This prevents bending or warping. Keep them in their box until you start laying. Do not stack too high. A few boxes on top of each other is fine. Keep them away from water and direct sunlight. This ensures they stay in good shape.

Installing Underlayment
Underlayment makes floors feel soft and warm. It helps in reducing noise. This is great for busy homes. It also protects the vinyl from damage. Moisture from concrete can be a problem. Underlayment acts as a barrier. This keeps the vinyl safe and dry. A good underlayment can extend the life of your floor. It makes the floor last longer.
Choosing the right underlayment is important. There are several types available. Foam underlayment is popular. It is soft and easy to use. Another option is cork underlayment. It is eco-friendly and provides insulation. There is also rubber underlayment. It is durable and good for soundproofing. Each type has its own benefits. Choose what suits your needs best.
Laying The Vinyl Planks
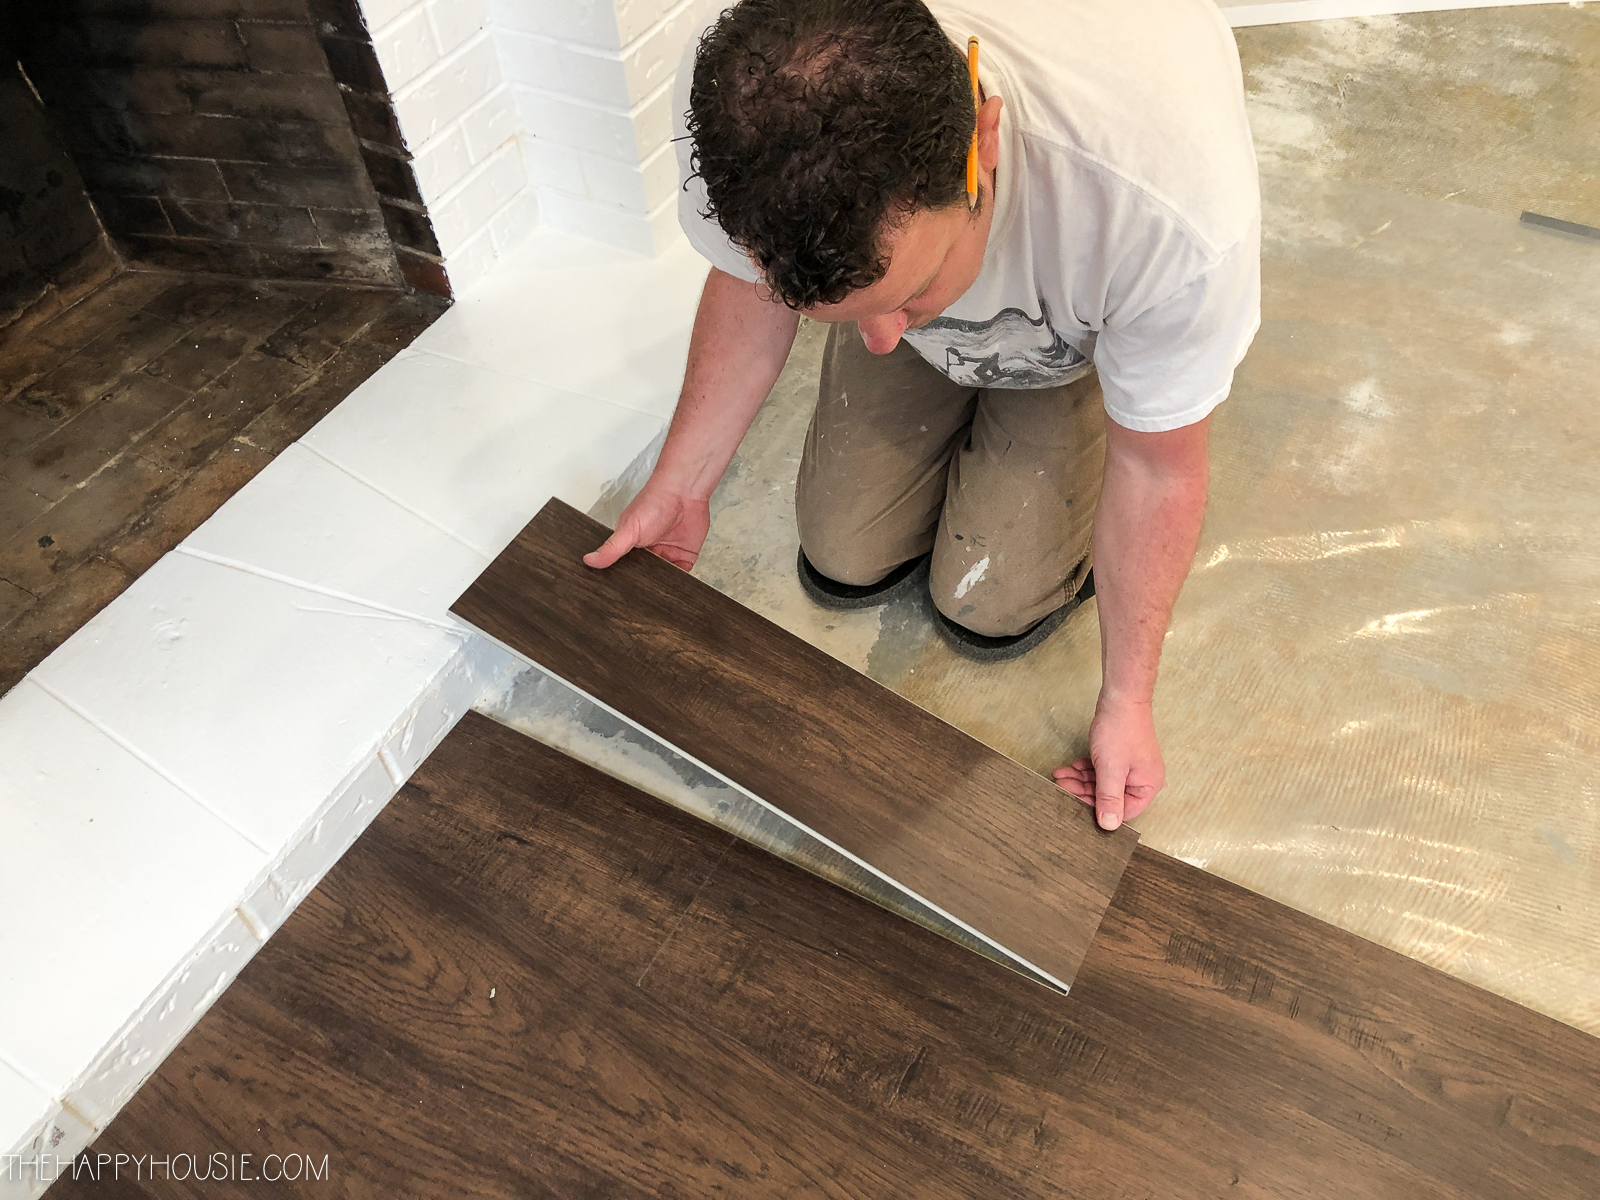
Begin by cleaning the concrete floor. Remove any dust or debris. This helps the adhesive stick better. Measure the room length and width. Plan the layout of the planks. Start in a corner. Place the first plank against the wall. Ensure it’s straight. Use spacers between the plank and wall. This allows for expansion.
Measure the space where a plank will fit. Mark the plank with a pencil. Use a utility knife to score the plank. Bend it to snap along the line. For odd shapes, use a saw. Be careful while cutting. The edges should be smooth. Check if the cut plank fits well.
Align the tongue of each plank with the groove of the next. Press down firmly. Use a rubber mallet if needed. Ensure planks are tightly fit. Repeat until the floor is covered. Check for gaps regularly. Adjust planks if necessary. Finish by installing trim or molding. This covers expansion gaps.
Handling Obstacles
Door frames can block your work. Trim the bottom of the door frame. This allows the vinyl to slide under it. Use a small saw for this job. Make sure the cut is even. Check if the vinyl fits neatly under the frame. This keeps the floor looking smooth and nice. Take your time. Be careful with the saw.
Pipes and vents can be tricky. Measure the space around them. Cut the vinyl to fit perfectly. Use a utility knife for precise cuts. Make a template first if needed. It’s okay to take extra time. Proper fitting is important. It prevents gaps and makes the floor look good. Ensure all edges are tight.
Securing The Planks
Spread a thin layer of adhesive on the concrete floor. Use a trowel for even coverage. Place the vinyl planks on the adhesive. Press each plank firmly. Make sure there are no bubbles. Let the adhesive dry for 24 hours. Do not walk on the planks during this time.
Align the edges of the planks carefully. Ensure each plank clicks into place. This makes the floor strong. Check that the planks fit tightly. Use a mallet to tap them if needed. Avoid gaps between planks. This keeps the floor looking nice.
Finishing Touches
Installing vinyl plank flooring on concrete involves careful preparation. Clean the concrete thoroughly, ensuring it’s dry and even. Then, lay the vinyl planks, aligning edges for a seamless finish.
Installing Trim And Molding
Trim and molding make floors look finished. Cut pieces to fit walls. Use a saw for straight cuts. Attach trim with nails. Hammer gently to avoid damage. Keep nails hidden for a clean look. Molding covers gaps. It helps hide small mistakes. Measure carefully for a good fit. Make sure corners match well. Use a miter saw for angled cuts. Secure molding with strong glue. Let the glue dry before walking near it.
Cleaning The Finished Floor
Keep your new floor looking nice. Sweep daily to remove dust and dirt. Use a soft broom to avoid scratches. Wipe spills quickly to prevent stains. Use a damp mop for deeper cleaning. Avoid too much water on the floor. Use gentle cleaners for stubborn spots. Avoid harsh chemicals that can damage floors. Check for any loose pieces. Fix them to keep the floor safe.
Maintenance Tips
Laying vinyl plank flooring on concrete starts with a clean surface. Ensure the concrete is dry and smooth. Use underlayment for better insulation and comfort. Align planks carefully, maintaining even spacing. Trim edges for a neat finish.
Regular Cleaning Routine
Vinyl floors need regular cleaning to stay fresh. Use a soft broom or vacuum to remove dust and dirt. Wet mop with warm water weekly. Add a few drops of mild soap if needed. Avoid harsh chemicals that can damage the floor. Dry it well to prevent water spots.
Avoiding Common Mistakes
Always check cleaning products before use. Some chemicals can harm vinyl planks. Don’t drag heavy furniture across the floor. This can cause scratches. Use furniture pads to protect it. Avoid letting water sit on the floor for too long. It can seep into seams and cause damage.

Frequently Asked Questions
How To Prepare Concrete Before Laying Vinyl Planks?
Ensure the concrete is clean, dry, and level. Remove any debris, dust, or oil stains. Fill in cracks and holes with a patching compound. Use a concrete sealer if moisture is a concern. A smooth surface ensures proper adhesive bonding and longevity of vinyl flooring.
Can Vinyl Planks Be Installed Directly On Concrete?
Yes, vinyl planks can be installed directly on concrete. Ensure the concrete is clean, dry, and level first. This provides a stable base, enhancing the durability and appearance of the flooring. Proper preparation helps avoid future issues like lifting or uneven surfaces.
What Tools Are Needed For Vinyl Plank Installation?
You’ll need a utility knife, measuring tape, and a straight edge. A vinyl plank cutter and adhesive are also essential. Use a rubber mallet for tight seams and a floor roller for adhesion. Proper tools ensure a smooth and efficient installation process.
How Do You Cut Vinyl Planks?
Use a utility knife or vinyl plank cutter for accurate cuts. Measure the area carefully before cutting. Score the plank and snap it along the line. Ensure cuts are precise to avoid gaps. Proper cutting ensures a seamless fit and professional appearance.
Conclusion
Laying vinyl plank flooring on concrete is a simple process. It transforms spaces while being durable and cost-effective. Start with a clean surface for the best results. Follow each step carefully. Measure and plan before cutting the planks. Use adhesive for a secure fit.
Place planks tightly together to avoid gaps. Remember to allow the floor to settle. This ensures long-lasting beauty and strength. With patience and preparation, your flooring project can be successful. Enjoy the new look and feel of your space. Perfect for homes and offices alike.
Happy flooring!


