To lay vinyl flooring, start by choosing the right type of vinyl—options include planks, tiles, or sheets. Prepare your space by ensuring the subfloor is clean, dry, and free of imperfections. Gather essential tools like a utility knife, measuring tape, and adhesive. Measure accurately, cutting the vinyl to fit your room. Next, install underlayment if needed, ensuring it covers the entire area. Lay the vinyl planks or tiles, ensuring seams are staggered for stability. Finally, trim edges for a polished look. With these basics covered, you'll uncover additional techniques and tips as you progress.
Choosing the Right Vinyl Flooring
When selecting the right vinyl flooring, what factors should you consider to guarantee it meets your needs? First, explore the various vinyl flooring types, such as luxury vinyl planks (LVP), vinyl tiles, and sheet vinyl. Each type offers unique benefits depending on your space and lifestyle. Next, assess the durability and wear layer thickness, as this impacts longevity and maintenance. Consider the color patterns too; you'll want something that complements your decor while also providing the aesthetics you desire. Whether you prefer a natural wood look or a bold geometric design, selecting the right pattern can enhance the overall ambiance. Finally, make sure you choose a product with appropriate slip resistance, especially in high-traffic or wet areas, to maintain safety and comfort.
Preparing Your Space
Before you start laying vinyl flooring, it's important to prepare your space properly to guarantee a smooth installation. Begin by thoroughly cleaning your floor to guarantee ideal adhesion. Remove any dust, debris, or old flooring materials. Next, take accurate space measurements to know how much vinyl you'll need.
| Step | Action | Notes |
|---|---|---|
| 1 | Clean the floor | Use a vacuum and mop |
| 2 | Measure your space | Measure length and width |
| 3 | Check for imperfections | Fill holes or cracks |
| 4 | Let it dry | Verify the floor is dry |
| 5 | Clear the area | Move furniture out of the way |
Following these steps sets the stage for a successful vinyl flooring project.
Tools and Materials Needed
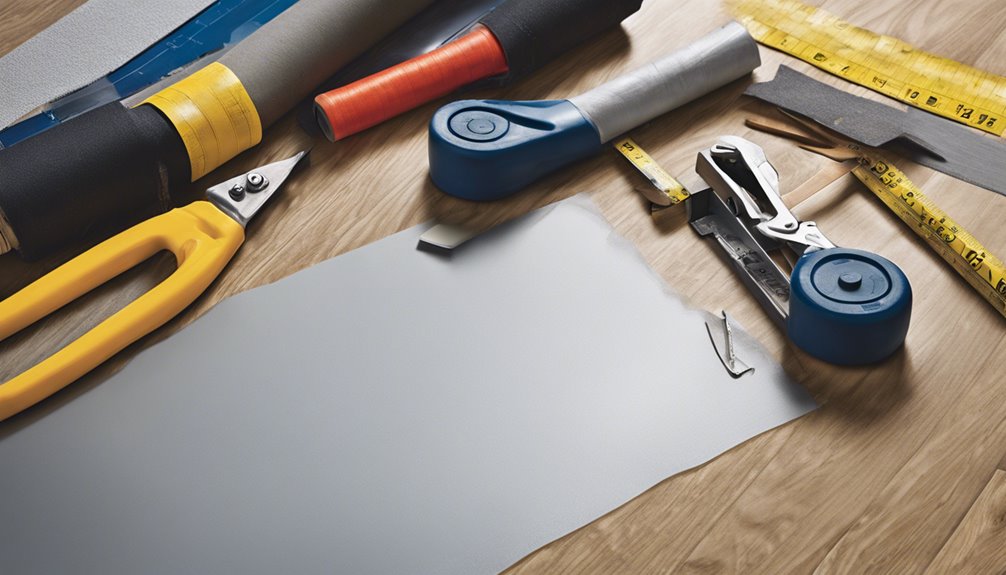
Before you start laying vinyl flooring, you'll need to gather essential tools and materials to guarantee a smooth installation. This includes a list of required items like adhesive, a utility knife, and a straight edge, along with necessary safety equipment to protect yourself during the process. Having everything prepared in advance will streamline your workflow and enhance the overall outcome.
Essential Tools Overview
Laying vinyl flooring requires a specific set of tools and materials to guarantee a smooth and successful installation. Understanding which tools you'll need is essential for effective installation techniques. Here's a quick overview of the essential tools you'll want to have on hand:
| Tool | Purpose |
|---|---|
| Utility Knife | Cutting vinyl sheets with precision |
| Measuring Tape | Ensuring accurate measurements |
| Straight Edge | Guiding cuts for clean edges |
| Trowel | Spreading adhesive evenly |
| Roller | Ensuring proper adhesion and smoothing |
These tools will empower you to execute your project with confidence. Having the right tools not only simplifies the process but also enhances the quality of your vinyl flooring installation.
Required Materials List
To achieve a successful vinyl flooring installation, you'll need a variety of materials in addition to your essential tools. Start with your chosen vinyl flooring types, whether it's sheet, tile, or luxury vinyl planks. You'll also require an underlayment, which provides cushioning and can enhance sound absorption. Don't forget adhesive or double-sided tape if you're using glue-down vinyl. A utility knife is vital for precise cuts, along with a straightedge for measuring. Additionally, a roller will guarantee proper adhesion. Finally, gather finishing materials like transition strips and baseboards to complete your project. Understanding these materials not only streamlines your installation process but also maximizes the installation benefits, guaranteeing a long-lasting and aesthetically pleasing result.
Safety Equipment Necessities
Safety should be your top priority when installing vinyl flooring. Begin by donning safety goggles to protect your eyes from any debris or dust that might arise during the cutting and handling of the flooring material. These goggles guarantee you can work freely without worrying about potential injuries. Next, wear work gloves to shield your hands from sharp edges and rough surfaces. They'll also enhance your grip, making it easier to maneuver heavy sheets or planks. Consider using knee pads if you'll be working on your knees for extended periods, reducing strain and discomfort. By equipping yourself with these essential safety items, you're not just protecting yourself; you're assuring a smooth, efficient installation process. Prioritize your safety, and work confidently.
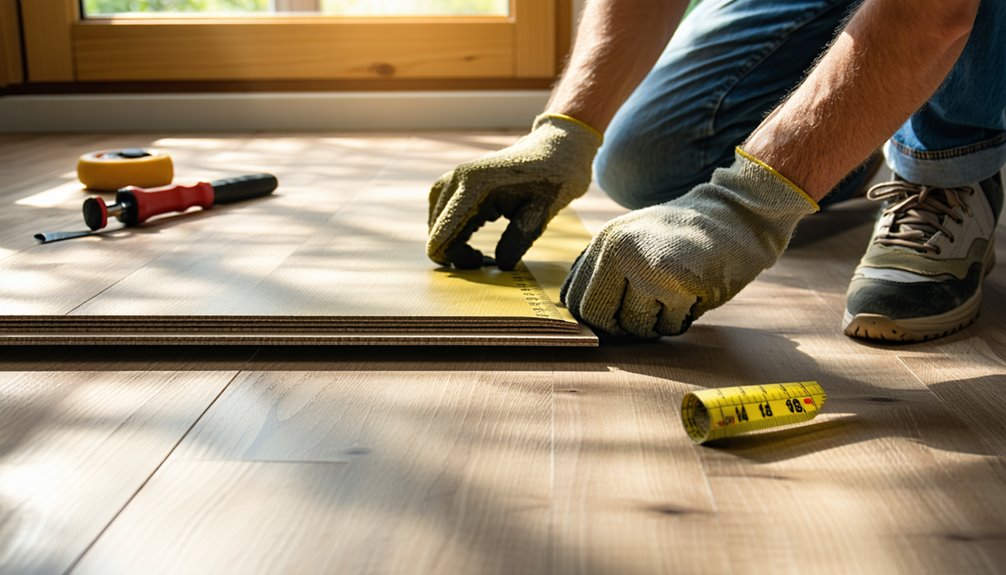
Measuring and Cutting Vinyl
Accurate measuring and cutting are essential steps in achieving a professional finish when installing vinyl flooring. Start by employing precise measuring techniques; use a tape measure and a straightedge to guarantee your measurements are both accurate and consistent. Always measure twice to avoid errors. When it comes to cutting, there are several cutting methods you can choose from, such as using a utility knife for straight cuts or a jigsaw for more intricate shapes. For best results, score the vinyl with the knife and then snap it along the line. Always work on a clean, flat surface to maintain accuracy. Remember, the better your measurements and cuts, the smoother your installation will be, allowing you to enjoy your new flooring freely.
Installing Underlayment
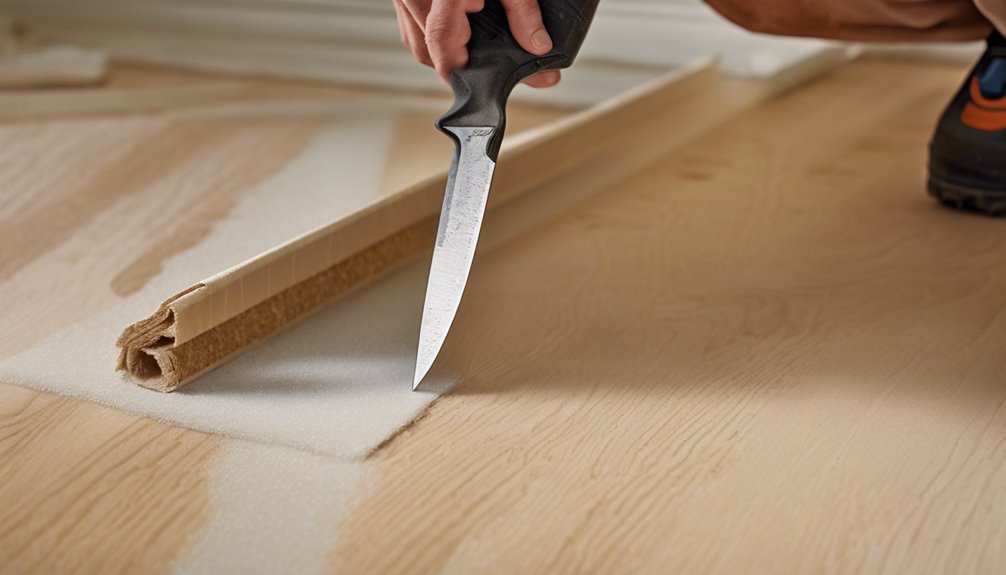
Before you start laying your vinyl flooring, installing underlayment is essential for achieving ideal performance and comfort. Choose the right underlayment types based on your flooring and subfloor conditions. Foam underlayment is great for sound absorption, while cork provides added insulation. If you're installing over concrete, a moisture barrier is vital to prevent mold and damage. Roll out the underlayment, ensuring it covers the entire area and overlaps at the seams for an effective moisture barrier. Secure it with tape to keep it in place. Trim any excess, but avoid cutting too close to the edges. This preparation sets the foundation for a smooth installation and enhances the durability and feel of your vinyl flooring.
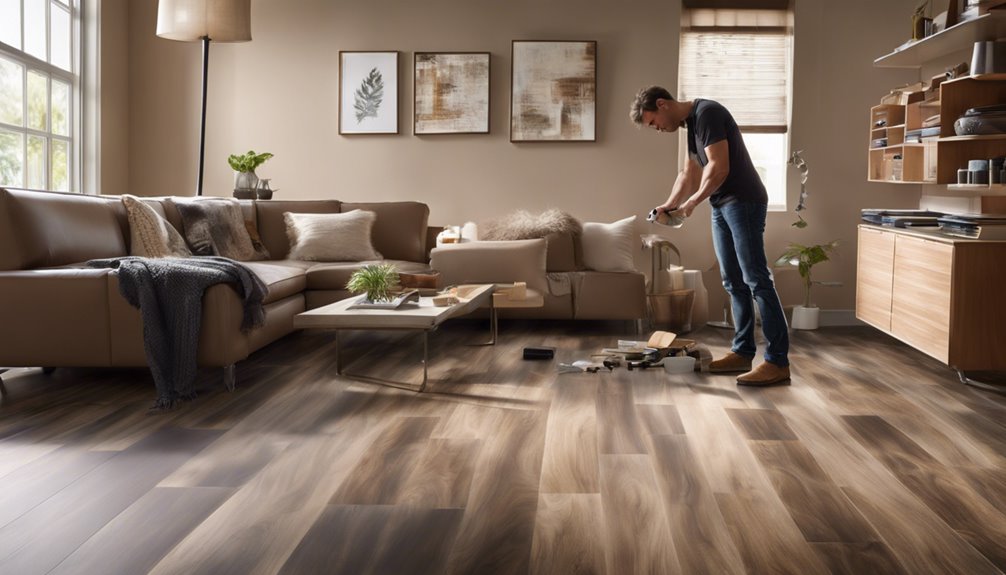
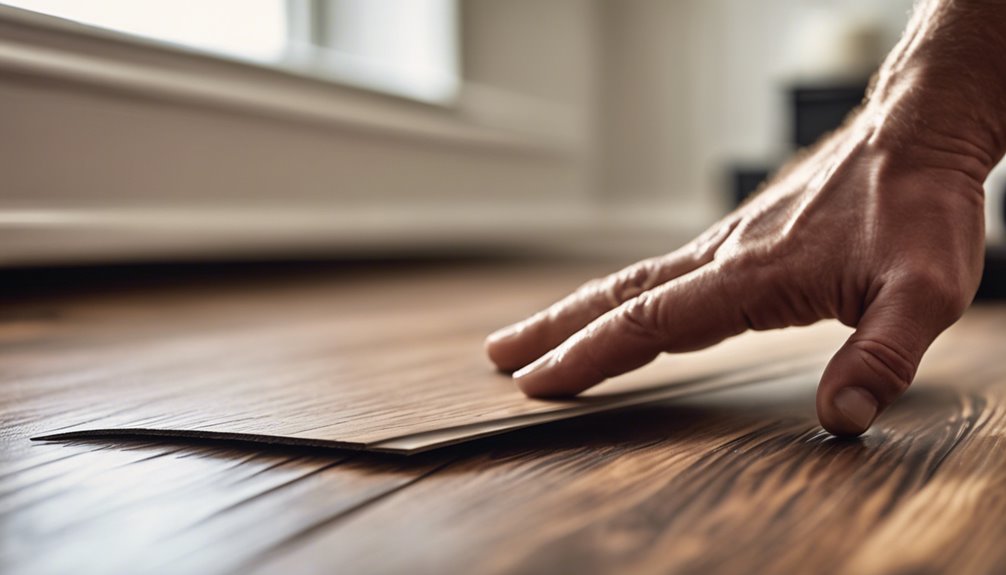
Laying the Vinyl Planks
With the underlayment securely in place, you're ready to start laying the vinyl planks. Begin by selecting your preferred vinyl plank types; options like rigid core or flexible planks can impact the overall look and feel. Choose an installation pattern that suits your space—straight, diagonal, or herringbone. For a straight pattern, align the first plank along the longest wall, leaving a small expansion gap. Continue laying planks end-to-end, ensuring they click together securely. If you opt for a diagonal pattern, use a measuring device to maintain consistent angles. Always stagger your seams by starting each new row with a plank cut to a different length. This approach enhances visual appeal and stability, ensuring a professional finish.
Securing the Vinyl Flooring
To secure your vinyl flooring, you'll need to choose the right method based on your installation type. You can opt for adhesive application techniques, use interlocking planks for a snug fit, or install connector strips for a seamless look between different surfaces. Each approach requires specific steps to guarantee durability and aesthetics, so let's break them down.
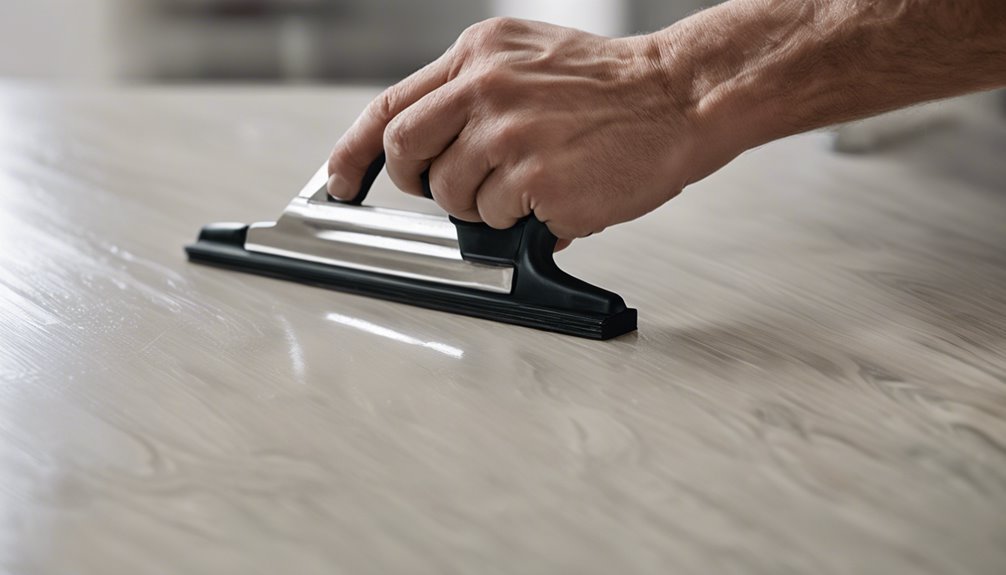
Adhesive Application Techniques
Although applying adhesive may seem straightforward, mastering the technique is essential for ensuring your vinyl flooring adheres properly and lasts over time. You'll want to choose the right adhesive type for your specific flooring. Common options include pressure-sensitive, wet-set, and peel-and-stick adhesives.
To apply the adhesive effectively, follow these techniques:
| Technique | Description |
|---|---|
| Notched Trowel | Use a notched trowel for even spread. |
| Roller Application | A roller helps distribute adhesive evenly. |
| Spot Bonding | Apply adhesive in spots for easy installation. |
Interlocking Plank Methods
While securing vinyl flooring with interlocking planks may seem simple, it requires precision to guarantee a tight fit and prevent gaps. Start by ensuring the subfloor is clean and level, as this is vital for proper plank alignment. As you lay your planks, engage the interlocking systems by angling one plank into another, then pressing down firmly. It's important to maintain consistent pressure to avoid any misalignment. If you encounter resistance, double-check the fit before proceeding. Continue this method row by row, ensuring each plank locks securely with the next. Regularly inspect your work for gaps or unevenness, adjusting as needed to achieve a seamless, professional finish. This careful approach will enhance the durability and appearance of your vinyl flooring.
Transition Strips Installation
After successfully laying the interlocking planks, securing the vinyl flooring with strips is the next step to guarantee a polished look and stability. You'll encounter various joining strip types, including T-molding, end caps, and reducers, each serving a unique purpose. Begin by measuring the areas where the strips will go, ensuring they align seamlessly with the planks. For joining strip placement, position the strips at doorways or where different flooring types meet. Use adhesive or nails to secure the strips firmly, allowing for slight movement of the vinyl beneath. This not only enhances the aesthetic appeal but also prevents potential damage from shifting. A well-installed joining strip will complete your flooring project beautifully.
Trimming and Finishing Edges
Once you've laid down your vinyl flooring, trimming and finishing the edges is essential for achieving a polished look. Start by selecting the right trim style that complements your space. For a seamless finish, consider edge sealing to protect against moisture and dirt. Use a utility knife to cut the vinyl neatly at the edges, ensuring a snug fit against walls or other surfaces.
Here's a quick reference table for trim styles:
| Trim Style | Description | Best Use |
|---|---|---|
| Quarter Round | Curved profile | Corners and baseboards |
| T-Molding | Flat with a T-shape | Doorways and connections |
| Reducer | Sloped edge | Level connections |
Finishing touches make a significant difference in your flooring's overall appearance.
Maintaining Your Vinyl Flooring
Maintaining your vinyl flooring is essential for preserving its appearance and extending its lifespan. Start by adopting effective cleaning techniques; use a soft broom or vacuum to remove dirt and debris daily. For deeper cleaning, a damp mop with a mild detergent works wonders—just avoid harsh chemicals that can damage the surface. Regularly inspect your flooring for scratches or dents and address them promptly to prevent further damage. Use area rugs in high-traffic zones for added protection, and consider felt pads under furniture legs to minimize wear. Finally, keep your vinyl flooring away from excessive moisture to guarantee longevity. By following these guidelines, you'll enjoy beautiful, durable vinyl flooring for years to come.
Frequently Asked Questions
Can I Install Vinyl Flooring Over Existing Carpet?
You might be tempted to install vinyl flooring over existing carpet, but there are significant installation challenges to take into account. Carpet isn't always compatible with vinyl; it can create an uneven surface, leading to potential issues with the vinyl's performance and lifespan. For a successful installation, it's best to remove the carpet to guarantee a solid, stable foundation. This will give you the freedom to enjoy your new flooring without the risk of complications down the line.
How Long Does Vinyl Flooring Last on Average?
Vinyl flooring typically has a lifespan of 10 to 20 years, depending on quality and maintenance. To maximize its longevity, you'll want to follow some maintenance tips. Regularly clean the surface by sweeping or vacuuming to prevent dirt buildup. Avoid harsh chemicals, as they can damage the finish. Also, use felt pads under furniture legs to minimize scratches. By taking these steps, you can guarantee your vinyl flooring lasts as long as possible.
Is Vinyl Flooring Waterproof or Water-Resistant?
Imagine a sturdy dam, standing strong against relentless waves—this symbolizes the resilience of vinyl flooring. It's not entirely waterproof, but it's designed with impressive water resistance. This means it offers moisture protection against spills and humidity, making it suitable for areas like kitchens and bathrooms. However, prolonged exposure to water can still lead to damage, so it's wise to wipe up spills promptly and maintain it properly for lasting durability.
Can I Use Vinyl Flooring in a Bathroom?
Yes, you can use vinyl flooring in a bathroom, and it offers several benefits. It's waterproof and resistant to moisture, making it an excellent choice for wet areas. When installing, make certain the subfloor is clean and dry to prevent mold growth. Use a high-quality adhesive for better durability. Remember to leave a small gap around the edges for expansion. With proper installation, you'll enjoy a stylish, functional bathroom that stands up to daily use.
How Can I Remove Old Vinyl Flooring?
To remove old vinyl flooring, you'll need to use effective removal techniques and appropriate flooring tools. Start by cutting the vinyl into manageable strips with a utility knife. Use a floor scraper to lift the edges and pull up the strips. For stubborn areas, a heat gun can help loosen the adhesive. Verify you've got safety gear on to protect yourself from debris. Once removed, clean the subfloor thoroughly before laying new flooring.


