To lay shower floor tile in three simple steps, start by thoroughly cleaning and leveling your shower floor to guarantee a stable, waterproof base. Next, mix and spread thinset evenly with a notched trowel, pressing tiles firmly into place while keeping them aligned and level. Finally, once the thinset cures, grout the joints carefully, wipe excess grout before it hardens, and seal the surface to protect against moisture. Follow these guidelines for a durable, professional finish, and explore the full process to master every detail.
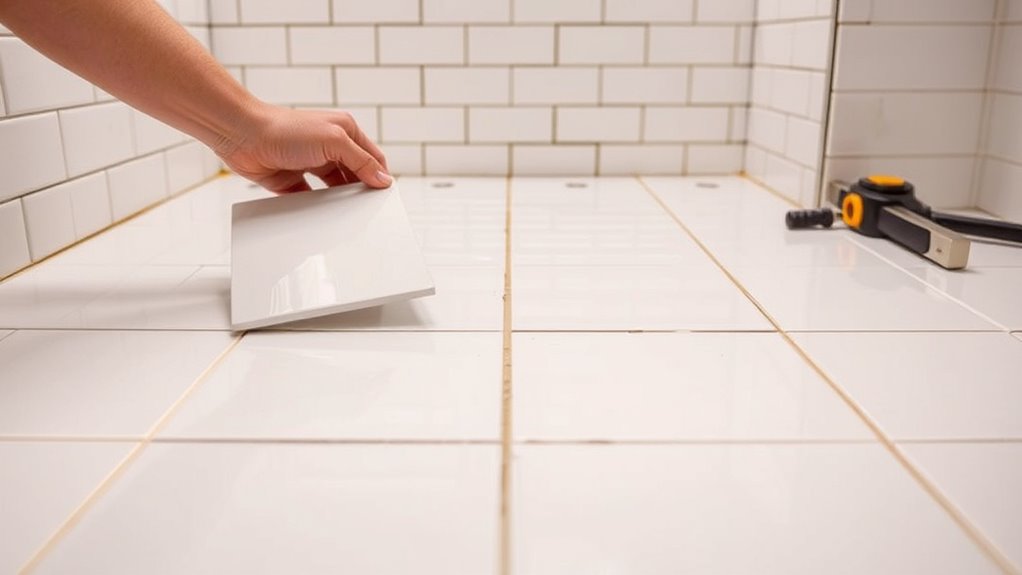
Preparing the Shower Floor Surface
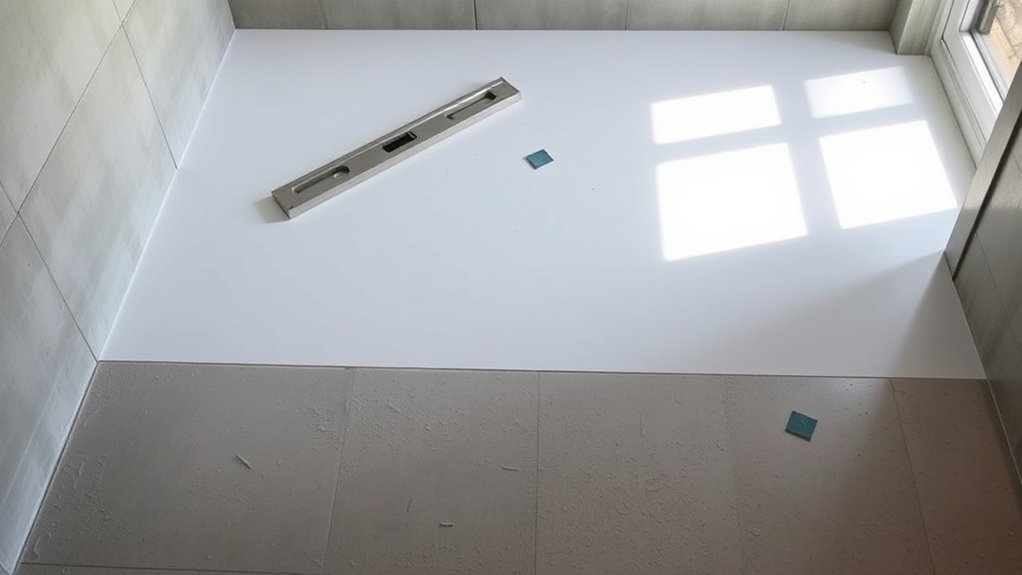
Before laying any tile, you need to verify the shower floor surface is clean, level, and structurally sound. Start by removing any debris, dust, or old adhesive to guarantee proper adhesion. Next, inspect the shower floor for cracks, holes, or uneven areas; repair these with a suitable patching compound. Use a level to check for flatness—any deviations greater than 1/8 inch over 12 inches require correction using a leveling compound. Confirm the substrate is waterproof and free from flexing to prevent tile damage. Proper surface preparation on the shower floor is essential to achieving a durable, waterproof tile installation that withstands daily use and maintains your freedom from costly repairs. Taking these precise steps sets a solid foundation for the tile application process.
Applying Thinset and Setting the Tiles
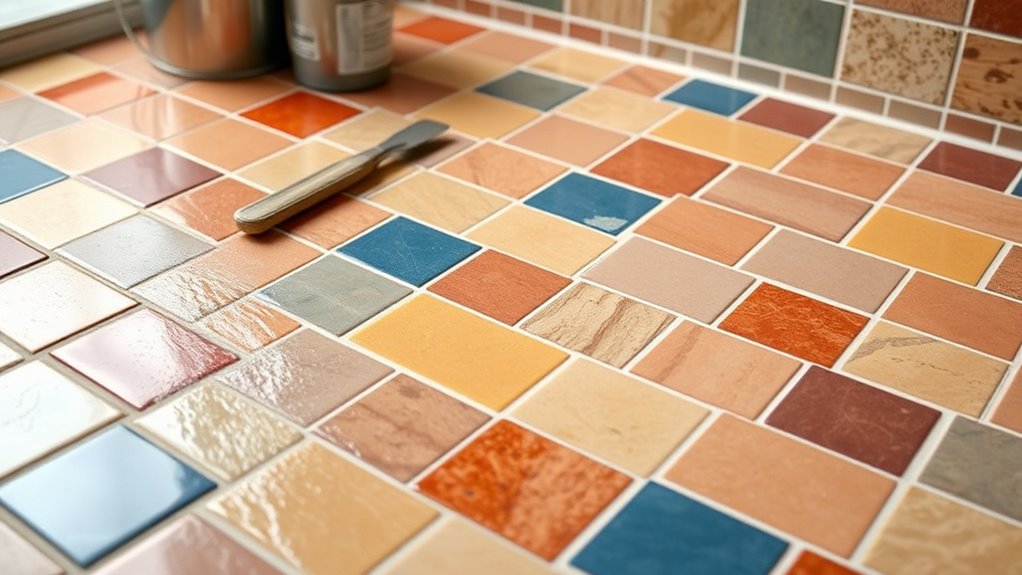
Begin by mixing the thinset mortar according to the manufacturer’s instructions until you achieve a smooth, peanut butter-like consistency. Use a notched trowel to spread thinset evenly over a manageable section of the shower floor, maintaining a consistent thickness for ideal adhesion. Apply thinset with deliberate, straight strokes to create uniform ridges, which improve bonding strength. Immediately press each tile firmly into the thinset, ensuring full contact without air pockets. Focus on precise tile alignment, using spacers to maintain even grout lines and a level surface. Regularly check alignment with a straightedge or level to prevent unevenness. Continue this process systematically, working in small areas to prevent thinset from drying prematurely, thereby guaranteeing a durable, professional tile installation that frees you from future repairs.
Grouting and Sealing the Shower Floor
Once the thinset has fully cured, you’ll need to carefully apply grout to fill the joints between the tiles, ensuring a watertight seal and a smooth finish. Choose grout types based on your tile material and shower use—sanded grout for wider joints and unsanded for narrow spaces. Mix the grout to a consistent, workable texture and use a rubber float to press it diagonally into the joints, removing excess promptly. After the grout sets but before it fully hardens, clean the tile surface with a damp sponge to avoid haze. Once cured, apply an appropriate sealing method to both grout and tile edges. This step protects against moisture penetration and staining, preserving your shower floor’s durability and appearance while allowing you the freedom to enjoy a worry-free space.


