You’ll need to gather tools like a utility knife, spacers, and a straight edge first. Then, prepare your subfloor by cleaning and leveling it. Acclimate your vinyl planks for 48–72 hours to room temperature. Next, plan the layout carefully and install any underlayment if required. Begin laying planks along the longest wall, trimming edges as needed, then finish by cleaning and inspecting for gaps or defects. Keep going to discover tips for a flawless installation.
Gather Your Tools and Materials
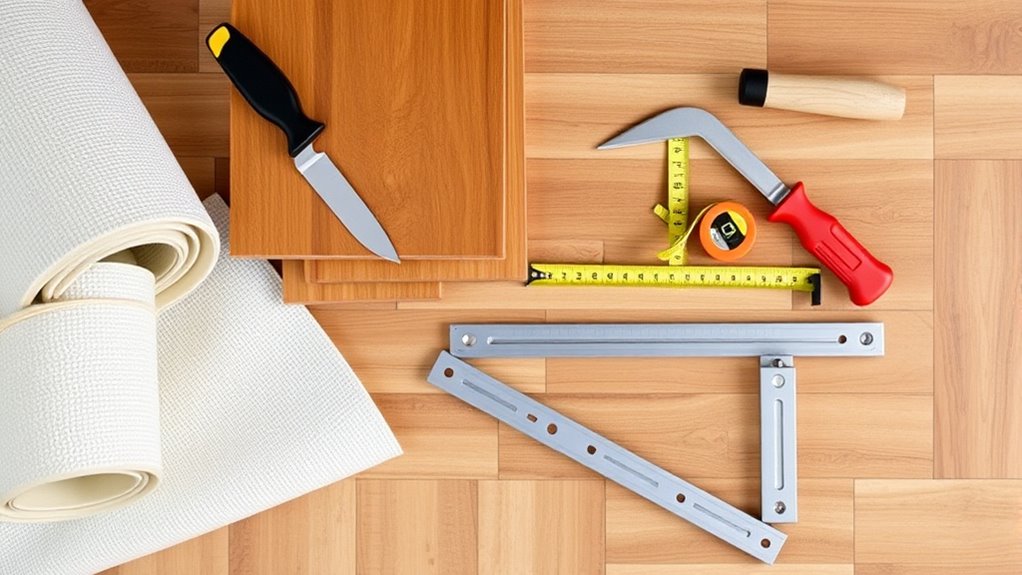
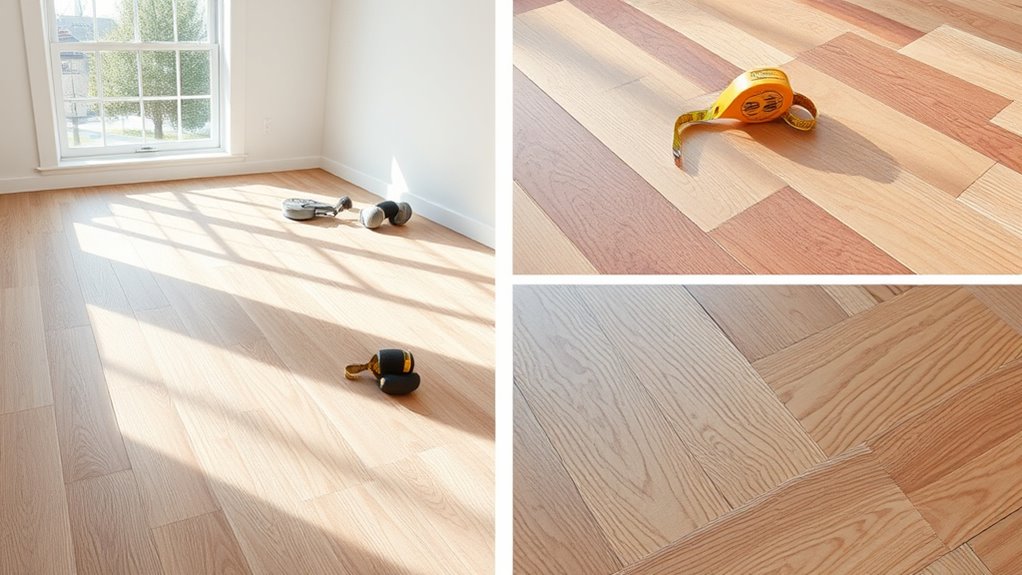
Before you begin laying luxury vinyl flooring, make sure you’ve gathered all the necessary tools and materials to guarantee a smooth installation process. Start with tool selection: a utility knife with sharp blades, a straight edge or T-square for precise cuts, spacers to maintain expansion gaps, a measuring tape, and a rubber mallet to gently tap planks into place. For material types, confirm you have the correct luxury vinyl planks suited for your room’s moisture levels—either rigid core or flexible sheets. Don’t forget underlayment if required, as it enhances comfort and soundproofing. Having everything ready not only saves time but also gives you the freedom to work confidently, avoiding interruptions once you start your flooring project.
Prepare the Subfloor
With your tools and materials ready, the next step is to prepare the subfloor to guarantee a level, clean surface for your luxury vinyl flooring. Start by identifying the subfloor type—whether it’s concrete, plywood, or existing vinyl—since each requires specific treatment. Check moisture levels carefully; excessive moisture can damage your flooring, so use a moisture meter to confirm it’s within acceptable limits. Remove any debris, nails, or staples, and repair holes or cracks with appropriate filler. Sand down high spots and fill low areas to make certain a flat surface, as unevenness will affect installation quality. Finally, clean the subfloor thoroughly to remove dust and dirt, allowing your luxury vinyl planks to adhere properly and last longer, giving you the freedom to enjoy flawless flooring.
Acclimate the Luxury Vinyl Planks
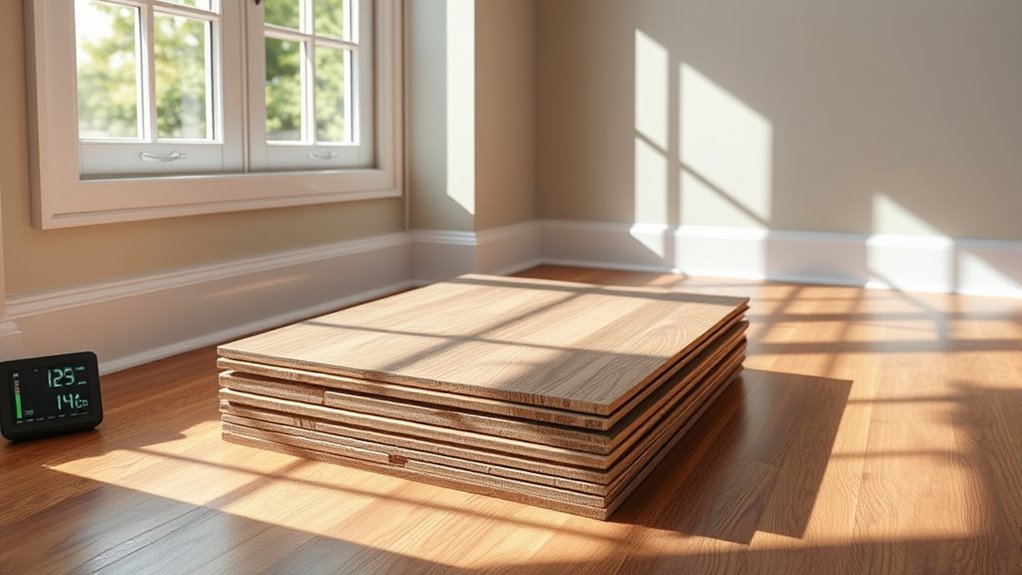
Before you start installing, make sure to acclimate your luxury vinyl planks by storing them in the room where they’ll be installed. Keep the temperature steady between 65°F and 85°F, and allow the planks to sit for at least 48 hours. Proper storage conditions during this time prevent expansion or contraction issues after installation.
Ideal Room Temperature
Although it might seem like a minor step, acclimating your luxury vinyl planks to the room temperature is essential for a successful installation. Maintaining the right environment guarantees the material adjusts properly, preventing issues like warping or gaps later on. For maximum flooring benefits, keep the room temperature steady:
- Between 65°F and 85°F (18°C to 29°C)
- Avoid sudden temperature fluctuations during and after installation
- Maintain proper humidity levels alongside temperature control
This controlled environment allows your vinyl planks to expand or contract naturally, aligning with their final placement conditions. By managing the ideal room temperature, you’re setting the foundation for a durable, attractive floor that stands the test of time. Taking this step seriously gives you freedom from future repairs and enhances your flooring’s performance.
Time Required for Acclimation
Maintaining the right room temperature sets the stage for proper acclimation of your luxury vinyl planks. To guarantee peak performance and prevent expansion or contraction, you’ll need to let the planks adjust to your space’s conditions. The recommended acclimation duration is typically 48 to 72 hours. During this time, your planks will absorb the ambient temperature and humidity levels, which is vital for a stable installation. Keep the planks in the room where they’ll be installed, lying flat and unopened. Avoid exposing them to drastic changes in temperature or humidity during acclimation. By respecting this timeframe, you allow the materials to settle naturally, giving you the freedom to install your flooring confidently without risking future warping or gaps.
Proper Storage Conditions
Since proper storage directly impacts the acclimation process, you should store your luxury vinyl planks flat in the installation room for at least 48 to 72 hours. This allows the planks to adjust to the room’s storage temperature and humidity levels, preventing future warping or gaps.
Keep these points in mind:
- Maintain a consistent storage temperature between 60°F and 80°F to guarantee material stability.
- Control humidity levels around 40-60% to avoid moisture absorption or shrinkage.
- Avoid stacking planks vertically or in damp areas to prevent damage and uneven acclimation.
Plan Your Layout
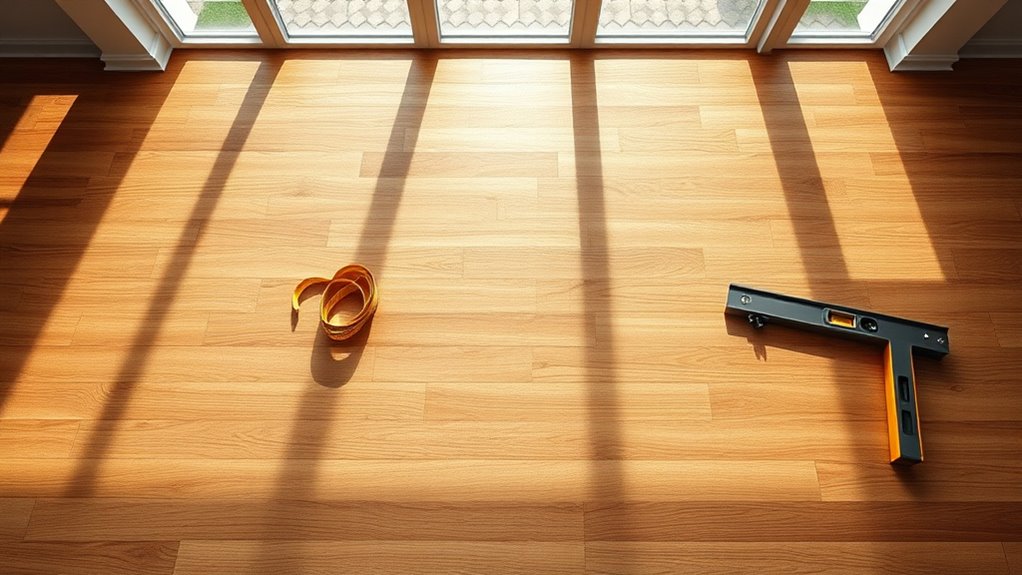
Before you start laying your luxury vinyl flooring, take time to plan your layout carefully. Effective layout planning guarantees a smooth installation and a visually appealing result. Begin by measuring the room precisely, noting doorways and obstacles. Consider design considerations such as plank direction, which can enhance room length or width visually. Decide if you want a straight, diagonal, or staggered pattern—each affects the room’s feel differently. Plan for expansion gaps as specified by the manufacturer. Avoid narrow, awkward cuts near walls by adjusting your starting point, giving yourself freedom with plank placement. Sketch your layout on paper or use digital tools to visualize the final look. Thoughtful layout planning saves time and materials and guarantees your luxury vinyl flooring complements your space flawlessly.
Install the Underlayment
One essential step in laying luxury vinyl flooring is installing the underlayment correctly. This layer provides cushioning, sound absorption, and moisture protection, ensuring your floor lasts. Start by selecting the right underlayment types based on your subfloor and room conditions. If moisture is a concern, opt for an underlayment with a built-in moisture barrier or add a separate one.
To install it properly:
- Roll out the underlayment smoothly, avoiding wrinkles or gaps.
- Trim edges to fit the room precisely, leaving no overlaps.
- Tape seams securely to maintain a continuous moisture barrier.
Lay the Luxury Vinyl Flooring
Begin by planning your layout carefully to guarantee a balanced appearance and minimize waste. Start laying your luxury vinyl flooring from the longest, straightest wall, working your way across the room. Use spacers to maintain an expansion gap around the perimeter, allowing the flooring to expand and contract freely. Align each plank tightly with the previous one, clicking or gluing them as per the product instructions. Cut pieces precisely to fit edges and corners, ensuring a seamless look. The flooring benefits include durability, water resistance, and easy maintenance, making this step essential for long-term satisfaction. Keep your work area clean and measure twice before cutting to maintain accuracy. By following these exact steps, you’ll enjoy both the freedom and aesthetic appeal luxury vinyl offers.
Finish and Clean Up
Once the flooring is in place, carefully remove the spacers to avoid disturbing the edges. Next, thoroughly clean the surface to eliminate any dust or debris that could affect the finish. Finally, inspect the entire floor for any imperfections or gaps that need addressing before you consider the job complete.
Remove Spacers Carefully
Carefully pull out the spacers placed along the edges of your luxury vinyl flooring to confirm an even expansion gap remains. Proper spacer removal techniques prevent damage and guarantee your floor has room to expand freely.
Follow these floor installation tips for a smooth spacer removal process:
- Gently wiggle each spacer side to loosen it without scratching the flooring.
- Use needle-nose pliers for tight spots to maintain control and avoid floor marks.
- Remove spacers one section at a time, checking the gap consistency as you go.
Clean Surface Thoroughly
Although the spacers have been removed, you’ll still need to thoroughly clean the surface to eliminate dust, debris, and adhesive residue that could affect the finish. Proper surface preparation is essential for a flawless final look. Use recommended cleaning products designed for vinyl flooring to avoid damage. Wipe the area with a damp mop or cloth, guaranteeing no residue remains.
| Step | Action |
|---|---|
| 1 | Sweep or vacuum debris |
| 2 | Apply suitable cleaning product |
| 3 | Scrub stubborn adhesive spots |
| 4 | Rinse with clean water |
| 5 | Dry surface completely |
This precise cleaning routine guarantees your luxury vinyl flooring stays pristine and ready for use, giving you the freedom to enjoy your space without worries.
Inspect for Imperfections
Before finalizing your luxury vinyl flooring installation, you’ll want to inspect every plank for imperfections such as scratches, gaps, or uneven edges. This step guarantees a flawless finish and prevents future issues. Conduct a thorough surface assessment by carefully scanning each plank under good lighting. For effective imperfection detection, focus on:
- Scrutinizing edges for gaps or misalignments that could cause instability.
- Checking the surface for scratches or dents that may affect aesthetics.
- Confirming that all planks lay flat without unevenness or warping.
Address any detected flaws immediately—replace damaged planks or adjust alignment as needed. This precise inspection assures your flooring not only looks pristine but also lasts longer, giving you the freedom to enjoy a seamless, durable floor with confidence.


