Imagine walking into a room and feeling the warmth and elegance of hardwood flooring beneath your feet. It’s a touch of luxury that can transform any space in your home.
Whether you’re renovating or building from scratch, learning how to lay hardwood flooring can be a rewarding project that enhances both the look and value of your property. You might think that installing hardwood is complicated, but with the right guidance and tools, you can do it yourself.
This article will break down the process into simple, manageable steps, making it easy for you to tackle the project with confidence. So, if you’re ready to roll up your sleeves and bring a touch of sophistication to your home, keep reading. By the end of this guide, you’ll have all the knowledge you need to lay hardwood flooring like a pro, ensuring a beautiful finish that you’ll admire for years to come.
Choosing The Right Hardwood
Hardwood has many types. Oak, maple, and cherry are popular choices. Each has unique features. Oak is strong. Maple is smooth. Cherry is rich in color. Choose based on room style.
Grain patterns affect the look. Fine grain is subtle. Bold grain stands out. Colors vary too. Light woods brighten rooms. Dark woods add warmth. Choose what fits your taste.
Sustainability matters. Look for eco-friendly options. Certified woods are a good choice. They come from responsible forests. This helps the planet. Check for labels before buying.
Gathering Essential Tools
Saw is needed to cut the wood pieces. A miter saw is useful for straight cuts. A jigsaw can make curved cuts. Measuring tape helps to measure wood lengths. Pencil is used to mark the wood.
Hammer and nails hold the wood pieces in place. Flooring nailer makes the job easier. Pry bar is used to adjust wood pieces. Tapping block helps to fit pieces snugly.
Safety goggles protect your eyes. Gloves keep your hands safe. Dust mask is important when cutting wood. Knee pads are helpful for long hours on the floor.
Preparing The Subfloor
Start by removing all dirt and debris from the surface. Vacuum the area to get rid of dust. Use a damp mop for sticky spots. Ensure the floor is dry before proceeding. Clean surfaces help the wood stick better. Avoid any cleaning liquids that leave residues. These may affect the wood glue.
Check the floor with a level tool. Mark uneven spots with chalk. Use a floor leveling compound to fix dips. Sanding can help smooth high areas. Ensure the floor is flat. This prevents wood from bending. A flat surface is key for a sturdy floor.
Place a moisture barrier on the subfloor. It protects wood from water damage. Use plastic or special paper. Tape the edges firmly. Ensure no gaps are left. Water can cause wood to warp. A good barrier keeps your floor safe.
Acclimating Your Hardwood
Hardwood needs to get used to your home. This is called acclimation. It helps the wood adjust to temperature and moisture. Without acclimation, the wood might warp or shrink. This can cause gaps or bumps. Always make sure the wood is flat and straight. Let the wood sit for at least 48 hours. The room should be between 60-80°F. Keep humidity between 30-50%. This will help the wood stay strong.
The right environment is key for wood. Make sure the room is stable. Avoid sudden changes in heat or cold. Keep doors and windows closed. This keeps the air steady. Don’t stack the wood too high. Air should move around the wood. This helps it acclimate evenly.
Layout Planning
Pick a corner to start laying the flooring. This spot is usually in the room’s longest wall. It helps to keep the boards straight. Measure carefully to avoid mistakes. Use a chalk line for guidance. This will help keep the rows even. Double-check the measurements before cutting any boards.
Lay the boards parallel to the longest wall. This makes the room look bigger. Avoid short boards at the ends. They can make the floor look uneven. Use longer boards to start and end rows. This gives a cleaner look. Always leave a gap near the walls. Wood expands with time.
Rooms are not always perfect squares. Some have nooks or angles. Use a template for tricky areas. Cut boards to fit these spaces. Measure twice to be sure. This avoids wasting wood. Keep all cuts clean and straight. This gives a neat finish. Use special tools for better precision.
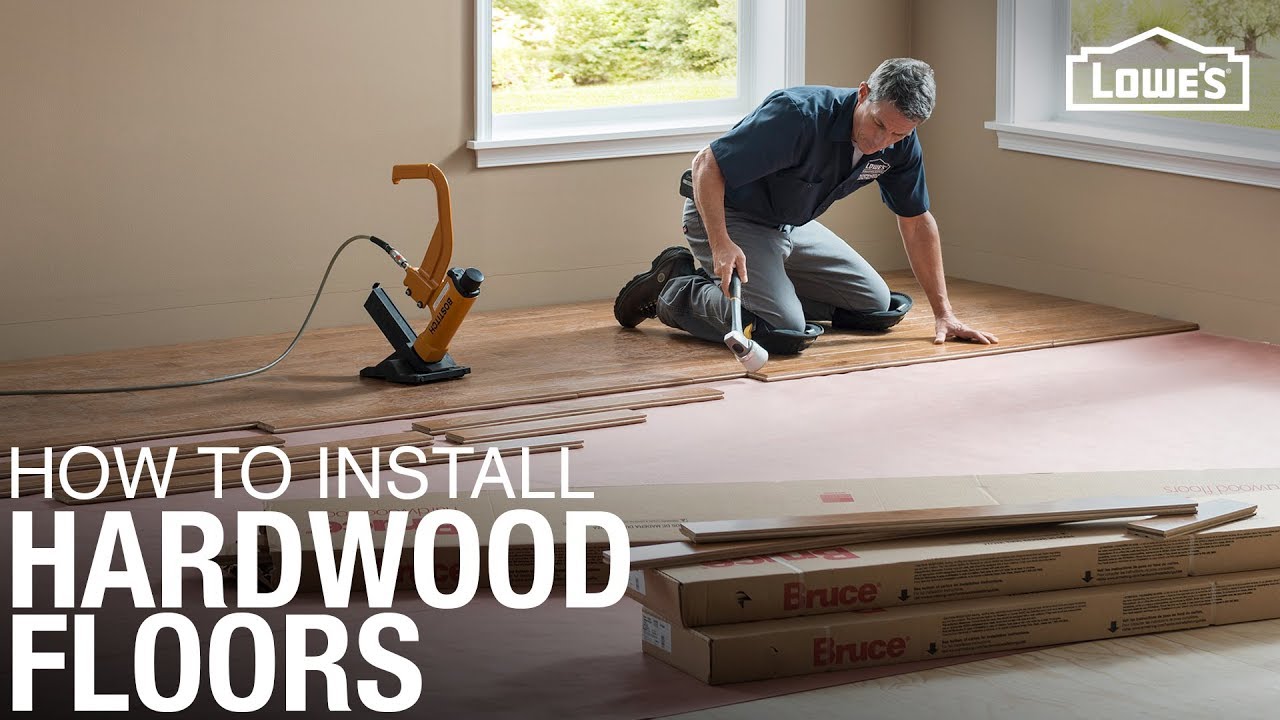
Nailing Vs. Gluing
Nailing is a strong method for hardwood floors. It holds the wood tight. This method is fast and durable. But, it can be noisy. You might hear squeaks later. Nails might damage the wood if not careful. This method is best for thick wood. Nailing is not good for thin floors. You will need special tools for nailing. It’s important to be careful.
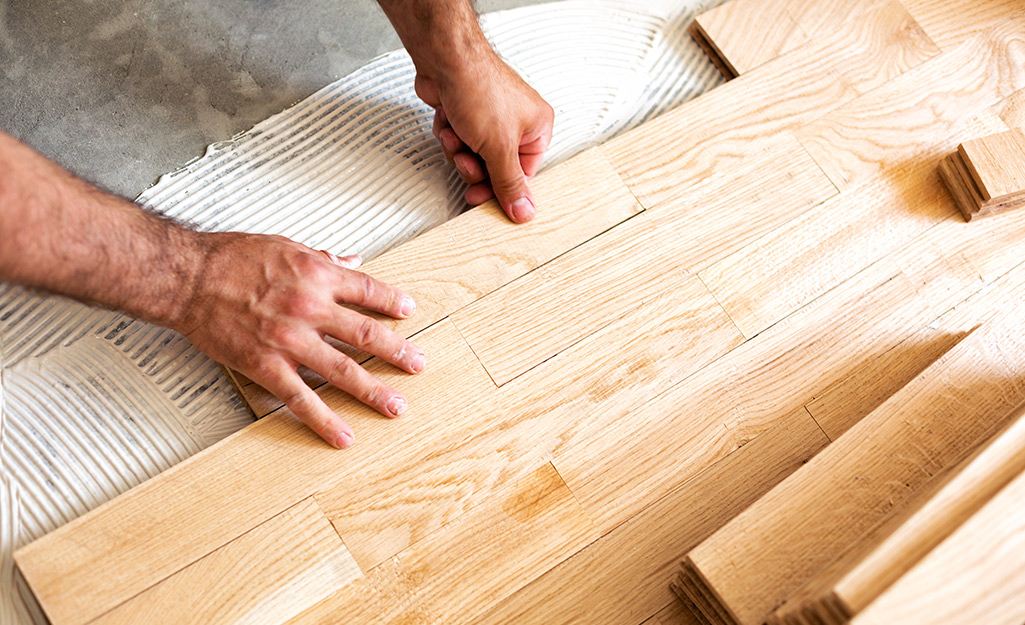
Gluing gives a smooth finish. It’s quiet and clean. This method works well for thin floors. Glue can be expensive. It’s also harder to remove if needed. It’s not good for all wood types. You need to wait for glue to dry. It takes time and patience. Glue might not hold in wet areas. Always check the wood type first.
Use nailing for thick and solid wood. It’s strong and lasts long. Choose gluing for thin floors. This method is neat and quiet. Check your wood type and room needs. Each method has its own uses. Make sure to pick the right one.
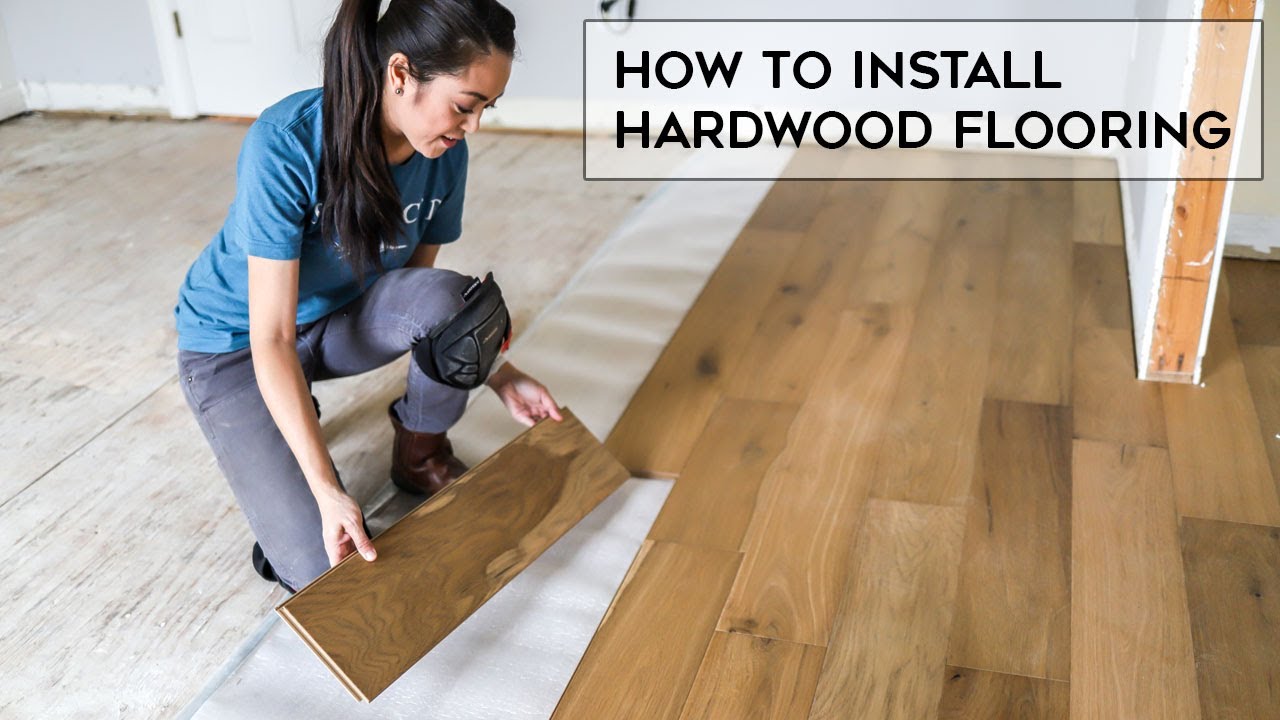
Installing The Hardwood
Start by placing the first board along the longest wall. Ensure it is straight and aligned. Use spacers to create a gap from the wall. This gap allows the wood to expand. Secure the board with nails or glue. This first row is very important. It sets the path for the rest.
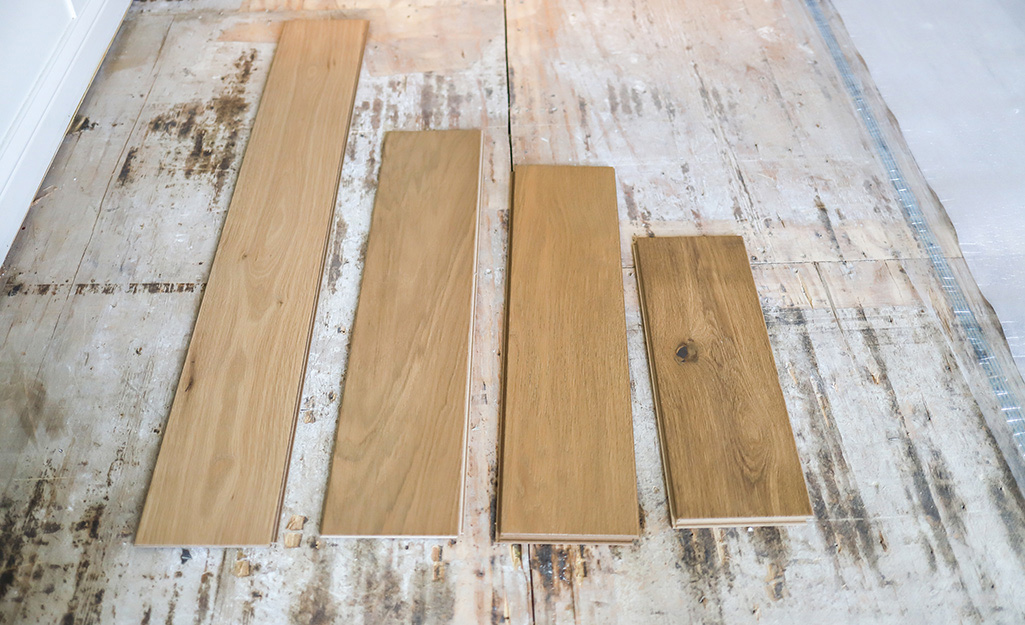
Ensure joints do not line up. This makes the floor strong. Cut boards to different lengths. Staggering joints adds beauty and durability. It stops the floor from buckling. Use a measuring tape to plan the layout. Different lengths make the floor look natural.
Obstacles like vents or pipes can be tricky. Measure and mark the board where cuts are needed. Use a saw to cut out sections. Fit the board around the obstacle. Ensure it fits snugly. Patience is key. Double-check measurements to avoid mistakes.
Finishing Touches
Wood floors need smooth surfaces. Sanding removes bumps and rough spots. Use a sanding machine for best results. After sanding, apply a sealant. It protects the wood from damage. Sealant keeps the floor shiny and new. Choose a sealant with good reviews. Let it dry completely before walking on it.
Baseboards cover gaps between walls and floors. They make rooms look tidy. Measure the length of each wall. Cut baseboards to fit the walls. Attach them securely with nails or glue. Baseboards can be painted to match your room. This adds a finished look to your floor.
Regular cleaning keeps floors looking nice. Sweep floors to remove dust and dirt. Use a damp mop for deeper cleaning. Avoid water puddles on wood. They can damage the finish. Check the sealant every year. Reapply if it looks worn. These tips keep your floor beautiful.
Frequently Asked Questions
How Do I Prepare My Floor For Hardwood?
Start by cleaning the subfloor thoroughly, removing any debris or dust. Ensure the surface is level and dry. Use a moisture barrier if needed to prevent moisture damage. Acclimate the hardwood planks in the room for at least 48 hours to adjust to humidity levels.
What Tools Do I Need To Lay Hardwood?
You’ll need a tape measure, chalk line, saw, hammer, and a pneumatic flooring nailer. A pry bar and spacers are also essential for proper alignment. Safety gear, like gloves and goggles, is crucial. A rubber mallet can help in positioning the planks securely.
How Long Does It Take To Install Hardwood?
The time depends on room size and experience level. A professional might complete a standard room in one to two days. DIY installations could take longer. Proper preparation and planning can streamline the process and ensure a successful installation.
Can I Install Hardwood Over Concrete?
Yes, but additional steps are needed. Use a moisture barrier to prevent damage. Install a plywood subfloor for stability. Alternatively, consider engineered hardwood, which is more suitable for concrete surfaces. Ensure the concrete is level and dry before starting.
Conclusion
Laying hardwood flooring transforms any space beautifully. Follow the steps carefully. Measure accurately to ensure a perfect fit. Prepare your subfloor properly. Choose high-quality materials for lasting results. Install planks methodically, starting from one corner. Secure them firmly for stability.
Use finishing touches like baseboards for a polished look. Maintain your floor regularly. Cleaning and care will prolong its life. Enjoy your new hardwood floors. They add warmth and elegance to your home. Feel proud of your handiwork. A rewarding project completed.
Simple steps lead to stunning results. Try it yourself and see the difference.


