Are you ready to transform your home with a touch of elegance? Laying engineered hardwood flooring is easier than you might think, and it can bring a fresh, sophisticated look to any room.
Imagine walking across a floor that feels sturdy and looks stunning, giving your space a timeless appeal. You don’t need to be a professional to achieve this; with the right guidance, you can do it yourself. You’ll discover simple steps and expert tips to help you lay engineered hardwood flooring like a pro.
Get ready to upgrade your home with a project that’s both rewarding and easy to tackle! Keep reading to find out how you can enhance your living space today.
Preparation Steps
Begin with a list of needed materials. Engineered hardwood is the first item. Include underlayment, adhesive, and a saw. Add measuring tape and safety gear. Don’t forget nails and a hammer. Check you have enough of everything. It’s better to have more than less.
Measure the room with a measuring tape. Write down the length and width. Calculate the total square footage. Make sure to add extra for mistakes. Always double-check your measurements. This helps avoid errors later.
Allow the flooring to acclimatize. Leave it in the room for 48 hours. This helps it adjust to temperature and humidity. It prevents future warping or damage. Keep the room at a stable temperature during this time.
Subfloor Inspection
Checking for Levelness is important before laying your flooring. Use a level tool to check the subfloor. It should be flat. If the floor is not level, the wood may not fit right. Gaps can appear. This can cause problems later. Fix any uneven areas now. Sand down high spots. Fill low spots with a leveling compound.
Cleaning and Repairing is the next step. Remove all dirt and dust. Use a broom or vacuum. Check for damage on the subfloor. Look for cracks or holes. These need fixing. Patch small holes with wood filler. Replace damaged sections. A clean and smooth subfloor helps your flooring last longer. It keeps your new floor looking nice.
Installation Techniques
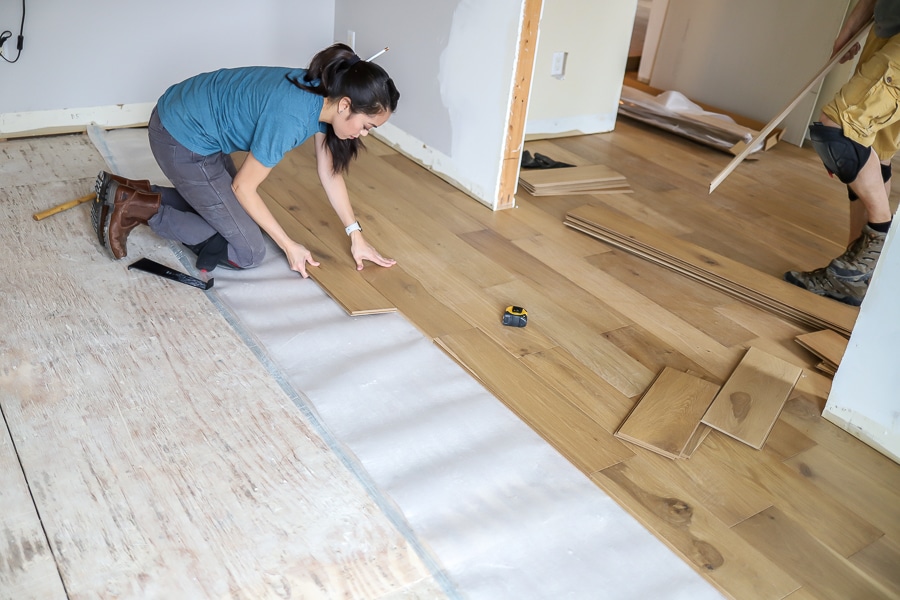
The floating method is popular. Boards are not glued or nailed. They rest on the floor. This technique is easy. Good for beginners. Expansion space is important. Leave a small gap. It helps with movement. Use spacers for this.
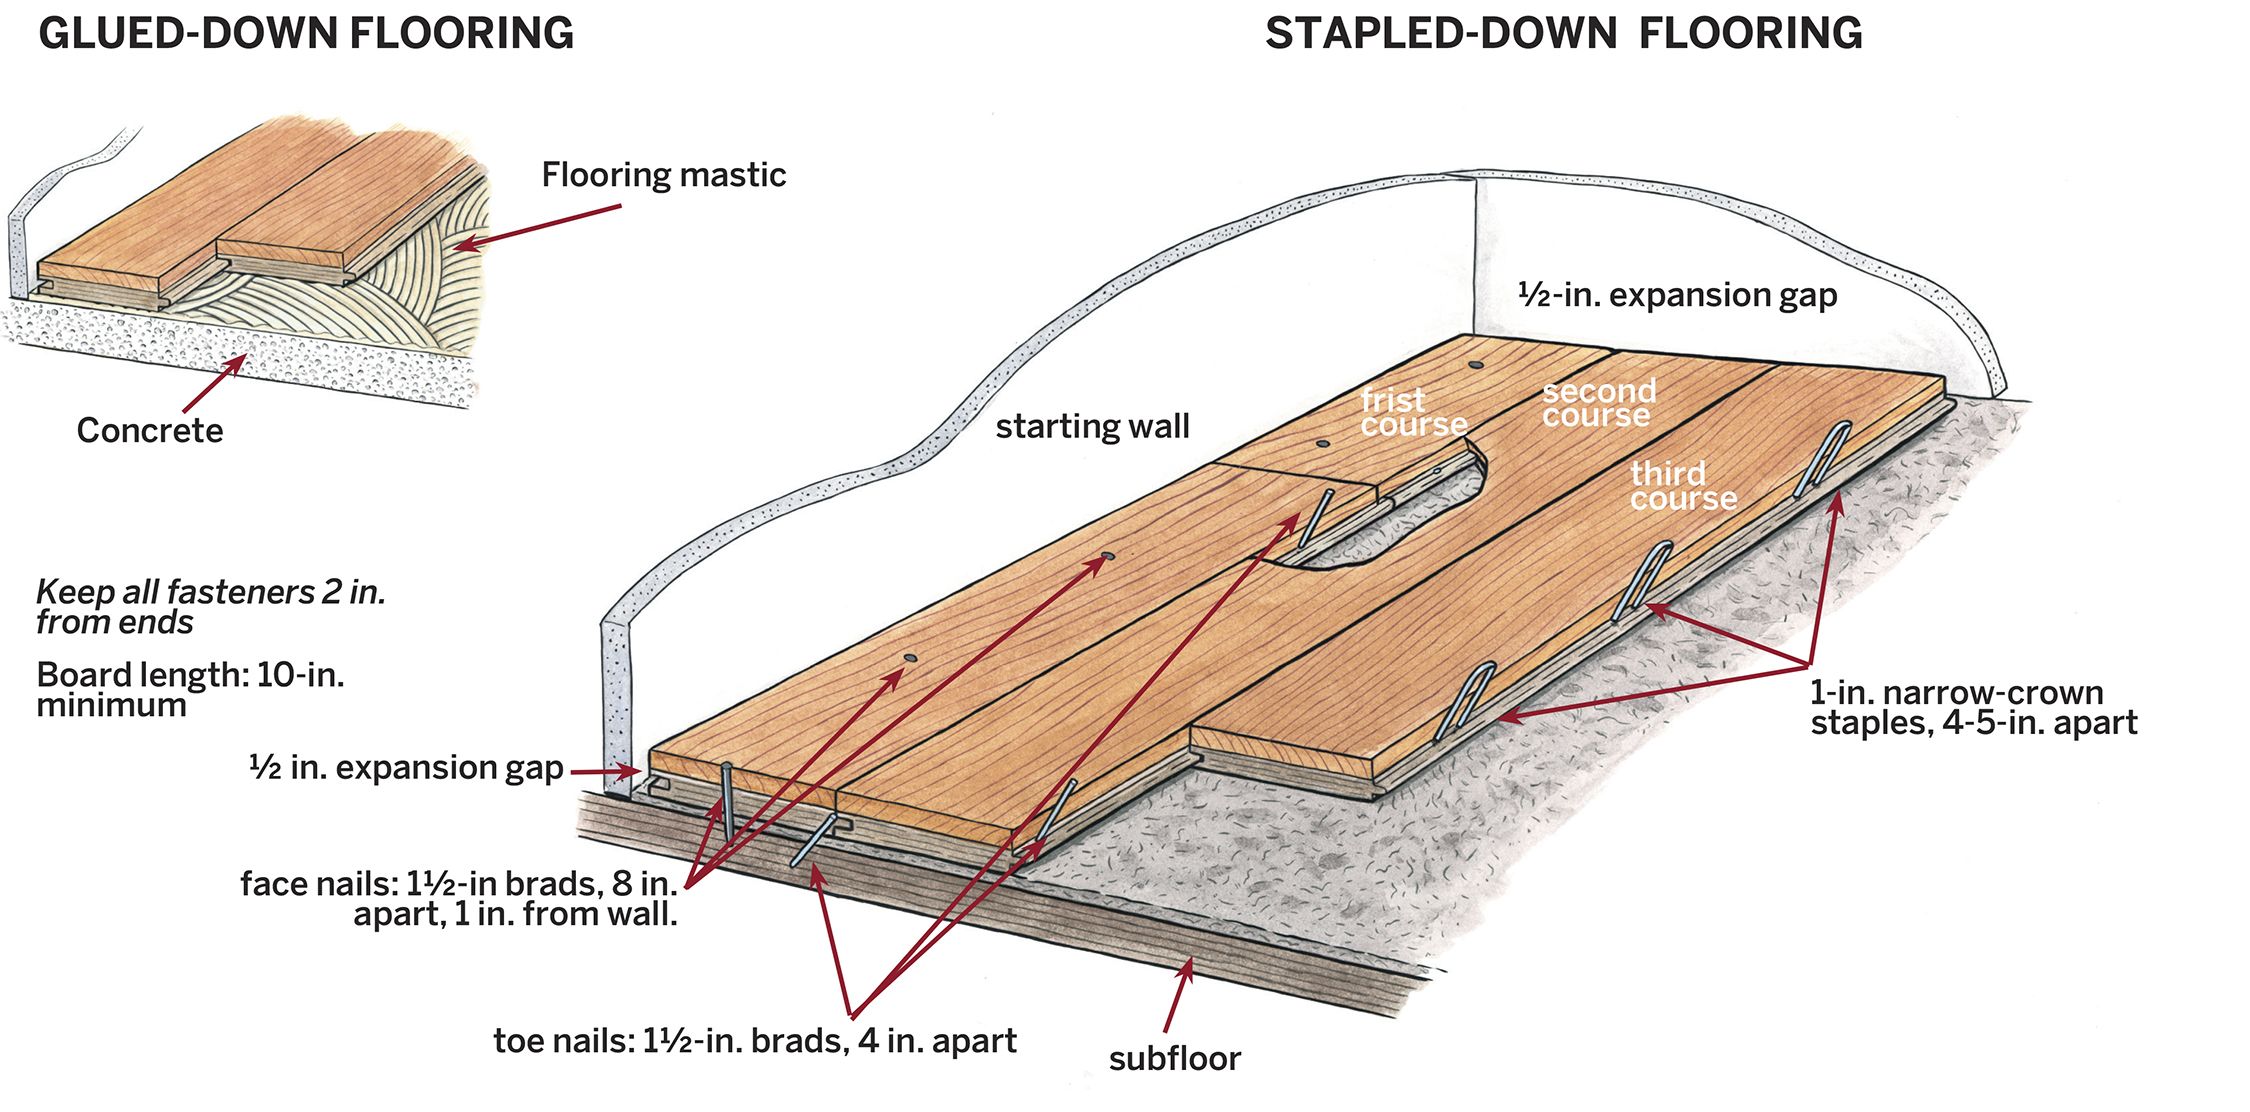
Glue the boards directly to the floor. This makes them stable. No movement. Use special glue for wood. Spread it evenly. Use a trowel for this. Press the boards firmly onto the glue. Be careful. Make sure they are straight.
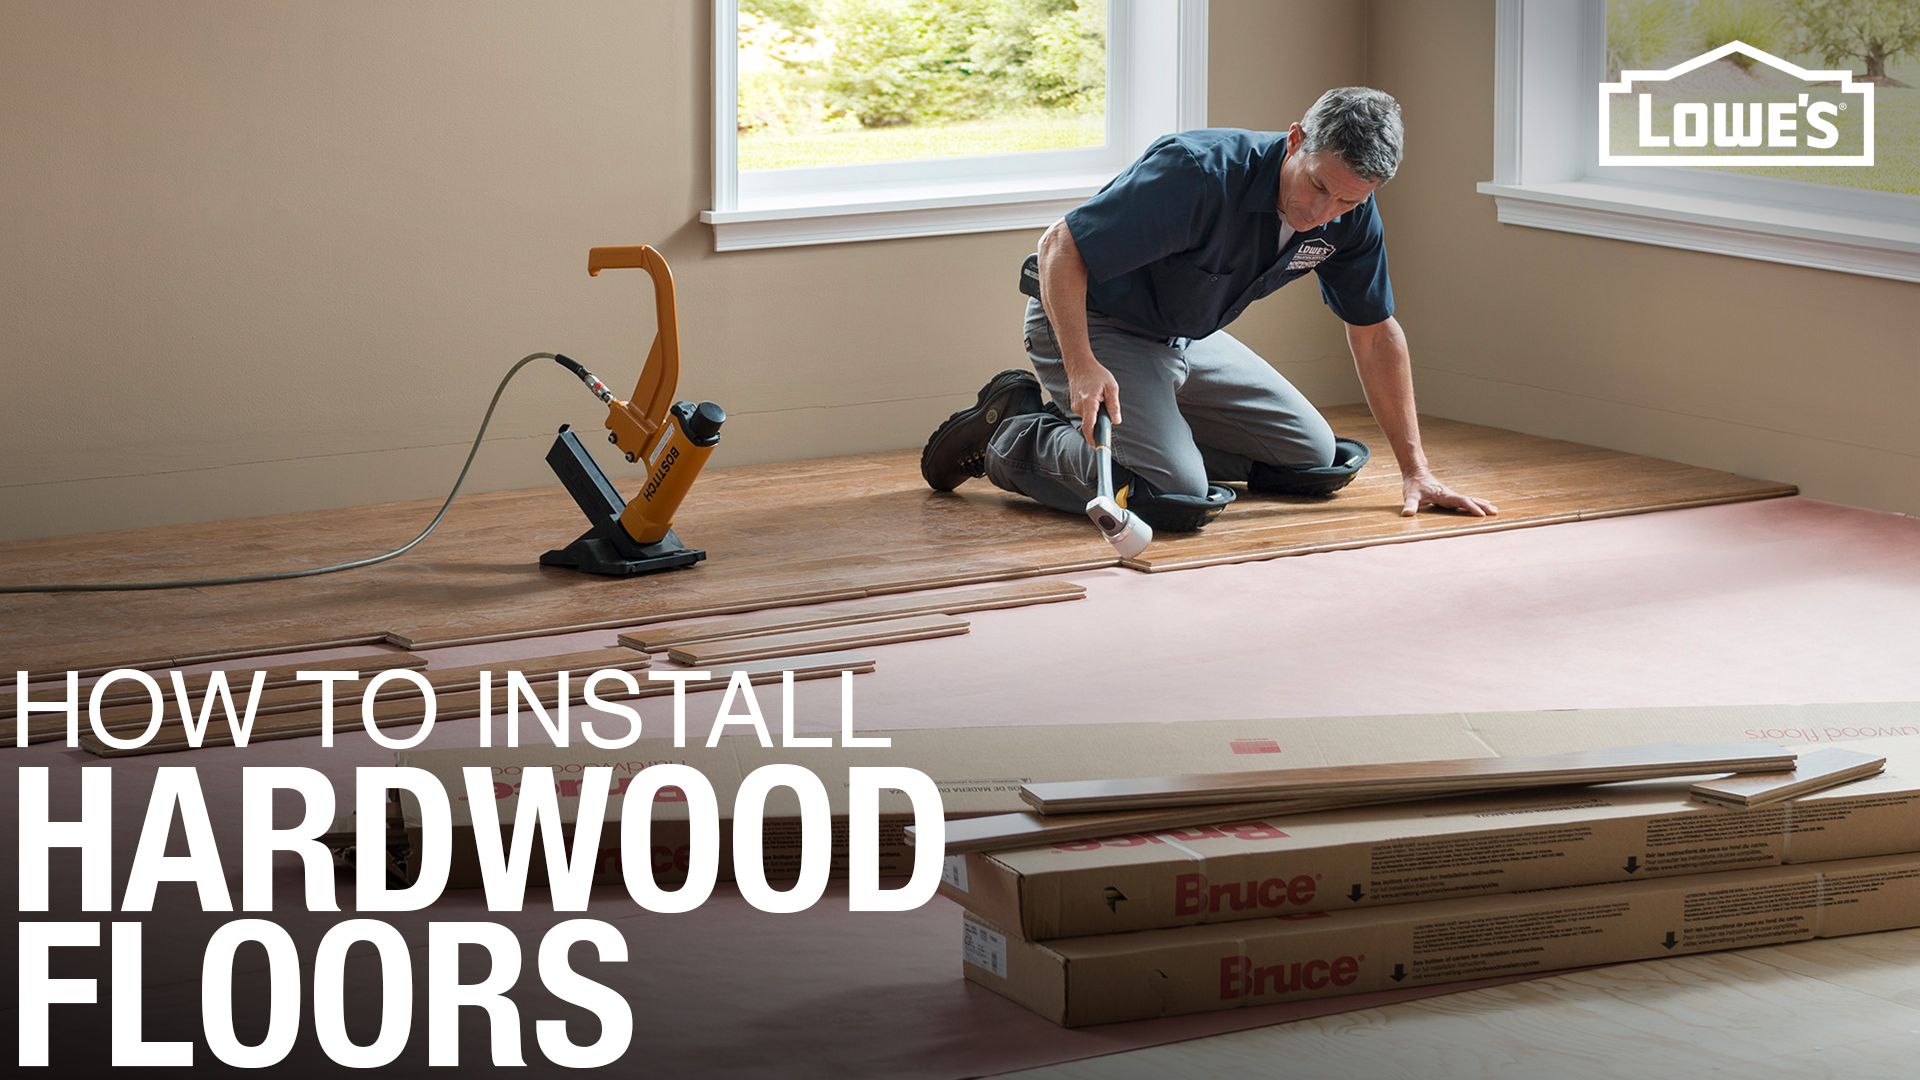
Nails hold the boards tight. Use a nail gun. Boards are nailed to a subfloor. This method is strong. Floors feel solid. Align boards carefully. Keep them straight. This technique needs skill. It is best for experts.
Trimming And Cutting
Precise trimming and cutting are essential for fitting engineered hardwood flooring. Ensure each plank fits snugly. Proper cuts prevent gaps and enhance durability.
Tools Required
Several tools are needed for cutting hardwood. A tape measure is crucial. You need a pencil to mark where to cut. A miter saw helps with angled cuts. You also need a jigsaw for curves. A flooring nailer secures the boards. Protective gloves keep your hands safe. Safety glasses protect your eyes.
Making Precise Cuts
Precise cuts are important for a neat finish. Measure twice, cut once. Align the saw with your pencil mark. Hold the board steady. Use the miter saw for straight cuts. Use the jigsaw for curved cuts. Cut slowly for clean edges. Check the fit before nailing. Adjust the cut if needed. Keep your fingers away from the blade.
Finishing Touches
Smoothly laying engineered hardwood flooring requires attention to detail. Ensure edges are aligned perfectly and boards are securely fitted. These finishing touches create a seamless and polished appearance, enhancing the room’s elegance.
Installing Baseboards
First, gather your tools. You will need nails, a hammer, and a saw. Measure the wall length for the baseboard. Cut the baseboard to fit. Make sure it fits snugly against the wall. Nail the baseboard to the wall using a hammer. Space the nails about every 12 inches. Ensure the baseboard is level. Check for gaps between the wall and baseboard. Fill gaps with caulk if needed. Paint the baseboard if you want. It adds a nice look.
Cleaning And Maintenance
Keep your floor clean for it to last longer. Sweep the floor regularly. Use a soft broom to avoid scratches. Mop with a damp cloth for deeper cleaning. Avoid using too much water. Water can damage the wood. Use special wood cleaners for best results. Place rugs in high-traffic areas. They protect the floor from wear. Check for any loose boards. Fix them quickly to prevent damage. Enjoy your beautiful floor!
Common Mistakes
Gaps between boards make floors look unfinished. Use a tape measure to ensure boards fit. Check the subfloor for flatness. Uneven surfaces cause gaps. Keep a consistent gap along the walls. This allows for natural expansion. Avoid installing boards too tightly. They need room to breathe.
Warping bends the wood and ruins floors. Store boards in the room for 48 hours. This lets them adjust to the temperature. Ensure the subfloor is dry. Moisture causes warping. Use a moisture meter for checking. Keep humidity in the room stable. Use a humidifier or dehumidifier if needed.
Expert Tips
Pick strong and durable wood for your floor. Check the wood’s grade. Higher grade means better quality. Look for a smooth surface. Avoid rough or splintered wood. Always ask about the wood’s warranty. Good materials last longer.
Space is key when laying floors. Use spacers between planks. This helps the wood breathe. Do not press them too close. Wood needs room to expand. Measure each gap carefully. Consistent gaps look neat. Proper spacing stops your floor from buckling.

Frequently Asked Questions
What Tools Are Needed For Installation?
To lay engineered hardwood flooring, you’ll need a tape measure, saw, hammer, spacers, and a flooring nailer. Additionally, having a level and chalk line will ensure precise alignment. These tools help achieve a professional finish and ensure the longevity of the flooring installation.
How Do I Prepare The Subfloor?
Start by cleaning the subfloor thoroughly to remove debris and dust. Ensure it’s dry, level, and free of moisture. Repair any imperfections or holes, as a smooth subfloor is essential for successful installation. This preparation helps prevent future issues and ensures a flawless finish.
Can Engineered Hardwood Be Installed In Bathrooms?
Yes, engineered hardwood can be installed in bathrooms due to its moisture resistance. Ensure proper sealing and maintenance to prevent water damage. Choose a high-quality engineered hardwood with a durable finish. Adequate ventilation will also help maintain the flooring’s appearance and longevity in humid environments.
How Long Does Installation Take?
The installation time for engineered hardwood depends on the room size and layout. Generally, a standard room takes about two to three days. This includes preparation, laying, and finishing touches. Proper planning and organization can streamline the process and ensure a smooth installation experience.
Conclusion
Laying engineered hardwood flooring transforms your space beautifully. Careful planning ensures a smooth installation process. Gather all necessary tools before you begin. Measure your room accurately for best fit. Prepare the subfloor for a stable base. Follow the manufacturer’s instructions closely.
Precision and patience lead to great results. Enjoy the elegant look of your new floor. Regular maintenance keeps it looking fresh and new. Share your experience with friends and family. Inspire others with your successful project. Feel proud of your hard work and stunning new floor.


