To lay down vinyl flooring, start by ensuring your subfloor is clean, level, and dry, adding a moisture barrier if it’s concrete. Measure your space carefully, cutting vinyl sheets with a utility knife and straightedge for exact fit. Apply an adhesive suitable for your vinyl and subfloor, pressing sheets firmly to avoid bubbles. Seal seams and edges with a quality sealer for durability. Following these steps sets a solid base to install vinyl planks or tiles effectively.
Preparing the Subfloor for Vinyl Installation
Before you begin laying vinyl flooring, you need to verify the subfloor is clean, dry, and level to confirm proper adhesion and a smooth finish. Identify the subfloor types present—commonly plywood, concrete, or existing vinyl. Each requires specific preparation. Concrete subfloors must have a moisture barrier installed to prevent moisture migration, which can cause vinyl to bubble or peel. For wooden subfloors, make certain all nails or screws are flush and the surface is sanded smooth. Remove debris and fill any cracks or holes with a suitable patching compound. Use a leveling compound on uneven areas to create a flat plane. Proper subfloor preparation is essential; it gives you the freedom to install vinyl confidently, ensuring durability and a professional appearance.
Measuring and Cutting Vinyl Flooring
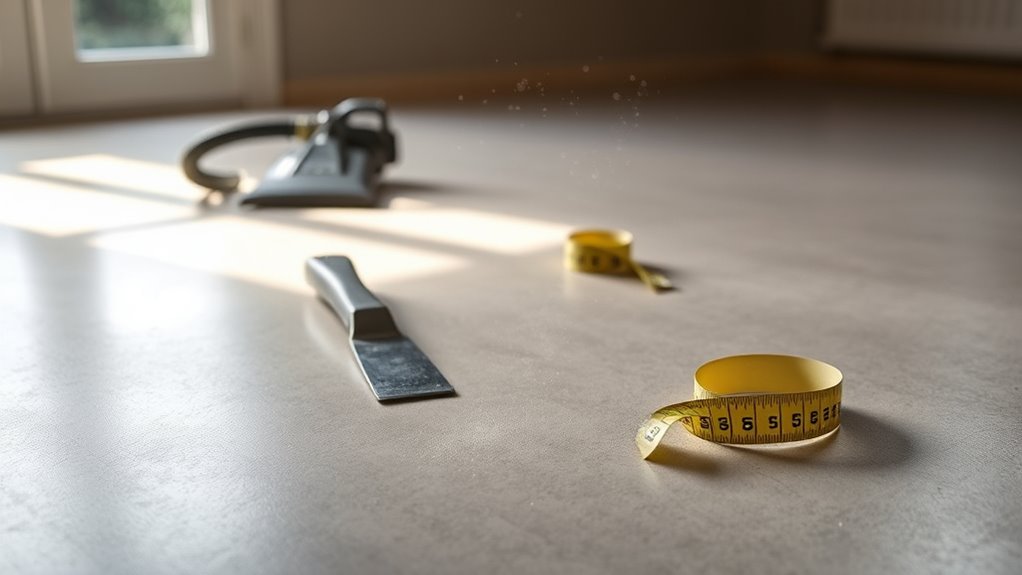
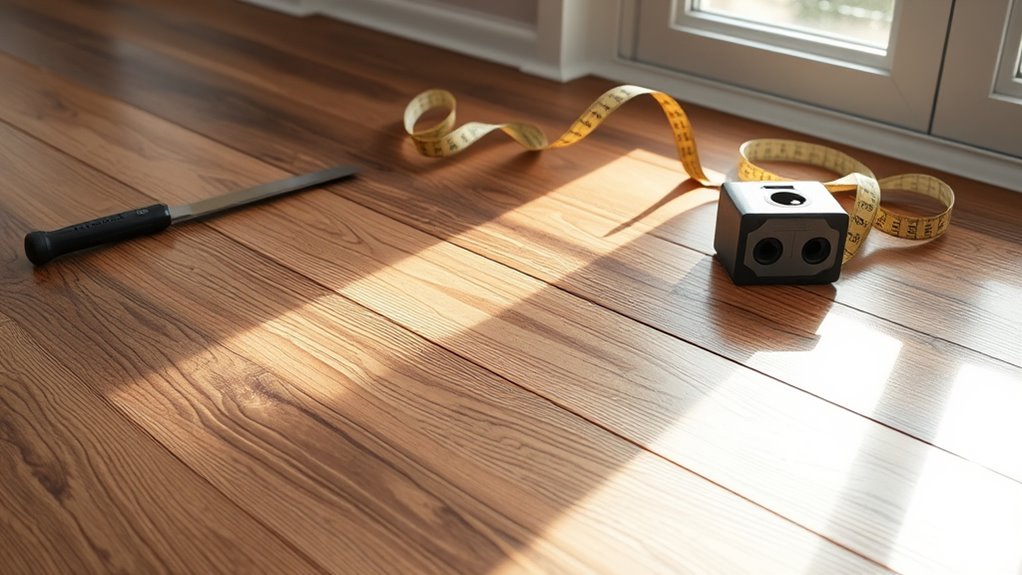
With the subfloor properly prepared, you can now focus on measuring and cutting your vinyl flooring to fit the space accurately. Start by gathering the tools needed: a tape measure, straightedge or ruler, utility knife with a sharp blade, and a pencil for marking. Use measuring tips like measuring twice to confirm dimensions and noting any irregularities in room shape. Measure the length and width of each section carefully, accounting for expansion gaps. When cutting, place the vinyl sheet on a flat surface, align the straightedge along the marked line, and score firmly with the utility knife. For curves or intricate cuts, make multiple shallow passes rather than one deep cut. Precision in this step guarantees a seamless fit and professional finish, granting you the freedom to enjoy your new floor confidently.
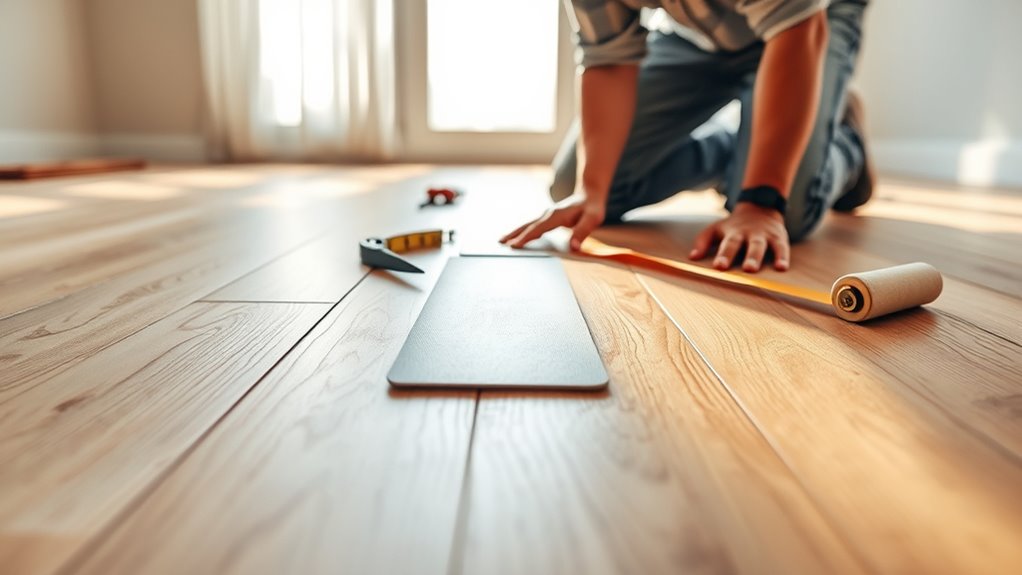
Applying Adhesive and Laying Vinyl Sheets

Choose an adhesive compatible with your vinyl type and subfloor material to guarantee a strong bond. Apply the adhesive evenly using a notched trowel, following the manufacturer’s guidelines for open time. Carefully position the vinyl sheets onto the adhesive, aligning edges precisely before pressing them down to eliminate air bubbles.
Selecting Proper Adhesive
Although selecting the right adhesive may seem straightforward, it’s essential to match the adhesive type to your vinyl flooring and subfloor material to confirm a secure, long-lasting bond. There are several adhesive types: pressure-sensitive adhesives offer flexibility and repositioning ease, while wet-set adhesives provide a permanent, strong hold ideal for porous substrates. For non-porous or smooth subfloors, use a urethane-based adhesive to prevent delamination. Before application, verify your subfloor is clean, dry, and level. Apply adhesive evenly using a notched trowel, following manufacturer-recommended application techniques to avoid lumps or voids. Work in manageable sections to maintain adhesive tackiness during sheet placement. Selecting the proper adhesive and mastering these application techniques will free you from future repair hassles and maximize your vinyl flooring’s durability.
Positioning Vinyl Sheets
Two key steps define proper positioning of vinyl sheets: applying adhesive correctly and laying the sheets without wrinkles or bubbles. First, verify the room temperature is stable, ideally between 65°F and 75°F, to optimize adhesive curing and vinyl flexibility. Then, follow these steps:
- Spread adhesive evenly with a notched trowel, covering the subfloor completely.
- Wait until the adhesive becomes tacky to the touch before positioning the vinyl.
- Carefully unroll the vinyl sheet, aligning edges precisely for perfect vinyl sheet alignment.
- Smooth the surface using a floor roller or hand roller to eliminate air bubbles and secure adhesion.
Following this method guarantees a flat, secure vinyl floor that lasts and keeps your space open and free.
Sealing Edges and Seams for Durability
When you finish laying the vinyl, sealing the edges and seams is essential to prevent moisture infiltration and guarantee long-term durability. Start by applying a high-quality vinyl seam sealer along all seams, using a fine applicator to verify even coverage without excess. For edge sealing, press down firmly on the edges with a roller to create a tight bond, then apply a compatible sealant along perimeter joints. This seam protection step blocks water and dirt, preserving the flooring’s integrity. Allow the sealant to cure fully according to manufacturer instructions before exposing the floor to foot traffic or moisture. Proper edge sealing and seam protection not only enhance durability but also maintain the floor’s appearance and performance over time, giving you the freedom to enjoy your space worry-free.
Installing Vinyl Planks or Tiles
Before you begin installing vinyl planks or tiles, make sure the subfloor is clean, dry, and level to prevent any imperfections from affecting the final result. Vinyl flooring benefits include durability and ease of installation, making it a smart choice for DIY freedom. Choose vinyl flooring styles that complement your space and lifestyle.
Follow these steps precisely:
- Lay out your planks or tiles to plan your pattern and minimize waste.
- Apply adhesive as recommended, or use click-lock planks for a glue-free option.
- Align each piece carefully, maintaining consistent spacing and tight seams.
- Use a roller to press down and guarantee proper adhesion and eliminate air bubbles.
Cleaning and Maintaining Your New Vinyl Floor
Once your vinyl flooring is properly installed, maintaining its appearance and functionality requires specific care techniques. For effective floor care, regularly sweep or vacuum debris to prevent scratches. Use a damp mop with a manufacturer-approved cleaner—avoid abrasive or wax-based products that can damage the surface. Promptly wipe spills to prevent staining and moisture damage. Avoid excessive water, as it can seep into seams and cause lifting. For tough spots, gently scrub with a soft brush and mild detergent. Place protective pads under furniture to minimize indentations. By following these cleaning tips, you’ll preserve your floor’s durability and aesthetic, allowing you the freedom to enjoy your space without constant worry about damage or wear. Consistent, precise maintenance guarantees your vinyl floor remains a lasting, attractive feature.


