To keep your rug corners down on hardwood floors, start by cleaning both surfaces thoroughly. Use acid-free double-sided carpet tape along edges and apply non-slip rug gripper pads underneath to prevent shifting. For extra hold, place corner rug tape and clip on low-profile grippers tailored to your rug’s material. You can also gently iron curled edges with a cloth barrier on low heat, then weigh corners with stylish objects like books or plants. Regularly adjusting your rug keeps it neat—a step-by-step approach guarantees lasting elegance and safety.
Assess the Type of Rug and Hardwood Floor
Before you tackle keeping your rug corners flat, it’s important to assess both the type of rug you have and the nature of your hardwood floor. Different rug materials—like wool, cotton, or synthetic fibers—respond uniquely to hardwood surfaces. Wool rugs, for example, offer natural grip but may still curl if the floor is too smooth. Meanwhile, delicate or lightweight rugs might need extra support. Understanding floor compatibility is essential: some hardwood finishes are slick, making it harder for rugs to stay put, while textured floors provide natural traction. By evaluating both your rug materials and the finish of your hardwood, you can choose the best strategies to keep those corners down without compromising the freedom and flow of your living space. This thoughtful approach guarantees both beauty and practicality.
Prepare the Rug and Floor for Installation
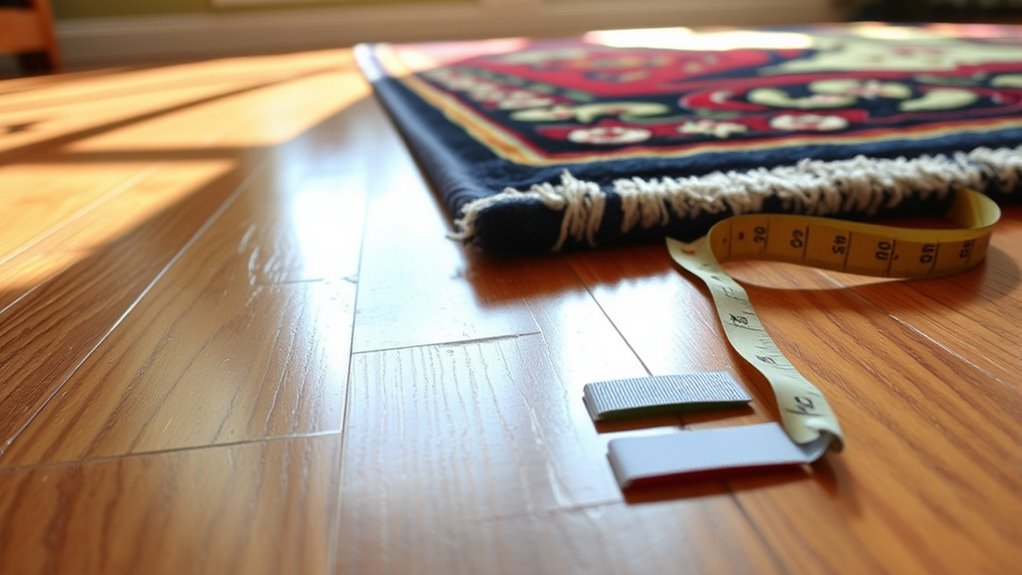
Although it might seem straightforward, preparing both your rug and hardwood floor properly is essential to guarantee a smooth, secure installation. Taking the time to prep guarantees your rug lays flat, enhancing your space’s aesthetic and preserving your floor’s integrity. Consider these steps before you begin:
- Measure the rug size accurately to fit your room’s dimensions and furniture layout.
- Clean the hardwood floor thoroughly to remove dust and debris, adapting to your floor type.
- Let the rug air out if it’s been rolled, easing wrinkles and stiffness.
- Avoid placing the rug on damp floors to prevent damage or slipping.
- Inspect the rug’s backing for any rough textures that might scratch or harm your hardwood.
With these preparations, you’re ready to create a carefree, beautiful foundation for your rug.
Use Double-Sided Carpet Tape
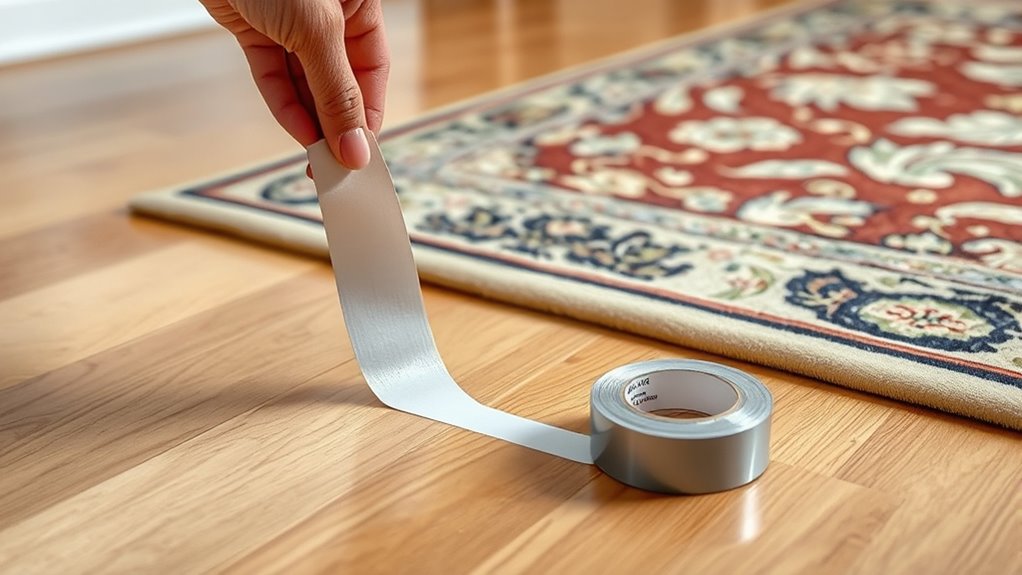
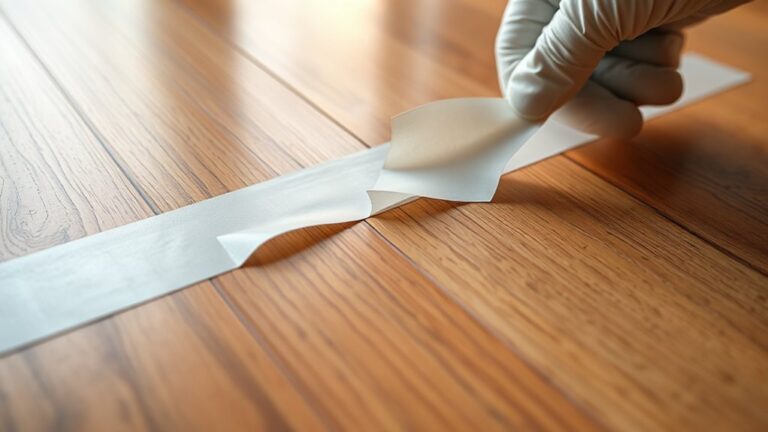
You’ll want to pick a double-sided carpet tape that’s strong enough to hold your rug in place but gentle on your hardwood floors to avoid damage. Before applying, make sure both the floor and rug edges are clean and dry for ideal adhesion. Carefully pressing the tape along the corners and edges will keep your rug flat and secure without disrupting the room’s polished look.
Choosing the Right Tape
One of the simplest yet most effective ways to keep your rug corners firmly in place on hardwood floors is by choosing the right tape—specifically, double-sided carpet tape. When selecting tape, consider tape materials and tape strength to guarantee a secure hold without damaging your floor’s finish. The ideal tape balances strong adhesion with easy removal, giving you freedom to rearrange as you please.
Look for these qualities when choosing tape:
- Acid-free adhesive to protect hardwood
- Durable, high tack for lasting grip
- Breathable backing to prevent moisture buildup
- Compatibility with various rug fibers
- Residue-free removal for easy cleanup
Picking the right tape means your rugs stay put, maintaining both the beauty of your floors and your freedom to style your space.
Proper Application Techniques
Start by thoroughly cleaning both the hardwood floor and the underside of your rug to guarantee the tape sticks properly without any dust or debris interfering. Once dry, carefully plan your rug placement, ensuring it complements your space’s flow and aesthetics. Next, cut strips of double-sided carpet tape to fit the rug’s edges and corners where lifting is most common. Peel back the tape’s protective layer and press firmly onto the floor, then align the rug over the adhesive, smoothing it down to secure every inch. Remember, choosing the right adhesive option is key—opt for tapes designed for hardwood to avoid residue or damage. This method keeps your rug effortlessly flat, preserving your freedom to move without worry while enhancing your room’s polished look.
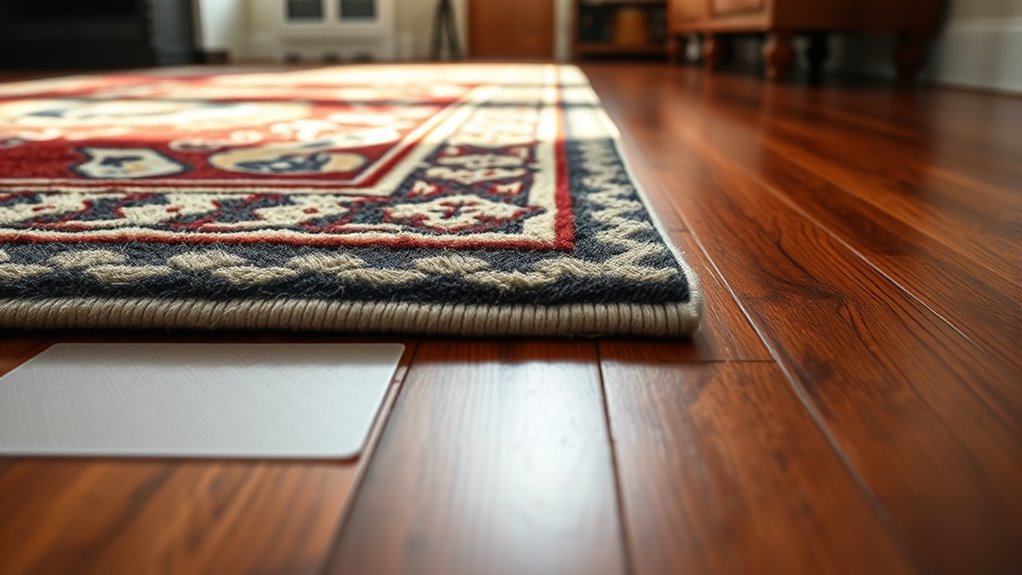
Apply Rug Gripper Pads or Non-Slip Rug Pads
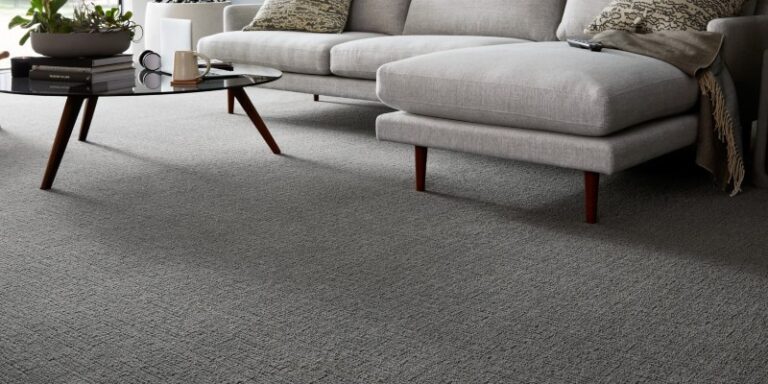
You’ll find various rug gripper pads designed to keep your rug firmly in place without damaging your hardwood floors. Choosing the right type—be it rubber, felt-backed, or hybrid—depends on your rug’s material and your floor’s finish. When installing, make sure the pad covers the entire rug surface evenly to prevent any curling or slipping at the edges.
Types of Rug Grippers
Rug grippers come in various forms designed to keep your rug corners perfectly flat and prevent slipping on hardwood floors. Understanding the different rub grip types and adhesive options helps you choose the best fit for your space and lifestyle. Here are common types:
- Rubberized pads: Provide strong grip without damaging floors.
- Adhesive-backed strips: Easy to apply, offering firm hold.
- Silicone corner grips: Transparent and discreet, ideal for aesthetics.
- Double-sided tape: Versatile with moderate adhesion.
- Non-slip mesh pads: Breathable and reusable, preventing moisture buildup.
Each option balances grip strength with floor protection, letting you enjoy freedom of movement without worrying about shifting rugs. Choose what suits your decor and daily routine to keep your hardwood floors pristine and your rugs perfectly in place.
Installation Tips
When applying rug gripper pads or non-slip rug pads, preparing the floor and rug surface is essential to guarantee maximum adhesion and longevity. Start by thoroughly cleaning your hardwood floor to remove dust and oils, ensuring ideal flooring compatibility. Next, check the rug materials; some natural fibers may require specific pads to prevent damage. Cut the pad to fit your rug’s shape precisely, focusing on edges and corners to keep them flat and secure. Peel and stick the pad firmly, pressing out air bubbles for even contact. This careful installation not only preserves your rug’s aesthetic but also grants you the freedom to move comfortably without worrying about slipping or curling corners. With these steps, your rug stays beautifully in place, complementing your hardwood floor effortlessly.
Utilize Corner Rug Tape for Extra Security
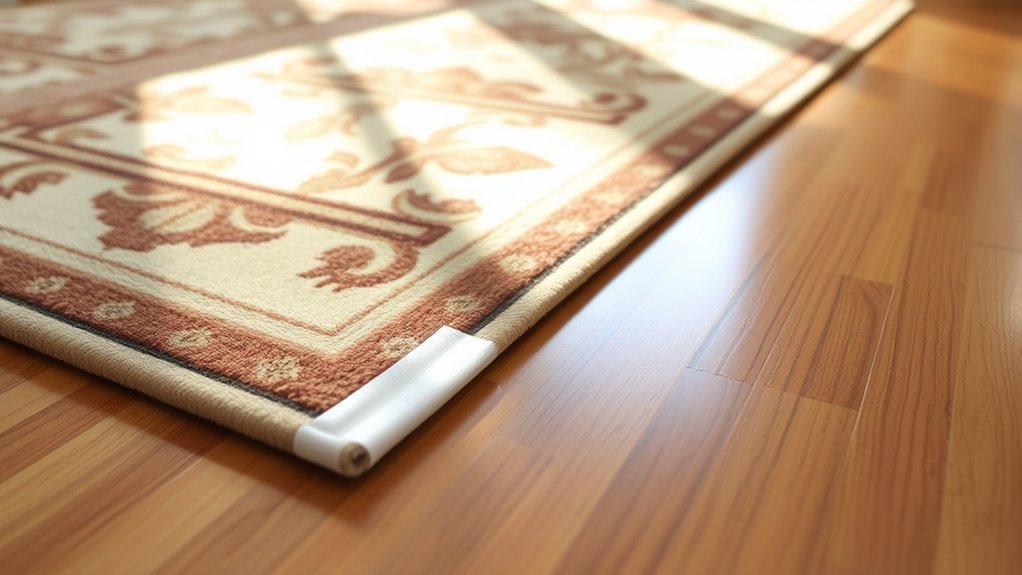
One simple yet effective method to keep your rug corners firmly in place involves using corner rug tape. This solution offers clear corner tape benefits: it prevents curling, enhances safety, and preserves your rug’s sleek aesthetic without restricting your space. To make the most of it, follow these tape application tips:
Using corner rug tape keeps edges flat, boosts safety, and maintains your rug’s clean look effortlessly.
- Clean both floor and rug corners thoroughly before applying.
- Cut the tape to fit precisely under each corner.
- Press firmly and hold for a few seconds to guarantee adhesion.
- Choose double-sided tape designed for hardwood floors to avoid damage.
- Replace tape periodically to maintain grip and freshness.
Weight Down Corners With Furniture or Decorative Items
Heavy objects like furniture or carefully chosen decorative items can effortlessly keep your rug corners flat and secure on hardwood floors. Thoughtful furniture placement allows you to anchor rug edges naturally without sacrificing style or spatial flow. Consider positioning a sleek chair, a small side table, or a stylish ottoman on each corner to add both function and flair. If you prefer less bulk, decorative weights—such as sculptural bookends or elegant ceramic pieces—offer subtle yet effective solutions. These items blend seamlessly into your décor, maintaining freedom of movement while preventing curling. By combining practicality with aesthetics, you guarantee your rug lies perfectly flat, enhancing the room’s overall harmony. This approach keeps your space inviting, free, and visually balanced, so your floors and rugs coexist beautifully.
Employ Rug Corner Grippers or Clips
Secure your rug corners with specially designed grippers or clips to guarantee they stay perfectly flat against your hardwood floors. Rug corner grippers offer a sleek, nearly invisible hold, preserving your rug’s aesthetics while preventing curling. You’ll find a variety of clip options tailored for different rug thicknesses and floor finishes, making certain no damage while providing firm grip.
- Choose non-slip rubber or silicone grippers to protect your floors
- Opt for magnetic or adhesive clips for easy repositioning
- Use clear or low-profile clips to maintain your room’s style
- Select clip options that suit your rug’s material and size
- Ascertain clips are easy to install and remove for cleaning freedom
These practical tools grant you the freedom to enjoy a flawless, flat rug surface effortlessly.
Iron the Rug Corners for a Flat Appearance
Before you start ironing, make sure the rug surface is clean and dry to avoid any damage or stains. Use a low heat setting on your iron and place a thin cloth between the iron and the rug corner to protect the fibers. Gently press the iron over the curled edges, moving slowly to flatten them without scorching.
Preparing the Rug Surface
When you want your rug to lay perfectly flat, ironing the corners can make a significant difference in its appearance. Before you begin, preparing the rug surface is essential to avoid damage and achieve a smooth finish. Consider these key steps:
- Identify your rug material types to choose the right heat setting.
- Clean the rug corners gently to remove dust and debris.
- Use a protective cloth over the rug to prevent direct heat exposure.
- Test a small hidden section first to guarantee no discoloration or damage.
- Follow maintenance tips specific to your rug’s fabric for longevity.
Proper Ironing Technique
Now that you’ve prepped your rug corners with care, it’s time to apply the right ironing technique to achieve that crisp, flat look. Start by setting your iron to the appropriate temperature for your rug’s fabric type—wool, cotton, or synthetic blends each require specific heat settings to avoid damage. Use a pressing cloth between the iron and rug to protect fibers. Gently press the iron down on the curled corner, holding it still for 10–15 seconds before moving on. Avoid sliding the iron to prevent distortion. Repeat as needed, allowing the fabric to cool flat. Mastering these ironing techniques guarantees your rug corners lay perfectly, enhancing the freedom and flow of your space without the nuisance of curling edges.
Use Heavy Books or Objects to Flatten Edges Temporarily
A simple yet effective way to keep your rug corners flat on hardwood floors is by placing heavy books or objects on the edges. This practical flattening technique offers a quick, temporary solution to curling or lifting corners, letting you enjoy a smooth, elegant look without permanent changes. Choose objects that complement your space aesthetically while providing enough weight to hold the edges down comfortably.
Consider these items for your temporary flattening needs:
- Thick coffee table books with attractive covers
- Decorative ceramic or glass paperweights
- Stylish storage boxes
- Heavy metal or wooden sculptures
- Small indoor plants in sturdy pots
Regularly Adjust and Maintain Rug Positioning
Although it might seem minor, regularly adjusting and maintaining your rug’s position is essential to prevent corners from curling and edges from lifting on hardwood floors. Consistent rug maintenance guarantees your space stays visually appealing and your freedom to move unhindered remains intact. Small positioning adjustments relieve tension and stop wear on specific spots, preserving both rug and floor.
| Timeframe | Action |
|---|---|
| Daily | Smooth out edges and corners |
| Weekly | Shift rug slightly |
| Monthly | Inspect for curling or lifts |
| Quarterly | Deep clean and reposition |
| Annually | Assess rug condition thoroughly |