To install wood flooring on stairs in 5 easy steps, start by cleaning and securing the stair surface for a smooth base. Next, measure each tread and riser precisely, then cut wood pieces accurately. Apply adhesive and nail the stair treads firmly in place. Attach risers with glue and finishing nails, ensuring tight edges. Finally, sand and seal all surfaces for durability. Follow these steps carefully, and you’ll get sturdy, beautiful stairs with lasting results—there’s more detail to guide your process ahead.
Preparing the Stair Surface
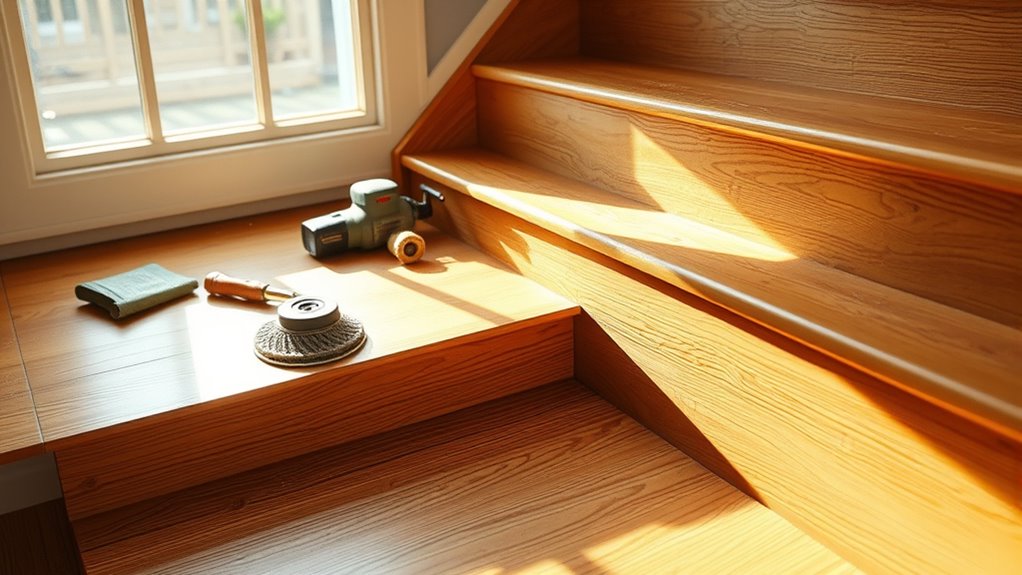
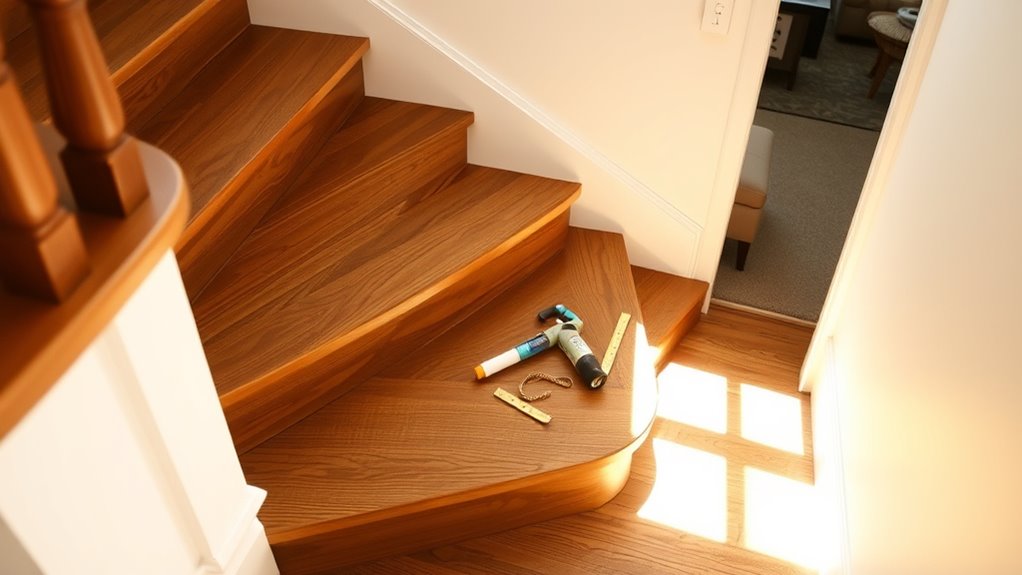
Begin by thoroughly cleaning and inspecting each stair tread and riser. Proper stair surface preparation is essential for a successful wood flooring installation. Remove all debris, dust, and old adhesives to create a smooth, clean surface. Use a vacuum or broom to eliminate dirt from corners and crevices. Check for any loose nails or screws, securing them tightly, and repair any damages like cracks or splinters. A level, stable surface guarantees the wood will adhere properly and prevents future squeaks or movement. Pay close attention to moisture levels; damp surfaces can compromise the installation’s durability. By meticulously cleaning debris and preparing the stair surface, you’re setting the foundation for a flawless finish that offers freedom from worries about durability or uneven wear.
Measuring and Cutting the Wood Pieces
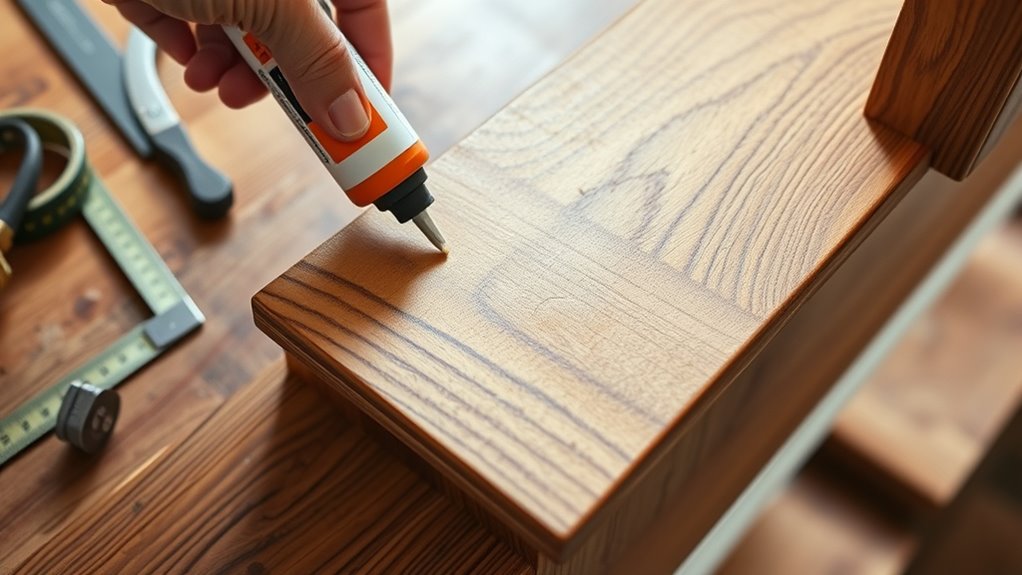
Once the stair surface is fully prepared, you’ll need to carefully measure each tread and riser to confirm your wood pieces fit perfectly. Precision here is key—measure twice, cut once. Choose your wood selection wisely, considering durability and aesthetics. Use reliable cutting tools like a miter saw or jigsaw for clean, accurate cuts. Mark each piece clearly before cutting to avoid mistakes.
This step will help you:
- Feel confident your stairs will look seamless and professional
- Enjoy the freedom of customizing each step to your style
- Avoid costly errors and wasted materials
Taking your time with measurements and cuts guarantees every piece fits snugly, giving your stairs a polished, lasting finish that reflects your craftsmanship and freedom to create.
Installing the Stair Treads
With your wood pieces accurately measured and cut, you’re ready to install the stair treads. Start by selecting the right stair tread materials—solid hardwood is durable and offers a classic look, while engineered wood provides stability against moisture. Before laying each tread, make certain the surface is clean and level to avoid gaps or unevenness. Apply a high-quality adhesive designed for wood to the stair stringers, then position the tread firmly, making sure it aligns perfectly with the edges. Use tread installation techniques like pre-drilling holes and securing with finish nails or screws to prevent splitting and guarantee a tight fit. Work step-by-step, verifying each tread is flush and secure before moving on. This method ensures a sturdy, visually appealing staircase that supports your freedom to move safely.
Attaching the Stair Risers
Attach the stair risers carefully to assure a clean, professional finish that complements your treads. Begin by measuring each riser precisely to assure a snug fit. Apply high-quality wood adhesives evenly on the back surface before positioning the riser against the stair framing. Press firmly and secure with finishing nails to hold it in place while the adhesive sets. During risers installation, take your time to align edges perfectly to avoid gaps or unevenness. This attention to detail will give you:
Ensure stair risers fit snugly and align perfectly for a flawless, professional finish that lasts.
- A smooth, seamless look that enhances your staircase’s beauty
- Confidence knowing your work is sturdy and long-lasting
- The freedom to enjoy your upgraded stairs without worry or doubt
Precision and patience here pay off in a finished product you’ll be proud to show off.
Finishing Touches and Sealing
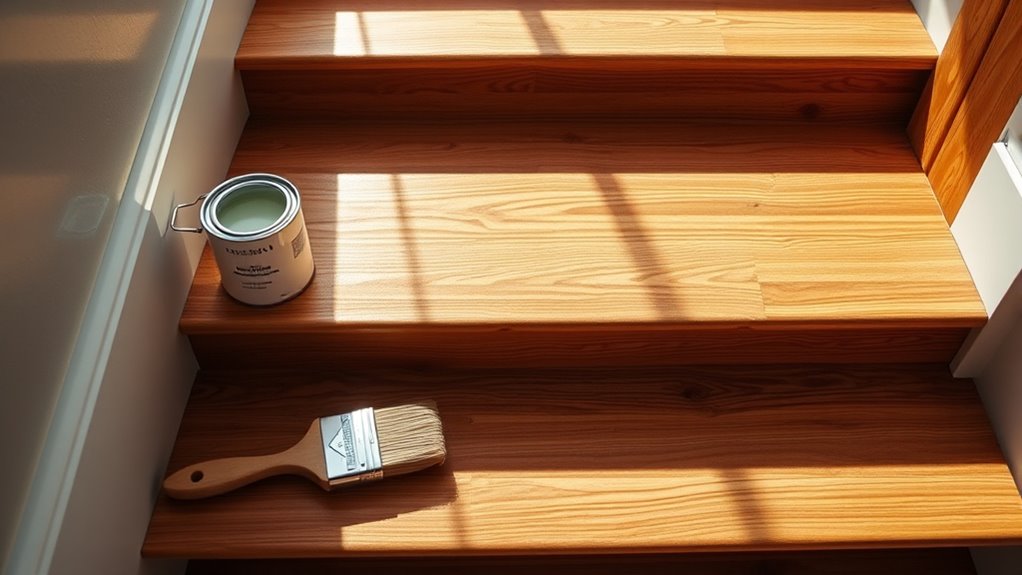
Before you complete your wood flooring installation on stairs, it’s important to focus on the finishing touches and sealing to protect the wood and enhance its appearance. Start by sanding any rough edges smoothly to guarantee a flawless surface. Choose finishing options that suit your style and durability needs—options like polyurethane, varnish, or oil-based finishes work well for stairs. When applying sealing techniques, use a high-quality brush or applicator, applying thin, even coats to avoid drips and bubbles. Allow each coat to dry thoroughly before lightly sanding and applying the next. Don’t forget to seal the stair nosing and edges to prevent moisture damage and wear. Proper finishing not only boosts the wood’s natural beauty but also extends the life of your stairs, giving you lasting freedom to enjoy your space.


