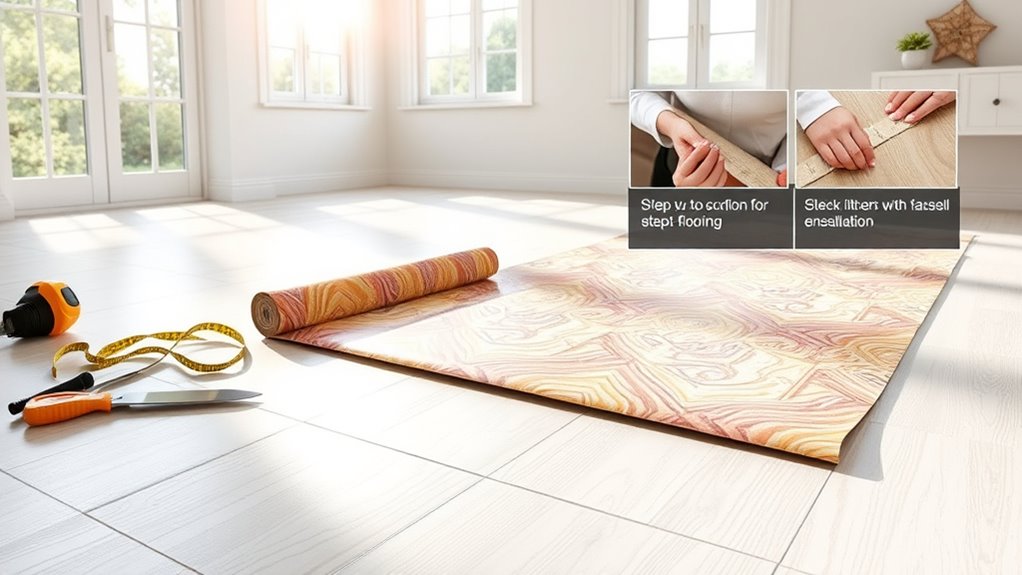
To install vinyl roll flooring, first gather tools like a utility knife, straightedge, and adhesive trowel. Prepare a clean, dry, level subfloor, then measure the room accurately. Cut the vinyl to size, acclimate it for a few days, and lay it carefully. Smooth out any air bubbles using a roller, trim excess vinyl along edges, and seal the perimeter to prevent moisture. Following these steps guarantees durability and a professional finish. Keep going to master each technique for flawless results.
Gather Necessary Tools and Materials
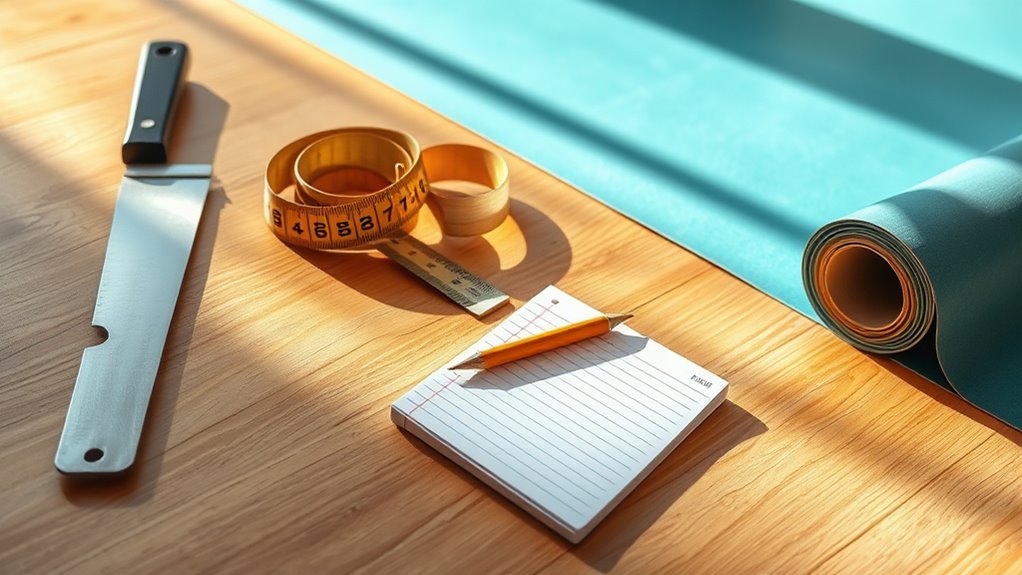
Before you begin installing vinyl roll flooring, you’ll need to gather all the necessary tools and materials to guarantee a smooth process. Start by choosing materials suited to your room’s traffic and moisture levels—opt for high-quality vinyl rolls with durable wear layers. Essential tools include a utility knife for precise cutting, a straightedge for accurate measurements, a tape measure, and a chalk line to verify straight placement. You’ll also need a notched trowel for adhesive application, a roller to press the vinyl firmly onto the floor, and a seam roller if your installation involves multiple sections. Having these tools and materials ready empowers you to work efficiently and maintain control throughout installation, giving you the freedom to achieve professional results with minimal hassle.
Prepare the Subfloor Surface
Since the subfloor’s condition directly affects the vinyl flooring’s durability and appearance, you need to confirm it’s clean, dry, smooth, and level. Begin your subfloor preparation by thoroughly sweeping and vacuuming to confirm surface cleanliness. Remove all debris, dust, and residues that could interfere with adhesion. Inspect for moisture; use a moisture meter to verify the subfloor is dry. Repair any cracks, holes, or uneven areas with a suitable leveling compound, allowing it to cure fully. Sand down high spots carefully to achieve a flat surface. Avoid installing vinyl roll flooring over surfaces with imperfections or moisture issues, as this compromises durability and finish. Proper subfloor preparation confirms your vinyl flooring adheres securely and lasts longer, giving you the freedom to enjoy a flawless installation.
Measure the Room Dimensions
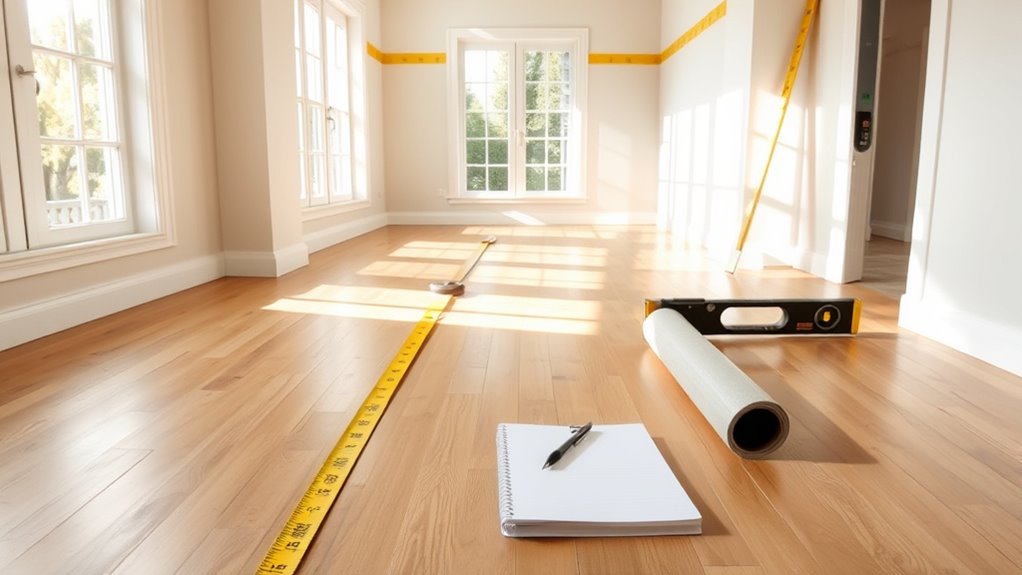
After confirming your subfloor is clean, dry, and level, the next step is to accurately measure the room dimensions. Start by sketching the room layout, marking walls, doorways, and any obstructions. Use a tape measure to record the length and width at multiple points, accounting for irregularities. Note these measurements precisely, as accurate dimensions guarantee your vinyl roll flooring fits correctly without waste. Remember that different flooring types require specific allowances for expansion or trimming, so factor that into your measurements. Double-check your numbers before proceeding to avoid costly errors. This disciplined approach to measuring empowers you to select and cut your vinyl confidently, providing the freedom to customize your space with precision and efficiency.
Cut the Vinyl Roll to Size
Before cutting, double-check your measurements to confirm the vinyl fits the room perfectly. Use a sharp utility knife or vinyl cutter to achieve clean, precise edges. Taking these steps prevents waste and guarantees a professional finish.
Measure Accurately Before Cutting
Although it might seem straightforward, measuring your vinyl roll accurately is essential to guarantee a proper fit and avoid waste. Implement precise measure techniques by using a reliable tape measure and marking the vinyl with a pencil or chalk. Always double-check your dimensions before cutting. Maintain cutting accuracy by measuring twice and confirming the vinyl aligns with room dimensions, including irregularities.
| Step | Task | Tip |
|---|---|---|
| 1 | Measure length | Extend tape fully |
| 2 | Measure width | Account for wall edges |
| 3 | Mark dimensions | Use light pencil marks |
| 4 | Verify measurements | Measure twice |
| 5 | Prepare to cut | Confirm alignment |
This method guarantees freedom from errors and maximizes material use before cutting.
Use Sharp Cutting Tools
A sharp cutting tool is essential when trimming your vinyl roll to size, ensuring clean edges and preventing jagged cuts that could compromise the flooring’s fit and appearance. Using proper cutting techniques guarantees precision and helps maintain the integrity of the material. Always select a utility knife or vinyl cutter with a fresh blade to achieve smooth, straight lines. Remember to follow safety precautions: secure the vinyl firmly, cut on a stable surface, and wear protective gloves to avoid injury.
Key points to take into account:
- Use a straightedge as a guide for accurate cuts
- Replace blades regularly to maintain cutting efficiency
- Keep your workspace clear to prevent accidents
Acclimate the Vinyl Flooring
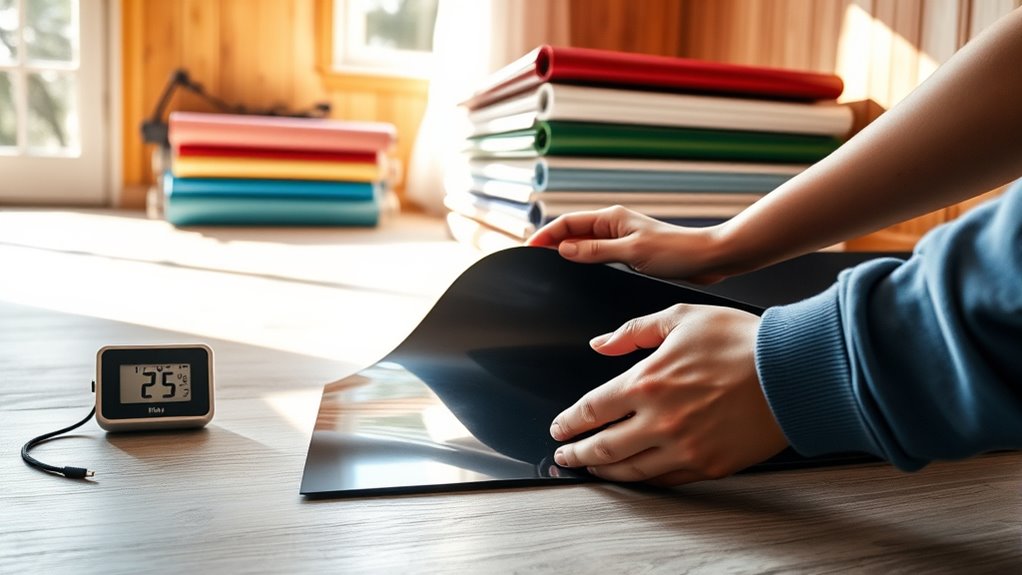
Three days is the recommended minimum time to acclimate your vinyl roll flooring to the room where it will be installed. During the acclimation process, unroll the flooring and lay it flat in the installation area. Make certain the room’s temperature remains stable, ideally between 65°F and 85°F, to prevent material expansion or contraction. Avoid placing the vinyl near direct sunlight, heaters, or vents, as temperature fluctuations can affect flexibility. This careful acclimation process allows the vinyl to adjust to ambient conditions, reducing the risk of warping or gaps after installation. By respecting these temperature considerations, you maintain the flooring’s integrity and make certain of a smooth, precise fit—granting you the freedom to enjoy a durable, long-lasting surface without unnecessary issues.
Apply Adhesive to the Subfloor
Begin by preparing the subfloor surface to confirm ideal adhesive bonding for your vinyl roll flooring. Ascertain the subfloor is clean, dry, and smooth, removing debris or imperfections that may interfere with adhesion. Select the appropriate adhesive type based on your subfloor material; water-based, solvent-based, or pressure-sensitive adhesives are common options. Apply the adhesive evenly using a notched trowel, following manufacturer specifications for coverage and open time. Key points for effective subfloor preparation and adhesive application include:
- Confirm subfloor is level and moisture-free to prevent bonding failure.
- Choose adhesive compatible with both the subfloor and vinyl roll flooring.
- Apply adhesive uniformly, avoiding excessive buildup that can cause uneven flooring.
Proper subfloor preparation and adhesive application confirm a secure, long-lasting vinyl floor installation.
Lay the Vinyl Roll Flooring
Once your adhesive has been properly applied and is tacky to the touch, you’ll carefully unroll the vinyl flooring onto the subfloor, guaranteeing it aligns precisely with your room’s layout. Keep the roll straight; use a chalk line or straightedge for reference to prevent misalignment. Vinyl flooring benefits include its flexibility, allowing you to adjust placement slightly before the adhesive bonds fully. Installation tips: avoid forcing the vinyl into corners or tight spaces—let it relax naturally to reduce tension and potential damage. As you lay the flooring, work slowly from one end to the other, maintaining control of the roll to prevent creases. This methodical approach guarantees a clean, professional foundation, giving you the freedom to enjoy a durable, stylish floor that suits your space perfectly.
Smooth Out Air Bubbles and Wrinkles
After laying the vinyl, carefully inspect the surface for air bubbles and wrinkles. Use a flat tool like a vinyl roller or a smoothing spatula to press out any imperfections, starting from the center and working toward the edges. Applying steady pressure will guarantee the vinyl adheres smoothly without trapping air underneath.
Identifying Air Bubbles
Anyone installing vinyl roll flooring will need to carefully inspect the surface for air bubbles and wrinkles immediately after laying the material. Identifying these imperfections early is essential for effective air bubble prevention and guarantees a smooth finish. Look closely for raised spots or uneven areas where the vinyl doesn’t lie flat.
Key points to focus on:
- Visual inspection under bright lighting to spot small bubbles or wrinkles.
- Gentle pressing around suspected areas to detect trapped air.
- Listening for subtle sounds when pressing can indicate air pockets.
Techniques for Smoothing
Correcting air bubbles and wrinkles immediately upon detection prevents permanent damage to your vinyl flooring. Start by applying firm, even pressure from the center of the bubble outward using your hand or a flat, smooth object. This initial step helps redistribute trapped air and reduces the bubble’s size. For persistent bubbles, employ a puncture-and-squeeze method: carefully pierce the bubble with a fine needle, then press the air out toward the puncture point. When addressing wrinkles, gently lift the affected vinyl section and re-adhere it, smoothing it flat to restore uniform contact with the subfloor. Consistently use these smoothing techniques to guarantee your vinyl remains flush and secure. Effective bubble removal preserves the flooring’s durability, ensuring you maintain a clean, free surface without compromising your freedom to move or design.
Tools to Use
Though you can start smoothing air bubbles and wrinkles with just your hands, specific tools make the process more efficient and effective. These tools provide control, ensuring the vinyl types you choose lay flat and secure, essential for long-term flooring maintenance.
To achieve a flawless finish, use:
- Vinyl Roller: Apply consistent pressure to eliminate trapped air without damaging the material.
- Floor Squeegee: Smooth out wrinkles by pushing excess air and adhesive evenly beneath the vinyl.
- Seam Roller: Perfect for pressing down edges and seams, securing them firmly for durability.
Selecting the right tool depends on your vinyl type and room size. Proper use of these tools not only enhances appearance but also prolongs your flooring’s lifespan, giving you freedom from frequent repairs.
Trim Excess Vinyl Around Edges
Carefully trim the excess vinyl around the edges using a sharp utility knife and a straightedge to guarantee clean, precise cuts. Position the straightedge firmly along the desired cut line, ensuring it aligns with the wall or baseboard edge for accuracy. Apply steady pressure with the knife, cutting through the vinyl without damaging the subfloor. Utilize specific trimming techniques such as scoring multiple times for thicker vinyl to prevent jagged edges. Maintain control for smooth, consistent edge finishing—this step is essential to achieve a professional look and prevent lifting or curling. Take your time during this process, as precise trimming directly impacts the durability and appearance of your flooring installation, granting you the freedom to enjoy a flawless, custom-fitted vinyl surface.
Seal the Edges and Allow to Set
Once you’ve trimmed the excess vinyl to fit snugly against the walls and baseboards, the next step is to seal the edges to prevent moisture infiltration and lifting. Proper edge sealing is essential for durability and maintaining a clean finish. Use a high-quality vinyl flooring sealant, applying it evenly along all perimeter seams with a caulking gun or brush. After sealing, allow adequate setting time—typically 24 hours—to confirm the adhesive cures fully and the sealant bonds securely.
Seal vinyl edges carefully to prevent moisture and ensure lasting adhesion and a clean finish.
Key considerations for successful edge sealing include:
- Verify surfaces are clean and dry before application to maximize adhesion.
- Apply sealant continuously without gaps to block moisture effectively.
- Avoid foot traffic during the setting time to prevent displacement or damage.
This step guarantees your flooring stays firmly in place, preserving your freedom to enjoy a flawless floor.


