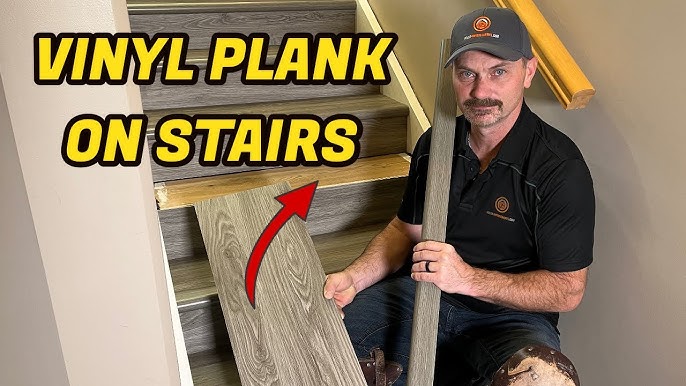
Are you tired of those worn-out stairs bringing down the look of your home? Installing vinyl plank flooring on your stairs can transform them into a stunning focal point.
But where do you start? The thought of tackling a home improvement project might feel daunting. However, with the right guidance, you can achieve a professional finish without the hefty price tag. Imagine stepping onto your newly revamped stairs, feeling the satisfaction of a job well done.
In this guide, we’ll walk you through each step of the installation process, ensuring you have the confidence and know-how to make your stairs the highlight of your home. Stay with us to uncover the secrets to a seamless and stylish stair transformation.
Materials And Tools Needed
Gather all the necessary materials before starting. You will need vinyl planks for the stairs. Make sure to have a measuring tape for accurate cuts. A utility knife is important for trimming edges. Use a tapping block to secure planks. You will need a hammer for nailing. Keep a safety mask to protect from dust. Get some adhesive to stick planks firmly. A pencil will help mark cut lines. Always use knee pads to protect your knees. These tools are essential for a smooth installation.

Preparing The Stairs
Begin by removing any dirt or dust. Use a broom or vacuum. Ensure the stairs are completely clean. Look for any damage or loose nails. Repair any cracks or holes. A smooth surface is important for installation. Make sure everything is secure. This will help the vinyl stick well. A clean and repaired surface is the first step.
Measure the width and height of each stair. Write down the measurements. Plan how many planks you will need. Think about the direction of the planks. Check if you need to cut any pieces. Use a tape measure and a pencil. A good plan makes installation easy. Accurate measurements ensure a perfect fit. Take your time with this step. It helps avoid mistakes later.
Cutting The Vinyl Planks
Measure each stair carefully. Start from the top step. Use a measuring tape for accuracy. Write down each measurement. Precision is crucial here. Double-check before cutting. Small mistakes can lead to big issues. Make sure measurements are correct. It saves time later.
Choose the right tools. A sharp utility knife works well. It cuts smoothly. Ensure the blade is clean. A dirty blade can damage planks. Use a straight edge for guidance. It helps with straight cuts. Saw can be useful too. For tricky corners, use a jigsaw. Handle tools with care. Safety is important. Wear gloves for protection.

Installing The Tread
Use a special adhesive for vinyl planks on stairs. This keeps the planks in place. Apply it evenly to the stair surface. Make sure there are no gaps. This helps the planks stick better. Let the adhesive set for a few minutes. This makes it more effective.
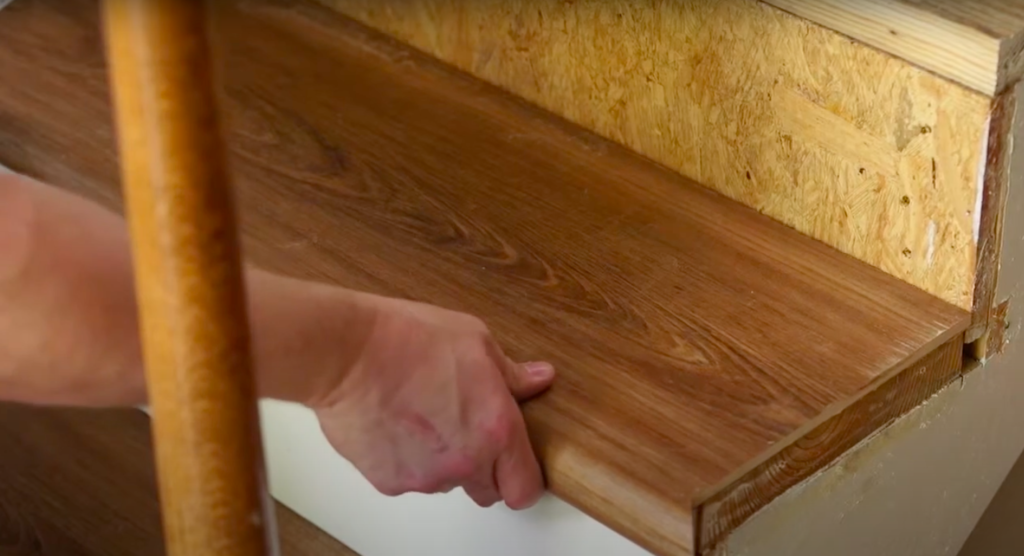
Position the plank carefully on the stair. Press it firmly into the adhesive. Ensure the edges align with the stair. This gives a neat look. Use a roller to press it down. It removes any air bubbles. Check for any loose edges. Fix them immediately. This ensures a strong bond.
Installing The Riser
Measure the height and width of the riser. Use a tape measure for this. Mark the vinyl plank with a pencil. Ensure the plank is slightly larger than the measurements. Cut the plank using a utility knife. Cut slowly to avoid mistakes. Trim the edges for a perfect fit. Check the plank against the riser. Make sure it fits snugly. Trim more if needed.
Apply adhesive to the back of the vinyl plank. Use a thin, even layer. Press the plank onto the riser. Hold it for a few seconds. Ensure it’s firmly attached. Wipe away any excess adhesive. Use a damp cloth for this. Let it dry for a few hours. Check if the plank is secure. Fix any loose edges with more adhesive.
Finishing Touches
Installing vinyl plank flooring on stairs adds a polished look to your space. Start by cleaning and preparing the stairs. Then, measure and cut the planks to fit each step snugly.
Installing Stair Noses
Stair noses help in protecting the edges of stairs. They also give a clean finish. Use a strong adhesive to fix them. Make sure they are aligned well. Press firmly and hold for a few seconds. Allow time for the glue to dry.
Checking For Stability
Check each step to ensure it is secure. Walk on the stairs to test them. Listen for any creaks or noises. Tighten any loose planks if needed. Use screws or nails for extra support. Safety is very important.
Maintenance Tips
Clean your vinyl floors often. Use a soft broom for dust. For sticky spots, use a damp cloth. Avoid using a lot of water. This helps keep the floor safe. Mild soap is best for cleaning. Don’t use strong cleaners. They can hurt the floor.
Protect your floors from scratches. Place mats at doorways. This helps catch dirt. Use felt pads under furniture. These stop scratches. Keep sharp objects away. They can cause damage. Regular care helps keep floors nice.
Frequently Asked Questions
Can You Install Vinyl Plank On Stairs?
Yes, vinyl plank can be installed on stairs. It’s a durable, cost-effective option. Ensure you have the necessary tools and materials. Proper preparation and installation are crucial for safety and longevity. Follow manufacturer guidelines for best results.
What Tools Do You Need For Installation?
You’ll need a utility knife, measuring tape, adhesive, and a rubber mallet. A stair nosing is essential for a professional finish. Safety gear like gloves and goggles is recommended. Gather all tools before starting to ensure a smooth installation process.
How Do You Prepare Stairs For Vinyl Planks?
Start by cleaning and sanding the stairs. Remove any old flooring and ensure a smooth surface. Check for loose nails or screws and fix them. Proper preparation ensures the vinyl planks adhere well and last longer.
How Long Does Installation Take?
Installation time varies based on stair complexity and your experience level. Typically, it can take a full day for a beginner. Prepare well and work patiently for best results. Rushing can lead to mistakes and affect the finish.
Conclusion
Installing vinyl plank flooring on stairs can enhance your home’s look. With the right tools, the process becomes straightforward. Measure each step carefully. Cut planks to fit snugly. Use adhesive for strong bonding. Secure nosing for safety and finish. These steps ensure durable and appealing stairs.
Remember to check each plank before installation. Consider the overall design of your space. The effort pays off with a stylish, practical result. Enjoy your upgraded stairs and the new vibe they bring to your home. Happy flooring!


